
How To Make Simple Mobile Applications Using Kivy In Python?
Python programming language stands at the top of the list when it comes to programming languages. One of the many reasons is the excellent library support to build world-class applications. One such library is Kivy in python which is a cross-platform library and is used to build multi-touch applications. We will learn about the various aspects in detail with this Kivy tutorial, the following topics are covered in this article:
- What is Kivy?
- Kivy Architecture
- Making A Simple App Using Python Kivy
- Kivy Widgets
- A Few More Widget Interactions
- What Is Kivy Language?
- Python And Kivy Language
- Kivy Properties
- Animations
- Kivy’s Settings Panel
- Building An Android APK
What Is Kivy?
Kivy is a cross-platform, free and open-source python library for creating multi-touch applications with a natural user interface. Kivy runs on supported platforms like windows, OS X, Linux, Raspberry Pi, Android, etc.

It comes under the MIT license is 100 percent free to use. The kivy framework is stable and has a well-documented API.
The graphics engine is built over OpenGL ES2, using a fast and modern pipeline. The toolkit comes with more than 20 widgets and all of them are highly extensible.
Kivy Architecture
The Kivy Architecture Consists of the following:
- Core Providers And Input Providers
- Graphics
- Core
- UIX
- Modules
- Input Events
- Widgets And Input Dispatching
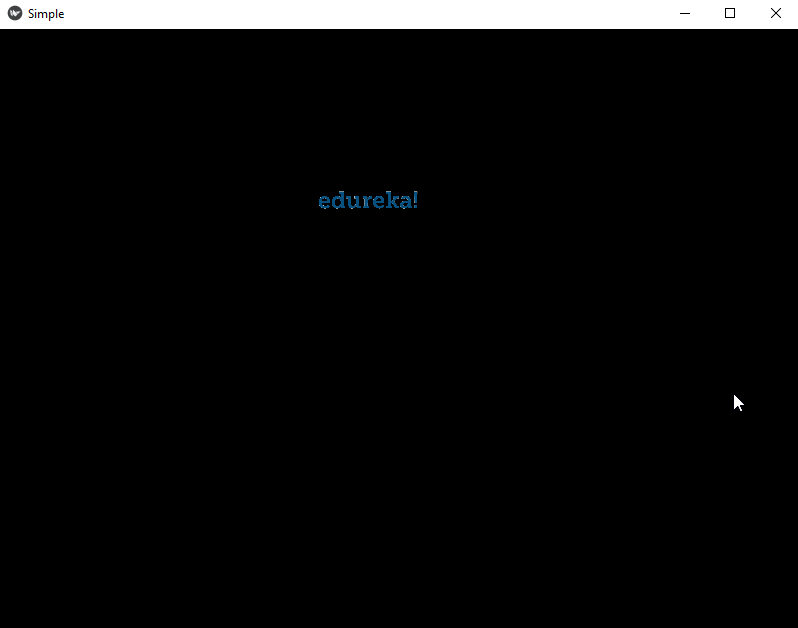
Let us take a look at a simple app using Python kivy and a few basic widgets like label and FloatLayout.
Making A Simple App Using Python Kivy
In this app, the label will move with multi-touch and you could even resize the label as well.
from kivy.app import App
from kivy.uix.scatter import Scatter
from kivy.uix.label import Label
from kivy.uix.floatlayout import FloatLayout


class SimpleApp(App):
    def build(self):
        f = FloatLayout()
        s = Scatter()
        l = Label(text="Edureka!", font_size=150)

        f.add_widget(s)
        s.add_widget(l)
        return f


if __name__ == "__main__":
    SimpleApp().run()
Output:

Kivy Widgets
Let us take a look at various kivy widgets. The kivy widgets can be categorized in the following manner.
- UX Widgets
- Layouts
- Complex UX Widgets
- Behavior Widgets
- Screen Manager
UX Widgets
- Label
- Button
- Checkbox
- Image
- Slider
- Progress Bar
- Text Input
- Toggle Button
- Switch
- Video
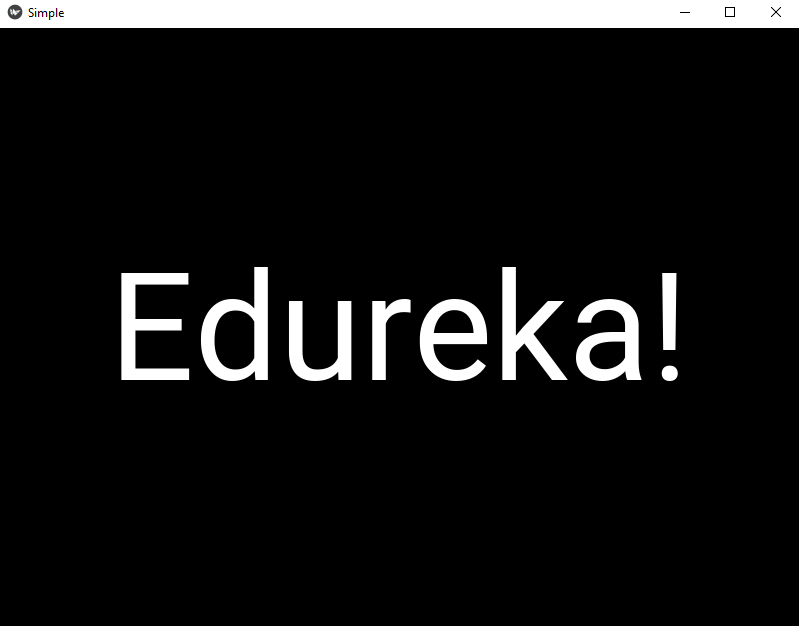
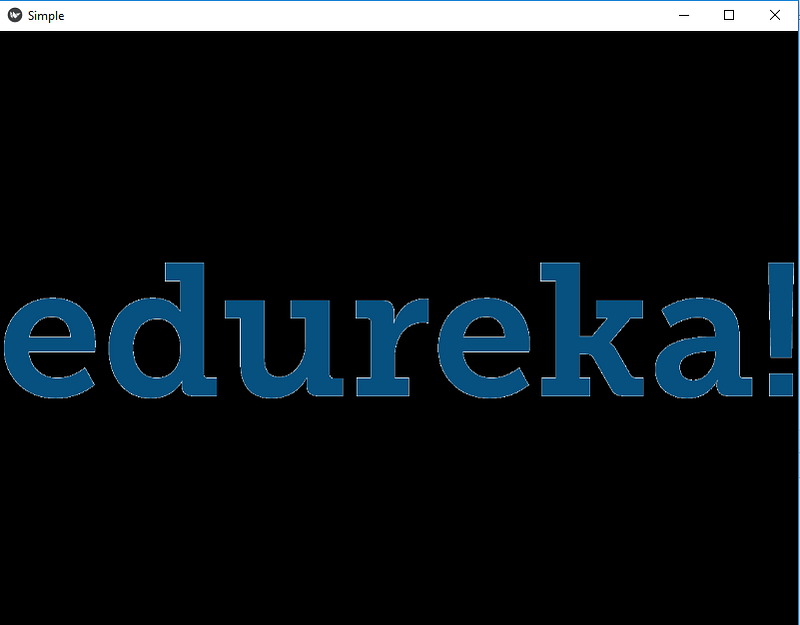
Label
The label widget is used for rendering text. It supports both ascii and unicode strings. Here is a simple example to show how we can use label widget in our application.
from kivy.app import App
from kivy.uix.label import Label


class SimpleApp(App):
    def build(self):
        l = Label(text="Edureka!",font_size=150)
        return l


if __name__ == "__main__":
    SimpleApp().run()
Output:
Button
The button is a label with actions that get triggered when a button is pressed. To configure a button, the same settings are used as that of a label. Here is a simple example to show the button widget. It changes state when clicked, and we can even add properties or bind some actions to the button as well.
from kivy.app import App
from kivy.uix.button import Button


class SimpleApp(App):
    def build(self):
        def a(instance,value):
            print("welcome to edureka")
        btn = Button(text="Edureka!",font_size=150)
        btn.bind(state=a)
        return btn


if __name__ == "__main__":
    SimpleApp().run()
Output:
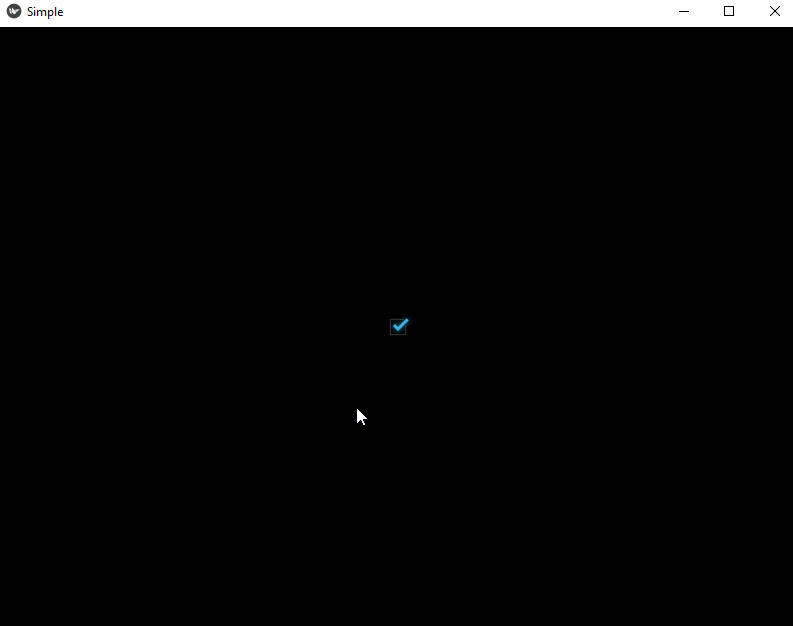
Checkbox
A Checkbox is a two-state button, that can be checked or unchecked. Here is a small example to show how we can use checkbox in a kivy application.
from kivy.app import App
from kivy.uix.checkbox import CheckBox


class SimpleApp(App):
    def build(self):
        def on_checkbox_active(checkbox, value):
            if value:
                print('The checkbox', checkbox, 'is active')
            else:
                print('The checkbox', checkbox, 'is inactive')

        checkbox = CheckBox()
        checkbox.bind(active=on_checkbox_active)
        return checkbox


if __name__ == "__main__":
    SimpleApp().run()
Output:
Image
This widget is used to display an image. When you run this program, it will show an image in the application.
from kivy.app import App
from kivy.uix.image import Image


class SimpleApp(App):
    def build(self):
        img = Image(source="logo.png")
        return img


if __name__ == "__main__":
    SimpleApp().run()
Output:
Slider
The slider widget supports horizontal and vertical orientations and is used as a scrollbar. Here is a simple example to show a slider in a kivy application.
from kivy.app import App
from kivy.uix.slider import Slider


class SimpleApp(App):
    def build(self):
        slide = Slider(orientation='vertical', value_track=True, value_track_color=(1,0,0,1))
        return slide


if __name__ == "__main__":
    SimpleApp().run()
Output:
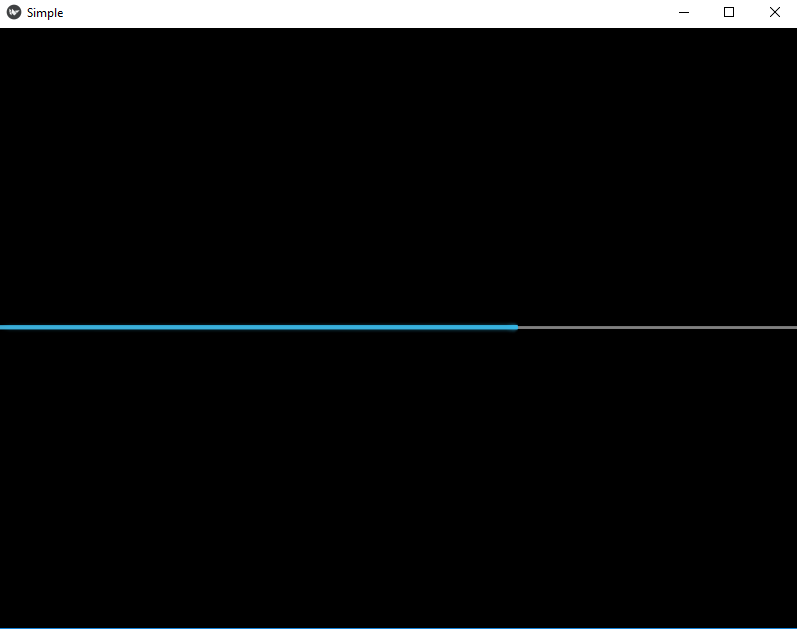
Progress Bar
It is used to track the progress of any task. Here is a simple example to show how we use a progress bar in a kivy application.
from kivy.app import App
from kivy.uix.progressbar import ProgressBar


class SimpleApp(App):
    def build(self):
        Progress  = ProgressBar(max=1000)
        Progress.value = 650
        return Progress


if __name__ == "__main__":
    SimpleApp().run()
Output:
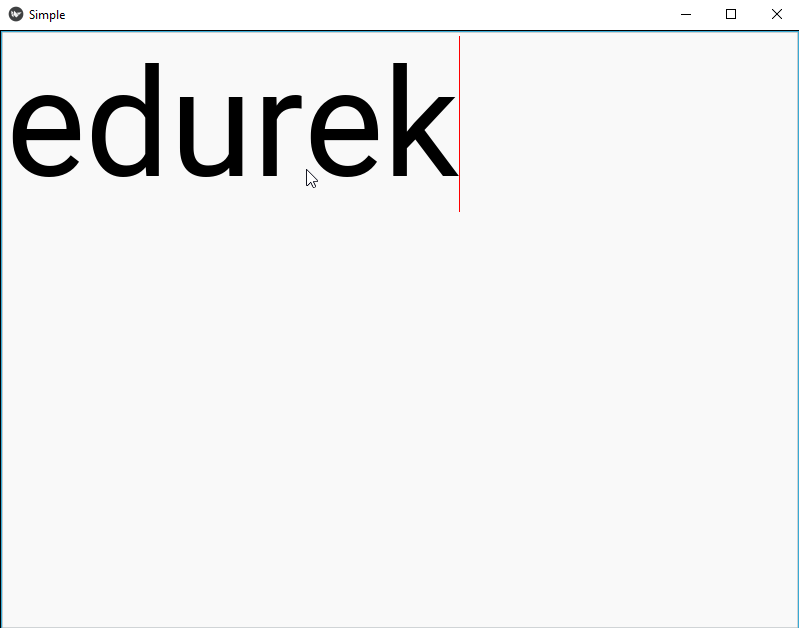
Text Input
It provides a box for editable plain text.
from kivy.app import App
from kivy.uix.textinput import TextInput


class SimpleApp(App):
    def build(self):
        t = TextInput(font_size=150)
        return t


if __name__ == "__main__":
    SimpleApp().run()
Output:
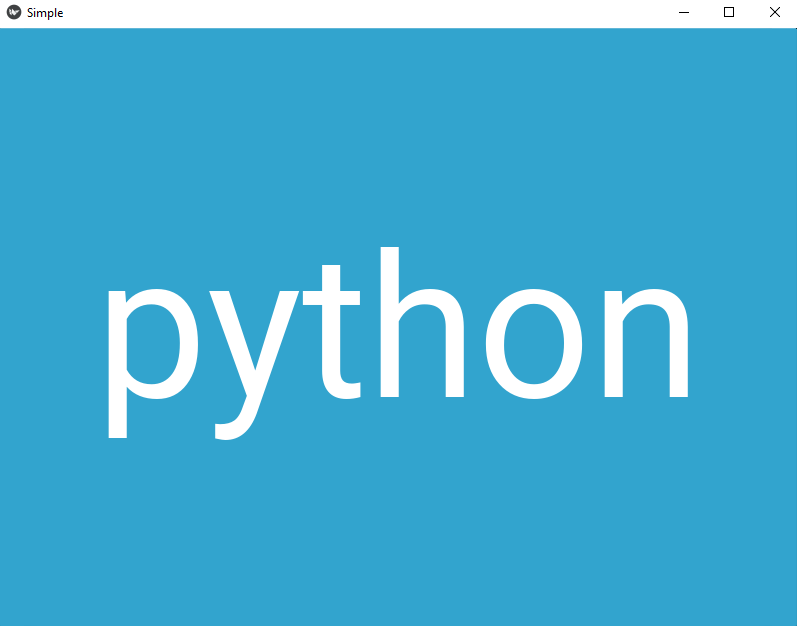
Toggle Button
It acts like a checkbox when you touch or click it, the state toggles. Here is an example to show a toggle button in a kivy application. When you click on the toggle button, it changes state from “normal” to “down”.
from kivy.app import App
from kivy.uix.togglebutton import ToggleButton
from kivy.uix.floatlayout import FloatLayout


class SimpleApp(App):
    def build(self):

        b = ToggleButton(text="python", border=(26,26,26,26), font_size=200)
        return b


if __name__ == "__main__":
    SimpleApp().run()
Output:
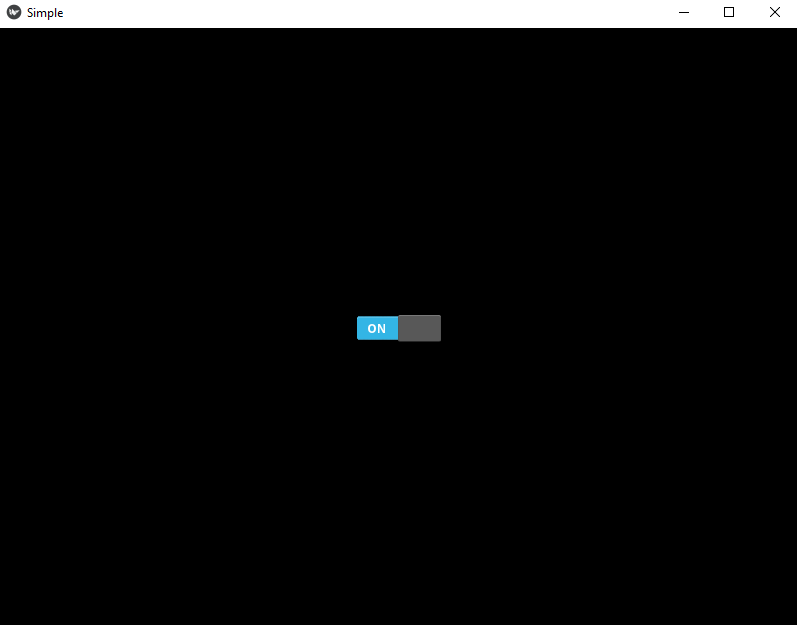
Switch
It is just like a mechanical switch either on or off. Here is a simple example to show how it is used in a kivy application.
from kivy.app import App
from kivy.uix.switch import Switch


class SimpleApp(App):
    def build(self):

        s = Switch(active=True)
        return s


if __name__ == "__main__":
    SimpleApp().run()
Output:
Video
It is used to display video files or streams. Here is a simple example to show how it works in a kivy app.
from kivy.app import App
from kivy.uix.video import Video


class SimpleApp(App):
    def build(self):

        s = Video(source="abc.mp4", play=True)
        return s


if __name__ == "__main__":
    SimpleApp().run()
Output: It will play the video given in the file link.
Layouts
A layout widget does no rendering but just acts as a trigger that arranges its children in a specific way.
- Anchor Layout
- Box Layout
- Float Layout
- Grid Layout
- Page Layout
- Relative Layout
- Scatter Layout
- Stack Layout
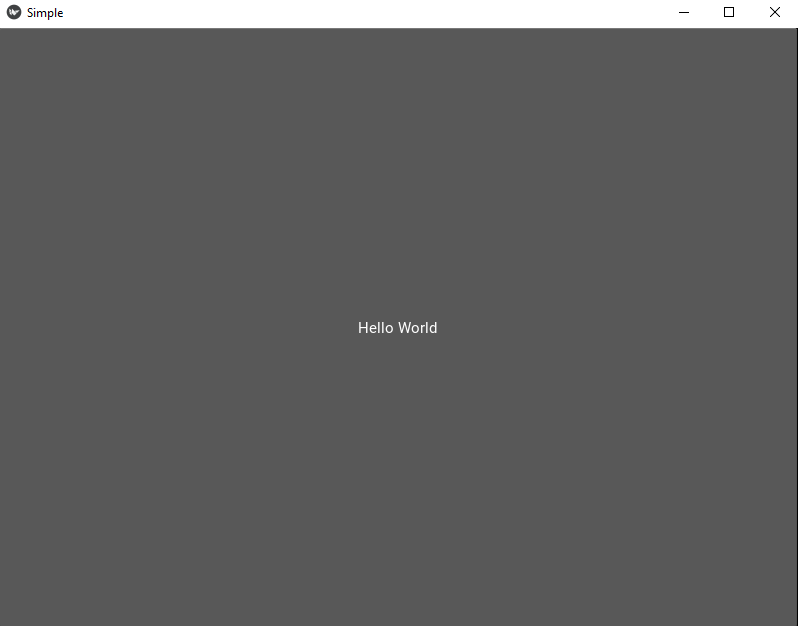
Anchor Layout
It aligns the child widgets to a border(left, right, up, down) or center. Here is a simple example to show how anchor layout is used in a kivy application when the anchor is set to center position, we can set it to different positions like bottom-left, bottom-up, etc.
from kivy.app import App
from kivy.uix.button import Button
from kivy.uix.anchorlayout import AnchorLayout


class SimpleApp(App):
    def build(self):
        layout = AnchorLayout(
            anchor_x='center', anchor_y='center')
        btn = Button(text='Hello World')
        layout.add_widget(btn)
        return layout


if __name__ == "__main__":
    SimpleApp().run()
Output:
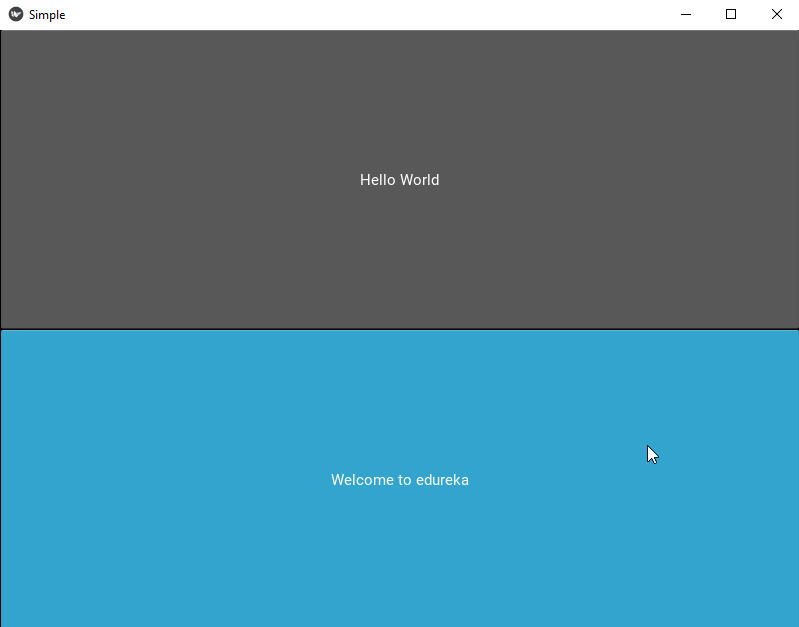
Box Layout
It arranges the child widgets in horizontal or vertical boxes. In the example, the box layout stores the widgets in the two boxes as shown below.
from kivy.app import App
from kivy.uix.button import Button
from kivy.uix.boxlayout import BoxLayout


class SimpleApp(App):
    def build(self):
        layout = BoxLayout(orientation='vertical')
        btn = Button(text='Hello World')
        btn1 = Button(text="Welcome to edureka")
        layout.add_widget(btn)
        layout.add_widget((btn1))
        return layout


if __name__ == "__main__":
    SimpleApp().run()
Output:
Float Layout
It honors the size_hint and pos_hint properties of its child widgets.
from kivy.app import App
from kivy.uix.scatter import Scatter
from kivy.uix.label import Label
from kivy.uix.floatlayout import FloatLayout


class SimpleApp(App):
    def build(self):
        f = FloatLayout()
        s = Scatter()
        l = Label(text="Edureka!", font_size=150)

        f.add_widget(s)
        s.add_widget(l)
        return f


if __name__ == "__main__":
    SimpleApp().run()
Output:
Grid Layout
It arranges the child widgets in a box.
from kivy.app import App
from kivy.uix.button import Button
from kivy.uix.gridlayout import GridLayout


class SimpleApp(App):
    def build(self):
        layout = GridLayout(cols=2)
        layout.add_widget(Button(text='hello'))
        layout.add_widget(Button(text='world'))
        layout.add_widget(Button(text='welcome to'))
        layout.add_widget(Button(text='edureka'))
        return layout


if __name__ == "__main__":
    SimpleApp().run()
Output:

Page Layout
It is used to create a multi-page layout.
from kivy.app import App
from kivy.uix.button import Button
from kivy.uix.pagelayout import PageLayout


class SimpleApp(App):
    def build(self):
        layout = PageLayout()
        layout.add_widget(Button(text='hello',background_color=(1,0,0,1)))
        layout.add_widget(Button(text='world',background_color=(0,1,0,1)))
        layout.add_widget(Button(text='welcome to',background_color=(1,1,1,1)))
        layout.add_widget(Button(text='edureka',background_color=(0,1,1,1)))
        return layout


if __name__ == "__main__":
    SimpleApp().run()
Output:
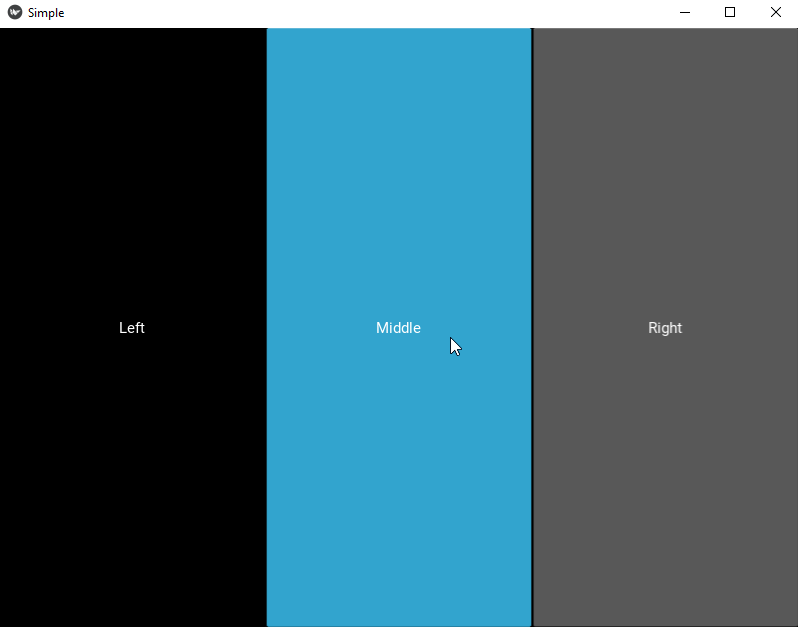
Relative Layout
It allows you to set relative coordinates for child widgets.
from kivy.app import App
from kivy.uix.relativelayout import RelativeLayout
from kivy.uix.boxlayout import BoxLayout
from kivy.uix.button import Button
from kivy.uix.label import Label
from kivy.lang import Builder

res = Builder.load_string('''BoxLayout:
    Label:
        text: 'Left'
    Button:
        text: 'Middle'
        on_touch_down: print('Middle: {}'.format(args[1].pos))
    RelativeLayout:
        on_touch_down: print('Relative: {}'.format(args[1].pos))
        Button:
            text: 'Right'
            on_touch_down: print('Right: {}'.format(args[1].pos))''')


class SimpleApp(App):
    def build(self):
        return res


if __name__ == "__main__":
    SimpleApp().run()
We have used the KV language approach in this program, it will be covered later on in the session.
Output:
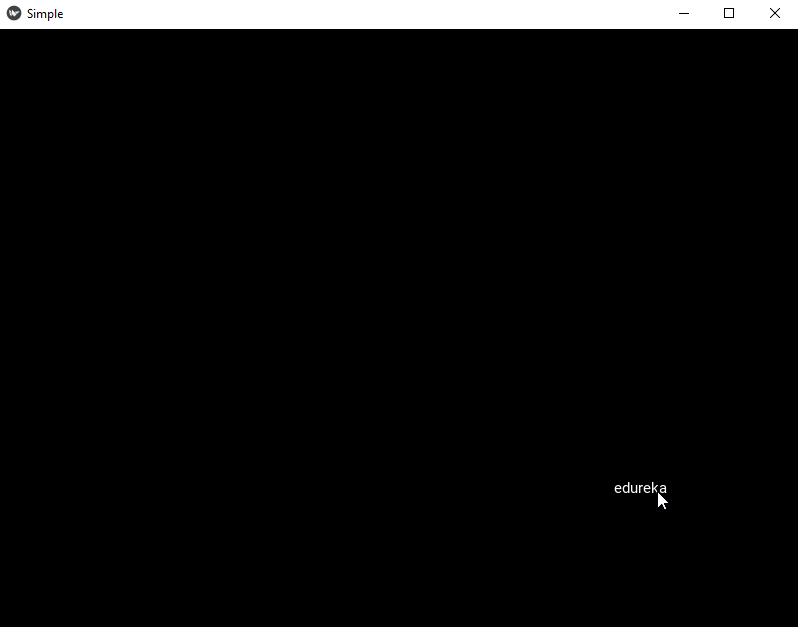
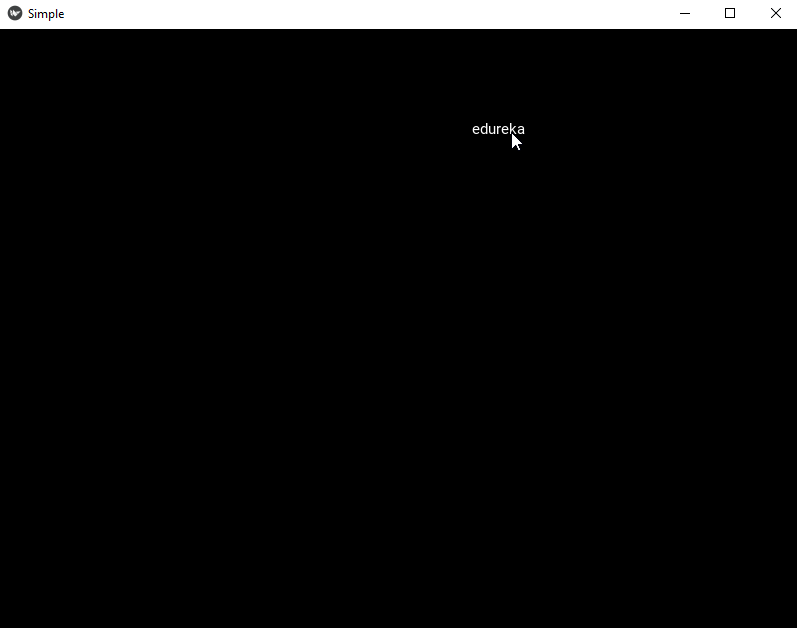
Scatter Layout
It is implemented as a float layout inside a scatter. You can reposition the widgets using the scatter layout.
from kivy.app import App
from kivy.uix.scatterlayout import ScatterLayout
from kivy.uix.label import Label

class SimpleApp(App):
    def build(self):
        s = ScatterLayout()
        l = Label(text='edureka')
        s.add_widget(l)
        return s


if __name__ == "__main__":
    SimpleApp().run()
Output:
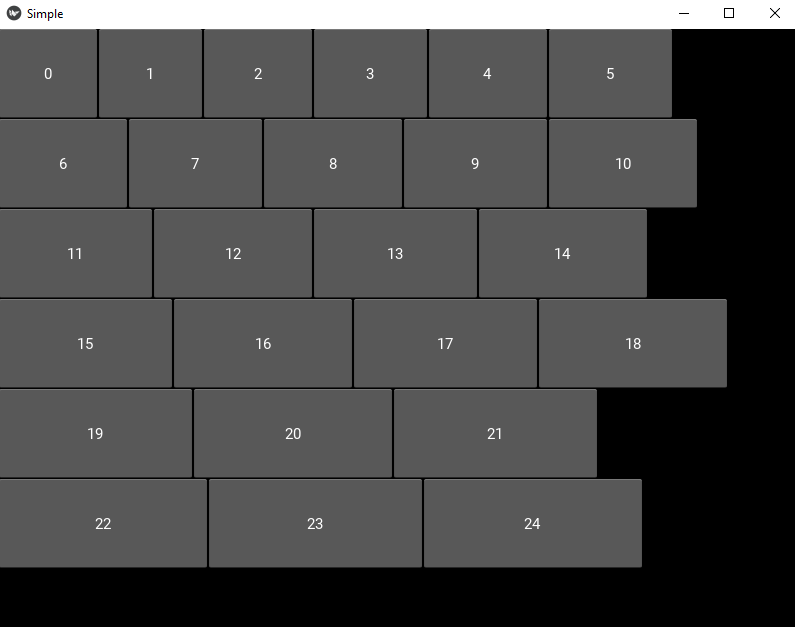
Stack Layout
It arranges the widgets horizontally or vertically and as many as it can fit.
from kivy.app import App
from kivy.uix.stacklayout import StackLayout
from kivy.uix.button import Button

class SimpleApp(App):
    def build(self):
        root = StackLayout()
        for i in range(25):
            btn = Button(text=str(i), width=100 + i * 5, size_hint=(None, 0.15))
            root.add_widget(btn)
        return root


if __name__ == "__main__":
    SimpleApp().run()
Output:
Now that we are done with layouts, let’s take a look at the Behavior widgets in Kivy.
Behavior Widgets
These widgets do no rendering but act on the graphics instructions or interaction (touch) behavior of their children.
- Scatter
- Stencil View
Scatter
Scatter is used to build interactive widgets that can be rotated, scaled with two or more fingers on a multitouch system.
from kivy.app import App
from kivy.uix.scatter import Scatter
from kivy.uix.image import Image


class SimpleApp(App):
    def build(self):
        s = Scatter()
        s.add_widget(Image(source="logo.png"))
        return s


if __name__ == "__main__":
    SimpleApp().run()
Output:
Stencil View
Stencil view limits the drawing of the child widgets to a stencilview’s bounding box. In the example, we are using a simple label widget. The stencil view is best used when we are drawing in canvas and it limits the activities to a limited area in the application rather than the whole window.
from kivy.app import App
from kivy.uix.stencilview import StencilView
from kivy.uix.label import Label
from kivy.uix.scatter import Scatter


class SimpleApp(App):
    def build(self):
        s = StencilView()
        sc = Scatter()
        s.add_widget(sc)
        sc.add_widget(Label(text='edureka'))
        return s


if __name__ == "__main__":
    SimpleApp().run()
Output:
Screen Manager
It is a widget that is used to manage multiple screens for your application. It uses a transition base to switch from one screen to the other.
from kivy.app import App
from kivy.base import runTouchApp
from kivy.lang import Builder
from kivy.properties import ListProperty
from kivy.uix.boxlayout import BoxLayout

from kivy.uix.screenmanager import ScreenManager, Screen, FadeTransition

import time
import random

class FirstScreen(Screen):
    pass

class SecondScreen(Screen):
    pass

class ColourScreen(Screen):
    colour = ListProperty([1., 0., 0., 1.])

class MyScreenManager(ScreenManager):
    def new_colour_screen(self):
        name = str(time.time())
        s = ColourScreen(name=name,
                         colour=[random.random() for _ in range(3)] + [1])
        self.add_widget(s)
        self.current = name

root_widget = Builder.load_string('''
#:import FadeTransition kivy.uix.screenmanager.FadeTransition
MyScreenManager:
    transition: FadeTransition()
    FirstScreen:
    SecondScreen:
<FirstScreen>:
    name: 'first'
    BoxLayout:
        orientation: 'vertical'
        Label:
            text: 'first screen!'
            font_size: 30
        Image:
            source: 'logo.png'
            allow_stretch: False
            keep_ratio: False
        BoxLayout:
            Button:
                text: 'goto second screen'
                font_size: 30
                on_release: app.root.current = 'second'
            Button:
                text: 'get random colour screen'
                font_size: 30
                on_release: app.root.new_colour_screen()
<SecondScreen>:
    name: 'second'
    BoxLayout:
        orientation: 'vertical'
        Label:
            text: 'second screen!'
            font_size: 30
        Image:
            source: 'logo1.jpg'
            allow_stretch: False
            keep_ratio: False
        BoxLayout:
            Button:
                text: 'goto first screen'
                font_size: 30
                on_release: app.root.current = 'first'
            Button:
                text: 'get random colour screen'
                font_size: 30
                on_release: app.root.new_colour_screen()
<ColourScreen>:
    BoxLayout:
        orientation: 'vertical'
        Label:
            text: 'colour {:.2},{:.2},{:.2} screen'.format(*root.colour[:3])
            font_size: 30
        Widget:
            canvas:
                Color:
                    rgba: root.colour
                Ellipse:
                    pos: self.pos
                    size: self.size
        BoxLayout:
            Button:
                text: 'goto first screen'
                font_size: 30
                on_release: app.root.current = 'first'
            Button:
                text: 'get random colour screen'
                font_size: 30
                on_release: app.root.new_colour_screen()
''')

class ScreenManagerApp(App):
    def build(self):
        return root_widget

ScreenManagerApp().run()
Output:
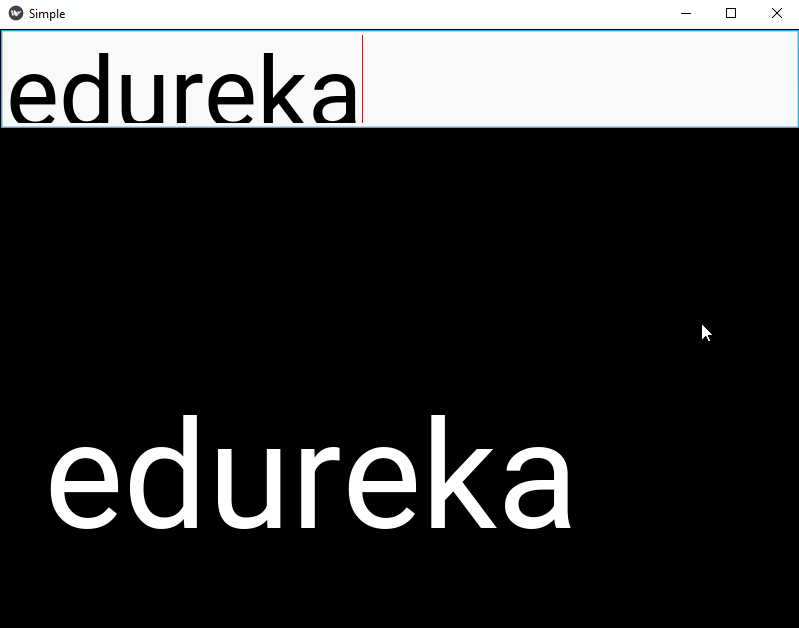
A Few More Widget Interactions
Let us take a look at a rather interesting example, where we are going to bind the interaction of two widgets together using the bind method.
from kivy.app import App
from kivy.uix.scatter import Scatter
from kivy.uix.label import Label
from kivy.uix.floatlayout import FloatLayout
from kivy.uix.boxlayout import BoxLayout
from kivy.uix.textinput import TextInput

class SimpleApp(App):
    def build(self):
        b = BoxLayout(orientation="vertical")
        t = TextInput(font_size=100,text="default",size_hint_y=None, height=100)
        f = FloatLayout()
        s = Scatter()
        l = Label(text="default", font_size=150)

        t.bind(text=l.setter("text"))
        f.add_widget(s)
        s.add_widget(l)
        b.add_widget(t)
        b.add_widget(f)
        return b


if __name__ == "__main__":
    SimpleApp().run()
What Is Kivy Language?
As our application grows more complex, it becomes difficult to maintain the construction of widget tress and explicit declaration of bindings. To overcome these shortcomings, kv language is an alternative, also known as kivy language or kvlang.
kv language allows you to create the widget tree in a declarative manner, it allows very fast prototypes and agile changes to the UI. It also helps by separating the logic of the application from the user interface.
How To Load KV File?
There are two ways you can follow to load the kv file in your application.
- By Name Convention — The kivy looks for the file with the same name as your app starting with the lowercase letter minus “app” if it is there in the name of your app.
SimpleApp - simple.kvIf this defines a root widget, it will be added to the widget tree as the base of the application.
2. Builder — You can directly tell kivy to load the kv file using the Builder.
Builder.load_file("filename.kv")
#or
Builder.load_string('''
''') #you can directly put your kv file as string using this approach.
KV Language Rules
The root is declared by declaring the class of your root widget
Widget:A class rule declared by the name of the widget class between < > defines the appearance and behavior of the instance of that class
<Widget>:There are three specific keywords for the KV language.
- app: Refers to the instance of the app
- root: It refers to the base widget or root widget
- self: Refers to the current widget
Let us take a simple example to understand how we use the KV language in our application.
from kivy.app import App

from kivy.uix.scatter import Scatter
from kivy.uix.label import Label
from kivy.uix.floatlayout import FloatLayout
from kivy.uix.textinput import TextInput
from kivy.uix.boxlayout import BoxLayout


class ScatterTextWidget(BoxLayout):
    pass


class SimpleApp(App):
    def build(self):
        return ScatterTextWidget()


if __name__ == "__main__":
    SimpleApp().run()
.KV File
<ScatterTextWidget>:
    orientation: 'vertical'
    TextInput:
        id: my_textinput
        font_size: 150
        size_hint_y: None
        height: 200
        text: 'default'
    FloatLayout:
        Scatter:
            Label:
                text: my_textinput.text
                font_size: 150
Output:
Python And Kivy Language
Python and kivy language makes it a lot easier for any developer to write readable code for any application, and it gets less complex in defining the properties and bindings for various widgets as well.
Let us try to mix python and kivy language in the following example.
from kivy.app import App

from kivy.uix.scatter import Scatter
from kivy.uix.label import Label
from kivy.uix.floatlayout import FloatLayout
from kivy.uix.textinput import TextInput
from kivy.uix.boxlayout import BoxLayout
import random


class Text(BoxLayout):
    def change_label_colour(self, *args):
        colour = [random.random() for i in range(3)] + [1]
        label = self.ids['my_label']
        label.color = colour


class SimpleApp(App):
    def build(self):
        return Text()


if __name__ == "__main__":
    SimpleApp().run()
.KV File
#:import color random
<Text>:
    orientation: 'vertical'
    TextInput:
        id: my_textinput
        font_size: 150
        size_hint_y: None
        height: 200
        text: 'default'
        on_text: my_label.color = [color.random() for i in range(3)] + [1]
    FloatLayout:
        Scatter:
            Label:
                id: my_label
                text: my_textinput.text
                font_size: 150
Output:
Kivy Properties
Properties are an easier way to define events and bind them together. There are different types of properties to describe the type of data that you want to handle.
- StringProperty
- NumericProperty
- BoundedNumericProperty
- ObjectProperty
- DictProperty
- ListProperty
- OptionProperty
- AliasProperty
- BooleanProperty
- ReferenceListProperty
How to Declare a Property?
We must declare the properties at the class level. Here is a simple example to show how we can use properties in an application.
from kivy.app import App
from kivy.uix.widget import Widget
from kivy.uix.button import Button
from kivy.uix.boxlayout import BoxLayout
from kivy.properties import ListProperty


class RootWidget(BoxLayout):

    def __init__(self, **kwargs):
        super(RootWidget, self).__init__(**kwargs)
        self.add_widget(Button(text='btn 1'))
        cb = CustomBtn()
        cb.bind(pressed=self.btn_pressed)
        self.add_widget(cb)
        self.add_widget(Button(text='btn 2'))

    def btn_pressed(self, instance, pos):
        print('pos: printed from root widget: {pos}'.format(pos=pos))


class CustomBtn(Widget):
    pressed = ListProperty([0, 0])

    def on_touch_down(self, touch):
        if self.collide_point(*touch.pos):
            self.pressed = touch.pos
            # we consumed the touch. return False here to propagate
            # the touch further to the children.
            return True
        return super(CustomBtn, self).on_touch_down(touch)

    def on_pressed(self, instance, pos):
        print('pressed at {pos}'.format(pos=pos))


class TestApp(App):

    def build(self):
        return RootWidget()


if __name__ == '__main__':
    TestApp().run()
Output:
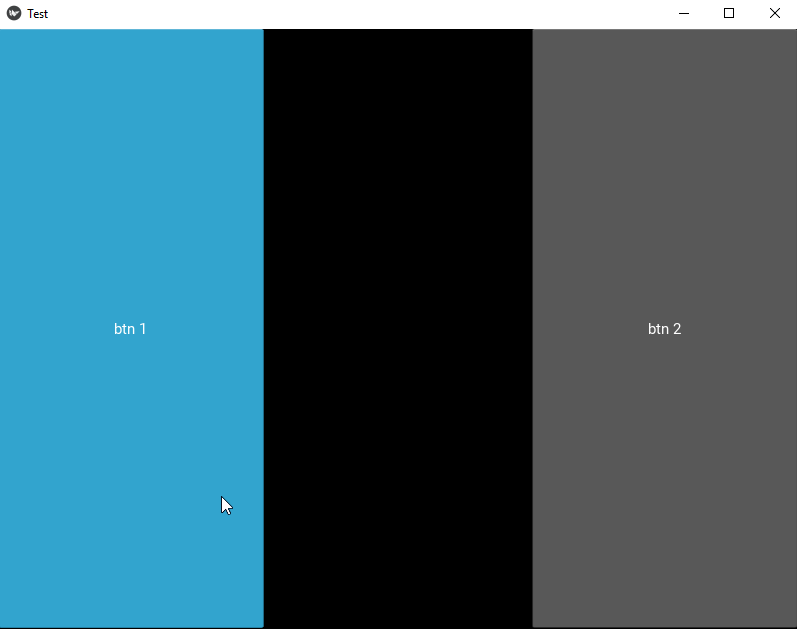
Our CustomBtn has no visual representation and thus appears black. You can touch/click on the black area to see the output on your console.
Animations
We can add animations in a kivy application using the animation or animationTransition to animate widget properties. In the example, the rectangle moves to a random location with each click on the rectangle.
from kivy.base import runTouchApp
from kivy.lang import Builder
from kivy.uix.widget import Widget
from kivy.animation import Animation
from kivy.core.window import Window
from random import random

Builder.load_string('''
<Root>:
    ARect:
        pos: 500, 300
<ARect>:
    canvas:
        Color:
            rgba: 0, 0, 1, 1
        Rectangle:
            pos: self.pos
            size: self.size
''')

class Root(Widget):
    pass

class ARect(Widget):
    def circle_pos(self):
        Animation.cancel_all(self)
        random_x = random() * (Window.width - self.width)
        random_y = random() * (Window.height - self.height)

        anim = Animation(x=random_x, y=random_y,
                         duration=4,
                         t='out_elastic')
        anim.start(self)

    def on_touch_down(self, touch):
        if self.collide_point(*touch.pos):
            self.circle_pos()

runTouchApp(Root())
Output:
Kivy’s Settings Panel
A setting panel in kivy basically provides various options that we can choose from to configure the application. The following example shows a button which opens the setting panel after release.
from kivy.app import App
from kivy.lang import Builder

from kivy.uix.boxlayout import BoxLayout


Builder.load_string('''
<Interface>:
    orientation: 'vertical'
    Button:
        text: 'Settings'
        font_size: 100
        on_release: app.open_settings()
''')

class Interface(BoxLayout):
    pass

class SettingsApp(App):
    def build(self):
        return Interface()

SettingsApp().run()
Output:
Building An Android APK
We can use the Buildozer tool to make a standalone fully functional android APK. First of all the dependencies should be taken care of after installing the tool. If you are using kivy on windows, there might be a few redundancies, so it is better to use Linux or any other platform. Instead you can also use a virtual box to make the APK on windows as well.
Following are the steps you need to follow to make a standalone android APK of your kivy application.
- The first step after the installation is to make a .spec file using buildozer. This file will contain all the parameters you need while building your application. The following command will create a .spec file with default values.
buildozer init2. After you create a .spec file, you need to make a few changes, like title, package name, orientation, version, requirements, etc.
3. The next step, after you create all the necessary changes to the .spec file is to build your APK. The following command will make a android APK in a build mode.
buildozer android debug4. The last argument ‘deploy’, tells buildozer to automatically install the APK on your device when the build process is over.
buildozer android debug deployThis brings us to the end of this article where we have learned how we can make multi-touch applications using python’s kivy library. I hope you are clear with all that has been shared with you in this tutorial.
If you wish to check out more articles on the market’s most trending technologies like Artificial Intelligence, DevOps, Ethical Hacking, then you can refer to Edureka’s official site.
Do look out for other articles in this series which will explain the various other aspects of Python and Data Science.
15. Python vs C++
16. Scrapy Tutorial
17. Python SciPy
20. Python Basics
23. Python Decorator
32. Python 3.8
34. Python Tutorial
Originally published at https://www.edureka.co on October 14, 2019.


