
Build Single page application with React and Django Part 8 — Implement a Static Rendering Website with Next.js and Django on Heroku
Introduction
This series is to build a SPA with ReactJS and Django. We have discuss a few topics on the part 1 to part 7.
This article is to record how to create a rebuild mechanism for static contents for Next.js and render in the Django project on Heroku.
Agenda
It includes the following topics.
- Introduction to static site hosting platform
- Create a Static Rendering Website with Next.js and Django on Heroku
About this series
The target of this series is to build a ReactJS single page application(SPA) with Django API server and deploy on Heroku.
- Part 1: Deploy Django application to Heroku and migrate PostgreSQL
- Part 2: Connect React App with Django App
- Part 3: Use JWT with DRF and tests endpoints on Travis-CI
- Part 4: Create Endpoints to Manipulate Resources
- Part 5.1: Exchange Facebook’s access token to JWT from Django/DRF
- Part 5.2: Exchange Github’s access token to JWT from Django/DRF
- Part 6: Create Django Application’s sitemap on Heroku for SEO
- Part 7: How to Refactor Function Components with HOC?
- Part 8: this article
- Part 9: Access Redux on the Next.js page-level
- Part 10: Improve SEO with Pyppeteer in Django
- Part 11: Theming with Redux and styled-component
Static Site Hosting platform
One of cons for SSG(Static Site Generation) is that the content will be stale if we couldn’t update the content frequently.
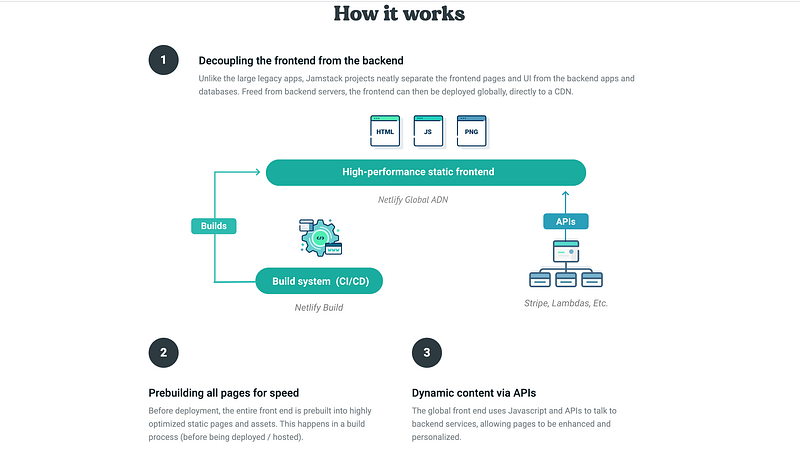
A recommended solution is to use the static site hosting platform like Nelify. The user only has to deploy project on it. The contents will be pre-built by Nelify Build system and the contents will be deployed to Nelify Global CDN.
The most important point is that this kind of platform provides hooks to trigger the rebuild process to avoid stale contents.
The question is that are there any solutions to create a SSG website ourselves without using these existed platforms? There are two required components for creating a SSG website.
1. The static site generator (pre-build system)
We need libraries like Nuxt.js, Next.js, Gatsby.js or plugins like static site generator webpack plugin. For ReactJS developers, Next.js or Gatsby.js is a .
2. Hook to trigger to rebuild contents
To avoid stale contents, we can rebuild manually before deployment or to create a rebuild system.
Create a Static Rendering Website with Next.js and Django on Heroku
Demon site
Daily Learning is the website I used static rendering to create on Heroku.
Steps to create a SSG website without static site hosting platform
- Step 1. Create the project and applications for Django and ReactJS
- Step 2. Turn ReactJS application to next.js application
- Step 3. Test Server Side Rendering for next.js application
- Step 4. Generate static site files and render from Django server
- Step 5. Deploy the project on Heroku
- Step 6. Create the rebuild Mechanism
Step 1. Create the project and applications for Django and ReactJS
Follow steps from bellow article.
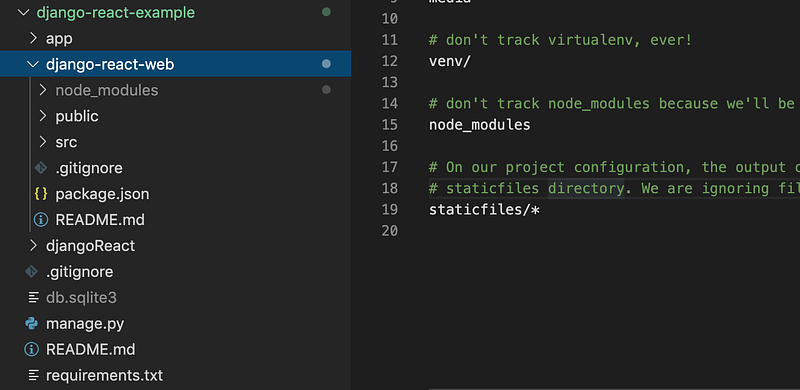
Then we get the following dictionaries. The Django project contains two application.
- Django application : djangoReact
- ReactJS application: django-react-web
Step 2. Turn ReactJS application to next.js application
You can also check details from the following article.
- Install next.js
- Type the following command on the terminal
>>cd django-react-web
>>npm install --save react react-dom next-images css-loader sass-loader style-loader @zeit/next-css next
2. Edit package.json
"scripts": {
    "dev":"next",
    "build":"next build & next export",
    "start":"next start"
}
3. Create next.config.js
- Type the following command on the terminal
>>touch next.config.js- Edit next.config.js for loading CSS and images in next.js application
const withCSS = require('@zeit/next-css')
const withImages = require('next-images');
module.exports = withCSS(withImages())
4. Create a next.js page
- Type the following command on the terminal
mkdir pages
cd pages
touch index.jsx- Edit index.jsx
import React from 'react'
import App from '../src/App';
const index = () => {
return (
<App/>
)
}export default index;Step 3. Test Server Side Rendering for next.js application
- Type the following command on the terminal
>>npm run dev- Open the browser and navigate to http://localhost:3000/

Step 4. Generate static site files and render from Django server
- Generate static files
- Type the following command on the terminal
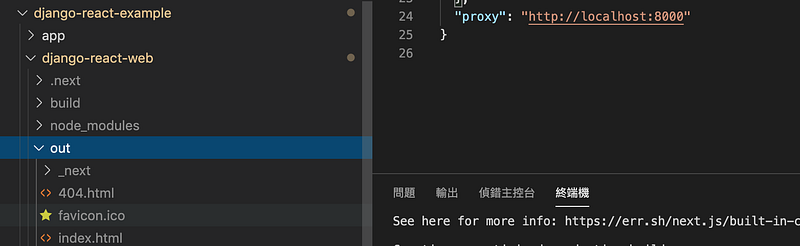
>>npm run build- Then next.js will generate out folder and static files
2. Modify Django server
- Edit djangoReact/settings.py
STATIC_URL = '/_next/'REACT_APP_DIR = os.path.join(BASE_DIR, 'django-react-web')STATICFILES_DIRS = [
os.path.join(REACT_APP_DIR, 'out', '_next'),
]STATIC_ROOT = os.path.join(REACT_APP_DIR, 'out')- Edit app/urls.py
...
from django.conf.urls.static import static
from .views import index
urlpatterns = [
     path("", index, name="index"),
     path('admin/', admin.site.urls),
     ...
]+ static(settings.STATIC_URL, document_root=settings.STATIC_ROOT)- Edit app/views.py
...
index_file_path = os.path.join(settings.REACT_APP_DIR, 'out', 'index.html')
def index(request):
try:
with open(index_file_path) as f:
return HttpResponse(f.read())
except FileNotFoundError:
logging.exception('Production build of app not found')
return HttpResponse(
status=501,
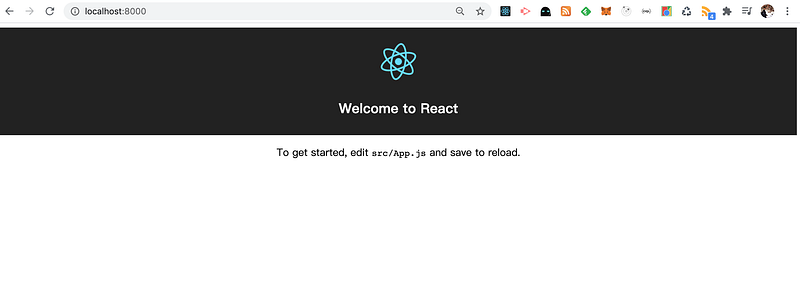
)3. Open the browser and navigate to http://localhost:8000/
Step 5. Deploy the project on Heroku
Follow steps to deploy the project on Heroku from bellow article.
Step 6. Create the rebuild Mechanism
1.Add heroku/nodejs buildpacks for the project
- Heroku will detect the buildpacks of the project after the first deployment. The buildpacks will be heroku/python if you check it.

- Add heroku/nodejs buildpacks for the project

2. Create a new package.json on the django-react-example.
>>npm init- Copy the dependency part from django-react-web/package.json to django-react-example/package.json
"dependencies": {
    "@zeit/next-css": "^1.0.1",
    "css-loader": "^3.6.0",
    "next": "^9.4.0",
    "next-images": "^1.4.0",
    "react": "^16.13.1",
    "react-dom": "^16.13.1",
    "react-scripts": "0.9.5",
    "sass-loader": "^9.0.2",
    "style-loader": "^1.2.1"
}- Modify the Script part
"scripts": {
    "build": "cd django-react-web && npm run build",
    "dev": "cd django-react-web && next",
    "heroku-postbuild": "cd django-react-web && next build && next export"
}- Install packages
>>npm install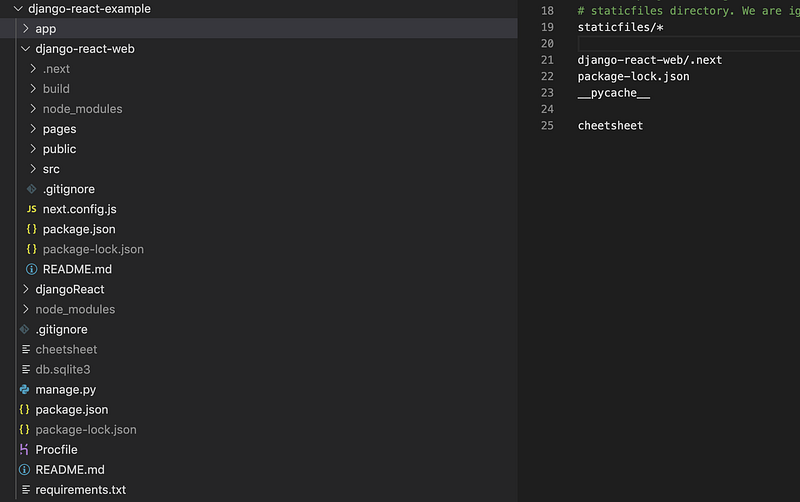
3. Modify django-react-web/package.json
"scripts": {
    "build": "next build && next export"
}
4.Deploy again
git push herokuReferences
Summary
Thanks for your patient. I am Sean. I work as a software engineer.
This article is my note. Please feel free to give me advice if any mistakes. I am looking forward to your feedback.
- The Facebook page for articles
- The latest side project: Daily Learning
About this series
Part 1. Deploy Django application to Heroku and migrate PostgreSQL
Part 2. Connect React App with Django App
Part 3. Use JWT with DRF and tests endpoints on Travis-CI
Part 4. Create Endpoints to Manipulate Resources
Part 5.1. Exchange Facebook’s access token to JWT from Django/DRF server for Social Login
Part 5.2. Exchange Github’s access token to JWT from Django/DRF server
Part 6. Create Django Application’s sitemap on Heroku for SEO
Part 7. How to Refactor Function Components with HOC?


