
Build Single page application with React and Django Part 6-Create Django Application’s sitemap on Heroku for SEO
Introduction
This series is to build a SPA with ReactJS and Django. We have discuss a few topics on the part 1 to part 5. The next step is to get users from the search engine after deployment.
You can skip the introduction and proceed to the procedures if you like.
What is sitemap? When do we need it?
Sitemap is a map to show the structure of the website. Engine’s bot like Google, Baidu, and others can index our pages through the sitemap in XML. Submitting the sitemap in Google Search Console is one of ways to make sure that Google have indexed our pages.
How to create the sitemap for the static site?
I have ever introduced how to create a sitemap in a static site. We only have to do two steps for it.
- Generate sitemap for the website
- Submit the Sitemap to Google Search Console
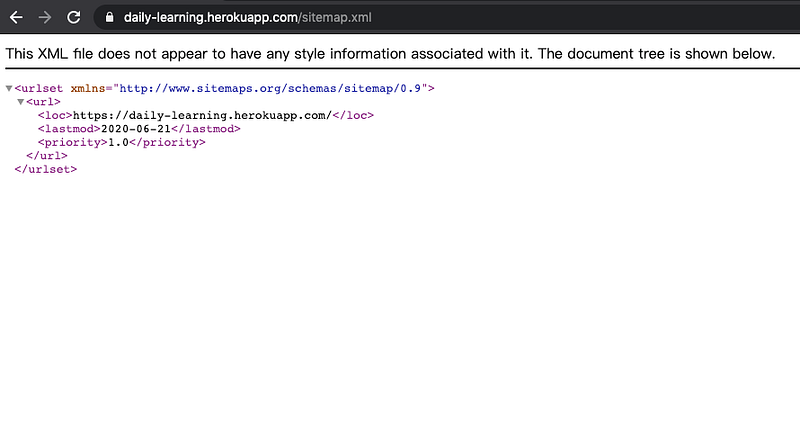
The contents of the sitemap includes the each pages’ location, last modified time, and priority.

What will this article mention?
Today we will talk about how to use the sitemap framework to create a sitemap for Django application.
There are a few steps that we have to do for creating a sitemap.
- Preparations
- Update the Django application on Heroku
- Register the sitemap in Google Search Console
Feel free to look this article for details if you are interested in it!
About this series
The target of this series is to build a ReactJS single page application(SPA) with Django API server and deploy on Heroku.
- Part 1: Deploy Django application to Heroku and migrate PostgreSQL
- Part 2: Connect React App with Django App
- Part 3: Use JWT with DRF and tests endpoints on Travis-CI
- Part 4: Create Endpoints to Manipulate Resources
- Part 5.1: Exchange Facebook’s access token to JWT from Django/DRF
- Part 5.2: Exchange Github’s access token to JWT from Django/DRF
- Part 6: this article
- Part 7: How to Refactor Function Components with HOC?
- Part 8: Static Rendering with Next.js and Django on Heroku
- Part 9: Access Redux on the Next.js page-level
- Part 10: Improve SEO with Pyppeteer in Django
- Part 11: Theming with Redux and styled-component
Preparations
The first step is to make changes for files include model.py, url.py, and settings.py. Push these changes to Heroku.
1.Edit models.py
from django.urls import reverse
from django.utils.text import slugify
class Entry(models.Model):
title = models.CharField(max_length=255,
unique=True)
slug = models.SlugField(max_length=50,
unique=True,
default='')
modified = models.DateTimeField(auto_now=True)
pub_date = models.DateTimeField(auto_now=True)def __str__(self):
return self.titledef save(self, *args, **kwargs):
self.slug = slugify(self.title)
super().save(*args, **kwargs)def get_absolute_url(self):
return reverse(self.slug)2.Edit urls.py
from django.contrib.sitemaps import GenericSitemap
from django.contrib.sitemaps.views import sitemap
from django.contrib.sitemaps import views as sitemaps_views
from django.views.decorators.cache import cache_page
from .models import Entry
sitemaps = {
'codeideas': GenericSitemap({'queryset': Entry.objects.get_queryset().order_by('id'), 'date_field': 'pub_date'}, priority=1.0),
}urlpatterns = [
path('sitemap.xml', sitemap,
{'sitemaps': sitemaps},
name='django.contrib.sitemaps.views.sitemap'),
...
]3.Edit settings.py
INSTALLED_APPS = [
    ...,
    'django.contrib.sites',
    'django.contrib.sitemaps'
]
SITE_ID = 1TEMPLATES = [
{
'DIRS': [os.path.join(BASE_DIR, 'templates')],
...
}
]4. Push changes to Heroku
1.Make migrations
python manage.py makemigrations2.Login to Heroku
Heroku login3.List Heroku applications
Heroku apps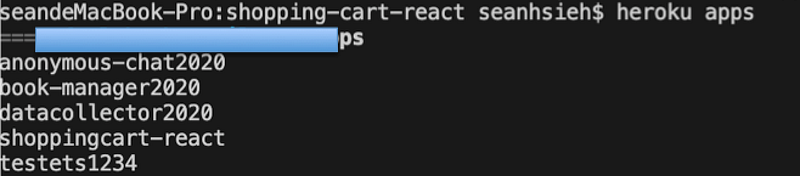
4.Add Heroku as a remote server
heroku git:remote -a testets12345.Push to Heroku
git add .
git commit -m 'create the sitemap'
git push heroku master
Update the Django application on Heroku
The second step is to set the Django application.
1. Initialize the sitemap
1.Migrate the database
Heroku run python manage.py migrate2.Enter the Django shell
Heroku run python manage.py shell3.Create entry objects
>>from xx.models import Entry
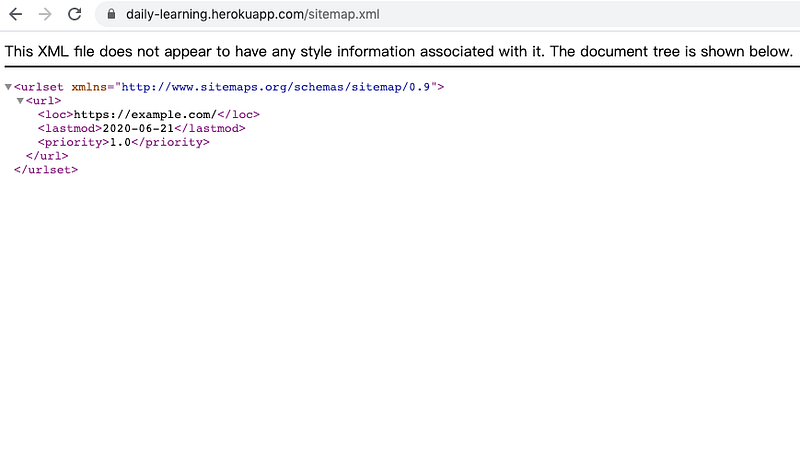
>>Entry.objects.create(title='index')4.Check the sitemap.xml. The default domain is example.com
5.Check the site ID on Heroku
>>Entry.objects.first().idWe have to update SITE_ID if the result is not 1
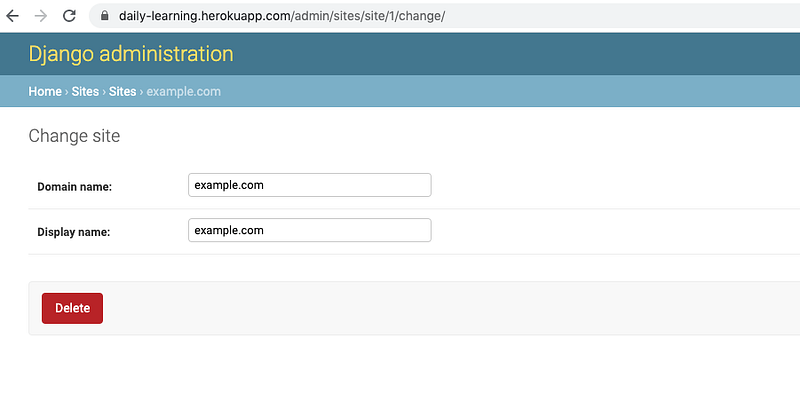
2. Update the sitemap’s domain
1.Make sure we have a super user
heroku manage.py createsuperuser2.Visit /admin/sites/site/1/ to update the domain name
3.Check the sitemap again
Register the sitemap in Google Search Console
1.Click the Sitemap to validate the site’s domain
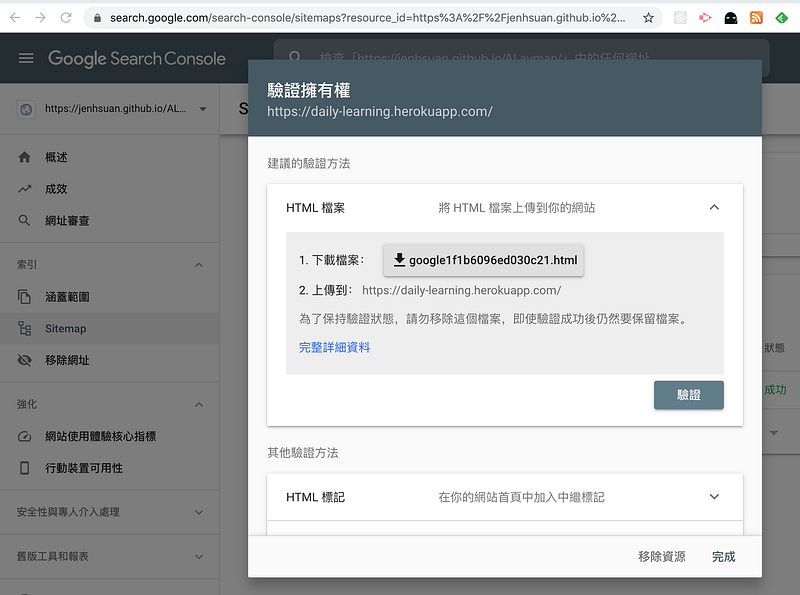
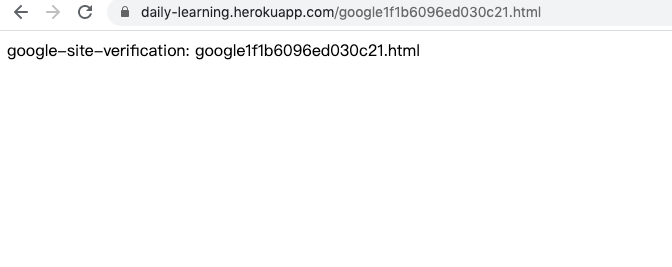
2.Edit views.py
def googleValidation(request):
    return HttpResponse('google-site-verification: google1f1b6096ed030c21.html')
3.Edit urls.py
urlpatterns = [
        path("google1f1b6096ed030c21.html", googleValidation, name="googleValidation"),
        ...
]
4.Push to Heroku
5.Check the new enpoint
6.Validate and enter the created sitemap
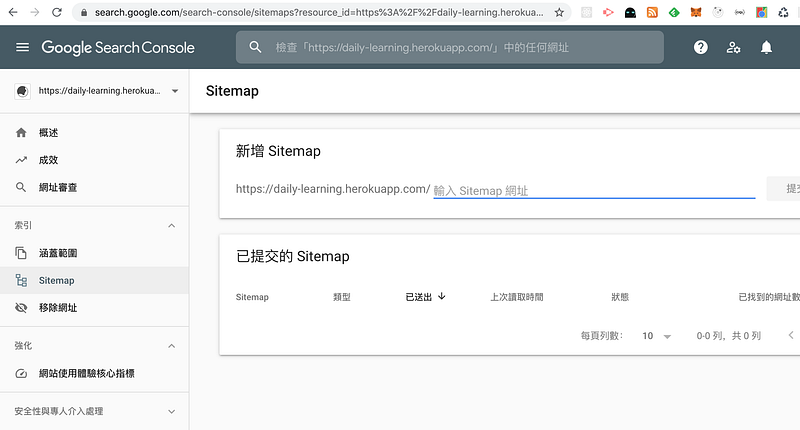
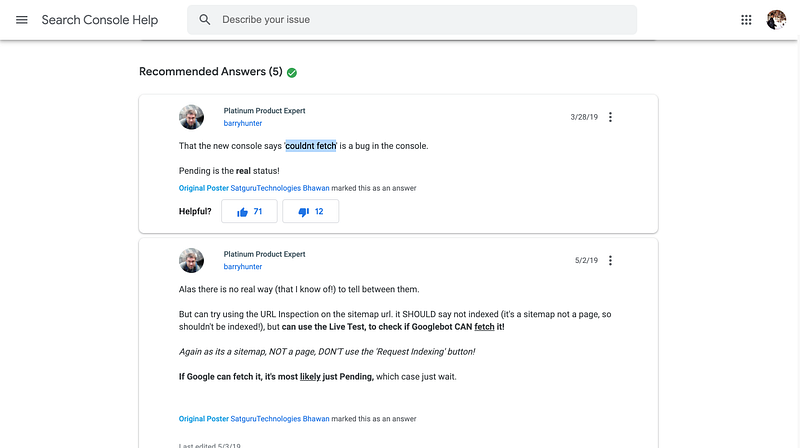
7.However, I got couldn’t fetch in the Google Search Console. It seems like a bug in the console. The solution from the Google Search Help is waiting for the console if you have the same problem.
References
- Sitemap could not be read in new GSC
- SiteMap是什麼?
- [SEO] google search console提交sitemap失敗解決方法
- 网站地图sitemap
- Django Sitemap 站点地图
Summary
Thanks for your patient. I am Sean. I work as a software engineer.
This article is my note. Please feel free to give me advice if any mistakes. I am looking forward to your feedback.
- The Facebook page for articles
- The latest side project: Daily Learning
About this series
Part 1. Deploy Django application to Heroku and migrate PostgreSQL
Part 2. Connect React App with Django App
Part 3. Use JWT with DRF and tests endpoints on Travis-CI
Part 4. Create Endpoints to Manipulate Resources
Part 5.1. Exchange Facebook’s access token to JWT from Django/DRF server for Social Login
Part 5.2. Exchange Github’s access token to JWT from Django/DRF server


