
Hi Python Computer Vision— PIL!
An Intro To Python Imaging Library #PyVisionSeries — Episode #00
Python support for opening, manipulating, and saving many different image file formats.
Let’s get started with Python Computer Vision!
print(‘Hello Python Computer Vision!’)Hello Python Computer Vision!
Python image libraries, like many others, are on top of the NumPy library and also depend on matplotlib too. Go ahead and import them now!
import numpy as np
import matplotlib.pyplot as ptl
In order to ensure that the matplotlib lib runs on a single line add this piece of code as well:
%matplotlib inlineNow, Pillow!
Pillow is the friendly PIL fork by Alex Clark and Contributors.
PIL is the Python Imaging Library by Fredrik Lundh and Contributors.
from PIL import ImageIn order to get started let’s import any image .jpg (you can download the image from my google drive link — 00_puppy.jpg:)
Here I’ll be using Google Colab (colab.research.google.com)!
Open a new project and click on hamburger icon > Files > Upload to Section Storage the 00_puppy.jpg (or any you’d like):
pic = Image.open(‘00_puppy.jpg’)Let’s see what type of image this is:
type(pic)PIL.JpegImagePlugin.JpegImageFileTo work with an image, let’s cast it to NumPy array:
pic_arr = np.asarray(pic)type(pic_arr)numpy.ndarray
Let’s see the Pixel resolution.
The term resolution is often considered equivalent to pixel count in digital imaging.
pic_arr.shape(551, 789, 3)Here Python is telling us that the image is 551 x 789 long and there are 3 channels available: Red, Green, and Blue (RGB).
So far, so Good!
Let`s see the picture.
ptl.imshow(pic_arr)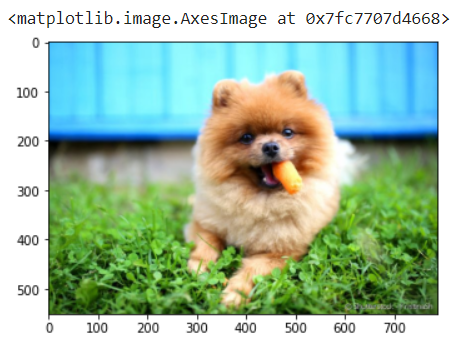
I think you’ve heard about screen printing.
The Silkscreen is the technique that consists of separating the screens in primary colors to print them one-by-one.
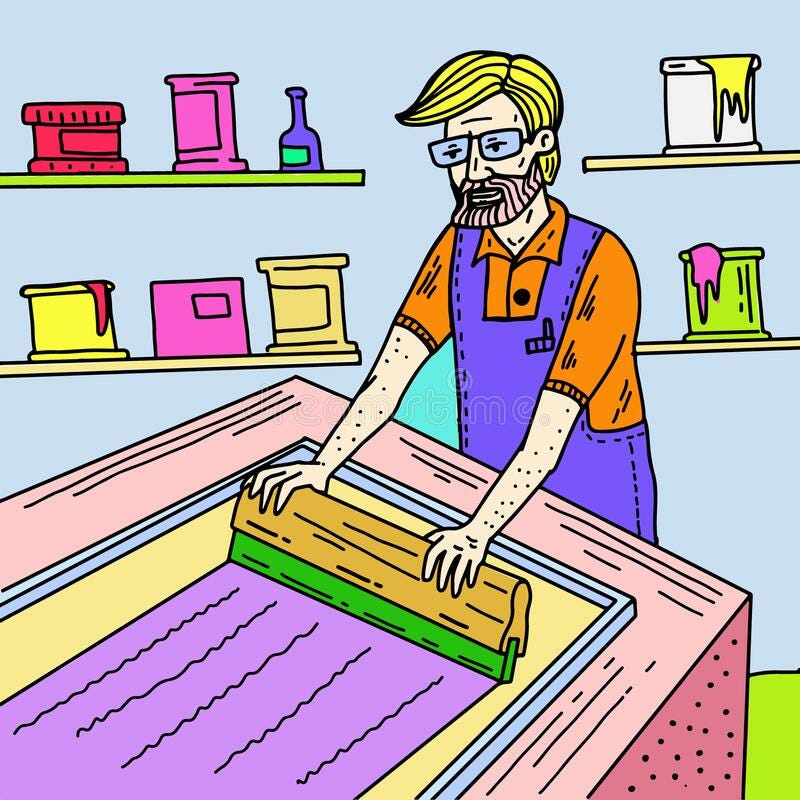
We will apply the same principle here.
Let’s separate the three channels from the puppy image above and see what happens.
Let’s begin by creating a copy of our original image:
pic_copy = pic_arr.copy()Now let’s filter only the Red Channel Values(R=0, G=1, B=2):
# *R G B
# RED CHANNEL VALUES (0–255)
ptl.imshow(pic_copy[:,:,0], cmap=’gray’)
Up to here we just select the RED channel.
The Python Slicing techniques can be learned in this very simple post.
Now repeat the same procedures to filters out the other two colors.
For Green (1):
# R *G B
# GREEN CHANNEL VALUES(0–255)
ptl.imshow(pic_copy[:,:,1], cmap=’gray’)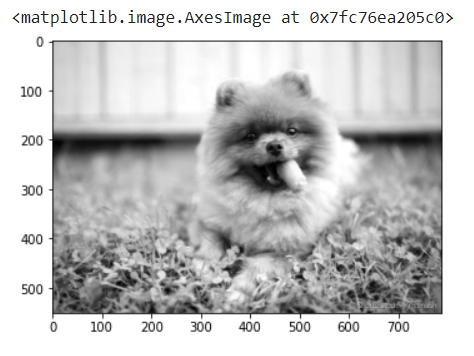
For Blue (2):
# R G *B
# BLUE CHANNEL VALUES(0–255)
ptl.imshow(pic_copy[:,:,2], cmap=’gray’)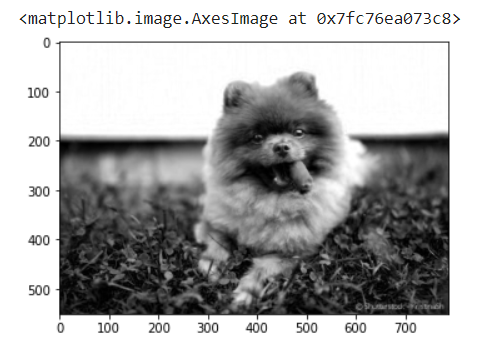
This last image is very illustrative: when we apply blue, see that in the steel structure behind the puppy there is a good amount of blue paint (thinking of the silkscreen technique).
In compensation, in the grass, in which green predominates, it does not pass not much blue. Got it?
I found it all really incredible in Python. Just a few lines of code and the sea opens… don't you think so, Captain?
Now let’s apply a technique to isolate only the red:
# Got rid of Green Channel
pic_copy[:,:,1] = 0
ptl.imshow(pic_copy)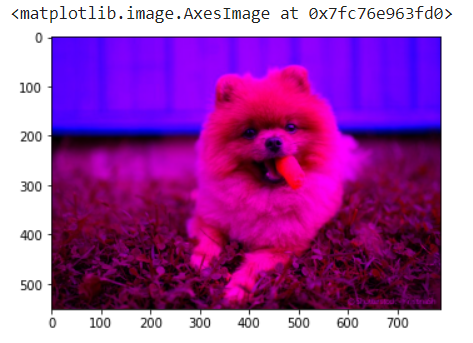
# Got rid of Blue Channel
pic_copy[:,:,2] = 0
ptl.imshow(pic_copy)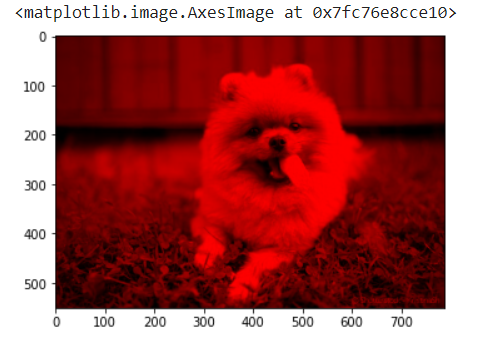
The pic_copy still has the info about all 3 channels except cleverly we went ahead and zeroed G & B channels!
ic_copy.shape
# Look!
pic_copy(551, 789, 3)And That’s it!
print(“That’s it! Python support for opening, manipulating, and saving many different image file formats. See you in the next PyVisionSeries Episode!”)That's it! Python support for opening, manipulating, and saving many different image file formats. See you in the next PyVisionSeries Episode!See the deforestation of the Amazon!
Shall we understand more about how to work with satellite images?
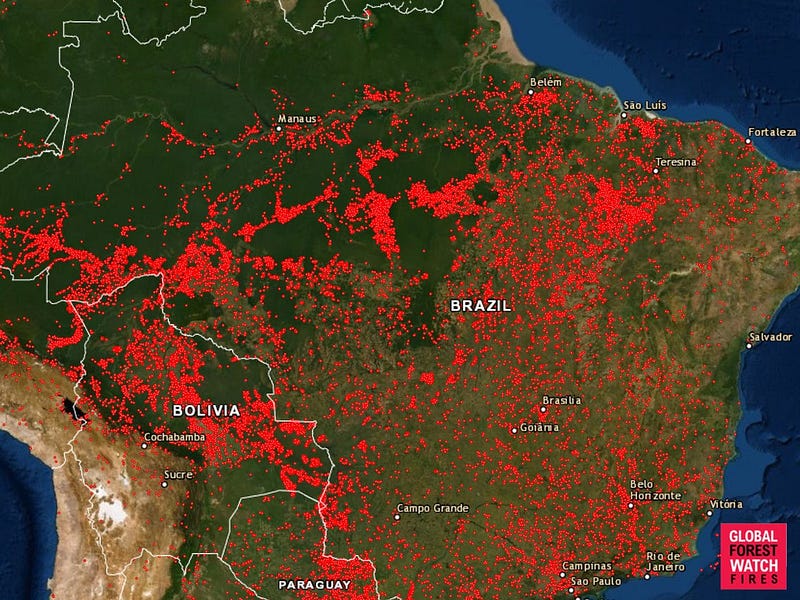
Be tuned for the next episode of #PyVisionSeries! See you soon!
Bye o/
Drive Link
Credits & References:
Jose Portilla — Python for Computer Vision with OpenCV and Deep Learning — Learn the latest techniques in computer vision with Python, OpenCV, and Deep Learning!
https://pillow.readthedocs.io/en/stable/
https://en.wikipedia.org/wiki/Image_resolution
https://en.wikipedia.org/wiki/Computer_vision
Posts Related:
00 Episode#Hi Python Computer Vision — PIL! — An Intro To Python Imaging Library #PyVisionSeries
01 Episode# Jupyter-lab — Python — OpenCV — Image Processing Exercises #PyVisionSeries
02 Episode# OpenCV — Image Basics — Create Image From Scratch #PyVisionSeries
03 Episode# OpenCV — Morphological Operations — How To Erode, Dilate, Edge Detect w/ Gradient #PyVisionSeries
04 Episode# OpenCV — Histogram Equalization — HOW TO Equalize Histograms Of Images — #PyVisionSeries
05 Episode# OpenCV — OpenCV — Resize an Image — How To Resize Without Distortion
07 Episode# YOLO — Object Detection — The state of the art in object detection Framework!
08 Episode# OpenCV — HaashCascate — Object Detection — Viola–Jones object detection framework — #PyVisionSeries