
Expo React Native — using React Hook useState()
Example of using useState Hook

In this article, we are going adding state so that we can output some dynamic content to the screen.
Complete React Native articles:
- How to build a React Native app with Expo
- How to Run the Expo React Native app on the emulator
- Expo folder and file structure
- Expo React Native View, Text and Style
- Expo React Native — using React Hook useState()
- How to Use TextInput Component to Change State in React Native?
- How to Use Expo React Native List and ScrollView
- How and why we use Flatlist in Expo React Native
- What is TouchableOpacity in Expo React Native?
We will use a react hook, so if you do not know what react hooks are at all I would suggest taking this course about react.
Basically, hook give us a way to use special functions to tap into certain features in the react library. So what we are going to do is
- import the useState from React
- Create the state and setState function
- Create the function to change the state
Here, we are going to be using the useState hook which means we can use states inside a functional component.
Import useState
First of all, we have to import it at the top of our project.
import React , {useState} from 'react';Then create a state using that hook, we do this by saying Const and then in a square bracket, we have a piece of state which we are going to call “user” and then the second item is going to be a function we can use to update that state in the future, called “setUser” , that is going to be equal to the useState hook and inside the bracket we pass int the initial value of the state. We just going to pass in “Alan”
Create the state
const [user,setUser] = useState('Alan')The user variable will be giving the value of "Alan” that is the of state we are creating.
If we want to update that value then we can use the function “setUser” to do that. What going to do is inside the Text component, we want to output some dynamic data and to do that we use curly braces and then whatever variable we want to output. The variable we want to output is “user”.
export default function App() {const [user,setUser] = useState('Alan')return (<View style={styles.container}><Text>The username is {user}</Text></View>);}
We should see “The username is Alan” on the screen. If we want to change this in the future, we can do that using this function “setUser” . Next, we are going to create another view and this view is going to be the container for the button, just so we can style the button a little. We are gonna say style is equal to “styles.buttonstyle” Inside the view we are going to create a button. React native comes with a button component built in to the library. So go to the top and import the button component. This button component do not have an opening and a closing tag much like HTML.
What we do is to pass props to specify what text is going to be on the button itself and that prop is a title prop this will be a string. We are going to say “change user”.
export default function App() {const [user, setUser] = useState('Alan')return (<View style={styles.container}><Text>The username is {user}</Text><View><Button title="Change user" /></View></View>);}
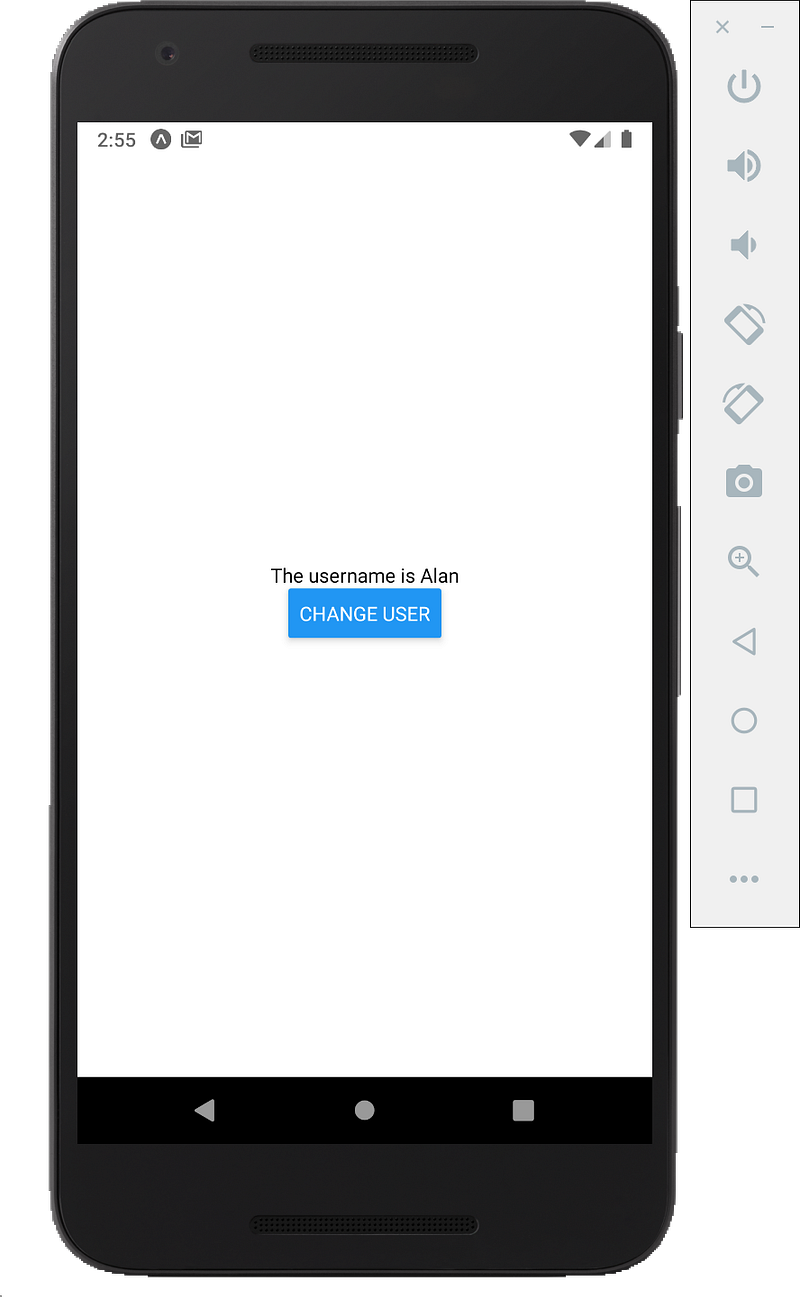
The blue color button is the default style of a button. The reason we need to place this inside a View component is we can add styles to the view itself. We cannot add a style property to the button itself.
If we surround the button with a view, I can add the style property to the view and then we can style that.
<View style={styles.buttonstyle}><Button title="Change user" /></View>buttonstyle: {marginTop: 30},
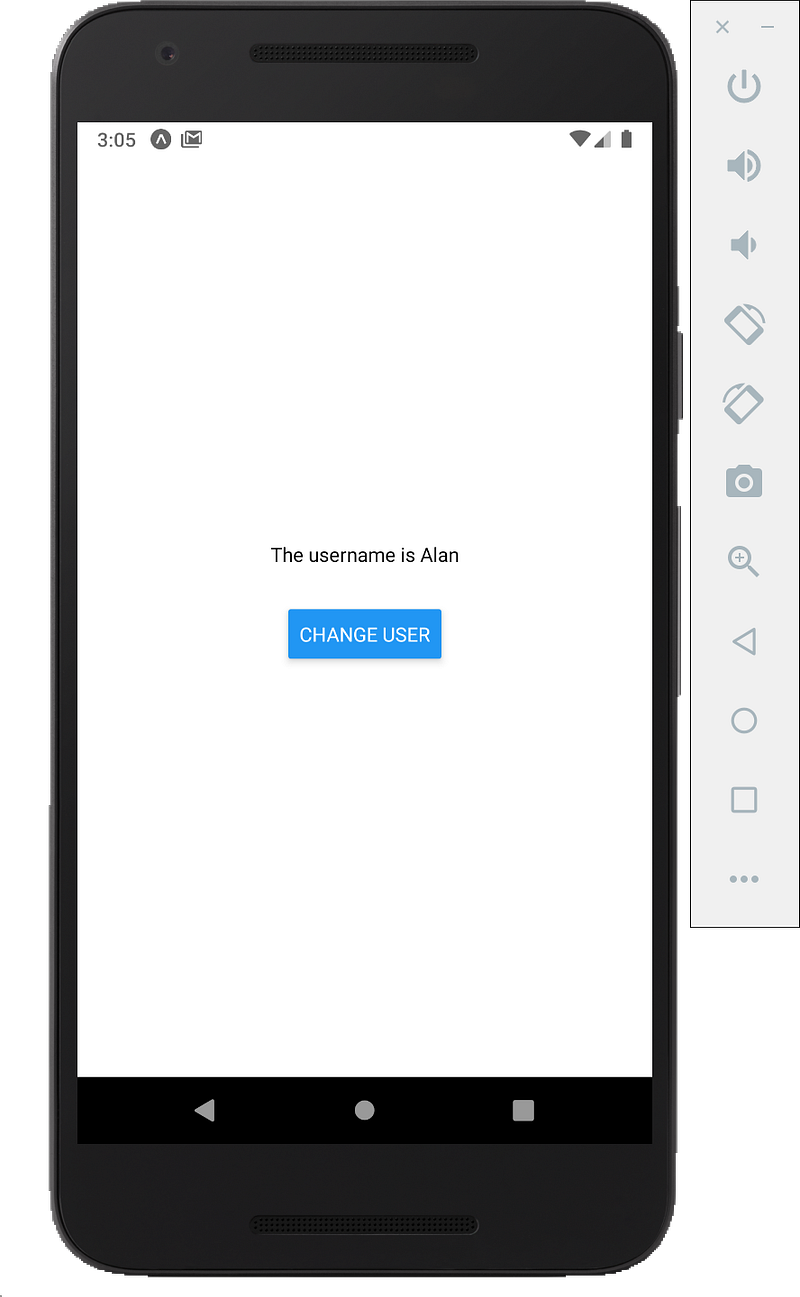
We can give this a margin top of 30 pixels just to bring it down a little bit.
Add the change user function
we can hook up some functionality to a button is by adding an on press prop. We can directly add the function by typing
<Button title="Change user" onPress={()=>{}}/>However, it is better to do is to externalize the function. This is because if your function has quite a bit of a logic, it is not a good practice to to do it in line because it becomes messy. We will separate the functions out unless it is just a quick one line.
const clickHandler = () => {setUser('ckmobile')}
<Button title="Change user" onPress={clickHandler} />We are going to create a function “clickHandler” and inside the function, we are going to use “setUser” function. Then pass in the new value so I could change this to “ckmobile”.
We used “setUser” to update the state, we can call this function whatever we want, this is just a naming convention whatever the value we have called, then put set before it.
const [xxx, setXXX] = useState('some initial value')We can use as much states in a component as we want. If we want to create another state we could say
const [user, setUser] = useState('Alan')const [fruit, setFruit] = useState({name:'orange',price:5})Then we could output the string
export default function App() {const [user, setUser] = useState('Alan')const [fruit, setFruit] = useState({name:'orange',price:5})const clickHandler = () => {setUser('ckmobile')}
return (<View style={styles.container}><Text> {user} is eating {fruit.name}, which cost $ {fruit.price} dollars</Text><View style={styles.buttonstyle}><Button title="Change user" onPress={() => { }} /></View></View>);}
We get the fruit name by using fruit.name and fruit price by fruit.price.
We could change this if we wanted by adding in the setFruit function in the click handler.
const clickHandler = () => {setUser('Peter')setFruit({name:'apple',price:8})}


Now we should see the sentence change from “Alan is eating orange, which cost $5 dollars” to “Peter is eating apple, which cost $8 dollars”.
Get free tutorials:
Follow us:
Full code:
import { StatusBar } from 'expo-status-bar';import React, { useState } from 'react';import { StyleSheet, Text, View, Button } from 'react-native';export default function App() {const [user, setUser] = useState('Alan')const [fruit, setFruit] = useState({ name: 'orange', price: 5 })const clickHandler = () => {setUser('Peter')setFruit({ name: 'apple', price: 8 })}
return (<View style={styles.container}><Text> {user} is eating {fruit.name}, which cost ${fruit.price} dollars</Text><View style={styles.buttonstyle}><Button title="Change" onPress={clickHandler} /></View></View>);}
const styles = StyleSheet.create({container: {flex: 1,backgroundColor: '#fff',alignItems: 'center',justifyContent: 'center',},
buttonstyle: {marginTop: 30},
}
});


