
Creating a pop up window in Power BI

A Power BI canvas has only so much space and pop-up windows are a great, interactive solution. Let’s see how we can create a pop-up window using bookmarks in Power BI, step by step.
Here is what we’ll be creating…

Let’s dive right in!
STEP 1: Add a button
Yo can do this by going to the “Insert” tab in the ribbon and selecting a button from the list of buttons. I selected the Information button for this example.

STEP 2: Create the pop-up window
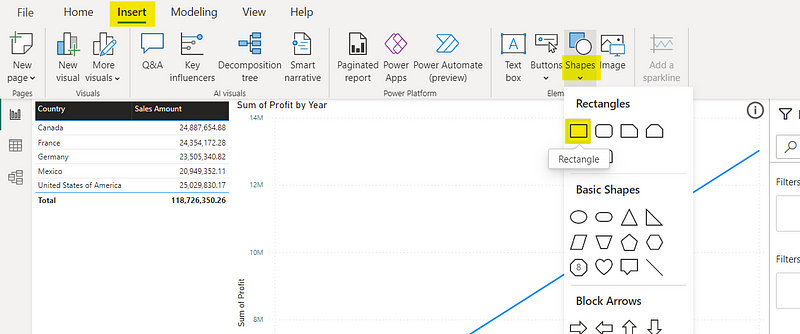
- Select a shape from Shapes in the Insert tab, re-size it and place it where you need it to appear when the Information button is clicked. This will be our pop-up window.
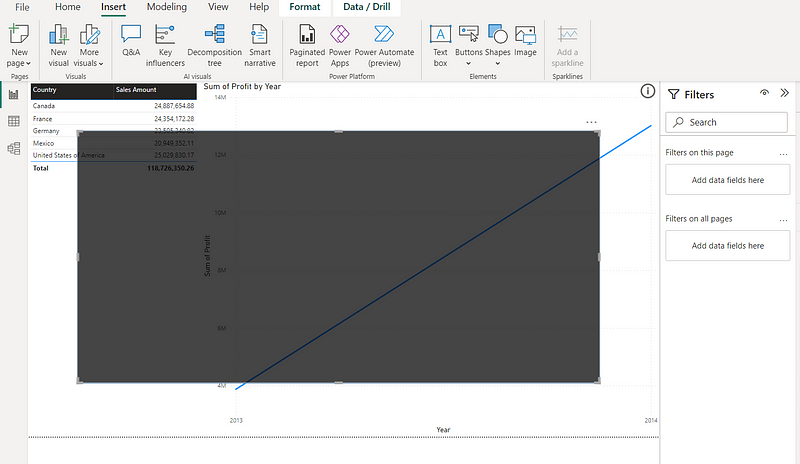
2. Format the shape as you wish using the Format panel. Here, I have changed the fill color and the transparency.

3. Add text/images etc. you need to display in your pop-up the Insert tab. I have added a text-box in this example.
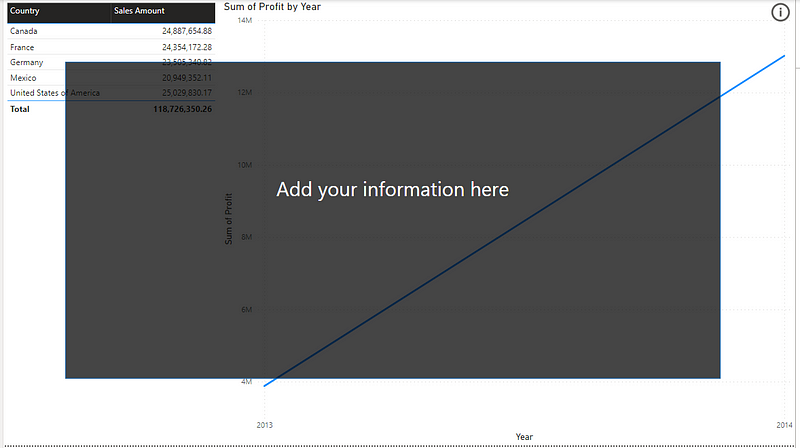
4. Now, we need a close button to close the pop-up. For this, add a Blank button as shown in step 1 and add an “X” as the button text to replicate a close button.

STEP 3: Group visuals
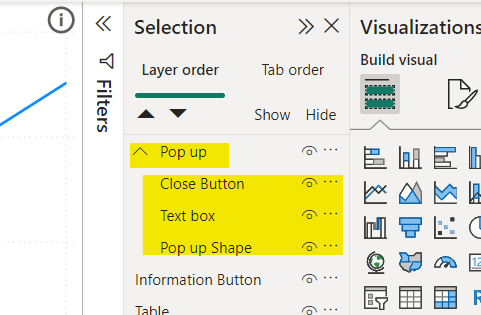
Click on the “Selection” option in the View tab to open up the Selection panel. Here, you can see all the visuals you have on the page. You can also rename the visuals as you wish to make them more identifiable.

Now select all the visuals used for the pop-up, right-click and select Group. You can rename the group as you wish.

STEP 4: Setup navigation using bookmarks
Bookmarks are used to enable navigation between different views/pages etc. in Power BI. Here, we need 2 views; one with the pop-up and one without.
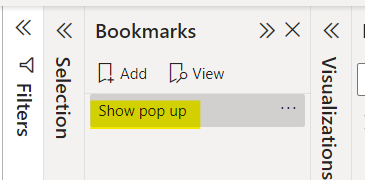
- First, we will create a bookmark with the pop-up. To do this, click on the “Bookmarks” option in the View tab to open up the Bookmarks panel and then click on Add to create a new bookmark.

I renamed my bookmark to “Show pop up”.
2. Now, lets create a bookmark without the pop-up. To do this, first we need to hide the pop-up by clicking on the “Hide” icon (in the Selection panel) next to the pop-up group we created.

Now, create another bookmark as done in the previous step by clicking on Add.

3. Make sure to right-click an untick the data option in both the bookmarks to ensure that the pop-up doesn't affect any dynamic filters applied to the visuals.

Now, If you toggle between the two bookmarks you will see the pop-up window appear and disappear.
STEP 5: Add actions to buttons
Now we need to add actions to the information and close buttons so that the pop-up opens when we click on the Information button and closes when we click on the Close button in the popup window.
First, to add the action of opening the pop-up to the Information button,
- Select the Information button
- Toggle Action to “On” in the Format panel
- Select the Type to “Bookmark” from the dropdown
- Select the Bookmark to “Show pop up” from the dropdown

To add the action of closing the pop-up to the Close button in the popup window,
- Select the Close button (you can view the pop-up window by clicking on the “Show pop-up” bookmark)
- Toggle Action to “On” in the Format panel
- Select the Type to “Bookmark” from the dropdown
- Select the Bookmark to “Hide pop up” from the dropdown

There you go! Now if you test the buttons you will see that your pop-up is working perfectly!
This brings us to the end of our tutorial. Thanks for reading and do leave a clap if you found this useful!
If you are new to Power BI, check out the article How to create a Power BI report in 15 mins : For absolute beginners.
More articles on Power BI (full list here),
- Power BI: Filtering using Slicers
- How to Show/Hide fields dynamically in Power BI
- Sending emails using Power Automate for Power BI — ZERO CODING
If you are interested in Machine Learning, check out this list.
Until next time…Adios!
Subscribe to DDIntel Here.
Visit our website here: https://www.datadriveninvestor.com
Join our network here: https://datadriveninvestor.com/collaborate


