
Your Style, Your Rules: Creating Fashion & Accessories with AI (Midjourney)
How to create personalized everyday items with AI
Seriously, why spend money on expensive designer t-shirts or accessories when you can create your own unique everyday items using AI image generators like Midjourney?
In this post, you’ll learn
- how to create your own designs with Midjourney,
- how to upscale images and make them production-ready (and which tools will do it for you),
- how to get your unique fashion & accessories manufactured using print-on-demand services
Prerequisites
To get started, all you need is a Midjourney account. If you don’t have one yet, check out this step-by-step guide (beginner accounts are free!). If you’re just starting to use Midjourney for AI image generation, you can get some ideas for your work here and here.
Choosing your design style
When working on images to be used as fashion or accessory designs, you basically have three options to keep in mind:
- creating a rectangular or square motif
- creating a motif with tiles
- creating a motif with transparent background
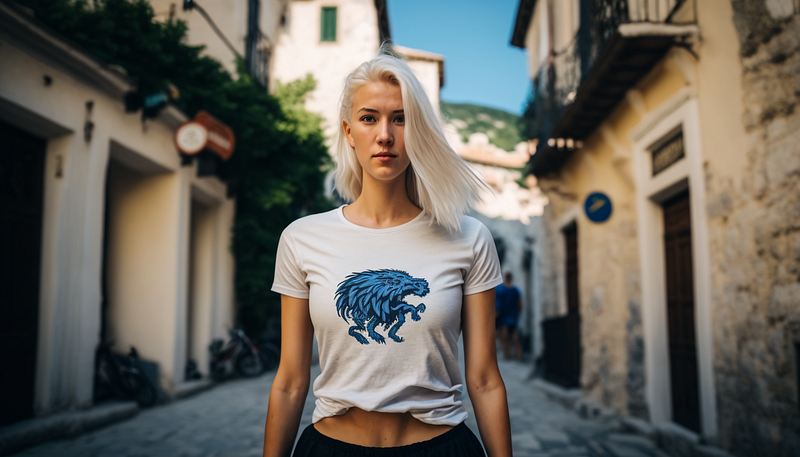
Depending on the item, you can choose one or the other. Here are some examples:

Let’s go through each of them step by step.
Creating a rectangular or square motif
Step 1: Create an image (and set the aspect ratio)
This is the most straightforward approach you can take: use any image prompt you want and set an aspect ratio of your choice (or take the default 1:1 ratio). Depending on the product you’re designing for, you should change the aspect ratio accordingly to match a t-shirt, smartphone case, or another accessory.
Examples:
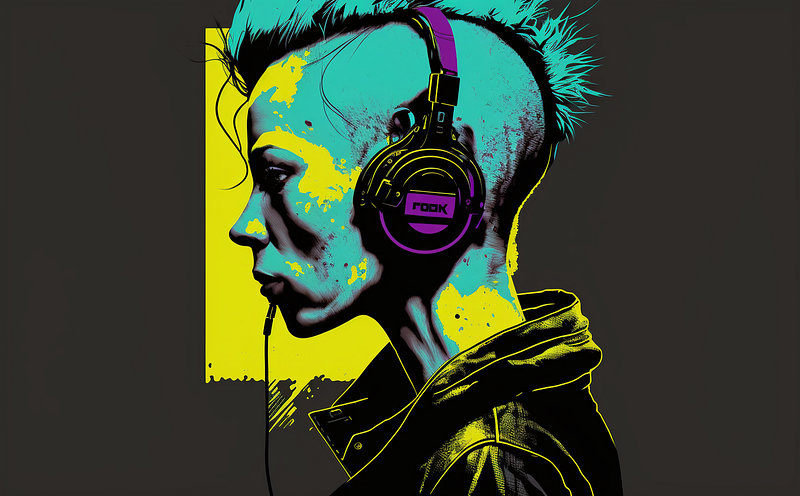
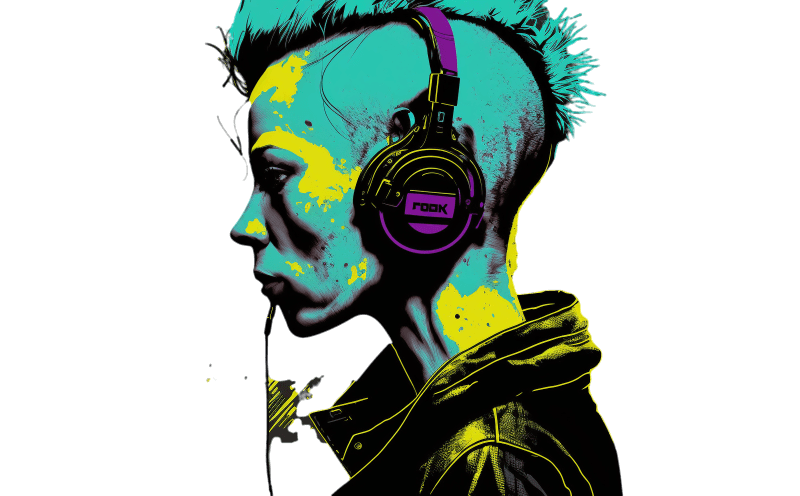
illustration of a DJ, cyberpunk, portrait shot, minimalism

or with a custom aspect ratio:

illustration of a DJ, cyberpunk, portrait shot, minimalism --ar 32:20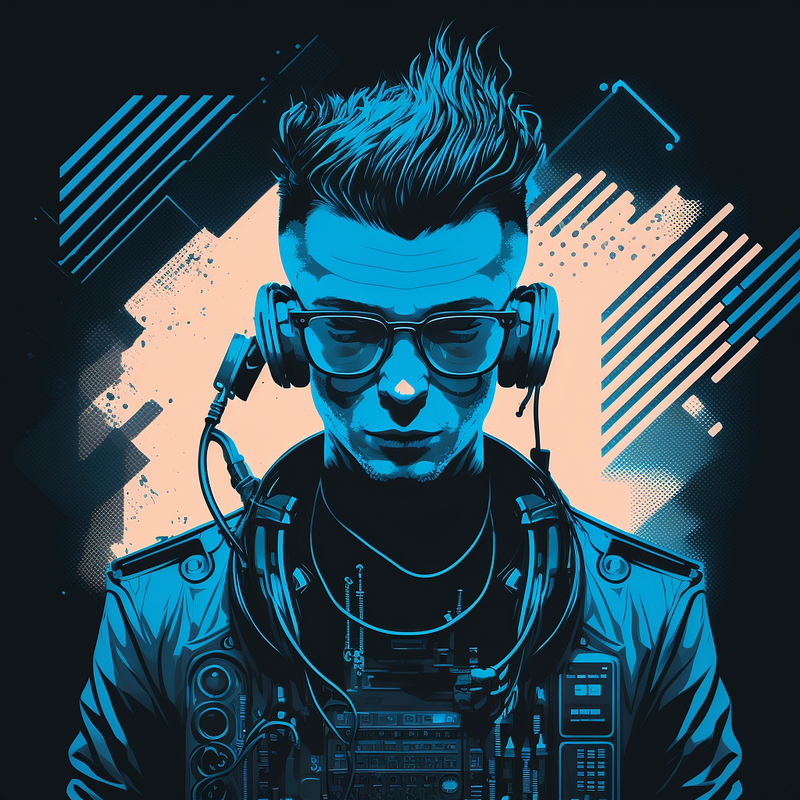
Step 2: Upscale your image
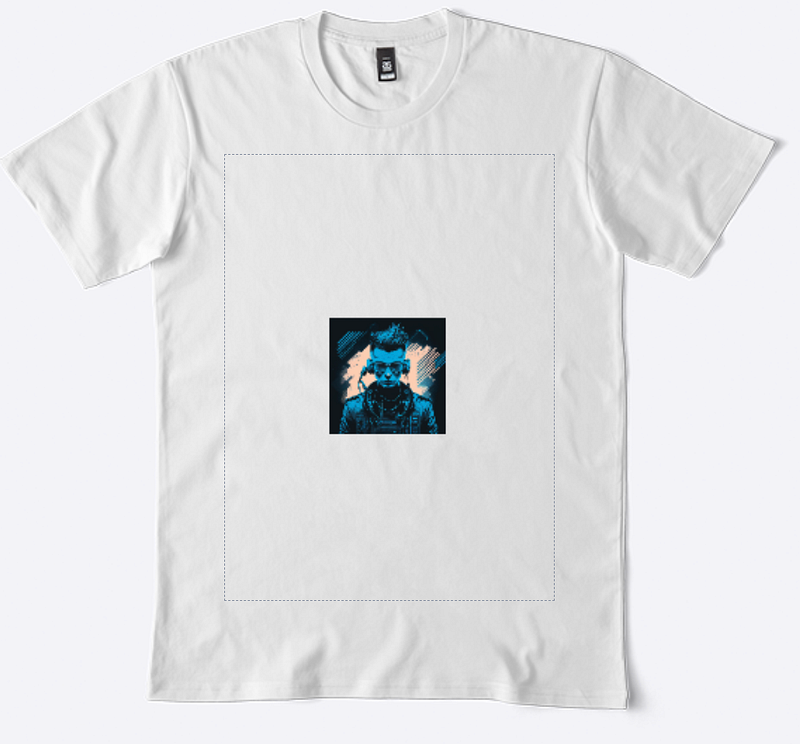
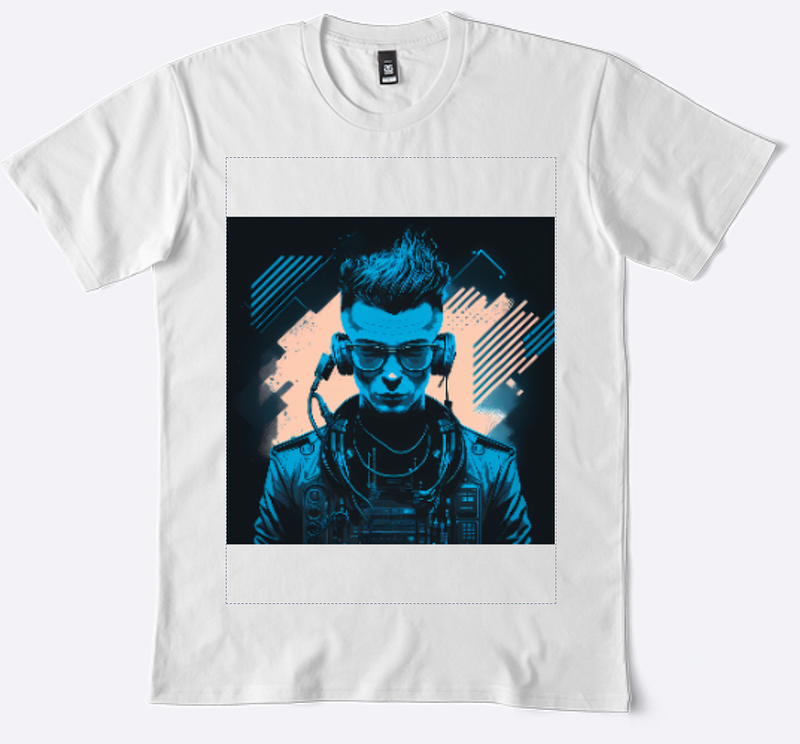
Next, you need to upscale your image so it can be used with print-on-demand services. My weapon of choice here is an open-source tool called chaiNNER, but there are also many online options, such as www.bigjpg.com. Whichever tool you choose, you’ll need to get your image to 4k at least, which means one side of your image needs to be 4000px.
Here’s why (left: Midjourney image result, right: upscaled to 4k):
If you want to find out how to use chaiNNER (and some other neat tools for AI image generation), check out this article:
Additionally, here’s a list of some online services to upscale your images, most of them are free: https://www.codingem.com/best-ai-image-upscalers/
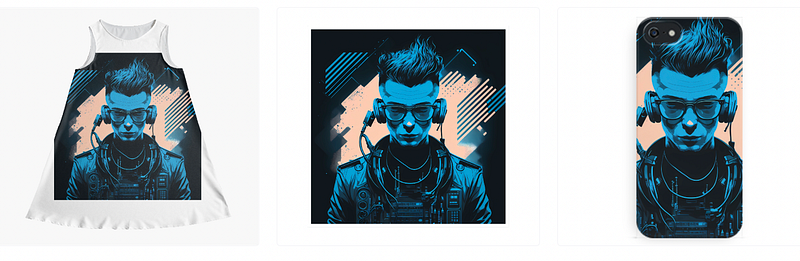
Step 3: Produce
Once you have an upscaled version of your image, go to the print-on-demand service of your choice (here’s a list) and start transferring your design to a product.
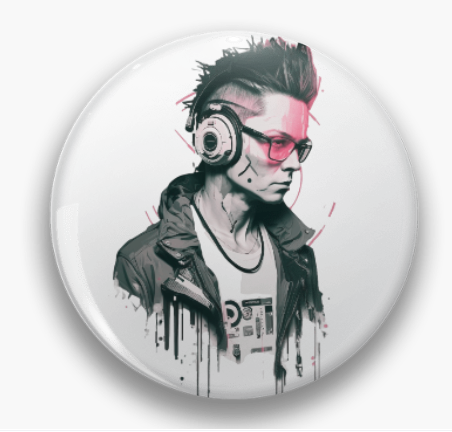
Creating a motif with transparent background
Step 1: Create an image with a solid color background
Using this approach, you will eventually convert your design to a transparent PNG file. For this to work, you need to tell Midjourney to use a solid background color so that you can easily make the design transparent later.
To do this, you could, for example, instruct Midjourney to create a white background. Adding the “ — no background” parameter reduces the likelihood of white background objects, i.e. we don’t want “white walls” or “white mountains” but a solid white background.
white background --no backgroundHere’s an example:
illustration of a DJ, cyberpunk, portrait shot, minimalism,
white background --no background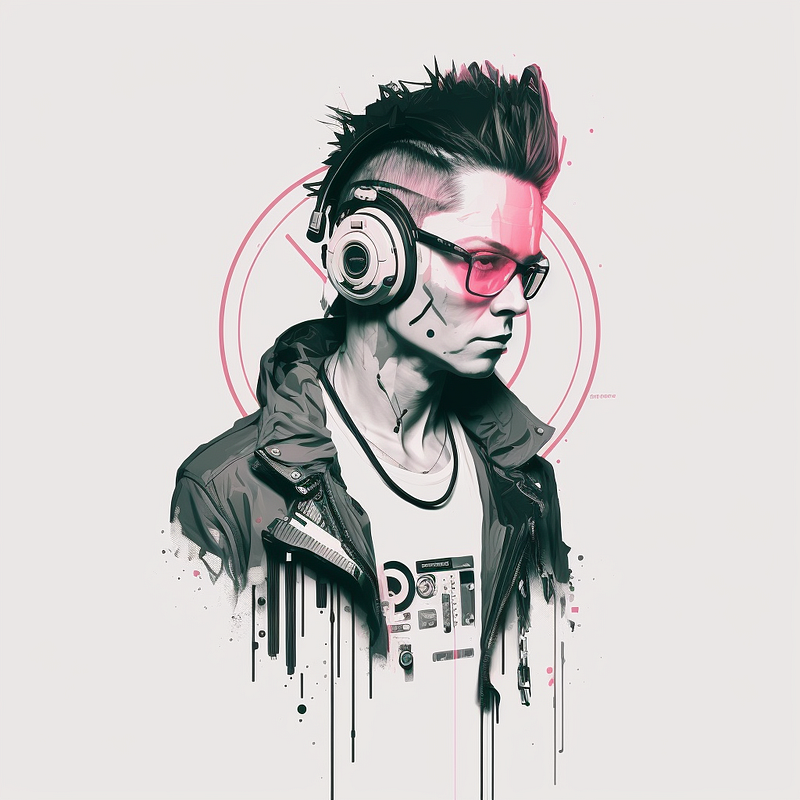
Sometimes when you are aiming for transparent background designs, the following might happen:
Space labrador, white background --no background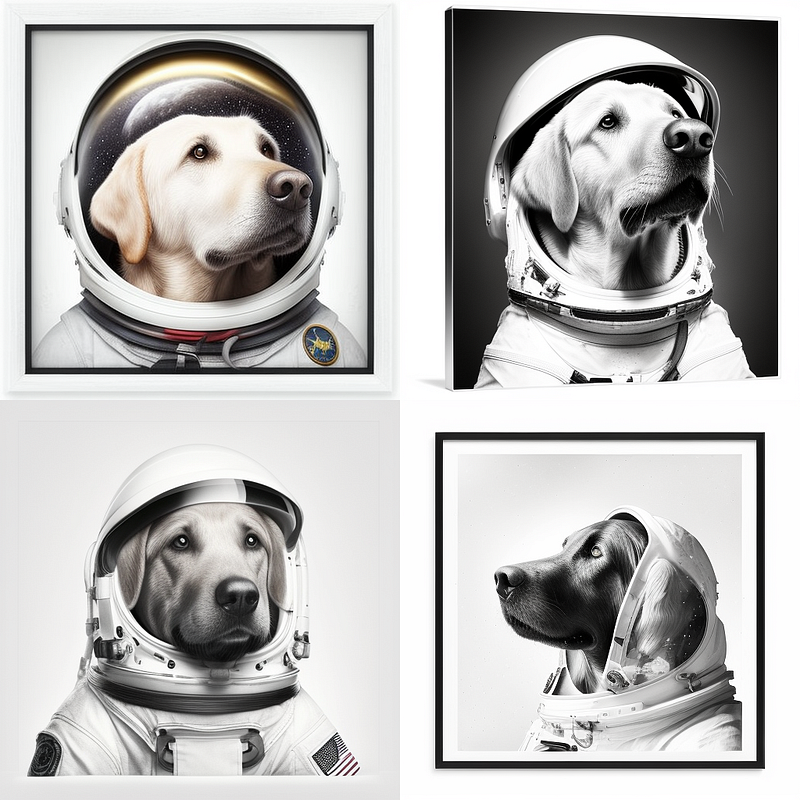
Frames appear! In some cases, they can look quite cool. However, if you want to get rid of them, change the prompt as follows:
Space labrador, white background --no background frame border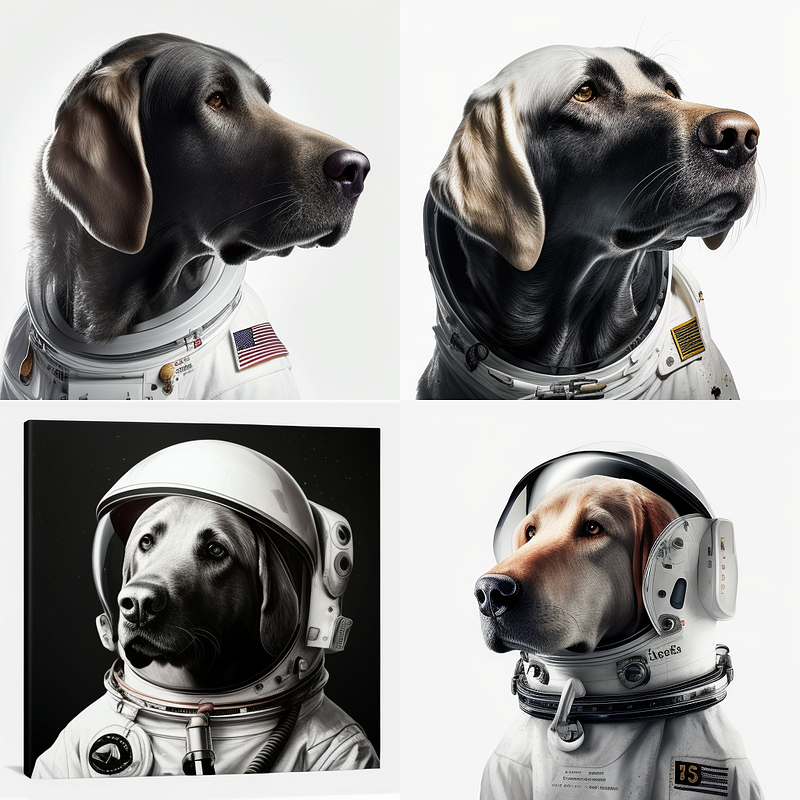
Keep in mind: Creating with AI is an exploratory task. So tweak your prompts and iterate until you find an image you want to work with. And always have fun roaming the latent space!
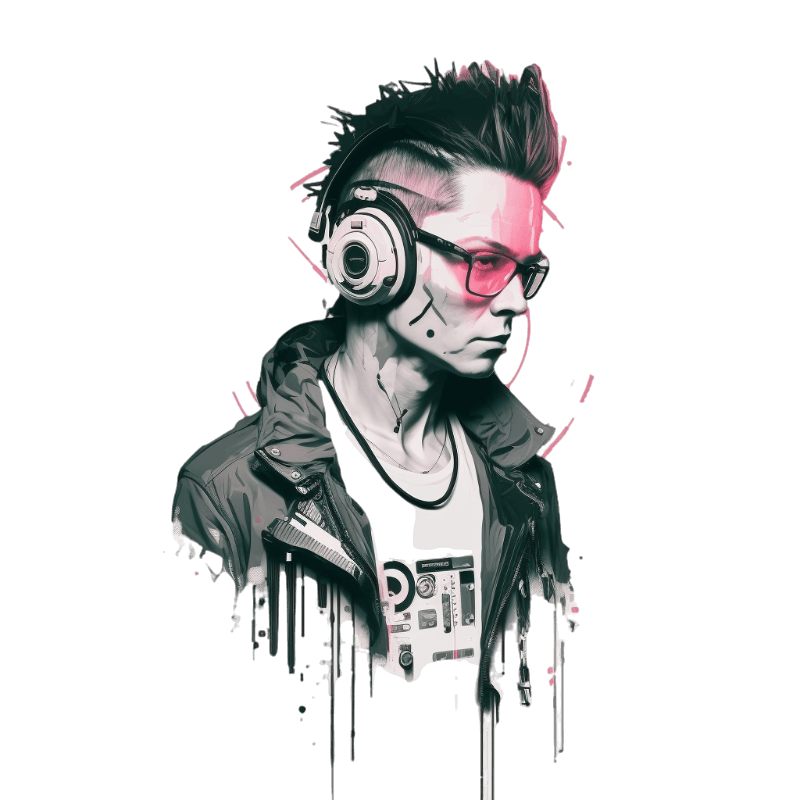
Step 2: Remove the background
Now it’s time to remove that background completely to create a transparent PNG. You can use your favorite graphic processing tool (Photoshop, GIMP, etc.) or use an online solution like www.removal.ai (which, by the way, is very good at removing non-solid backgrounds as well)
Your result will look similar to this:
Step 3: Upscale & Produce
Again, you’ll need to upscale and upload to a print-on-demand service, as before.
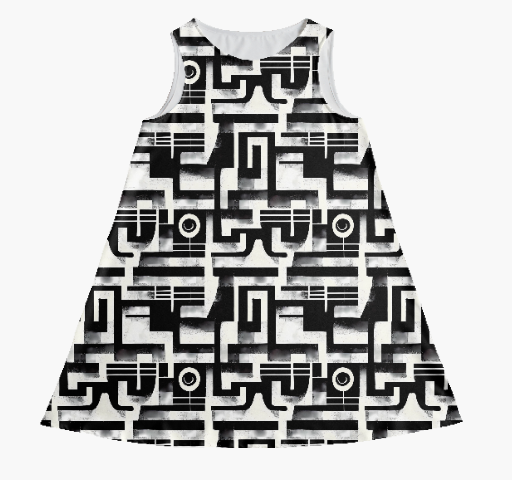
Creating a motif with tiles
Step 1: Create an image and use the “tile” parameter
If you want to repeat your image seamlessly over a given product, e.g. to create a pattern or to fill up space that would otherwise be blank, you can either use third-party tools to do so or use a Midjourney parameter.
Unfortunately, the option is currently not supported with Midjourney’s latest model (V4), so we have to switch back to the previous V3 model.
You can switch models with the “ — v” parameter:
--v 3For better results with “V3”, I would recommend also adding the following parameters that will help the model deviate from the standard V3 vibe and have a more photorealistic/artistic look:
--test --creativeHere’s an example:
vintage flowers and roses --test --creative --tile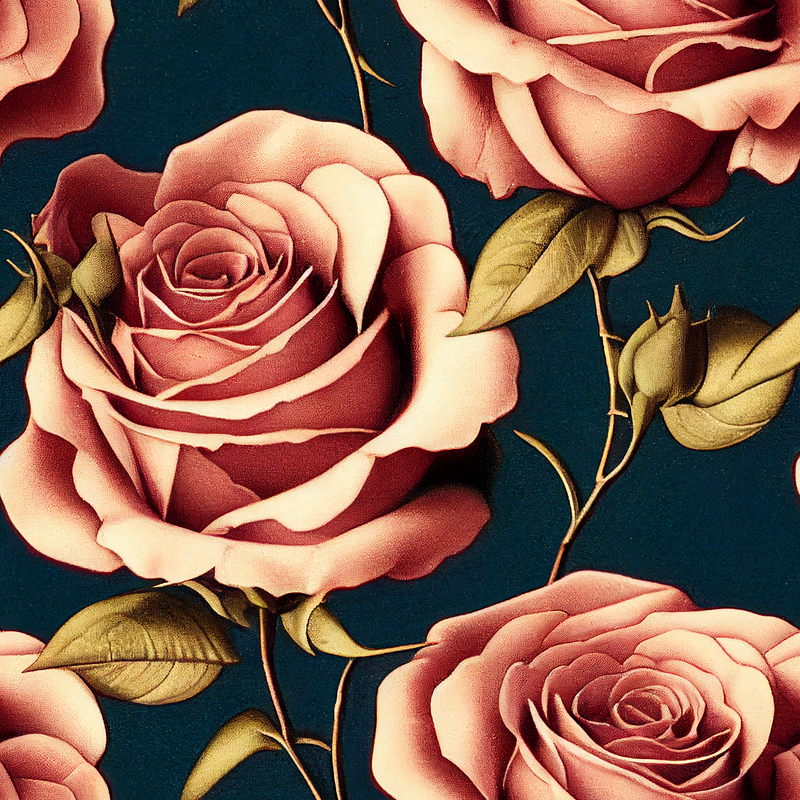
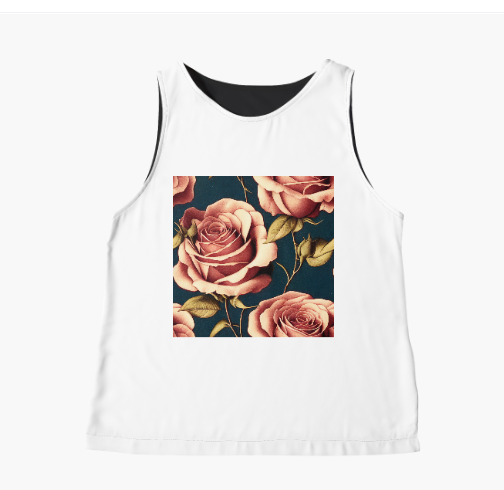
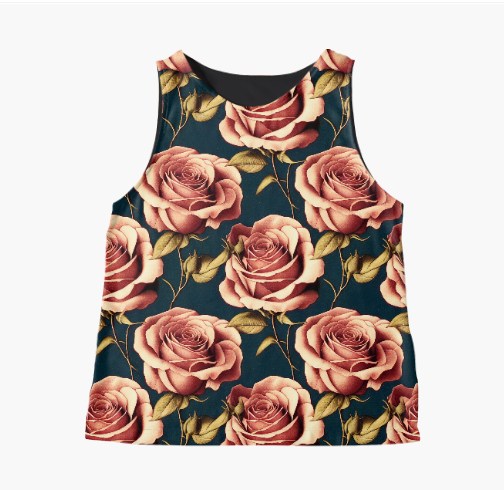
The left image is the raw Midjourney result, in the middle you see the same image used as a 1:1 square motif, and on the right we activate “tiling” (a feature that most print-on-demand services are offering, e.g. Redbubble).
Steps 2 & 3: Upscaling and Produce
Again, these are the same as before.
➡️ For more information about AI & Creativity, follow me on Twitter or Medium (use my referral link to get full access to all my articles and those of thousands of other writers).
➡️ If you like my content, why not leave a “clap” at the end of this article, so more people can see it?