
AI Image Generation Basics — How to Create a Midjourney Account and Run Your Own Private Discord Server to Create AI Images
Spoiler 🚨
This one is for absolute beginners. If you’re already using Midjourney, you’ll find this article very boring. Try reading one of my others instead, e.g.
Let’s get started…
In this part of the tutorial we’ll cover how to set up a Midjourney account and start creating awesome AI images in your own Discord server.
Step1 : Create a Discord Account
(if you already have a Discord account, you can skip this)
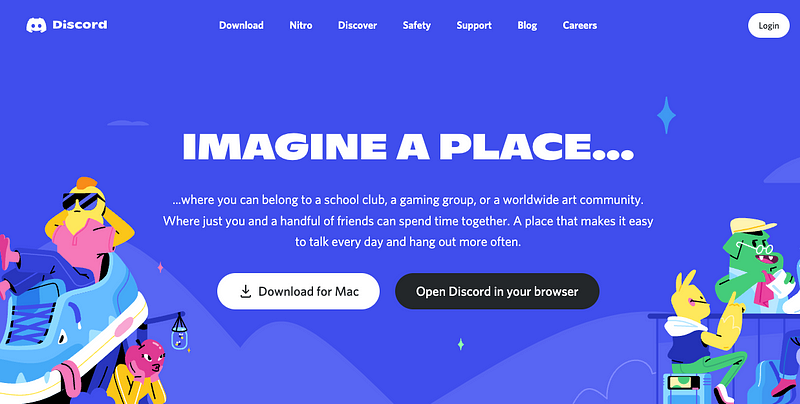
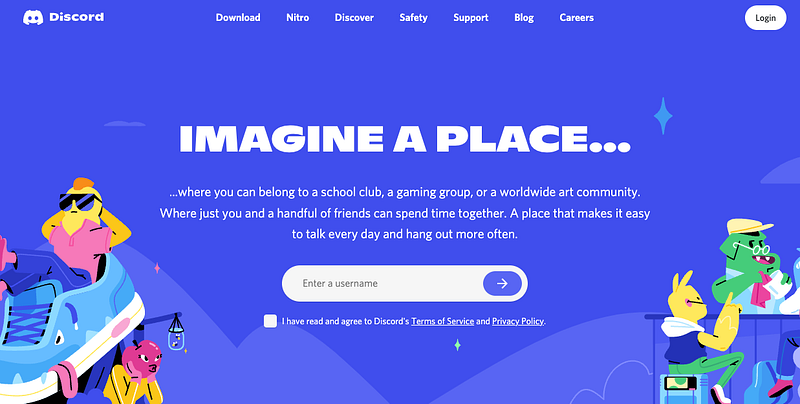
Midjourney runs on Discord, an instant messaging platform, so you need to get a Discord account first. Go to www.discord.com click “Login” and follow the instructions. You can then choose to download the Discord app or run Discord in your browser window.
Step 2: Connect Your Discord Account to Midjourney
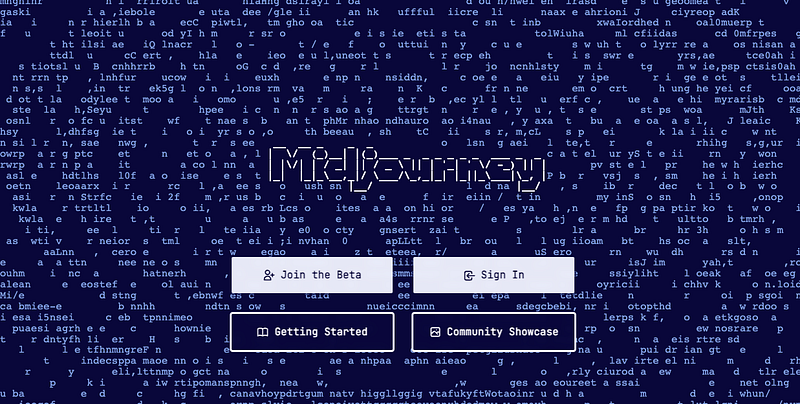
Visit www.midjourney.com and click “Join the Beta”. You will get a Discord server invite, that’s basically just a redirection to a URL where you have to agree to join the Discord server.
Once you did, you’ll see a new Discord server in your Discord app or in the browser window where you’re running Discord (the white logo with the sailboat, that’s the Midjourney server)
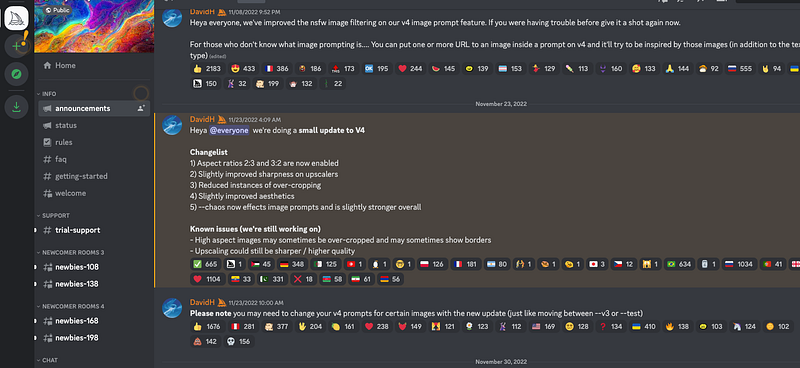
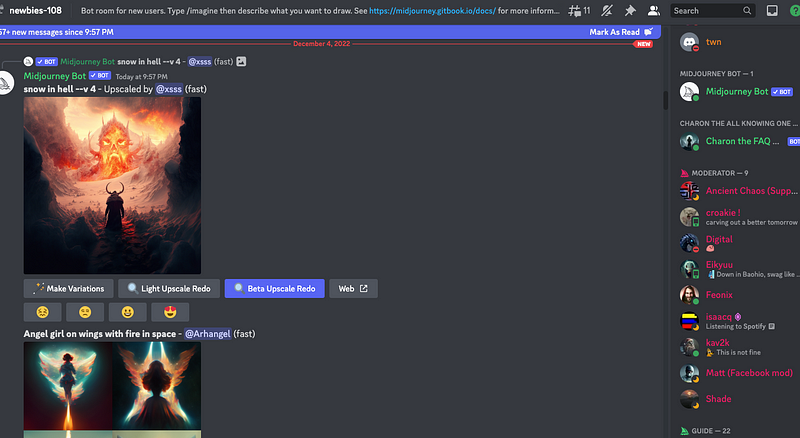
You can now start creating images! Go to one of the Newbie Channels (named something like “newbie-103” or similar) and have a look what’s happening there!
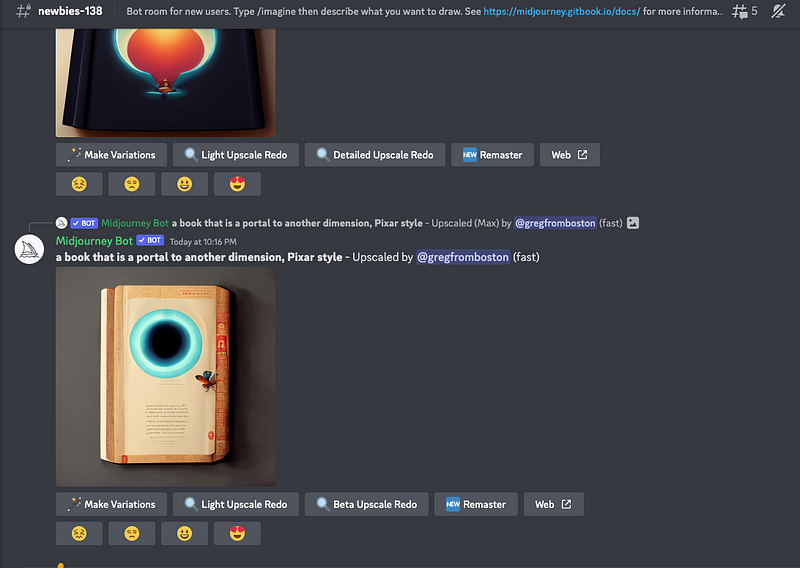
You’ll notice that there’s quite a lot of people generating images — important note: by default, your images are all public! To set them to private, you’ll have to become a subscriber (see Step 5).
Try creating some images by typing the command:
/imagine [prompt]
(in Discord servers slash commands call for so-called Discord Bots to do stuff… in this case you’ll tell the Midjourney Bot to set your creation to private)
Replace [prompt with a description of what you want the image to be like, for example:
/imagine film still from an 80s comedy, wide shot
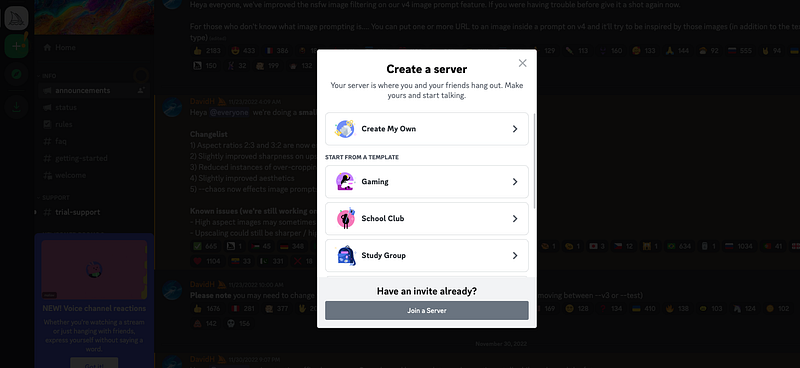
Step 3: Create your own server
Next you want to have your own little server to keep your images organized — you’ll create a lot of them, believe me. To do that, click the “plus”-button in the server list on the left, right next to the Midjourney server — then click “Create my own” and give your new server a name. You can then skip the template stuff (it’s asking you whether you’re server is for you or a community, which basically just leads to different server layouts.. we don’t have to worry about that now):
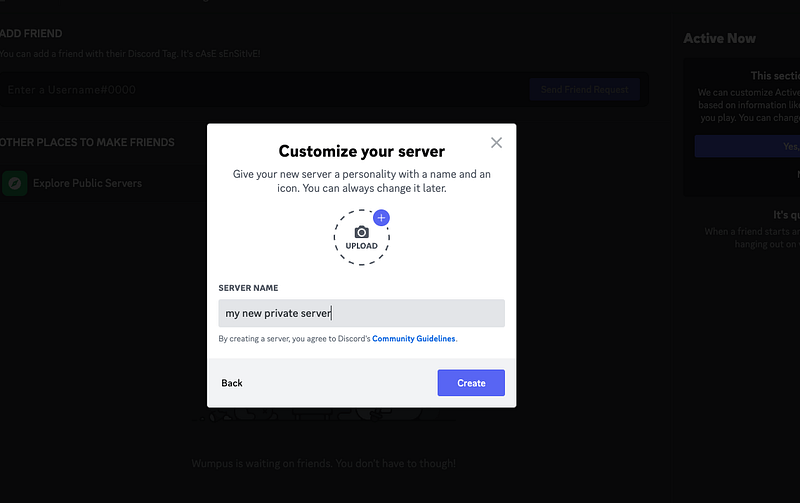
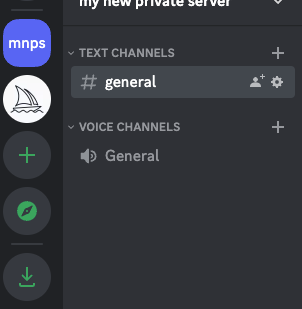
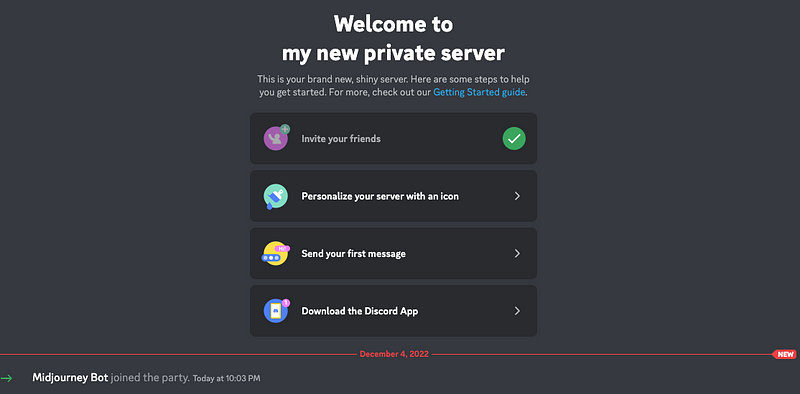
Congrats! You’re now running your own Discord server! 🔥 🚀
Step 4: Invite the Midjourney Bot
Remember how you created images in the Midjourney newbie channel? You called for the Midjourney Bot to imagine stuff.
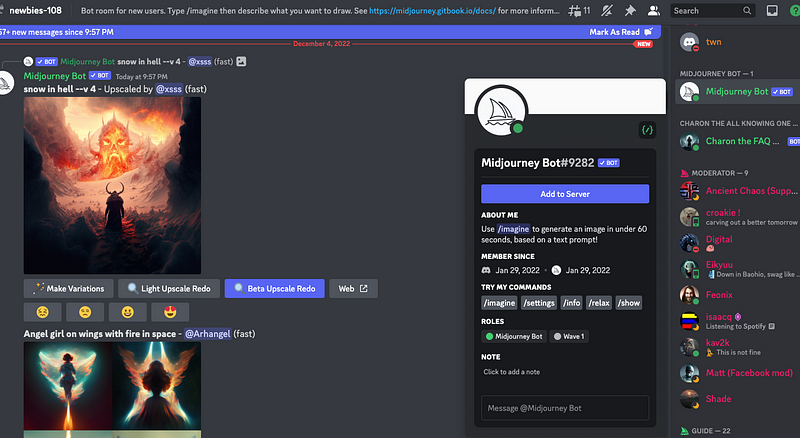
So now we will invite the Midjourney Bot to your own server in order to be using it from there (and eventually organize our creations in different channels and categories, but that’s nothing to worry about right now). To do that, head over to the Midjourney server (in the server list on the left, click the Midjourney logo). Then go to the newbie channel once again and click the little “Show server members” button (👥 )in the upper right of your screen or swipe from the right when you’re on a mobile device — from the server member list, click the “Midjourney Bot” and then “Add to server”. Now choose your server and that’s a wrap!
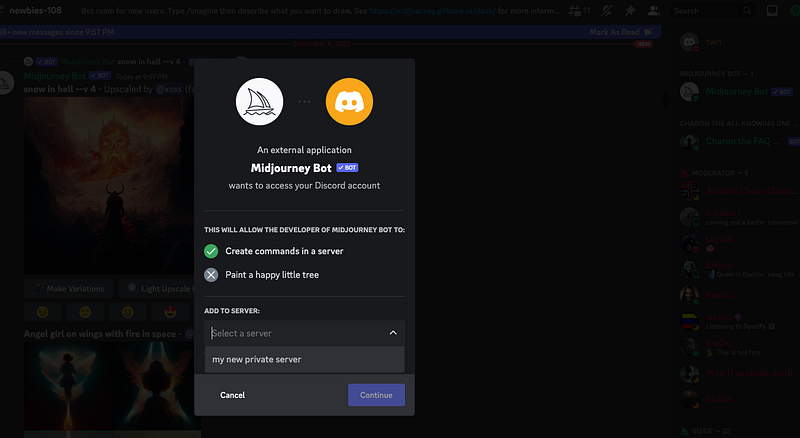
If you go back to your own server (you know how to use the server list on the left side by now), you’ll see the bot joined!
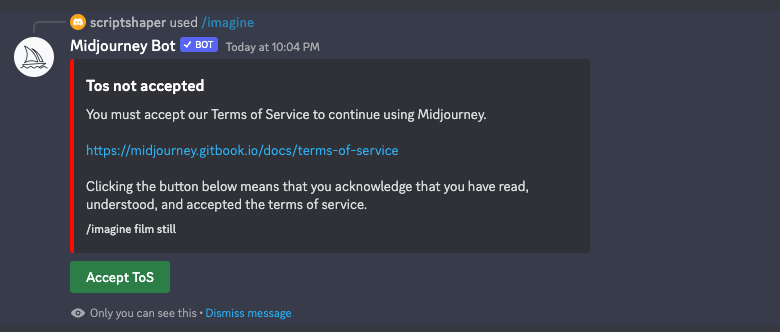
Now if you try to generate an image with the slash command “/imagine” it’ll fail because you have to accept Midjourney’s Terms of Service first. Once you did that, you can start creating!
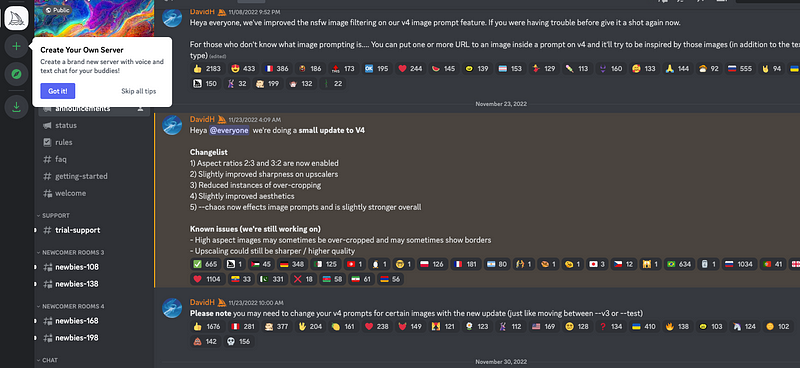
Step 5 (optional): Switch to V4 and become a subscriber
Last but not least you may want to set your creations to “private” so that they are not publicly viewable by default. To do that, use the slash command
/subscribe
and choose a subscription plan. Then set your account to private with
/private
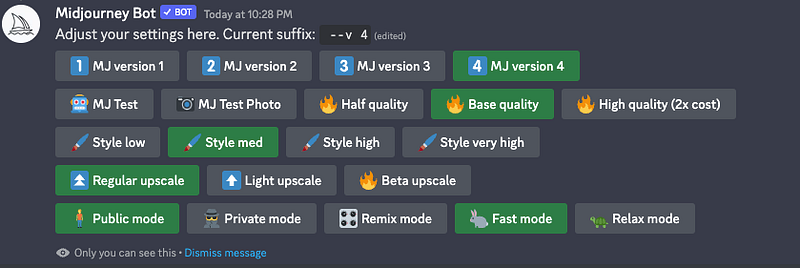
I also recommend you switch to the latest model by typing
/settings
and choosing “MJ version 4”
And that’s it! Have fun creating awesome stuff!
Maybe this gives you some additional inspiration:


