
Implement CIS Hardening Build Kit On RHEL9 — Stage 1
Follow up on my Virtual machine blogs about
- Azure Virutal Machine’s Identity — Zero credentials solution
- Set Backup on Azure Virtual Machine
- Implement CIS Hardening Build Kit On RHEL9 — Stage 1
- Review scan report with AWS Inspector V2 — Stage 2
- [Packer] The new design to build golden images for multiple cloud platforms
Please note: This blog is exclusively for paying users of CIS (Center for Internet Security). If you are a free user, you can still register on the CIS website (https://www.cisecurity.org/). However, please be aware that as a free user, you can only download the PDF files and won’t have access to any build kits for system hardening
Several series for the topic:
- Stage 1 — implement CIS hardeing, this is discussed in this blog
- Stage 2 — Review scan report with AWS Inspector V2 after CIS hardening in this blog
CIS Hardened images
CIS does provide pre-built images in marketplace (both AWS and Azure)
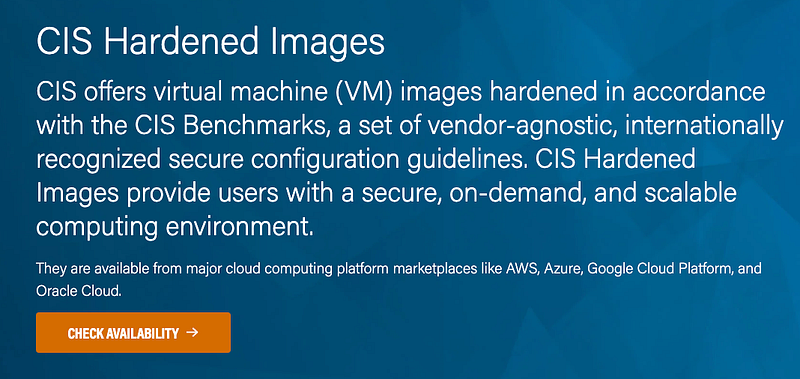
However, if you prefer to customize the hardening process yourself and have purchased services from CIS, you can perform the hardening using their exclusive build kit scripts, which is available only to CIS paying customers.
In this blog, I’d like to introduce on how we can run the CIS hardening build kit on Red hat 9 images
The same way should apply to other operation systems, such as Windows, other linux, etc.
Download CIS hardening build kit
As paying user, after you login from CIS WorkBench Sign in, go to Download page, search red hat

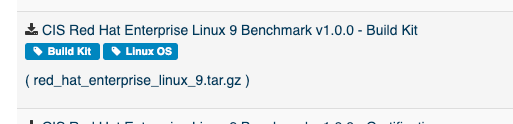
Download it, then untar it
$ tar zxvf red_hat_enterprise_linux_9.tar.gz
$ cd CIS-LBK/cis_lbk_red_hat_enterprise_linux_9
$ ls

Quick_Start_Guide-UNIX_LINUX_Build_Kits.pdf
functions
return_codes.txt
README.txt
logs
exclusion_list.txt
red_hat_enterprise_linux_9.sh
Run build kit scripts
- Copy the folder to destination server.
- Update in file
red_hat_enterprise_linux_9.sh
(1) fix a bug to create folder and its sub-folders
(2) Add line run_profile=L1S
(3) Disable the confirmation prompt
33c33
< mkdir -p $LDIR/$DTG
---
> mkdir $LDIR/$DTG
106c106
< # WARBNR
---
> WARBNR
114d113
< run_profile=L1S
There are four Profile Options:
# L1S — For Level 1 Server
# L1W — For Level 1 Workstation
# L2S — For Level 2 Server
# L2W — For Level 2 Workstation
In our case, we choice Level 1 server
Now, we are fine to run the build kit
# recommend to run `yum update` before CIS hardening to make sure your system get updated already.
$ yum update

# Run the build kit to do the hardening for you
$ ./red_hat_enterprise_linux_9.sh
After the script done, you will get a report, such as
---------------------------TOTALS----------------------------
- Total      - Total number of recommendations:         - 255
- Skipped    - Recommendations not in selected profile: - 54
- NA         - Recommendations that are not applicable: - 9
- Excluded   - Recommendations on the excluded list:    - 0
- Passed     - Recommendations already remediated:      - 77
- Remediated - Recommendations successfully remediated: - 67
- Manual     - Recommendations need manual remediation  - 47
- Failed     - Recommendations failed remediation:      - 1
-------------------------------------------------------------

           ----------------SUMMARY---------------
           -  TOTAL RECOMMENDATIONS         - 255
           -  APPLICABLE RECOMMENDATIONS    - 192
           -  PASSING RECOMMENDATIONS       - 144
           -  MANUAL REMEDIATION NEEDED     - 48
           --------------------------------------
So it does hardening for you. I have gone through most of Manual remediation which are on folders /tmp , /var/tmp/, etc not much fixes I can do.
So the instance is hardening ready now.
Continiously read my second blog for this series about how can we review security vulnerability scan report with AWS Inspector V2 after CIS hardening
https://readmedium.com/review-scan-report-with-aws-inspector-v2-stage-2-8359bcfc15af


