
How To Run and Deploy Python REST API on Azure App Services
A step by step guide with an example project

If you want to deploy your application on the managed platform by selecting the runtime, An App Service is the right choice. You can create a function app, web app, logic app, etc under Azure App Services. When it comes to Python REST API you can build and deploy in a number of ways and the Azure App service is one of them.
You can select the Python runtime or you can dockerize the Python REST API and deploy that in the Docker runtime. The Docker images can be pulled from Docker Hub, ACR, etc. In this post, we will see how we can build and deploy Python REST API on Azure App Service Docker runtime.
- Prerequisites
- Example Project
- Dockerize the Project
- Running the API on Docker
- Pushing Docker Image To ACR
- Deploy it in the App Service
- Demo
- Summary
- Conclusion
Prerequisites
- If you are new to Python REST API please go through the below link on how to develop and build the Python REST API with Flask Restful.
The other prerequisites to this post are Docker essentials. We are not going to discuss the basics such as what is a container or Docker. Below are the prerequisites you should know before going through this article
Docker Essentials
You need to understand Docker concepts such as creating images, container management, etc. Below are some of the links that you can understand about Docker if you are new.
- Docker Docs
- Docker — A Beginner’s guide to Dockerfile with a sample project
- Docker — Image creation and Management
- Docker — Container Management With Examples
- Understanding Docker Volumes with an example
Microsoft Azure Account
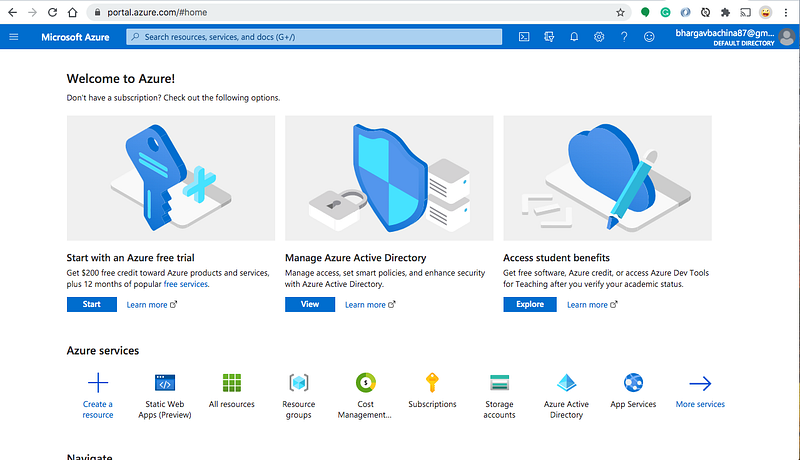
You should have a Microsoft Azure Account. You can get a free account for one year. You should see the below screen after you login.
You need to create a subscription for your account. The most common is Pay As You Go subscription.


You need a subscription to be associated with your tenant so that all the cost is billed to this subscription.
Example Project
Here is the Github link for the example project you can just clone and run it on your machine.
// clone the project
git clone https://github.com/bbachi/python-flask-restapi.git
You need to run the following commands to install the required dependencies and start the project.
// install dependencies (Mac OS)
python3 -m pip install -r requirements.txt
// run the app
flask run

Dockerize the project
We have seen how to build the project and tun the application in a normal way. Let’ see how we can create a Dockerfile and run the same application in Docker.
We need to create a Dockerfile that creates a Docker image. Here is the file which starts with FROM command and with the base image python:3.7. You need to set up a working directory and then copy the contents from the local directory to the docker directory.
Then, you need to run the install command so that it installs all the dependencies. Finally, you need to give the command when the container is instantiated.
// change directory
cd python-flask-restapi
// build the image
docker build -t pythonrestapi .// list the image
docker images
Running the API on Docker
Now, we have the docker image and let’s run the container and once it is up and running you can access the application at http://127.0.0.1:5000/.
// run the container
docker run -d -p 80:5000 --name pythonrestapi pythonrestapi
// list the container
docker ps// logs
docker logs pythonrestapi// exec into running container
docker exec -it pythonrestapi /bin/sh
You can see that the API running on port 80.

Pushing Docker Image To ACR
Azure App Service works with any Docker registry such as Docker Hub, etc. But, in this post, we see how we can use the Azure container registry to store our Docker images. Once you set up the Azure portal account and creates a resource group as above you can create a container registry as below.
Make sure your application is running on port 80 before you create an image by changing the startup command.
Let’s first create a resource group called rg-appservices-demo with the following command
// create a resource group
az group create --name rg-appservices-demo --location westus
Once you created the above resource group you can create a container registry by going to the following screen.

Let’s give the basic details on the create screen and click on create button.

Once you review and create you can see the following screen.

You can see the main container registry page below.

You can do the same things with the Azure CLI with the following commands. Make sure you log in to your Azure Account with CLI with this command az login before running the below commands.
// create a resource group
az group create --name rg-appservices-demo --location westus
// create a container registry
az acr create --resource-group rg-appservices-demo \
--name pythonrestapi --sku BasicIt’s time to build and push the Docker image with the following command. Clone the above example project and go to the root folder where Dockerfile resides and run this command.
az acr build --image apidemo/python-tasks-api:v1 \
  --registry pythonrestapi \
  --file Dockerfile .
You will see the output below.

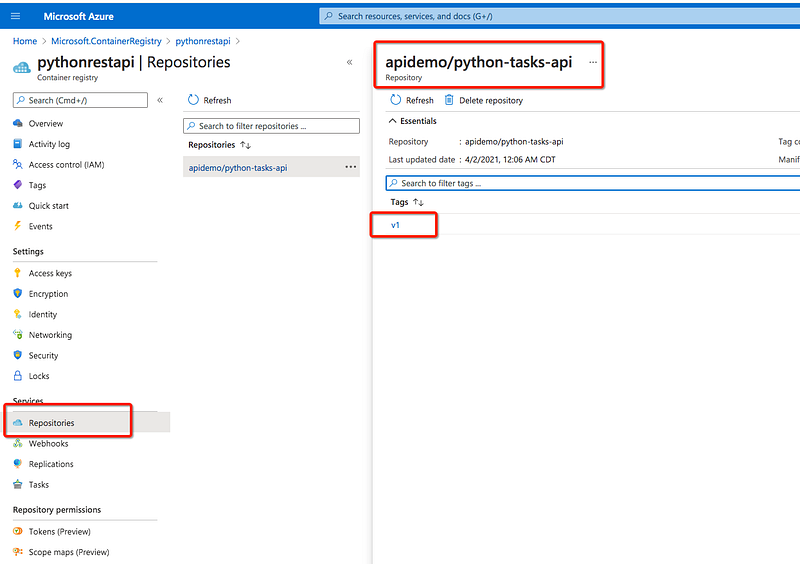
You can see all the details in the portal as well.
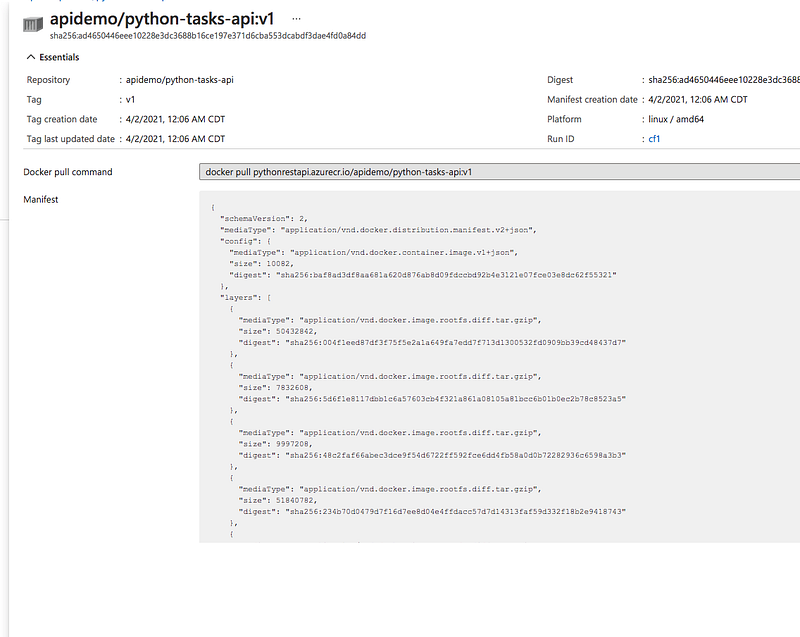
If you want to pull this repository you need to use this command.
docker pull pythonrestapi.azurecr.io/apidemo/python-tasks-api:v1Deploy it in the App Service
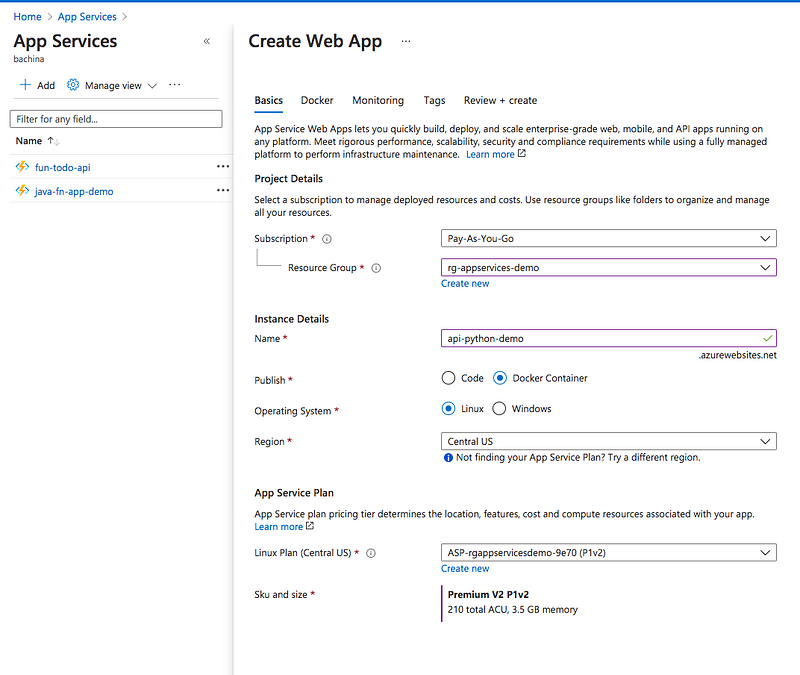
You need to create a web app service before deploying your Docker image into it. Let’s do it with the portal. You need to go to the App Services and create a web app with Docker runtime as below. Make sure you select the right resource group.
On the next screen, you need to give Docker details. We have pushed the Docker image into ACR and we need to give those details.
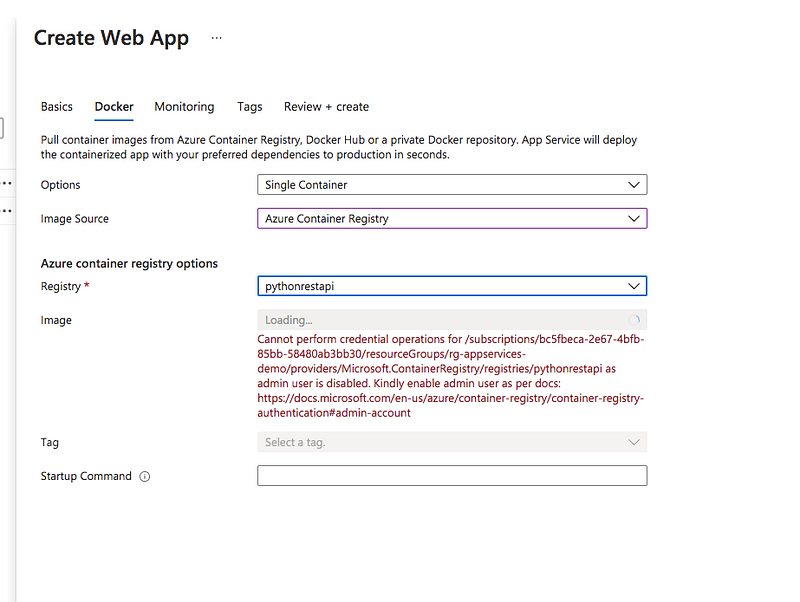
The Admin Account is disabled by default and you need to enable it with the following command.
az acr update -n pythonrestapi --admin-enabled true
After enabling the admin account, you can see the error gone.

Once you click on the create button you would see the deployment successful screen.

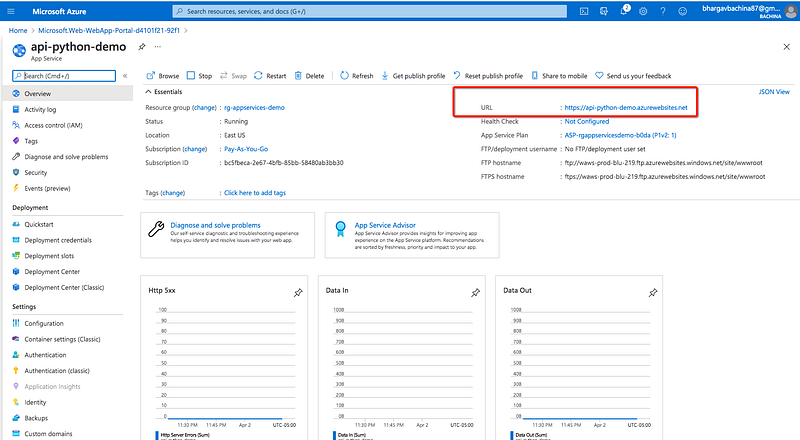
Click on the Go to resource button and find the URL below.
Demo
You can click on the URL and hit the GET request as below and you would get the result as below.
https://api-python-demo.azurewebsites.net/api/tasks
Summary
- If you want to deploy your application on the managed platform by selecting the runtime, An App Service is the right choice.
- You can select the Python runtime or you can dockerize the Python API and deploy that in the Docker runtime. The Docker images can be pulled from Docker Hub, ACR, etc.
- Azure App Service works with any Docker registry such as Docker Hub, etc.
- Make sure your application is running on port 80 before you create an image.
- The Admin Account is disabled by default and you need to enable it to access ACR Images from App Services.
Conclusion
We have seen how to build Python REST API and deploy it on the Azure App Services with Docker runtime. In the future post, we will see more advanced use cases such as API Gateway, Authentication, Configuring Environment Variables, etc.


