
How To Write REST API With Python and Flask
A step by step guide with an example project
REST is an acronym for REpresentational State Transfer. Rest follows some guidelines to facilitate the communication between systems. This article list out all the necessary ingredients for the production-ready Python rest API with an example project. The REST API responds with resources and these resources can be anything such as JSON, an HTML document, etc.
Let’s not complicate things and create a simple todo API where you get a list of tasks with Get request and create a task with the post request. Our focus is to get used to creating REST APIs with Python and Flask
- Prerequisites
- Example Project
- Virtual Environments
- Getting Started With Flask
- CRUD Operations with Flask
- Structure the Project
- Configurations
- Summary
- Conclusion
Prerequisites
Python is one of the fastest-growing programming languages nowadays and is used for machine learning, data science, and a lot of other use cases. The best way to start learning python is by practicing it on your machine.
We need to install python on your machine first. Once installed, you can run the python code on your machine. Here are the things you need on your machine before writing REST APIs.
You can check the python and pip version with these commands.
// I am using Mac OSpython3 --version
pip3 --versionExample Project
Here is the Github link for the example project you can just clone and run it on your machine.
// clone the project
git clone https://github.com/bbachi/python-flask-restapi.git
You need to run the following commands to install the required dependencies and start the project.
// install dependencies (Mac OS)
python3 -m pip install -r requirements.txt
// run the app
flask runVirtual Environments
The venv module provides support for creating lightweight “virtual environments” with their own site directories, optionally isolated from system site directories. Each virtual environment has its own Python binary (which matches the version of the binary that was used to create this environment) and can have its own independent set of installed Python packages in its site directories.
You can create a virtual environment with the following command
python3 -m venv /path/to/virtual/environmentFor example, if you want to create a virtual environment in the above-cloned project all you need to do is run the following command.
python3 -m venv myapp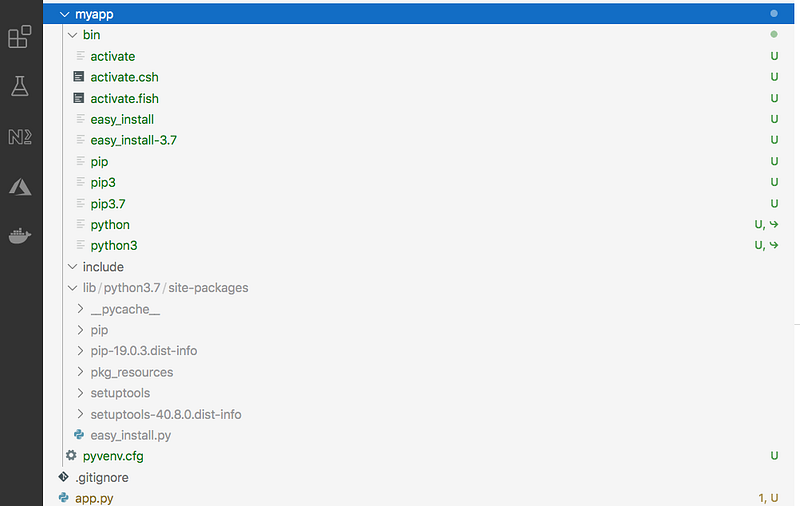
As you can see in the above screen, the virtual environment myapp is created with all the dependencies such as python and pip symbolic links.
Activate Virtual Environment
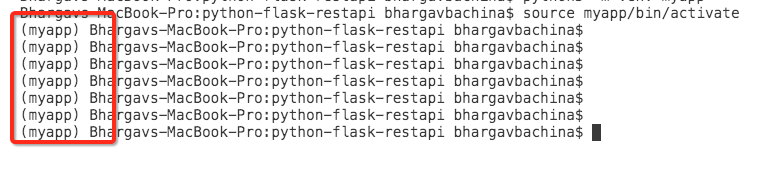
After you have created a virtual environment you need to activate it with the following command.
source myapp/bin/activateOnce you activated the virtual environment whatever you do such as install will be saved in this environment.
Deleting the Virtual Environment
All you need to do is to delete the folder, myapp in this case.
Getting Started With Flask
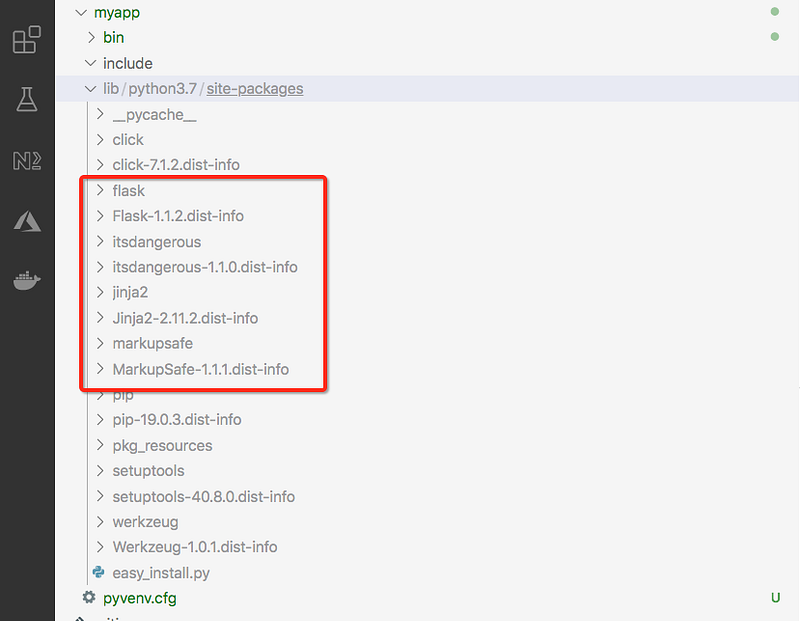
Flask is a library that is used to create REST endpoints in python and Flask depends on the Jinja template engine and the Werkzeug WSGI toolkit. The first thing is to install a flask with the following command.
pip3 install flaskOnce you run the above command, you can see the flask under the site-packages section of the virtual environment. With all the above setup, let’s create a simple endpoint with the Flask library.
Let’s create a simple file called app.py as below. We are importing the Flask from the flask library and assigning that to the variable called app. The __name__ is a special variable and the value you get depends on the execution of the app.py file.
We have created a simple endpoint with the / and return a simple text Hello World. You have to set the FLASK_APP variable before you run the app with this command flask run
FLASK_APP=app.py flask run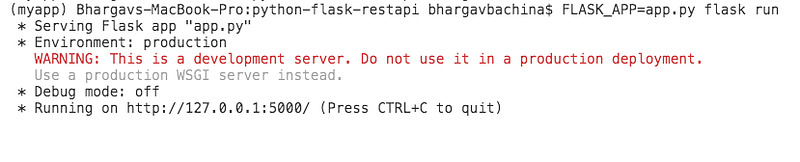
You can access the app with the following URL.
http://127.0.0.1:5000/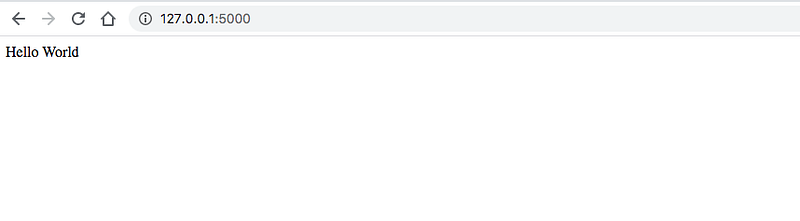
CRUD Operations with Flask
Let’s create some CRUD operations with Flask.
GET Request
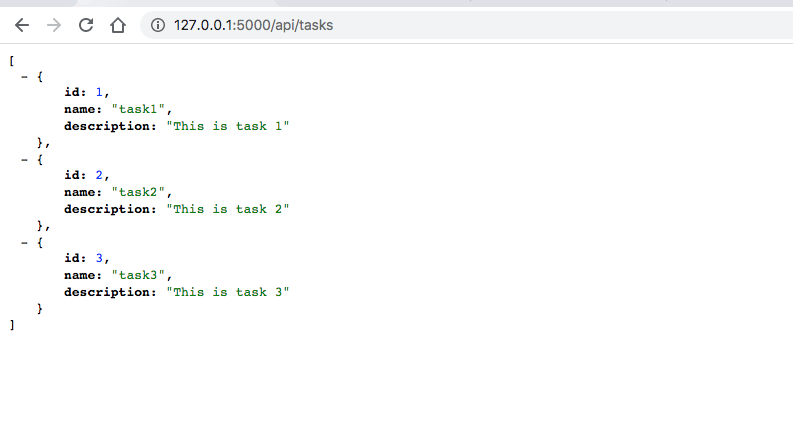
Let’s define the tasks JSON and return tasks with another endpoint /api/tasks. Once you define the tasks and need to convert them into JSON with the help of json module.
Here is the output when you hit it in the browser.
POST Request
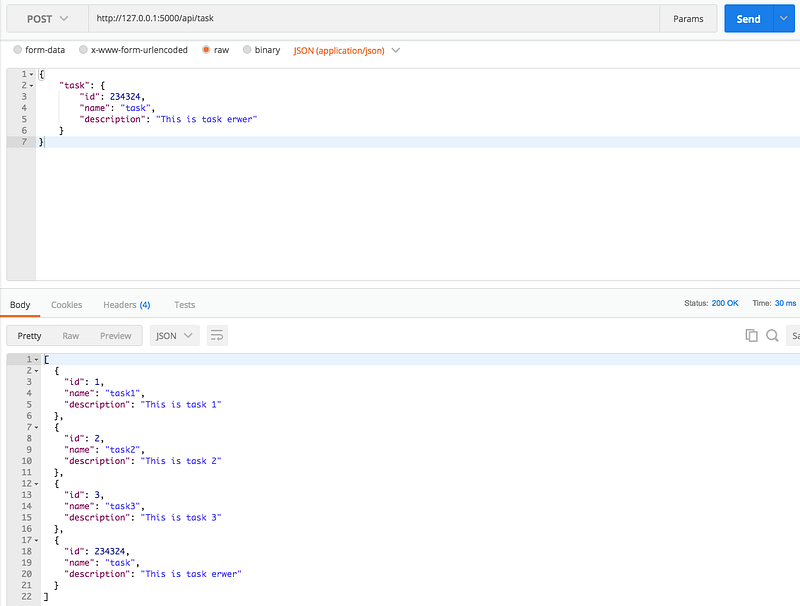
Let’s create a POST request. Since it’s a POST request and need to get the data from the request, you have to import the request module from the flask library. With this module, you can access the POST body as in the POST endpoint /api/task. If you notice the third endpoint, the second parameter in the route decorator is the methods array.
Here is the output when you hit this endpoint using POSTMAN.
URL: http://127.0.0.1:5000/api/taskMethod: POSTBody:
{
"task": {
"id": 234324,
"name": "task",
"description": "This is task erwer"
}
}
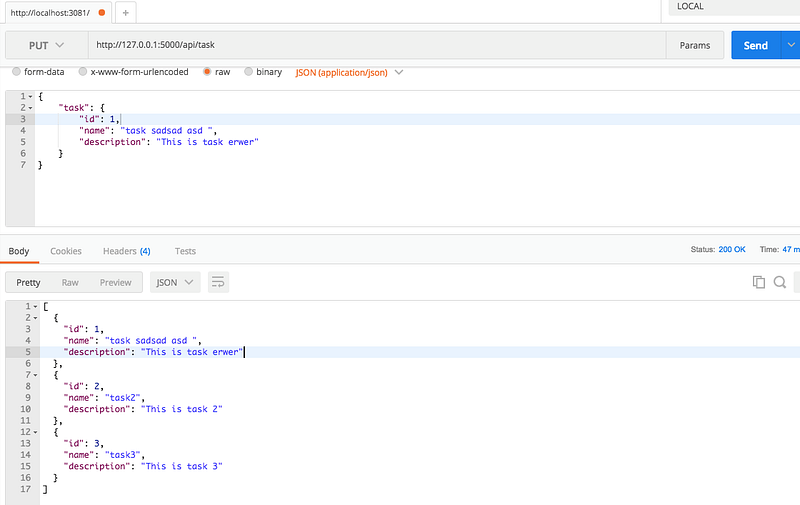
PUT Request
Let’s create a PUT request for updating the tasks. You need to pass the PUT method in the methods array of the route decorator. We are accessing the data from the request module and update the tasks array.
Here is the output when you hit this endpoint using POSTMAN.
URL: http://127.0.0.1:5000/api/taskMethod: PUTBody:
{
"task": {
"id": 234324,
"name": "task",
"description": "This is task erwer"
}
}
DELETE Request
Let’s create a DELETE request for deleting the tasks. You need to pass the DELETE method in the methods array of the route decorator. We are accessing the data from the request module and delete the task in the tasks array.
Here is the output when you hit this endpoint using POSTMAN.
URL: http://127.0.0.1:5000/api/task/1Method: DELETE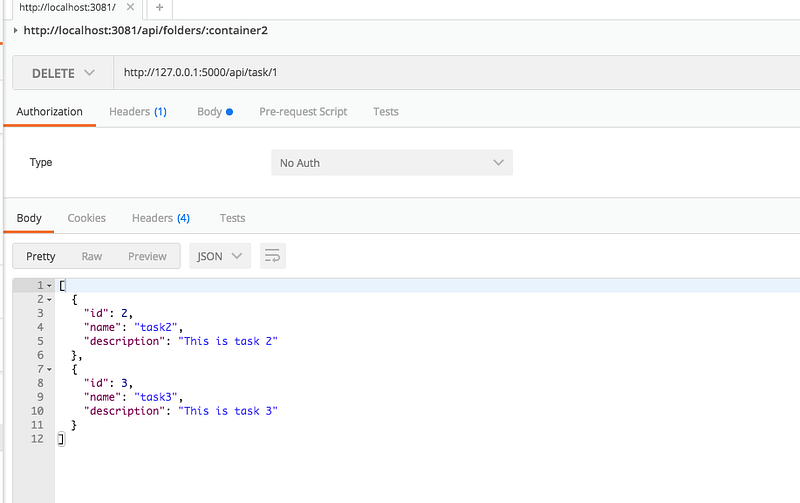
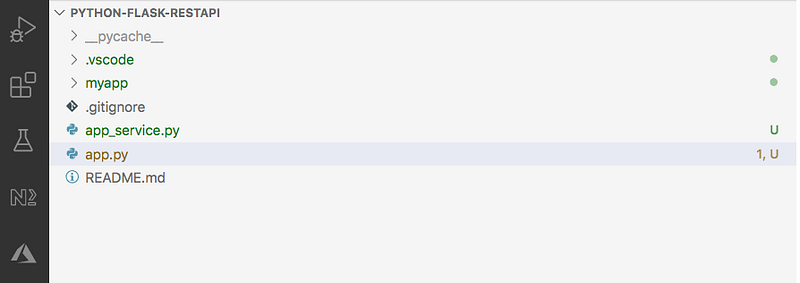
Structure the Project
We placed all the code in the app.py file but, as the project grows it’s not easy to maintain. So, let’s move all the logic into another file called app_service.py. Here is the app_service.py file in which we defined the tasks json and four functions for the business logic. The __init__() function is called automatically every time you create an object from this class. This is like a constructor if you are coming from a java background. The self parameter is a reference to the current instance of the class and you can use it to access the variables of the instance as we used in the methods below.
Now, the app.py becomes leaner as we moved all the logic from this file to the service file above. First, we need to import AppService from the app_service.py file at line number 2 and initialize the class and create an object appService at line number 6. Once the object is created you can use it to access all the variables and methods as below.
Here is the structure of the project at this time.
Configurations
There are two main configurations that we will take care of in this post that would be useful. The first one is Requirement Files.
Reading Environment Variables
When we are running the application we are using the below command and we are assigning the main file app.py to the FLASK_APP variable. If it is only one variable that's fine but, if we want to set a lot of variables it’s difficult to remember or pass like this.
FLASK_APP=app.py flask runLet’ use the python-dotenv package in which you can define this kind of environment variables. First, let’s create a .flaskenv file and define this variable FLASK_APP=app.py in the file.
When you have this in place and all you need to run the following command
flask run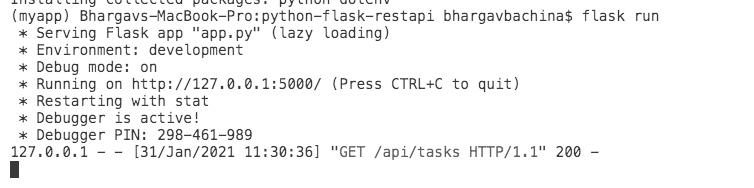
Requirement Files
The Requirements Files are the files that contain all of the items that should be installed with this command pip install. You shouldn’t worry about the particular order that these items are placed in the file. This file is mainly useful for the repeatable installations and freezes the versions that you want to use for your project, etc.
We have two dependencies in our project so the requirements.txt file contains these two.
You need to run the following command to install all the dependencies in this file.
python3 -m pip install -r requirements.txt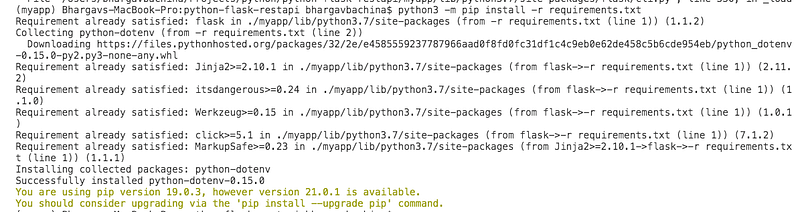
Summary
- REST is an acronym for REpresentational State Transfer. Rest follows some guidelines to facilitate the communication between systems.
- Python is one of the fastest-growing programming languages nowadays and is used for machine learning, data science, and a lot of other use cases.
- The best way to start learning python is by practicing it on your machine. Go through this article How to Install and Getting Started With Python.
- The venv module provides support for creating lightweight “virtual environments” with their own site directories, optionally isolated from system site directories.
- Flask is a library that is used to create REST endpoints in python and Flask depends on the Jinja template engine and the Werkzeug WSGI toolkit.
- Use the python-dotenv package to define environment variables. For example, You need to create a .flaskenv file and define this variable
FLASK_APP=app.pyin the file. - The Requirements Files are the files that contain all of the items that should be installed with this command
pip install.
Conclusion
This is a Beginner’s guide on how to create RESTful endpoints with the Flask library. Usually, we use flask-restful which is an extension for Flask for building REST APIs when you have all the other components such as database, etc. I will create another post for the flask-restful.


