
HOW TO PAINT IN WATERCOLOUR
Paint a Sky in Watercolour
A sky with clouds
Every hour, every day, there is always a different sky to paint, so there is plenty of reference material just outside your window.
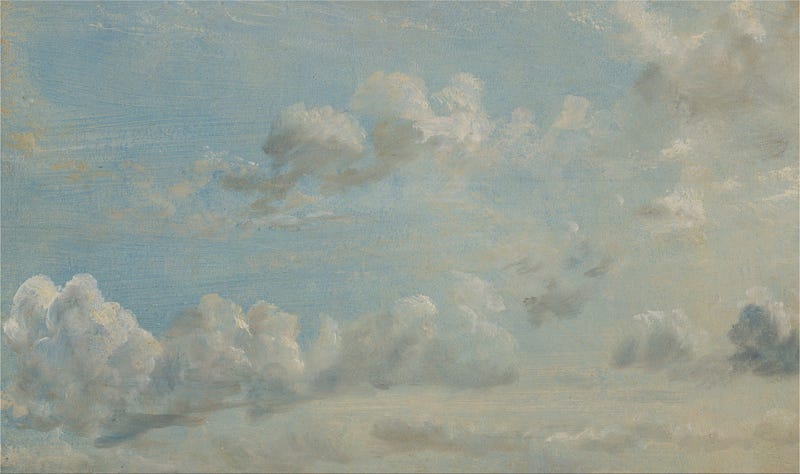
John Constable painted a lot of cloud studies — a search online will bring up dozens. The one above, from 1822, is actually oil on paper but it’s roughly similar to the type of sky in this session. His works are in the public domain so no worries about using them as models if you don’t have a window handy.
He said: “The sky is the source of light in nature — and governs everything.”
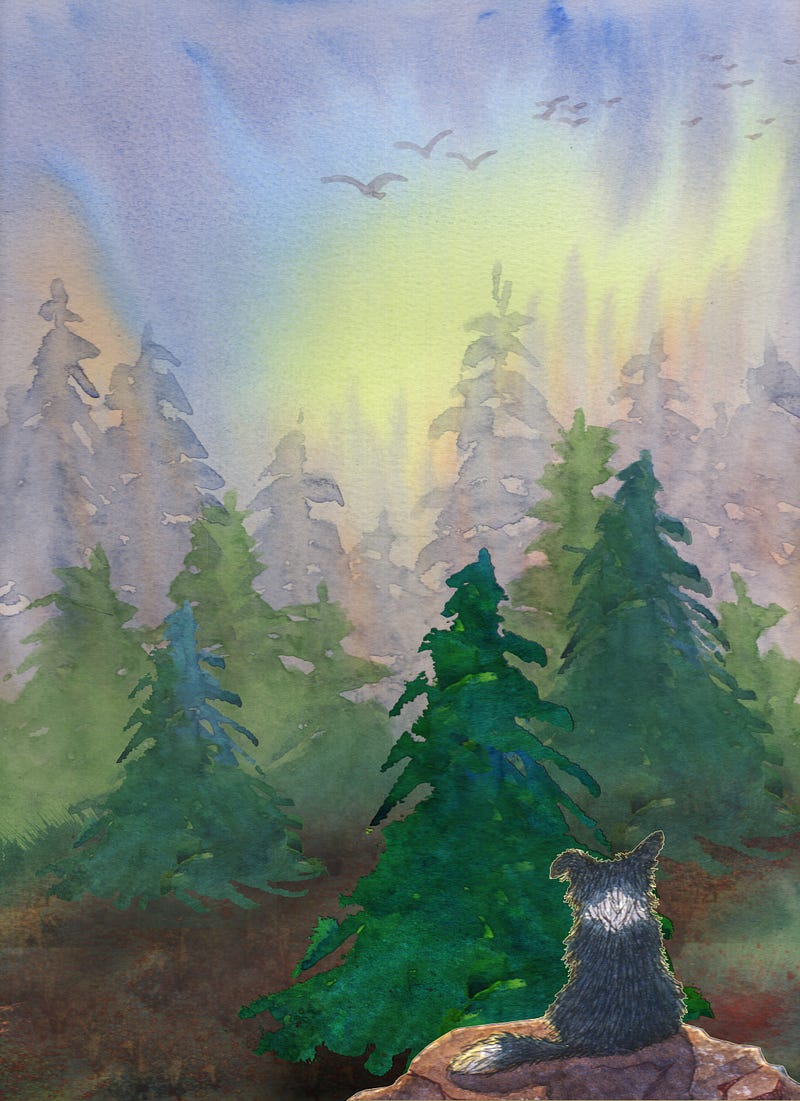
This session demonstrates how to paint a sky in watercolour (as above) — this is an easy technique to learn, using the least number of materials and time, and the end result is often perfect just as it is for a landscape painting.
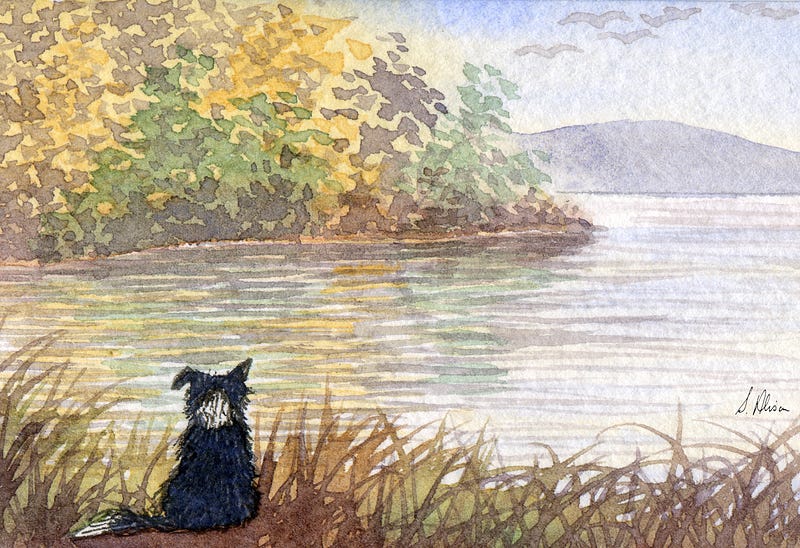
I’ve put in a foreground in these pics, and placed a mount/mat on top of them because they then make more sense as pictures.
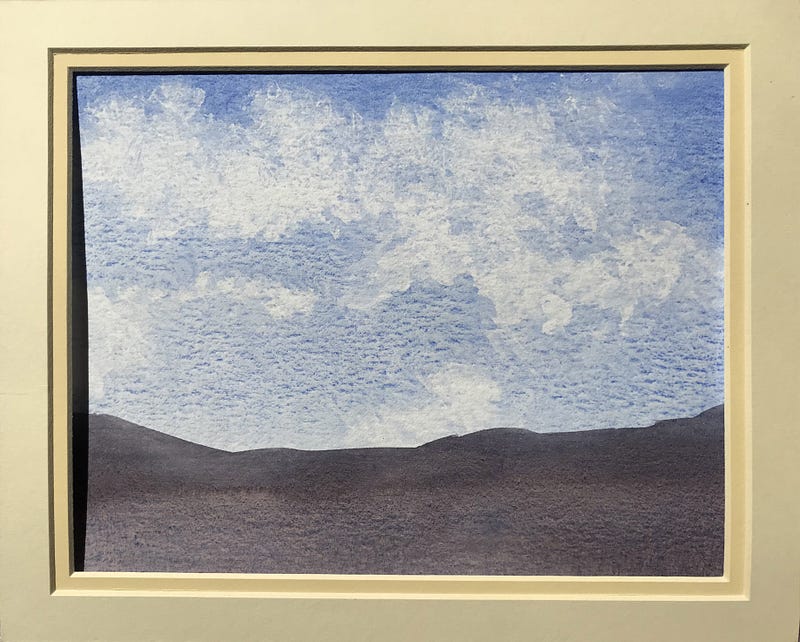
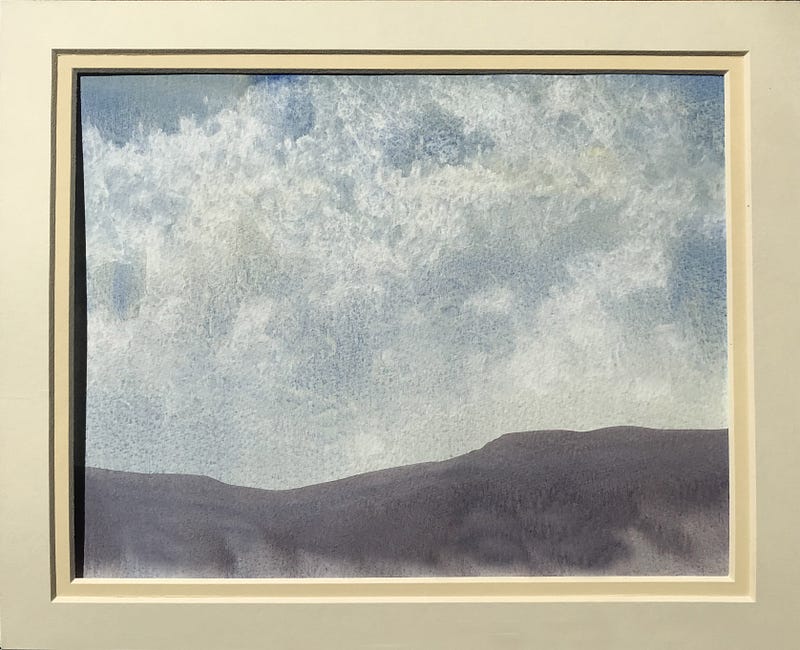
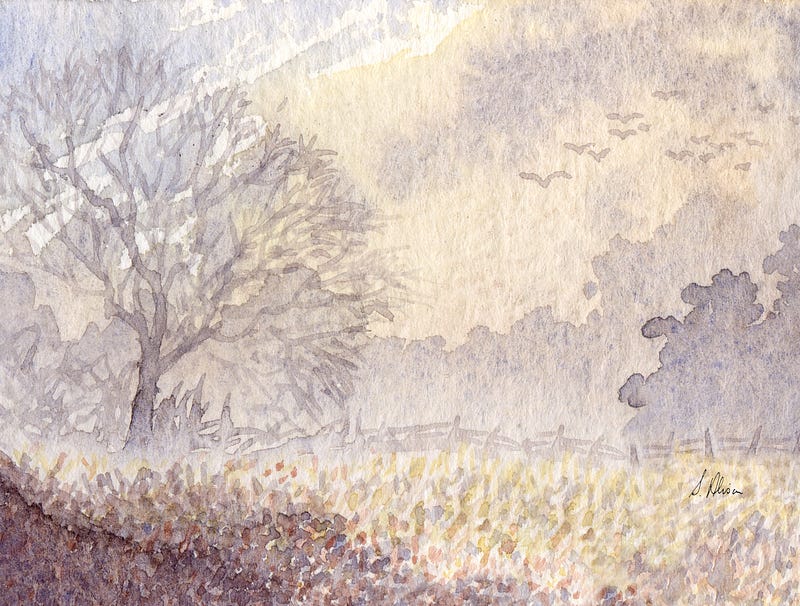
The difference between these two skies is the addition of raw sienna in the right hand one. The left hand one is simply blue and water. Just the addition of one colour and these skies have different moods.
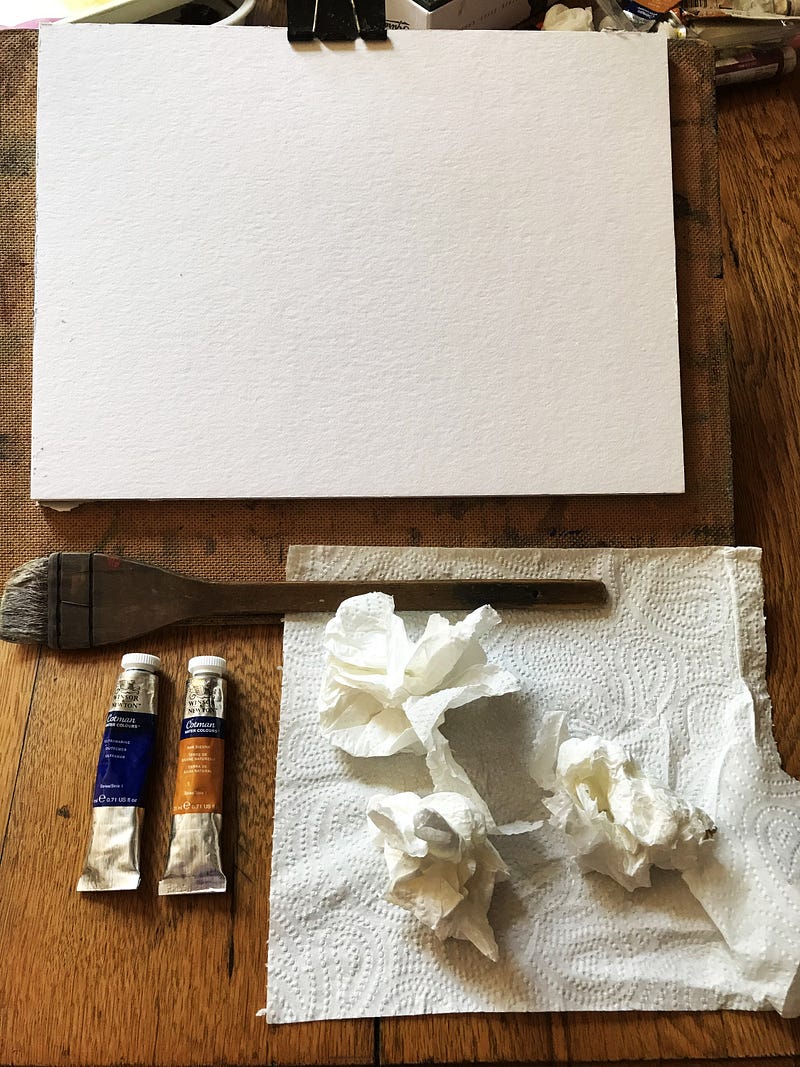
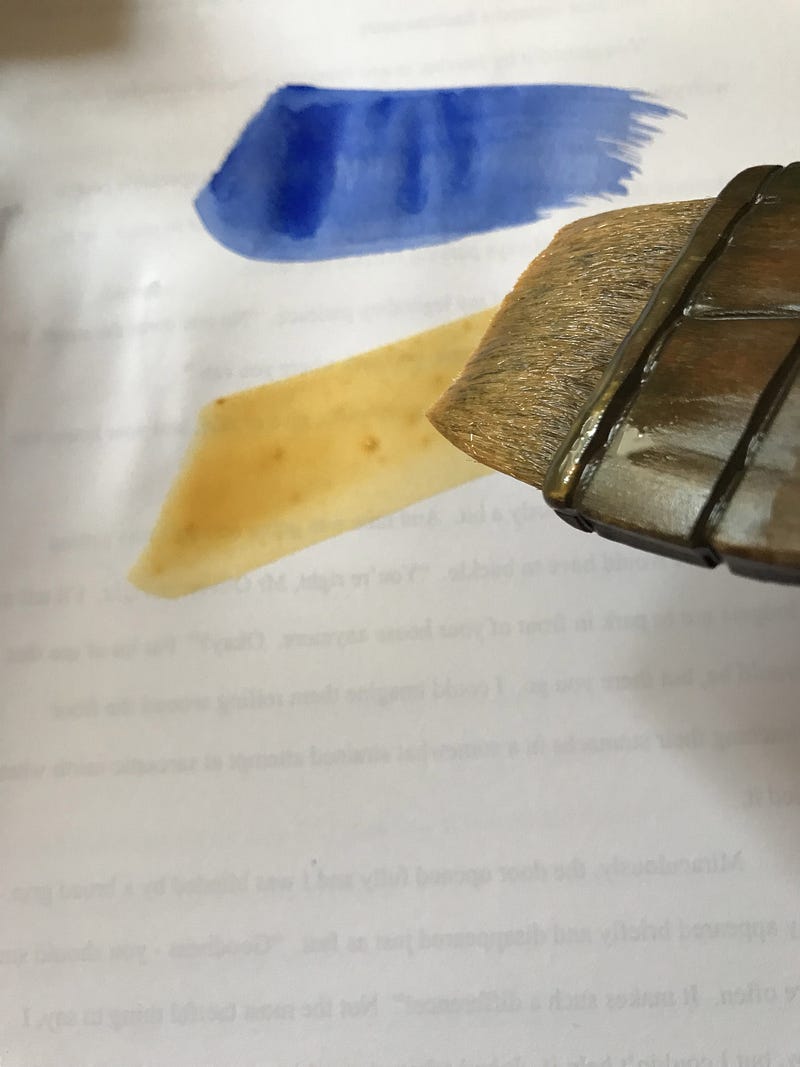
This is all you need to paint a sky — paper, a hake brush (or some other big brush), ultramarine blue, raw sienna, kitchen towel. And water, and scrap paper!
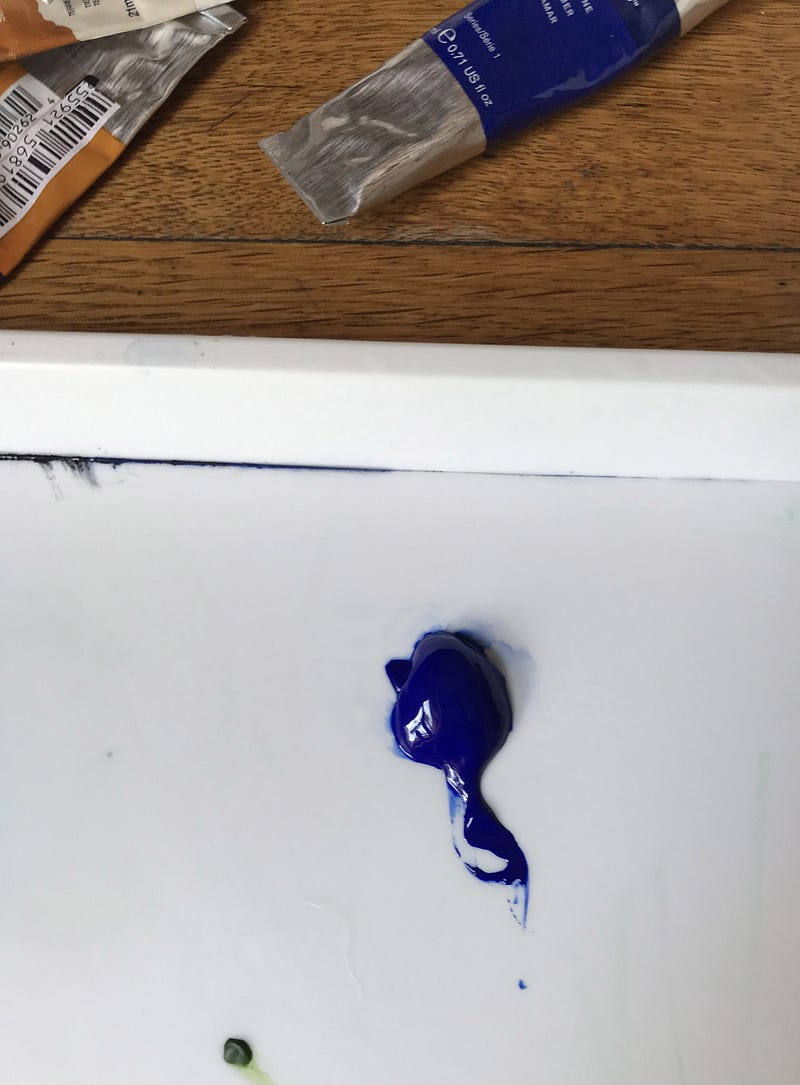
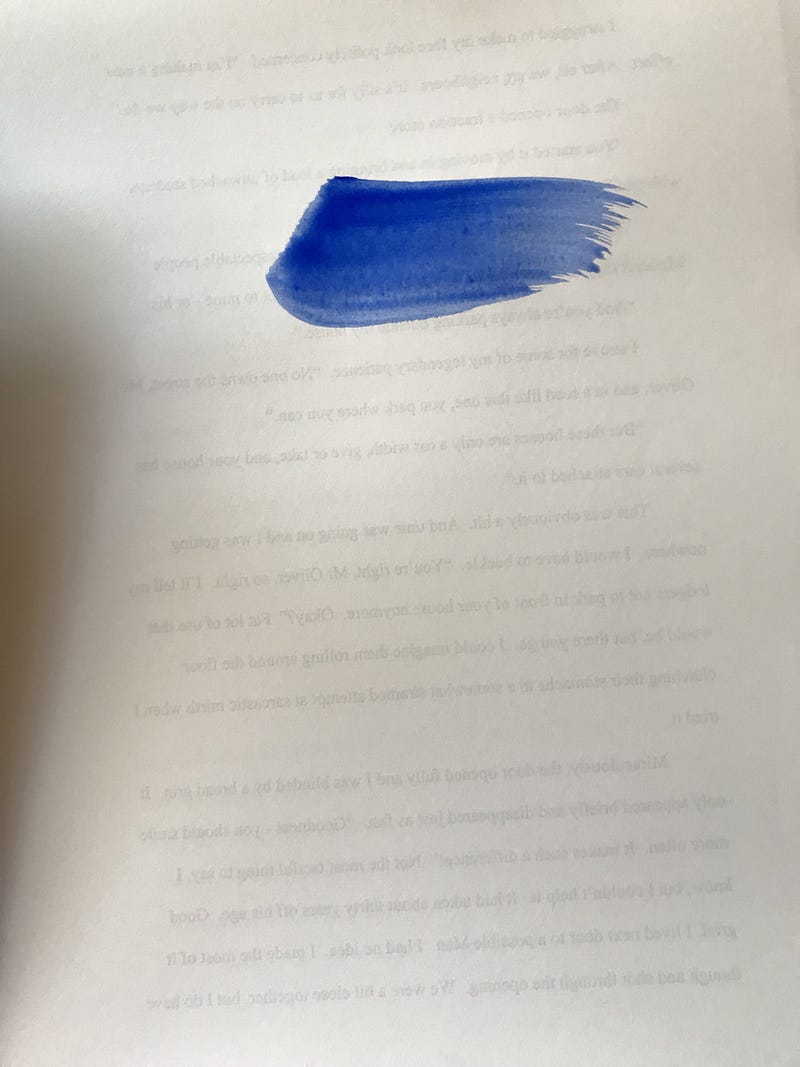
Put a big blob of blue on the palette (L) — mix into a little pool of colour with your big brush* using clean water. Test it’s the colour you want it to be on scrap paper (middle), then holding your brush at an angle to the paper, take it across the top of your paper in one motion from left to right (or maybe R to L — whichever is comfortable for you) — hold the brush lightly on the paper, do not scrub it backwards and forwards. You are gliding your brush over the paper, rather than ‘brushing’ it like you would a fence.
There is a separate session on how to make sure you have the right amount of water in your brush. Here is the link for it.
For this session just mixing the colour and testing that it’s the colour you want it to be will make sure you have the right amount of water.
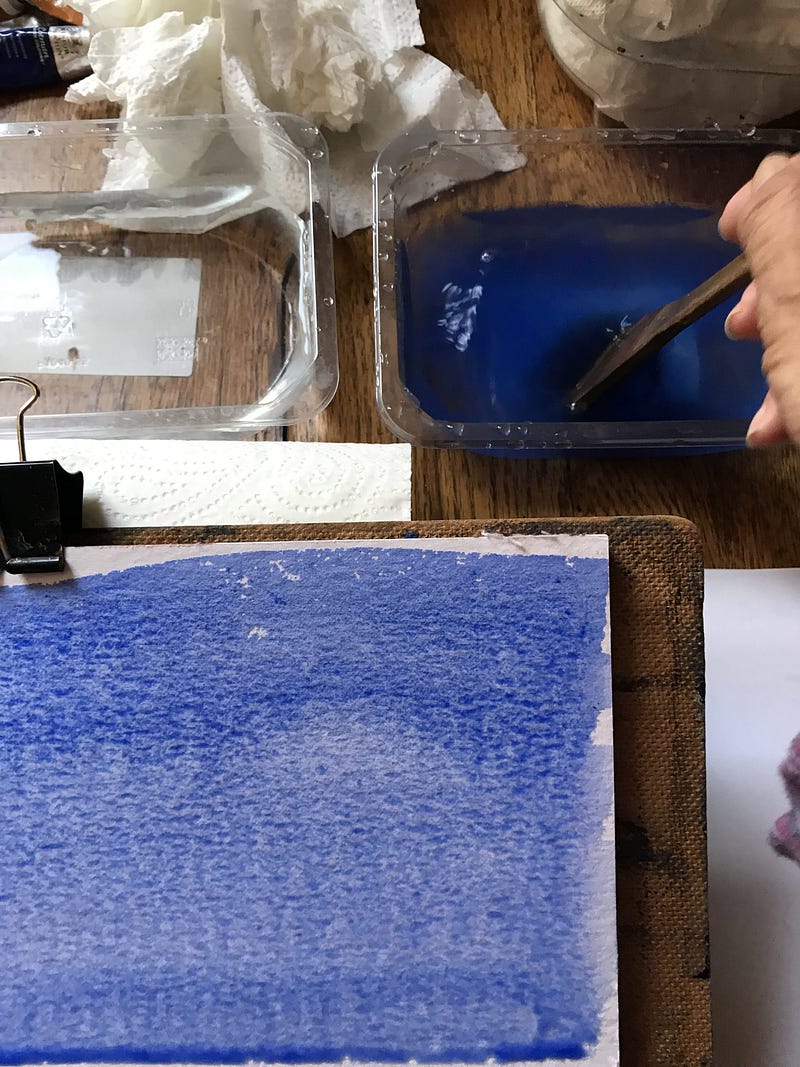
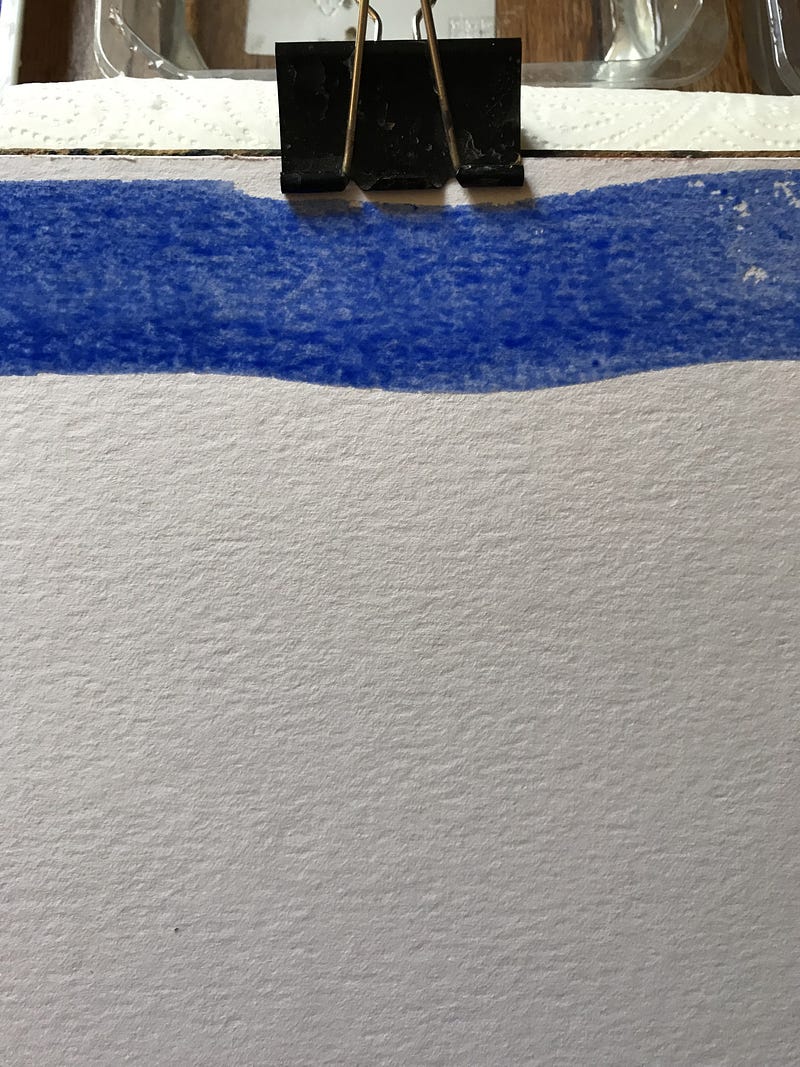
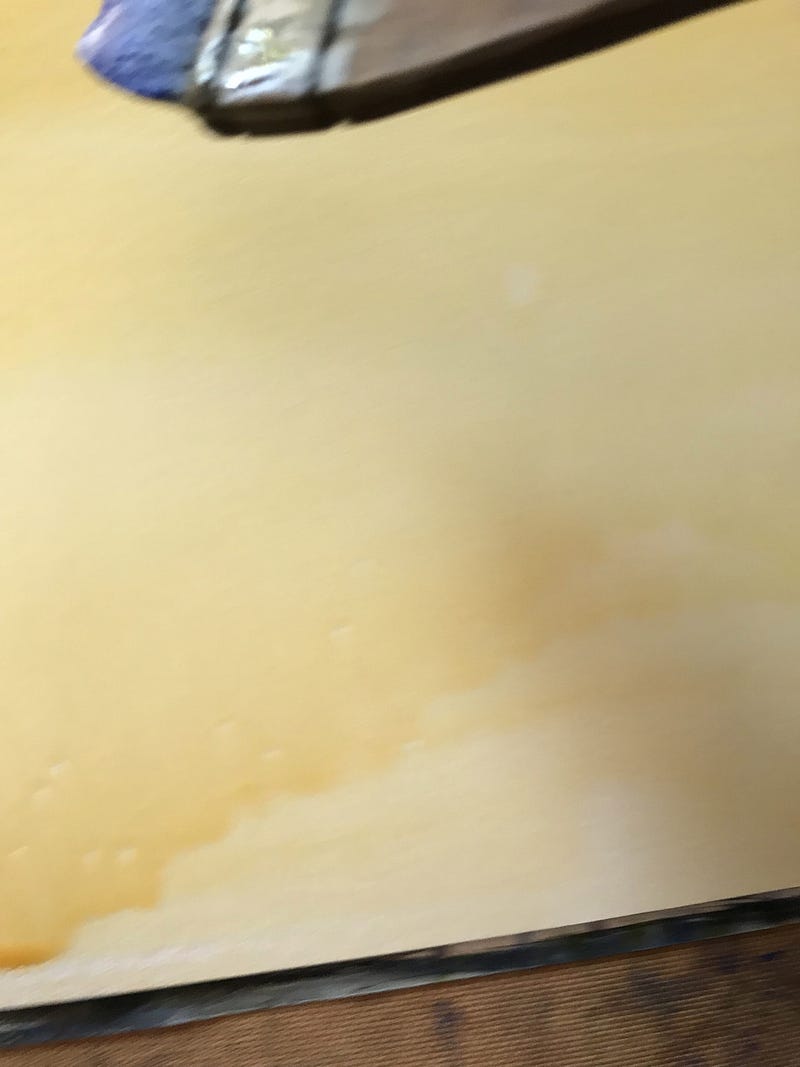
If your paper on its board is at an angle the paint will run down the paper — load up your brush with the same colour and sweep it across the paper again from L to R picking up the paint that has run down the page — keep going until you have as much sky as you want (2).
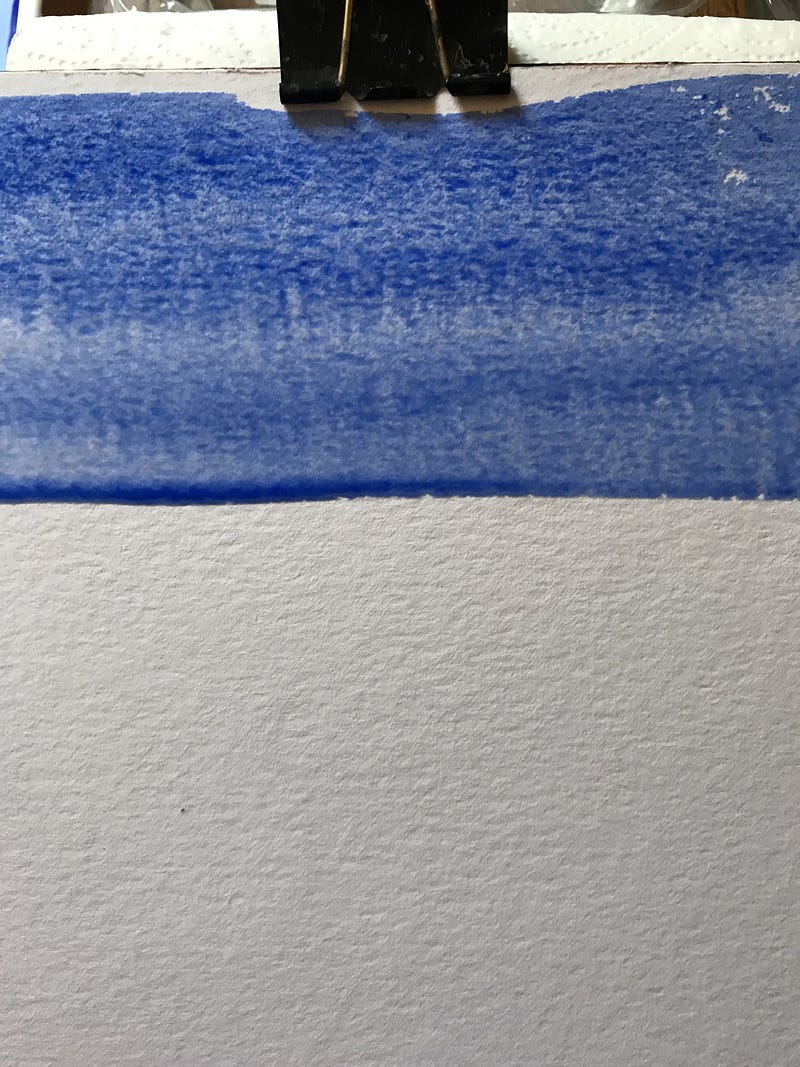
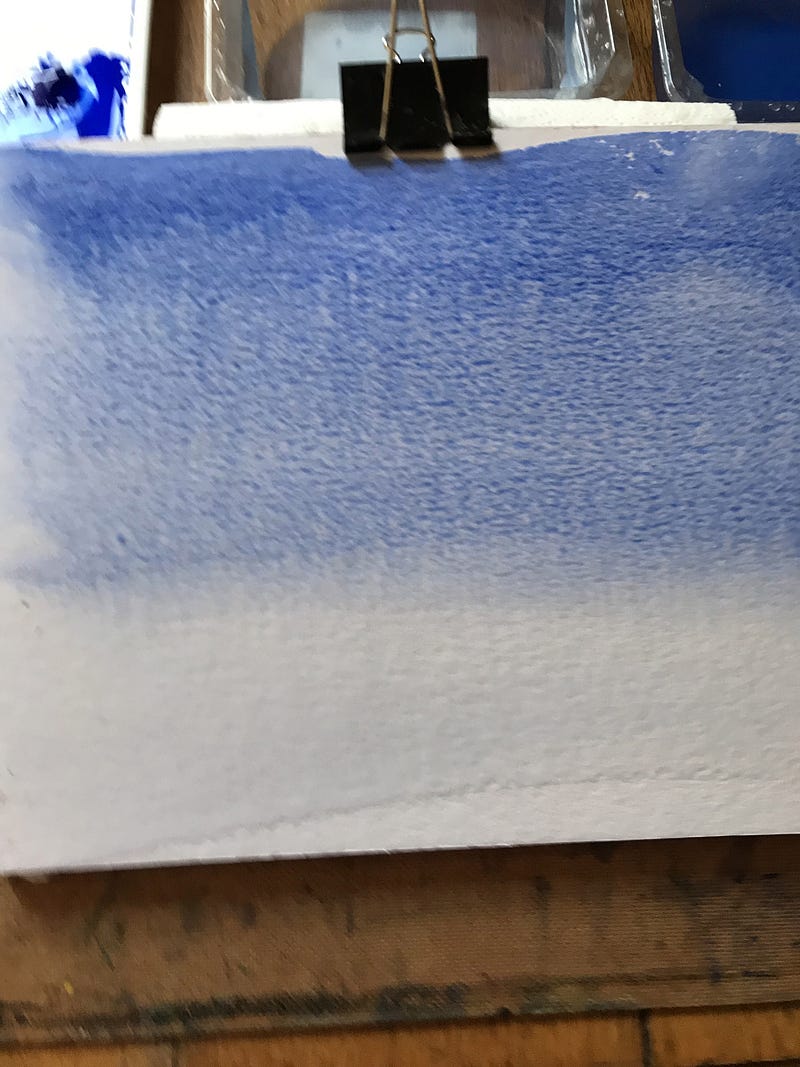
Wash your brush clean in the blue water, then also in the clean water — take the clean brush along the bottom of the blue and down the page in the same way as with the paint (3).

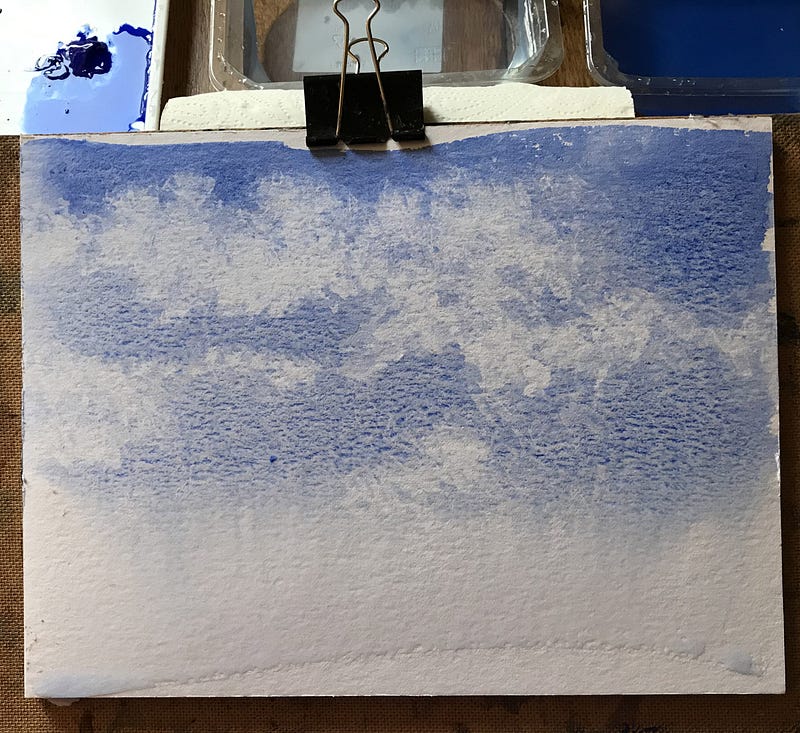
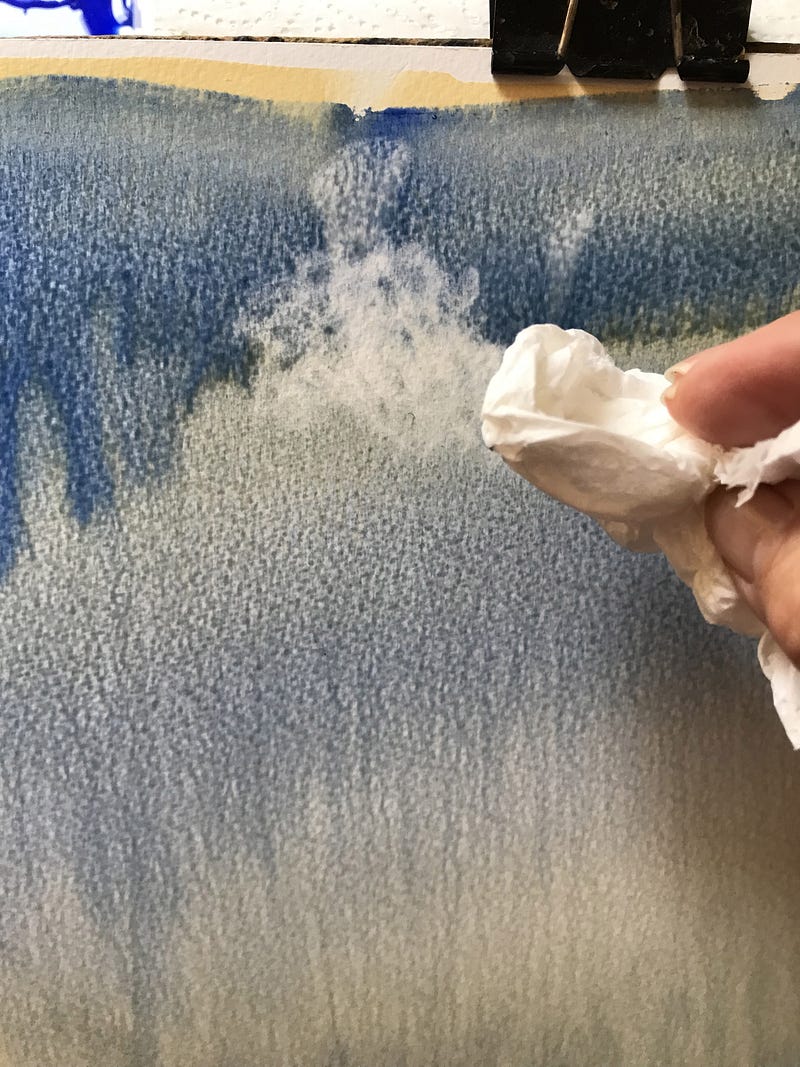
While the paint is still wet, snatch up your already-scrumpled kitchen towel and dab it into the paint to remove some colour from the sky to form clouds (above left) — keep going until you’re pleased with the formation of clouds you’ve created (above right).
Bear in mind that when the kitchen towel picks up some colour it will then put that colour back onto the painting if you don’t move the towel around in your hand into a different position — it will also get wetter as you go along so it won’t pick up as much moisture/colour.
Also, keep changing the scrumpled nature of the towel or the other thing that will happen is that you’ll get regular patterns in your sky — clouds aren’t regular. Maybe even use two or three pieces of scrumpled towel so the dabbing is always different.
Also bear in the mind that clouds (in our paintings, and as a general rule, — of course, there are always exceptions) will be bigger at the top of the pic because they’re closer to the viewer, and smaller as you come down the pic. The smaller ones are further away.
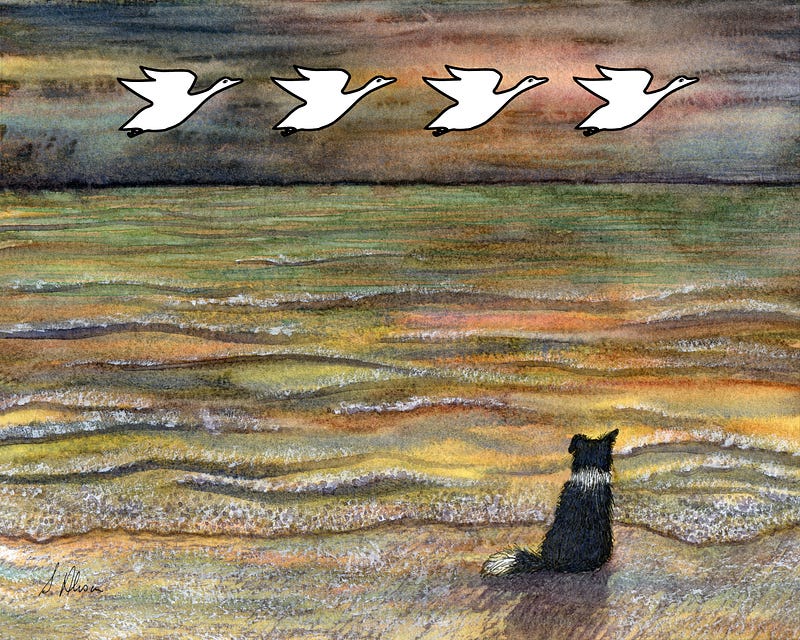
Clouds don’t want to be in a geometrical formation, and it’s better not to have even numbers, either. Don’t make your clouds regular like the four ducks (above) in ‘Odds are Better than Evens’.

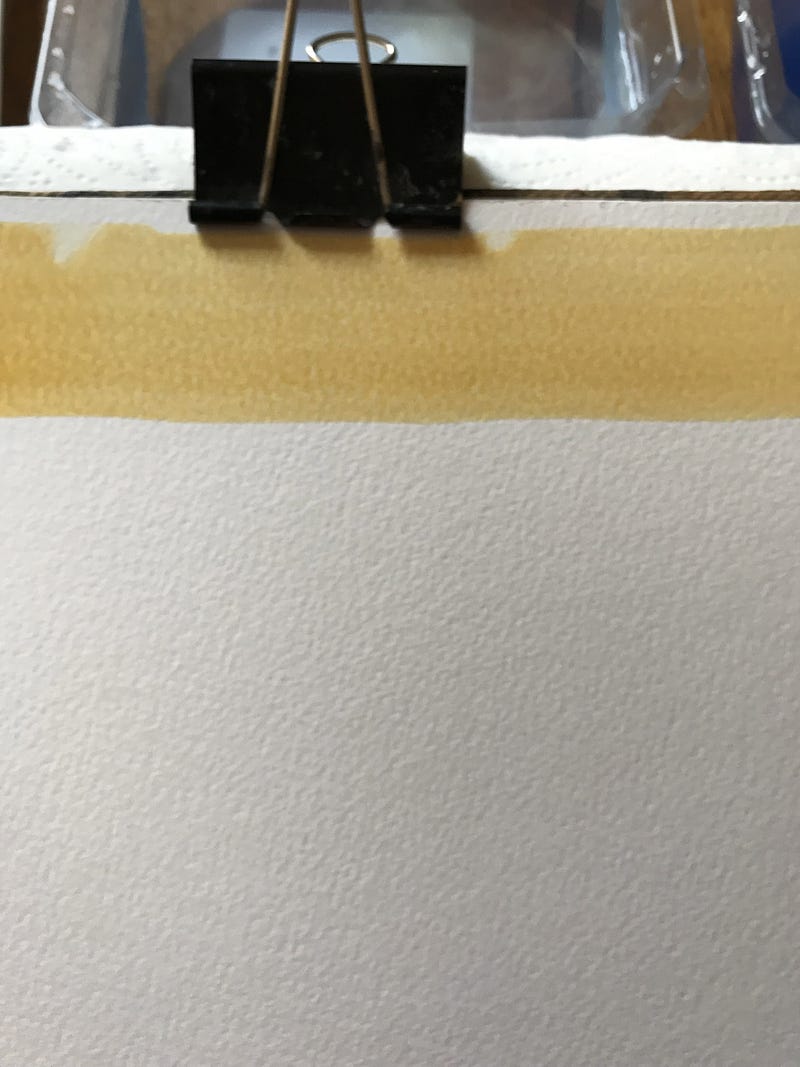
For the other sky, a big blob of raw sienna on the tray (L), mix with clean water, try the colour on scrap (middle), lay down first swipe across the paper (R), left to right, just one sweep. Pick up more colour on the brush, keep sweeping it across the paper. No back and forth, just gentle laying down of colour in one direction picking up the bottom of the previous sweep as you go.
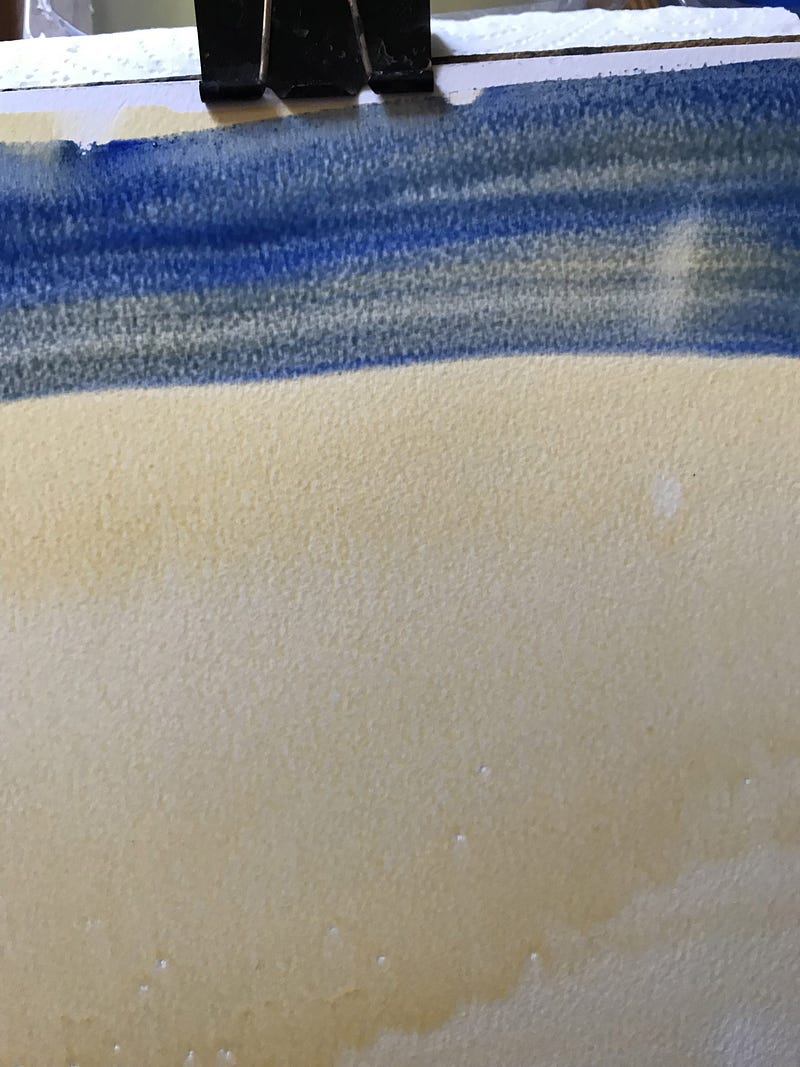
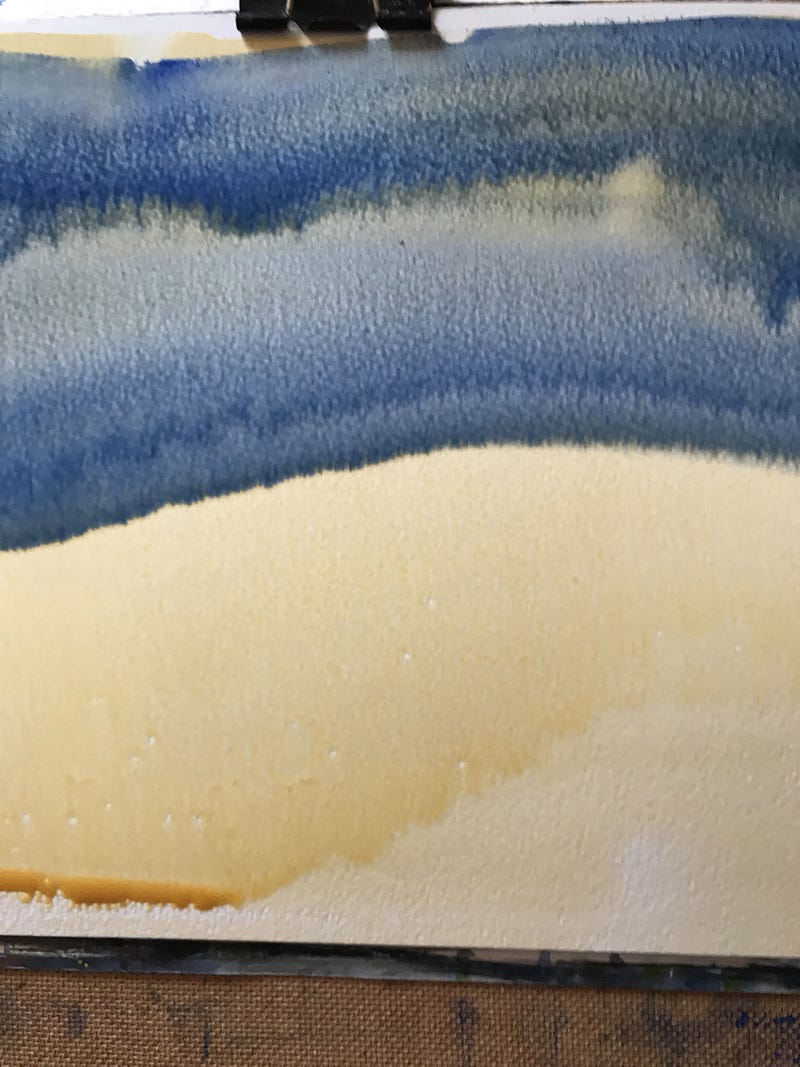
Then add blue on top in exactly the same way — this time you’re laying over wet paint underneath so it is especially important to gently slide your brush across the paper. Keep going until you’re about two-thirds of the way down with the blue. Add a little water to your brush so the blue is paler at the bottom than at the top.
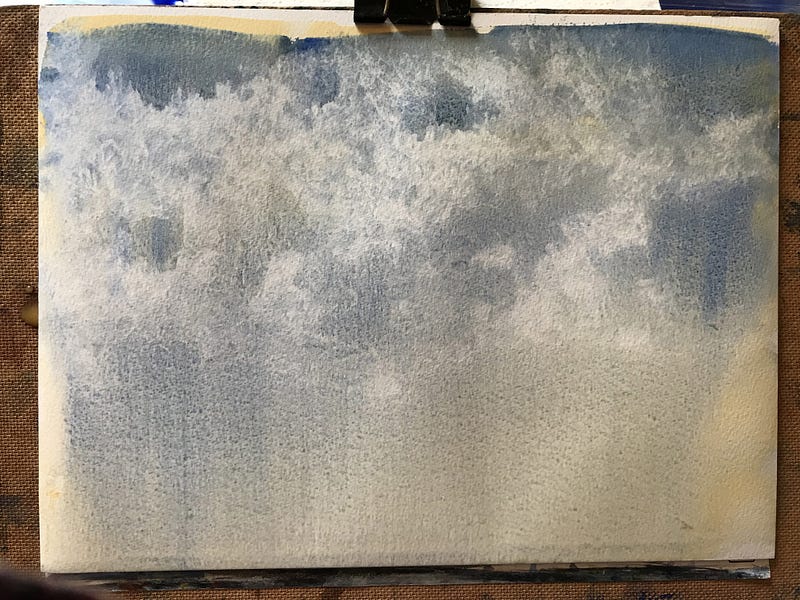
Then it’s the same thing with the scrumpled kitchen towel to make the clouds. Bigger at the top than at the bottom. Not evenly spaced.
And there you have it — two different skies exhibiting different atmospheres. All done with one brush and some kitchen towel.
The next session will cover how to paint in the land under the sky to make the hills over there look far away and the foreground here look close.
As with anything, and as Constable illustrated all the time, practice helps a lot, too!
All paintings and drawings are by the author — except for John Constable’s sky at the top of this page!
Especially useful for the next session from my How to Draw publication — creating distance:
Also useful:
And a reminder of the gear you need to get started in watercolour:
And how to get the right amount of water in your brush:
Susan’s Amazon Page / Susan’s Etsy Store / Susan’s newsletter sign-up
Read more from me: © Susan Alison 2021


