
HOW TO PAINT IN WATERCOLOUR
The Painting Gear You Need
It’s not as much, or as complicated, as you might think
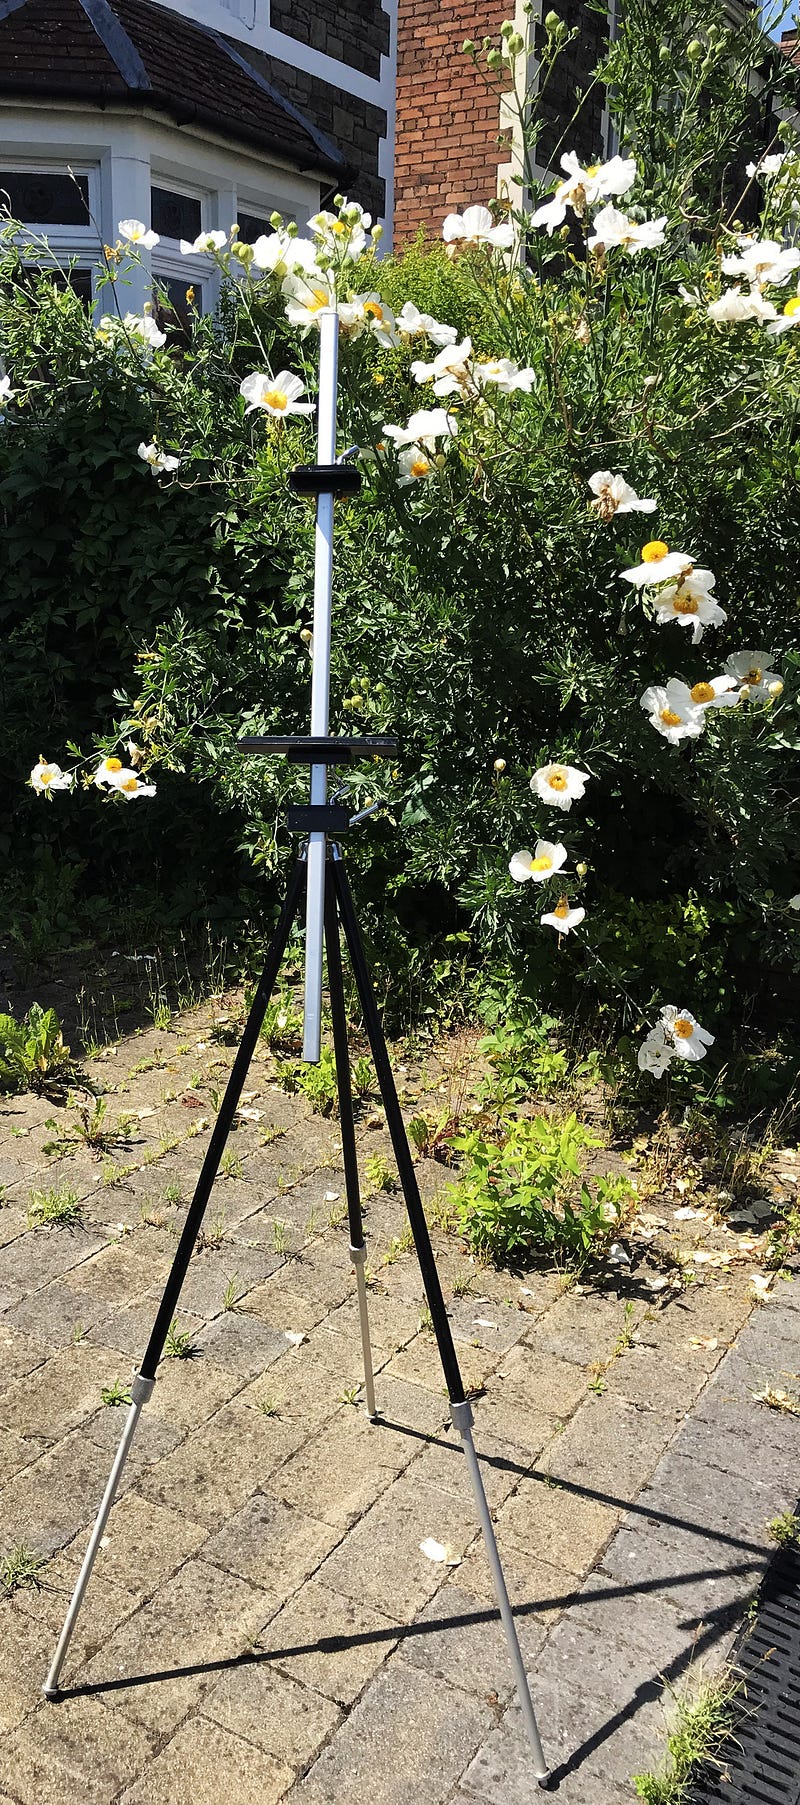
You don’t need an easel (above left) — unless you want one, of course — but I’ve started with one because it always seems to be the first thing people mention, and some people like to use them. I don’t like easels and tend to fall over them. They don’t like me, either, and go out of their way to trip me up.
The only time I do use an easel is when I’m teaching painting. I stand up front and demonstrate what I’m waffling on about, so the painting needs to be on an easel so it can be seen.
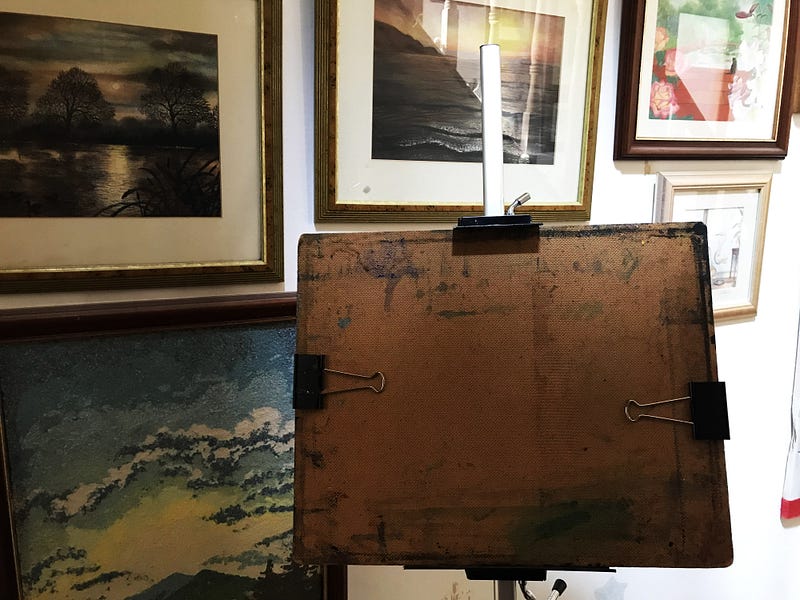
Until recently, I would use an easel with a painting board (above right). It’s just a cut-off piece of hardboard.
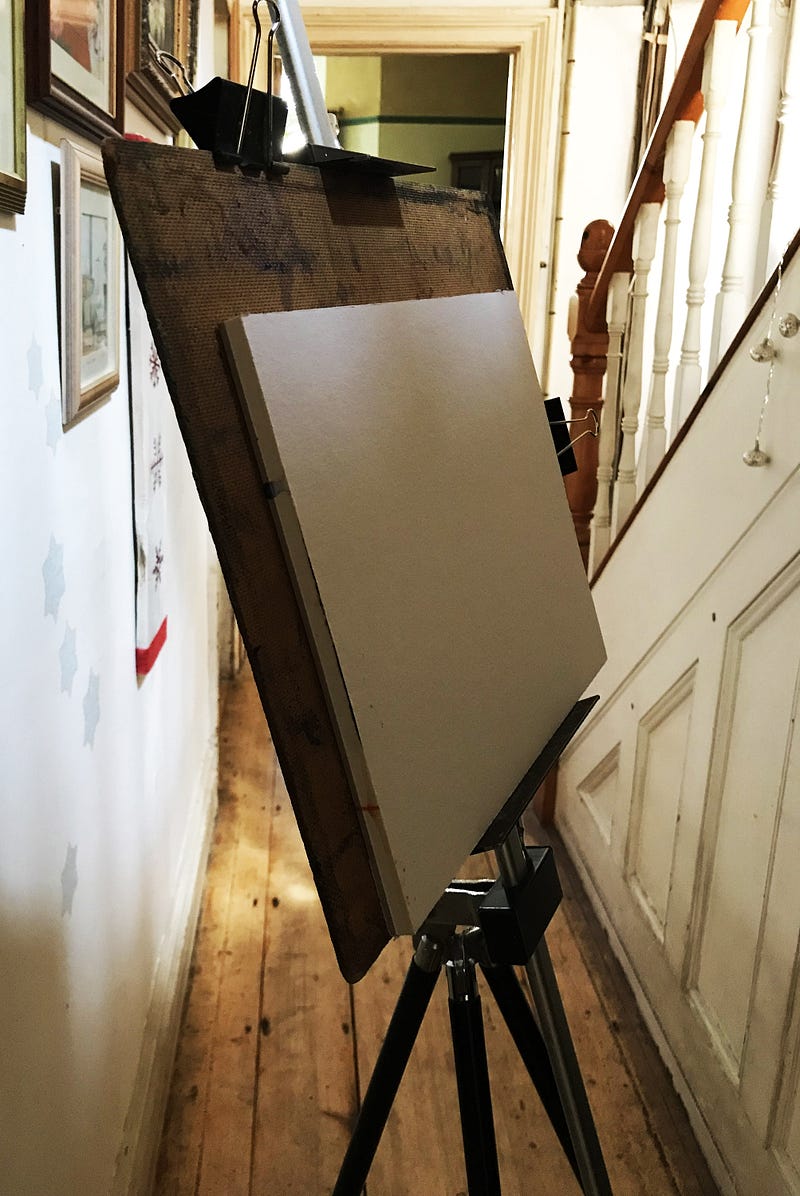
The hardboard was to support the paper, using clips to secure it (above left).
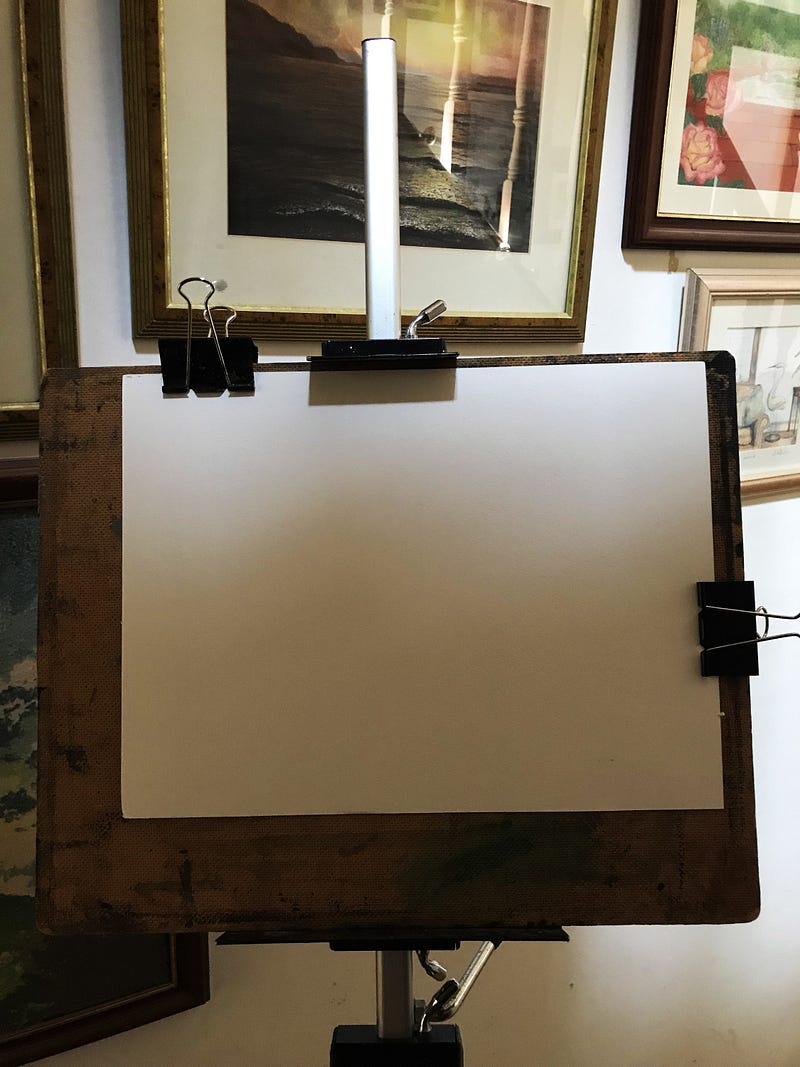
However, I now use pads of glued paper (above right) — you can see the depth of the pad from this angle. They usually consist of at least ten sheets.
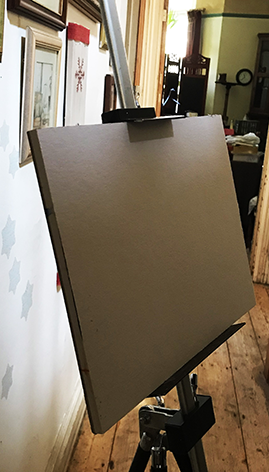
Because it’s a pad rather than a piece of paper, it no longer needs the board — so it can go straight onto the easel (left).
The painting paper itself is heavyweight watercolour paper — minimum 300gsm/140lb — I use ‘not’ paper — also known as ‘cold pressed’ — all I’m interested in is that it has a slight tooth to the paper so it provides a little natural ‘texture’ under the paint, but is still smooth enough if some detailed work is required.
A note in here about paper — people used to ‘stretch’ their paper by sticking it down to a board with tape all around it. Because it was taped all around the edge, it would stretch and buckle whilst wet, but dry flat. This meant that virtually any paper could be used.
It also means that when the tape is peeled off there is a lovely sharp edge to the painting because no paint will have got under the tape.
Then along came heavyweight watercolour paper which meant it didn’t need to be stretched because it was heavy enough not to buckle.
And now — the glued pads — as far as I’m concerned they represent the best of all worlds — heavy paper, glued all around its edge so it won’t buckle even if it wanted to, no need for boards, tape, clips etc. It’s also a lot easier if you want to transport all your gear somewhere else, or if you want to paint outside.
Each to their own, though, of course — use whatever you’re most comfortable with.
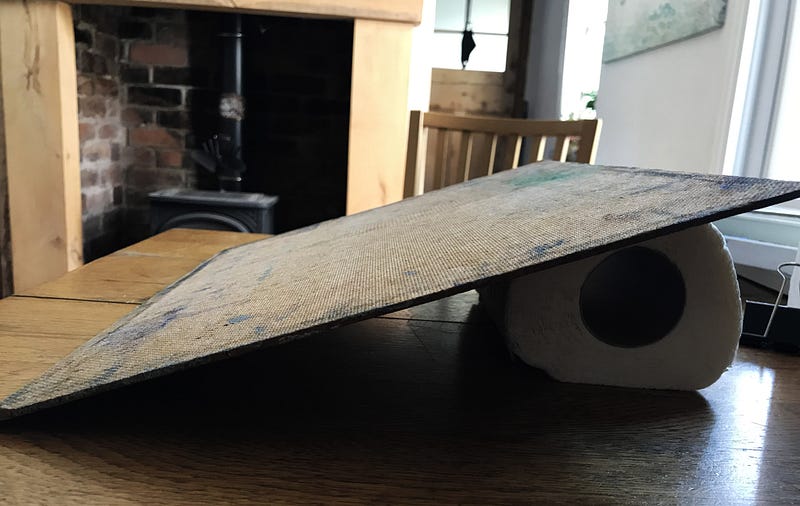
As I say, I don’t use an easel when I’m painting for me. I prefer to sit down and paint at my desk or table. I use the hardboard painting board to rest my pad of paper on; it’s at an angle so the paint runs down when wet. I create the angle using a roll of kitchen towel under the board (above L).
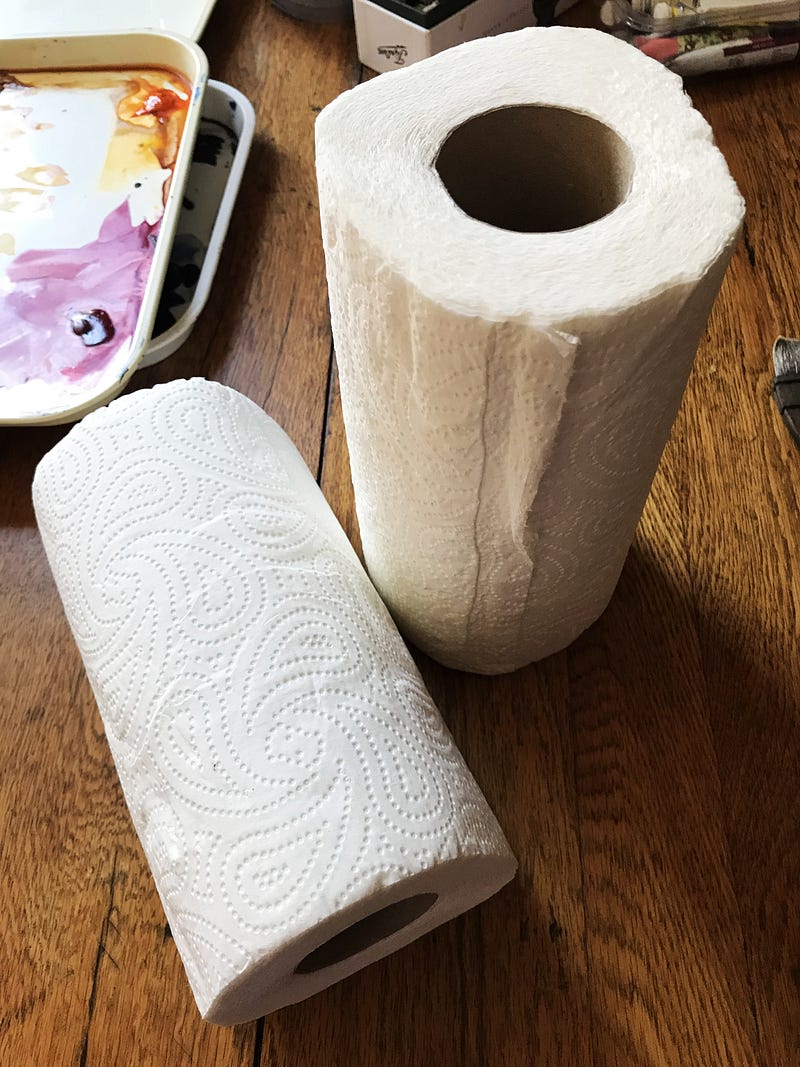
Kitchen towel (above R) is one of the most important bits of kit ever! This is just one of its many uses.
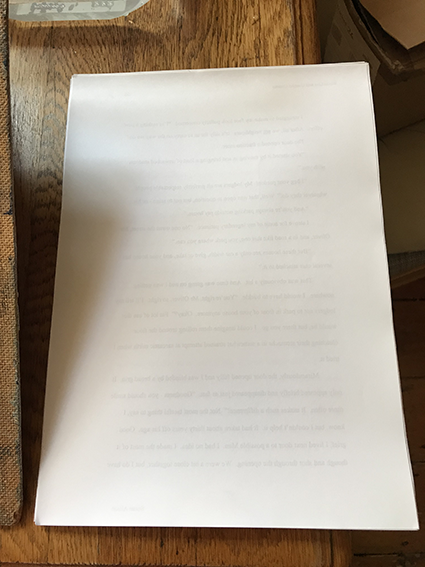
Another absolute essential is scrap paper. This is for trying out brush strokes, and for making sure the colour on your brush is exactly what you want, and for making sure your brush contains the right amount of water, and for trying out techniques and details before painting them on to your masterpiece.
It’s also first grade recycling — my scrap paper is usually old book manuscripts.
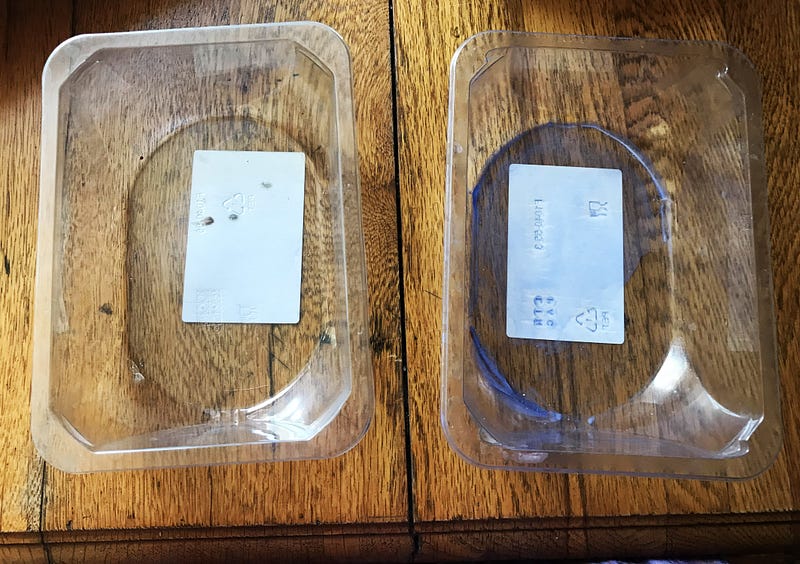
For water it’s best to use a minimum of two containers (left) — I use old salad containers from the supermarket.
I use at least two so that I always have one for cleaning my brush, and the other for mixing colours with clean water.
And I change the water frequently.
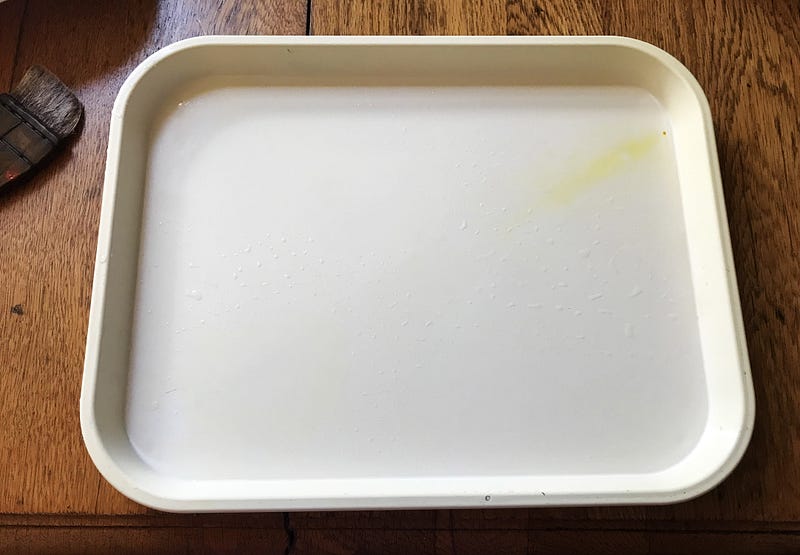
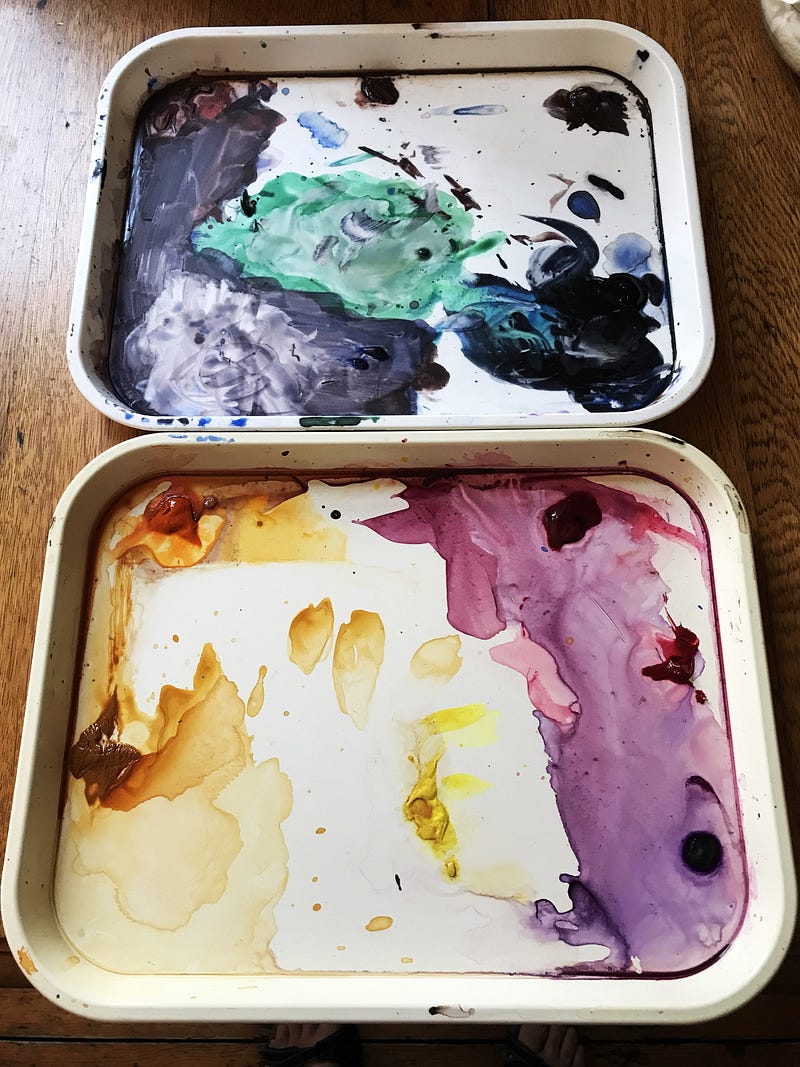
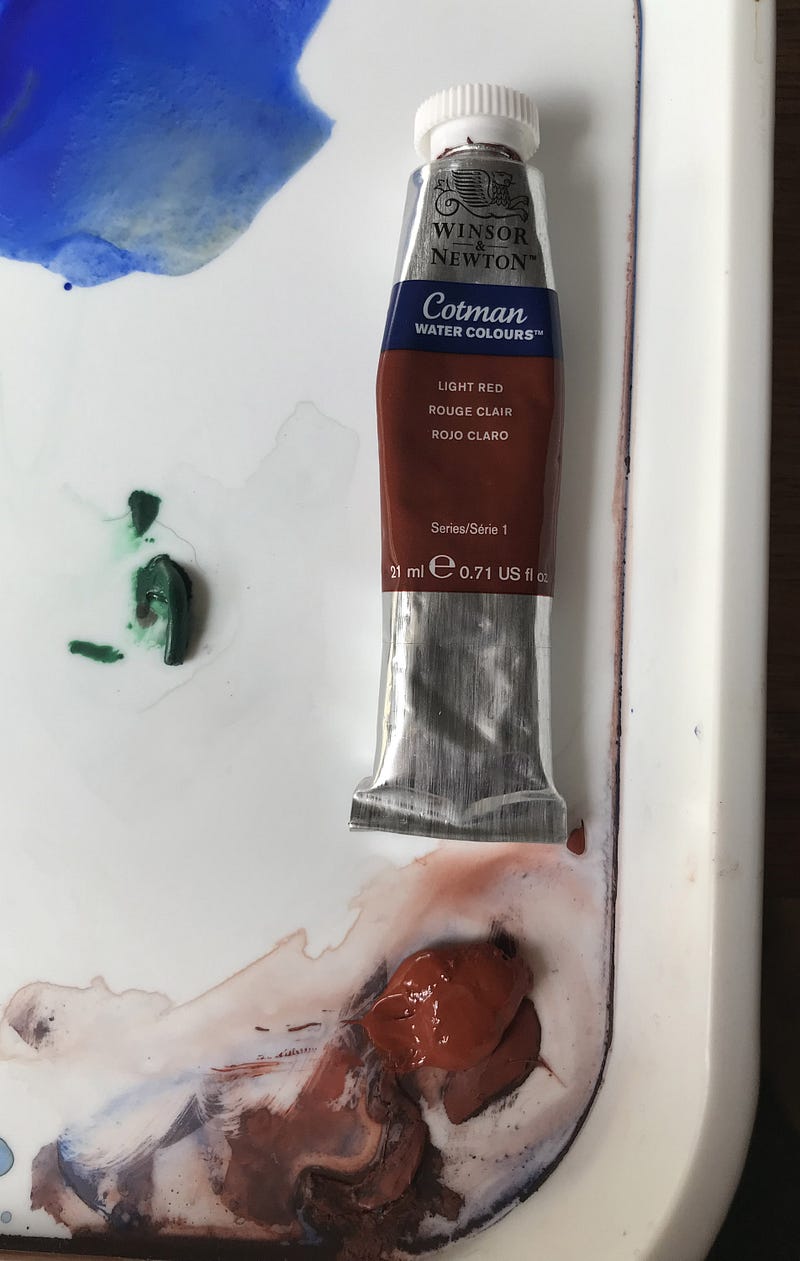
The palettes I use are white, plastic trays (above left). I bought several from my local butcher. They are perfect for the way I paint. I use two (above right) — yellows and reds in one, blues etc in the other. I leave the paint on them and pack them away like that, too. Just spraying with water livens the paint up again and it means none is wasted.
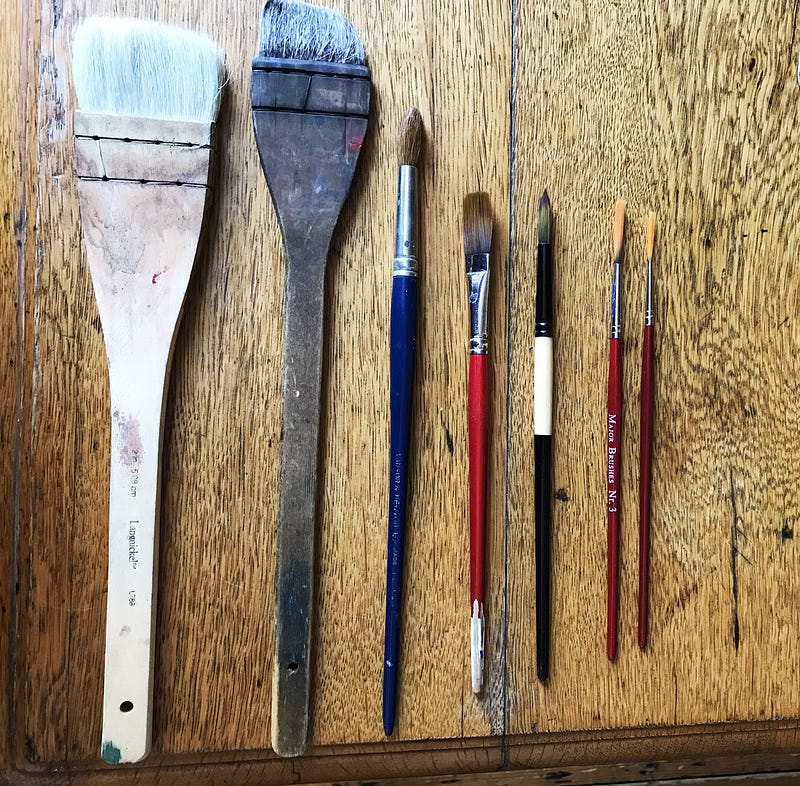
I would recommend starting with big brushes to try to avoid the habit of ‘fiddling’ setting in before you’ve got going.
I use a two-inch hake — the second brush from the left above is the hake I started with a few years ago — it’s grown into the way I use it — the brush to the left of it is a newer one — it hasn’t yet been ‘broken in’. There are also two round brushes — maybe size 14 and size 10 (the numbers have worn off) — in between them with the red handle is a half-inch flat brush. On the right are two ‘riggers’, size 0 and size 3.
It would be good to start with at least a large brush (maybe a hake), a flat brush (half-inch is useful) and a rigger (size 2 is good).
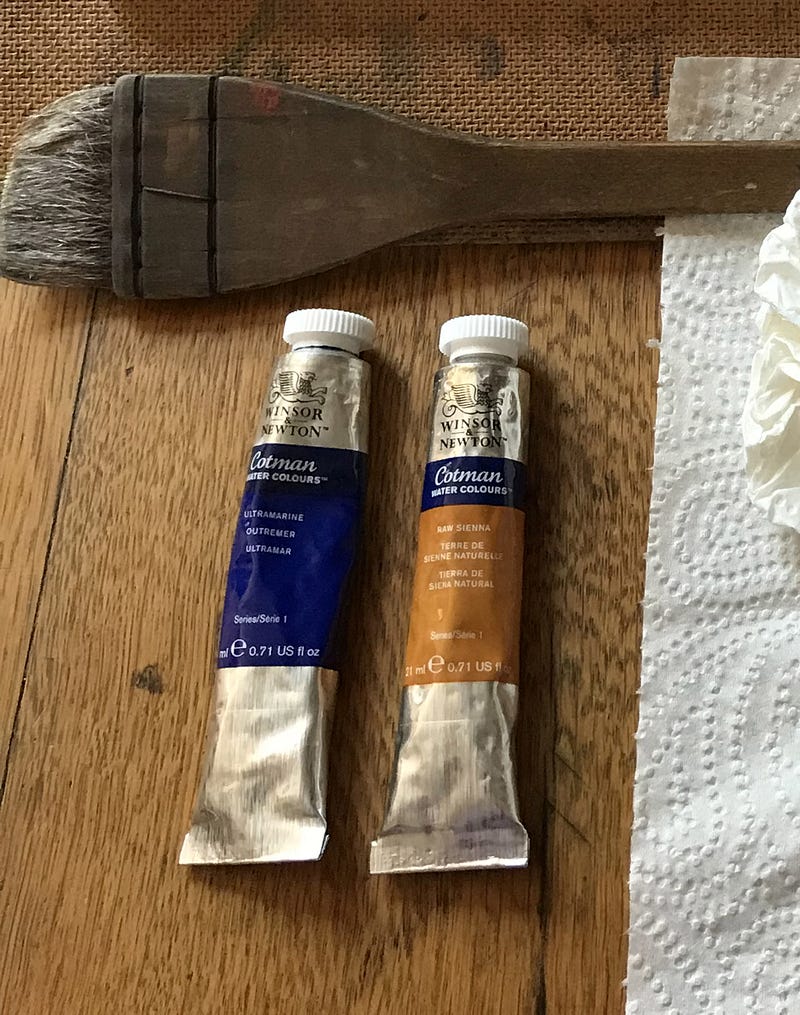
At least in the first place, it’s better to buy tubes of watercolour paint, rather than pans.
Some people go on to buy ‘artist quality’ or ‘professional quality’ — you can buy a 21 ml tube of the paint I use (above left) for about the same dosh as a 5ml tube of the artist quality. I would encourage the use of the bigger tube, at least to start.
Bigger is better because it’s not so intimidating when it comes to using it. I see people trying to squeeze out as little paint as possible which means they are already inhibited about its use before they’ve even started painting!
Above are some 21ml tubes of paint — ultramarine blue, raw sienna, and light red — the last one alongside a big blob of it on the palette.
I wouldn’t go for pans of paint at all to start with. Later on, they and other forms of watercolour, can be very useful, though.
There are other items that can be brought into play. They will be covered as they are needed.
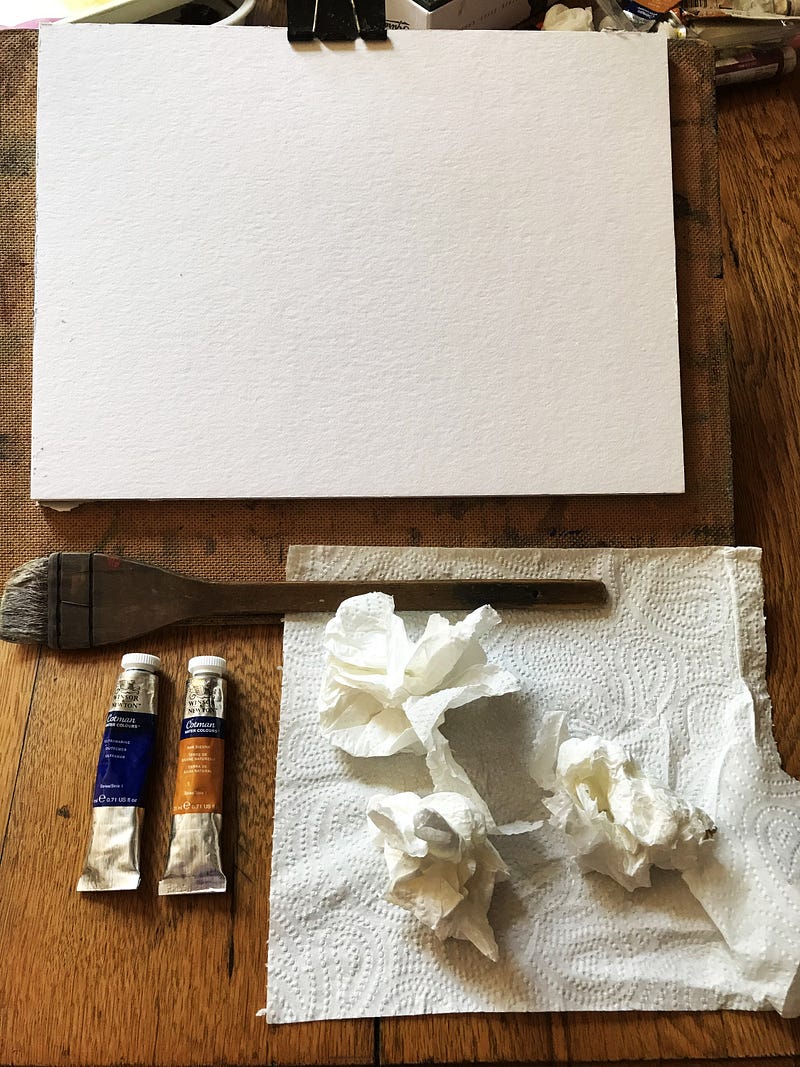
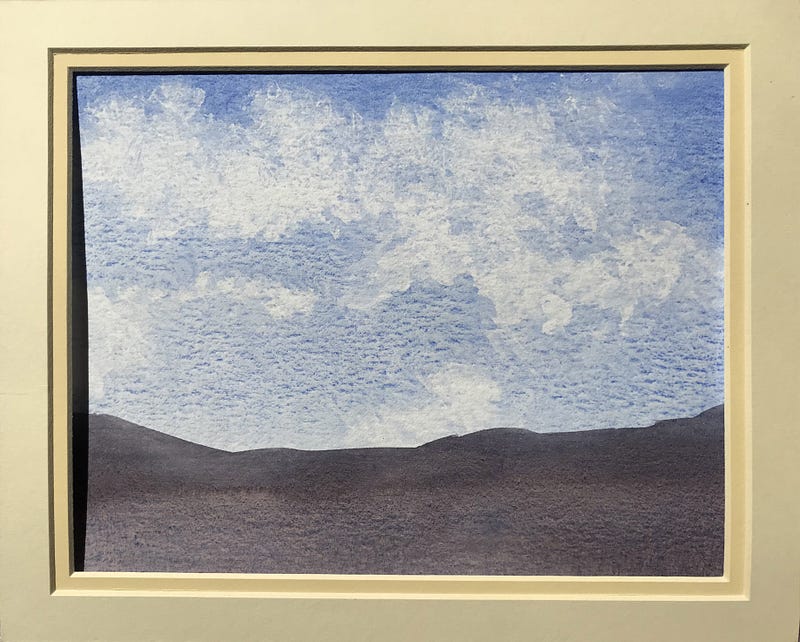
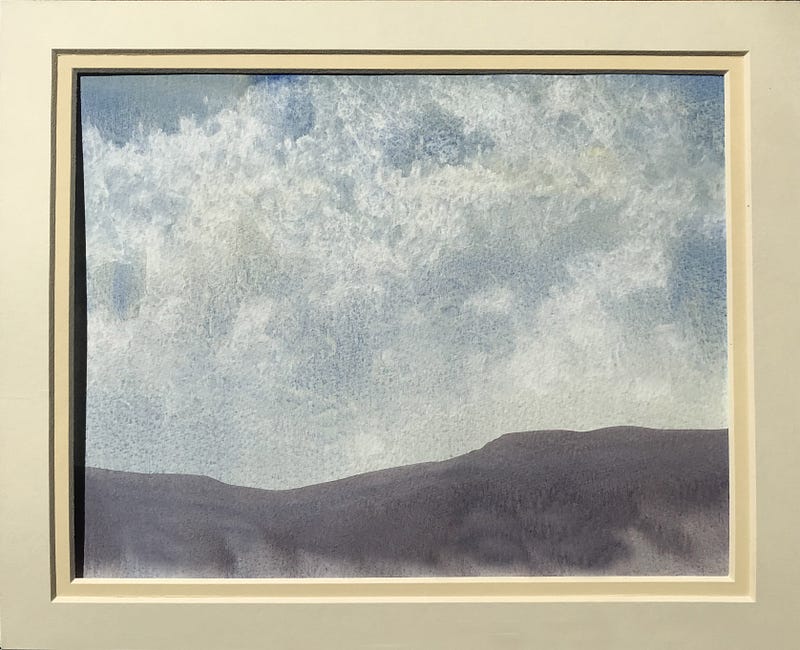
In the next session two different skies will be painted using just the materials in the pic above — plus some water and some scrap paper.
In the meantime, ‘Drawing Distance’ is a useful session:
Also, ‘Odds are Better than Evens’:
All paintings, drawings and photos are by the author.


