
How to use Error Boundaries with Fallback UI in React ?
The following article will help you to understand how to use Error boundaries in React Beginner Guide
React users, React 16 introduces a new concept of an “error boundary”. React 15 included a very limited support for error boundaries under a different method name: unstable_handleError.
Error boundaries are React components that catch JavaScript errors anywhere in their child component tree, log those errors, and display a fallback UI instead of the component tree that crashed.
Error boundaries catch errors during rendering, in lifecycle methods, and in constructors of the whole tree below them.
Before we start in detail regarding the error boundaries please find below important .
Uncaught Errors
Uncaught means the error was not caught in a catch statement, and TypeError is the error’s name. undefined is not a function.
JavaScript TypeError is thrown when an operand or argument passed to a function is incompatible with the type expected by that operator or function. This error occurs in Chrome Browser when you read a property or call a method on an undefined object .
Component Stack Traces
React 16 prints all errors that occurred during rendering to the console in development, even if the application accidentally swallows them. In addition to the error message and the JavaScript stack, it also provides component stack traces.
In computing, a stack trace (also called stack backtrace or stack traceback) is a report of the active stack frames at a certain point in time during the execution of a program. … Each time a function is called in a program, a block of memory called an activation record is allocated on top of the call stack.
A stack trace is a list of the functions, in order, that lead to a given point in a software program. A stack trace is essentially a breadcrumb trail for your software. You can easily see the stack trace in JavaScript by adding the following into your code: console. trace();
You can also see the filenames and line numbers in the component stack trace. This works by default in Create React App projects:

If you don’t use Create React App, you can add this plugin manually to your Babel configuration.
Note that it’s intended only for development and must be disabled in production.
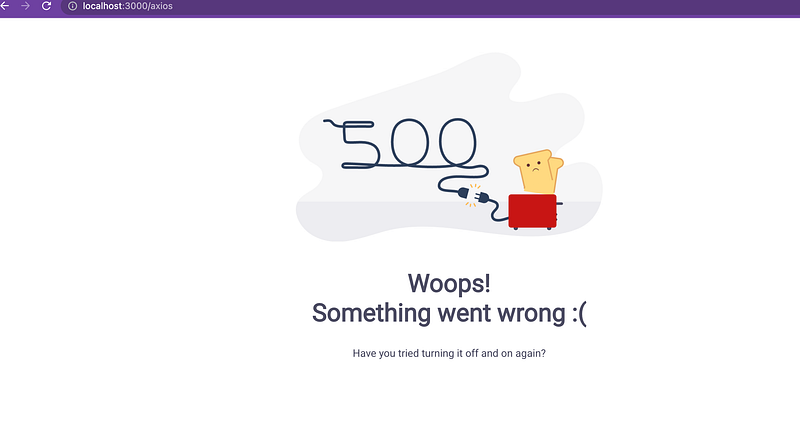
Fallback UI
A display of a beautiful UI (HTML and CSS) instead if error when something broke in the code.
Example as below

How to avoid errors in Javascript
Exceptions, whether sync or async, go up the stack until there is a try..catch to handle them.
try / catch is great but it only works for imperative code:
try {
  showUser();
} catch (error) {
  // ...
}
Download tools :
- Node — https://nodejs.org/en/download/
- Visual Studio or any editor for coding —
- Chrome browser
- React version → > 16.8
HOW TO START —
Error Boundary
A class component becomes an error boundary if it defines either (or both) of the lifecycle methods static getDerivedStateFromError() or componentDidCatch().
Two Important points before creating the error boundaries
- Only a class component can be used as an error boundary.
Even if you’re writing all your components as function, you still have to make use of a class component if you want to have an error boundary.
2. It must define either (or both) of static getDerivedStateFromError() or componentDidCatch().
ADVANTAGES
1. Catch JavaScript Errors
2. Logs errors
Use
static getDerivedStateFromError()to render a fallback UI after an error has been thrown.
3. Fallback Fancy UI (Can generate the Fancy or User friendly UI)
Use
componentDidCatch()to log error information.
DISADVANTAGES
- Error boundaries do not catch errors inside event handlers.
- React doesn’t need error boundaries to recover from errors in event handlers.
- If you need to catch an error inside an event handler, use the regular JavaScript
try/catchstatement.
Error boundaries do not catch errors for:
- Event handlers
- Asynchronous code (e.g.
setTimeoutorrequestAnimationFramecallbacks) - Server side rendering
- Errors thrown in the error boundary itself (rather than its children)
Step 1.
First, we need the react app with some basic routing — so if you are new to react please follow the below article on how to start with React CRA :)
Step 2.
Clone any react app — to create the error boundaries example , i am using below repo for clone and create new branch for ErrorBoundaries
git clone https://github.com/kirti/react-data-fetching-axios-fetchapi.gitStep 3.
yarn install
yarn start
Step 4.
open the browser https://localhost:3000 — working project

Step 5.
Now we will add error boundaries in the working code and will also add some error to reproduce the FallBack Error UI
Let’s start
a) Create the ErrorBoundary.js and add the below code — Noted down it should be class component
Only a class component can be used as an error boundary
A class component becomes an error boundary if it defines either (or both) of the lifecycle methods static getDerivedStateFromError() or componentDidCatch().
import React from 'react'import ErrorFallback from './ErrorFallback'export class ErrorBoundary extends React.Component {constructor(props) {super(props);
this.state = { hasError: false };}
static getDerivedStateFromError(error) {// Update state so the next render will show the fallback UI.return { hasError: true };}
componentDidCatch(error, errorInfo) {// You can also log the error to an error reporting service//logErrorToMyService(error, errorInfo);console.log(error, errorInfo)}
render() {if (this.state.hasError) {// You can render any custom fallback UIreturn <ErrorFallback></ErrorFallback>;}
return this.props.children;}
}
b) ErrorFallback UI for fallback fancy UI instead of just error.
Create the ErrorFallback.js Sample HTML (free downloaded from https://freefrontend.com/500-error-page-html-templates/) — You can also use any html as per your design or requirement.
STEP 6.
Example: Open the App.js file. Here, App is our default component where we have written our code for Errorboundary wrapper.
Open the App.js

STEP 7.
How to test Error Boundaries is working ?
a) Open the PostsWithAxios.js
and add some code which can reproduce some error in javascript
For example —
check line 19 of below file (Github code) post.name.toUppercase —
this is error because name is not in response api and if we convert to toUpperCase for undefined it will give error and break the UI

Step 8.
yarn startStep 9.
Open the browser with http://localhost:3000
Click Here — Posts With Axios Example
or
Open direct axios url http://localhost:3000/axios
Development Environment —
You will first see below screen with complete component trace

Production Behaviour
Github Code —
Conclusion:
This is the explanatory medium story of How to use Error Boundaries with Fallback UI in React If you have any doubts, please mail me at [email protected]
Happy Learning and Stay Safe.
Take care All
Please find my few more articles for beginners :)
Share knowledge and kind is cool :)


