
How To Dockerize MERN Stack
A step by step guide with an example project
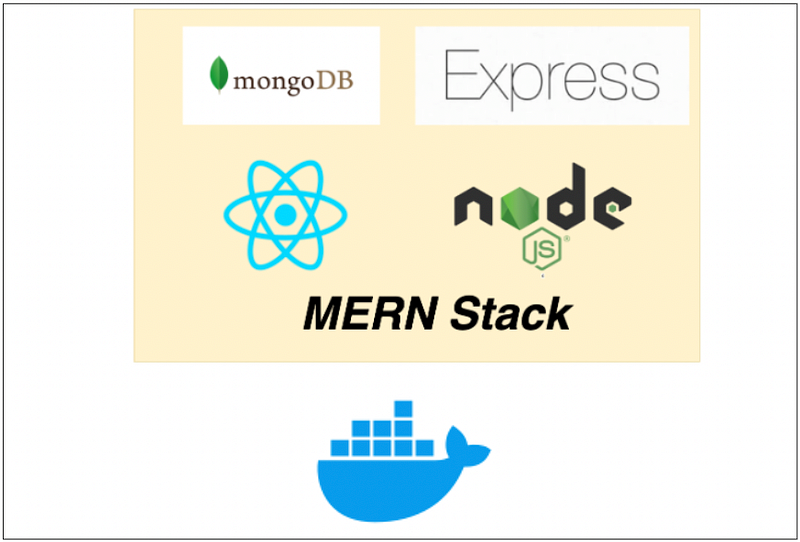
Docker is an enterprise-ready container platform that enables organizations to seamlessly build, share, and run any application, anywhere. Almost every company is containerizing its applications for faster production workloads so that they can deploy anytime and sometimes several times a day. There are so many ways we can build a MERN Stack. One way is to dockerize it and create a docker image so that we can deploy that image any time or sometimes several times a day.
In this post, we look at the example project and see the step-by-step guide on how we can dockerize the MERN Stack.
- Introduction
- Prerequisites
- Example Project
- Run With Docker Compose
- Build The UI
- Build the API
- Dockerizing the WebApp
- Running The App on Docker
- Summary
- Conclusion
Introduction
Nowadays, it’s very common to dockerize and deploy the Docker image in production with the help of container orchestration engines such as Docker Swarn or Kubernetes. We are going to Dockerize the app and create an image and run it on Docker on our local machine. We could also push that Image into the Docker hub and pull it whenever and wherever we need it.
Here is the complete guide on how to develop and build MERN Stack. If you are not familiar with the process or you want to know before studying this guide, I would recommend you go through it.
Prerequisites
There are some prerequisites for this post. You need to have a NodeJS installed on your machine and some other tools that are required to complete this project.
- NodeJS
- Express Framework
- Mongoose
- MongoDB
- VSCode
- Postman
- nodemon
- dotenv
- Create React App
- Typescript
- react-bootstrap
- Docker
- Docker Compose
NodeJS: As an asynchronous event-driven JavaScript runtime, Node.js is designed to build scalable network applications.
Express Framework: Express is a minimal and flexible Node.js web application framework that provides a robust set of features for web and mobile applications.
Mongoose: elegant MongoDB object modeling for node.js
MongoDB: MongoDB is a general-purpose, document-based, distributed database built for modern application developers and for the cloud era.
VSCode: The editor we are using for the project. It’s open-source and you can download it here.
Postman: Manual testing your APIs
nodemon: To speed up the development
If you are a complete beginner and don’t know how to build from scratch, I would recommend going through the below articles. We used these projects from this article as a basis for this post.
How to write production-ready Node.js Rest API — Javascript version
Example Project
Here is an example of a simple tasks application that creates, retrieves, edits, and deletes tasks. We actually run the API on the NodeJS server and you can use MongoDB to save all these tasks.

As you add users we are making an API call to the nodejs server to store them and get the same data from the server when we retrieve them. You can see network calls in the following video.

Here is a Github link to this project. You can clone it and run it on your machine.
// clone the project
git clone https://github.com/bbachi/mern-stack-example
// React Code
cd ui
npm install
npm start// API code
cd api
npm install
npm run devRun With Docker Compose
Docker Compose is really useful when we don’t have the development environment setup on our local machine to run all parts of the application to test or we want to run all parts of the application with one command. For example, if you want to run NodeJS REST API and MongoDB database on different ports and need a single command to set up and run the whole thing. You can accomplish that with Docker Compose.
Here is the detailed post on how to run MERN Stack on Docker Compose.
Build The UI
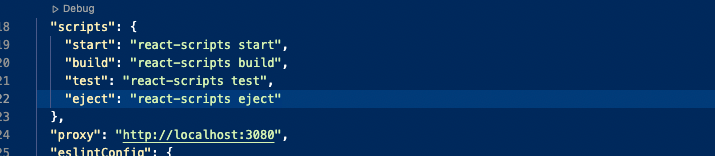
Building the UI is very simple with React CLI, all you need to run the following command, and this, in turn, runs the react-scripts build command.
Once you run the above command, the entire build of the react in under the folder build.
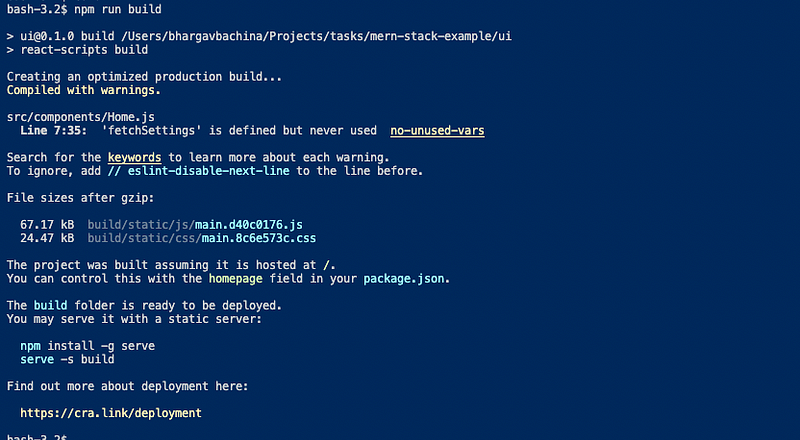
Here is the output build folder.

Build the API
We need to use webpack to build the API and use DefinePlugin to pass environment variables. You need to install webpack as dev dependencies with the following commands.
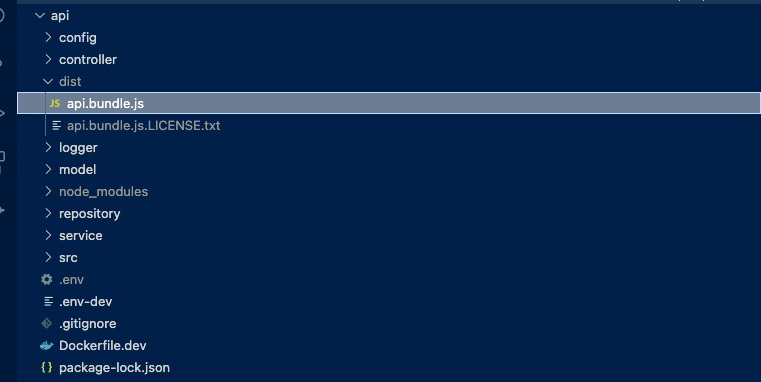
npm install webpack webpack-cli --save-devYou have to put this webpack.config.js file under the folder api. The webpack takes the entry file and builds all the dependencies and puts the output in one file named api.bundle.js.
Now, we need a way to pass environment variables to the web app so that the API can connect to MongoDB based on the environment such as dev, test, production. If you want a detailed post about how many ways we can read environment variables in the NodeJS API, check out the below post.
The DefinePlugin allows you to create global constants that can be configured at compile time. This can be useful for allowing different behavior between development builds and production builds. You can find more here.
We need to place this in the plugins section of the webpack.config.js file. Let’s add all the variables that we have in the .env file. Here is the updated one.
We have defined webpack and DefinePlugin above and it’s time to build the API with the command ENVIRONMENT=$ENVIRONMENT webpack. You can add this in the scripts section of the package.json file as below.

You should pass the environment with the below command. It takes all the production environment variables and builds the API and produces one file.
ENVIRONMENT=production npm run build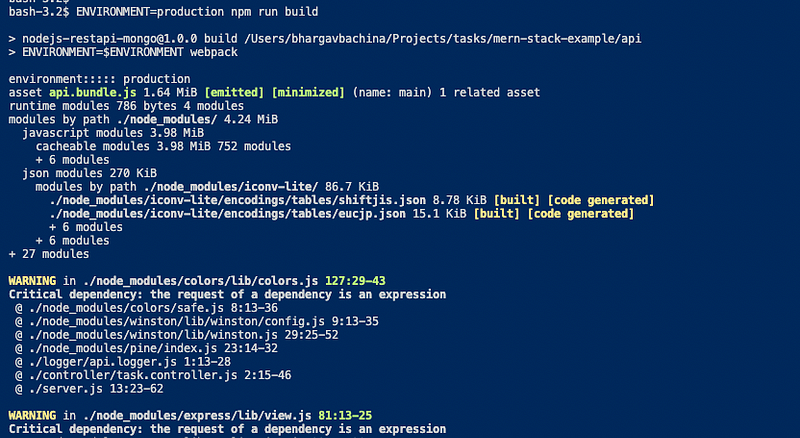
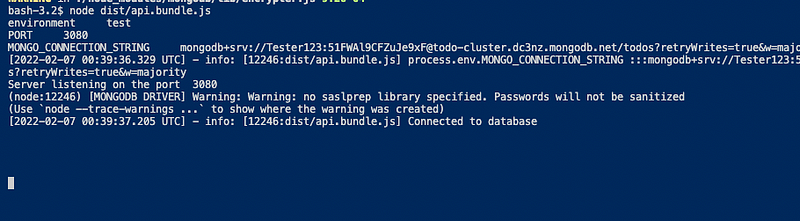
You can run this file with the command node api.bundle.js
you can access the API endpoints as well.
Dockerizing the WebApp
We have seen how to build UI and API and Let’s package the App with this information.
We use the multi-stage builds for efficient docker images. Building efficient Docker images are very important for faster downloads and lesser surface attacks. In this multi-stage build, building a React app and putting those static assets in the build folder is the first step. The second step involves building the API. Finally, the third step involves taking those static build files and API build and serving the React static files through the API server.
We need to update the server.js file in the NodeJS API to let Express know about the React static assets and send the index.html as a default route. Here is the updated server.js file. Notice the line numbers 41 and 20.
Let’s build an image with the Dockerfile. Here are the things we need for building an image.
Stage 1
- Start from the base image
node:14-slim - There are two package.json files: one is for the nodejs server and another is for React UI. We need to copy these into the Docker file system and install all the dependencies.
- We need this step first to build images faster in case there is a change in the source later. We don’t want to repeat installing dependencies every time we change any source files.
- Copy all the source files.
- Install all the dependencies.
- Run
npm run buildto build the React App and all the assets will be created underbuilda folder within the ui folder.
Stage 2
- Start from the base image
node:14-slim - Copy the nodejs package.json into ./api folder
- Install all the dependencies
- Finally, copy the server.js into the same folder
Stage 3
- Start from the base image
node:14-slim - Copy all the built files from UI Build
- Copy all the built files from API Build
- Finally, run this command
node api.bundle.js
Here is the complete Dockerfile for the entire build.
Let’s build the image with the following command.
// build the image
docker build -t mern-image .
// check the images
docker imagesRunning The App on Docker
Once the Docker image is built. You can run the image with the following command.
docker run -d -p 3080:3080 --name mern-stack mern-image
You can access the application on the web at this address http://localhost:3080.

Exec into a running container
You can exec into the running container with this command and explore the file system.
docker exec -it mern-stack /bin/sh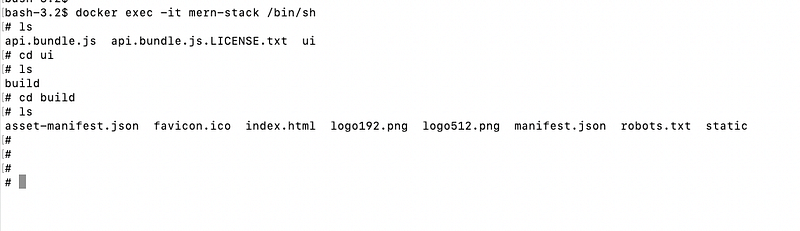
Summary
- Nowadays, it’s very common to dockerize and deploy the Docker image in production with the help of container orchestration engines such as Docker Swarn or Kubernetes.
- We use the multi-stage builds for efficient docker images.
- Building efficient Docker images are very important for faster downloads and lesser surface attacks.
- You can build the image with this command
docker build -t mern-image . - You can run the image with this command
docker run -d -p 3080:3080 --name mern-stack mern-image - You can exec into the running container to explore the file system
docker exec -it mern-stack /bin/sh - You can access container logs with this command
docker logs mern-stack
Conclusion
Always use multi-stage builds with this type of architecture. It makes Docker images smaller and less prone to attacks. We have seen how to dockerize the MERN Stack and we will see how to deploy the Docker image on different Cloud providers such as AWS, GCP, and Azure, etc.


