
How to Create a Talking AI Avatar for Free
Using Leonardo.Ai, ChatGPT, D-ID, and Canva
Have you ever wanted to create your own talking AI avatar but were deterred by the perceived complexity or cost? you’ve come to the right place! This tutorial is designed to help you navigate this fascinating field and bring your digital persona to life for free.
We’ll be leveraging the power of Leonardo.Ai for avatar creation, ChatGPT for text generation, D-ID for creating realistic, animated faces, and Canva for video editing. No matter your technical background or experience level, this guide is meant to be accessible to everyone. So, let’s dive in and start our exciting journey in the realm of AI avatars!
Resources for this post:
Step 1: Create an Avatar Using Leonardo.Ai
Leonardo.ai is a stable-diffusion-based free alternative to Midjourney. If you have not used it before, please check out my previous tutorial on Leonardo.ai to learn how to create an account and generate your first image.
After logging in Leonardo.ai, select Cute Characters under Featured Models. Please feel free to select other models if you prefer a different style for your avatar.
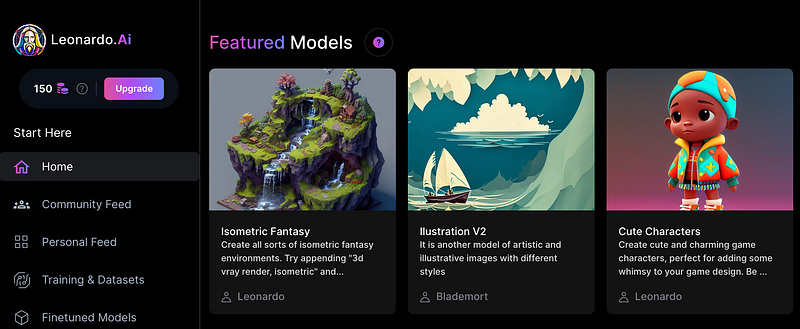
Choose an image from the list under Images created with this model as a starting point. If you do not see anything that you like, click View More to see more example images.
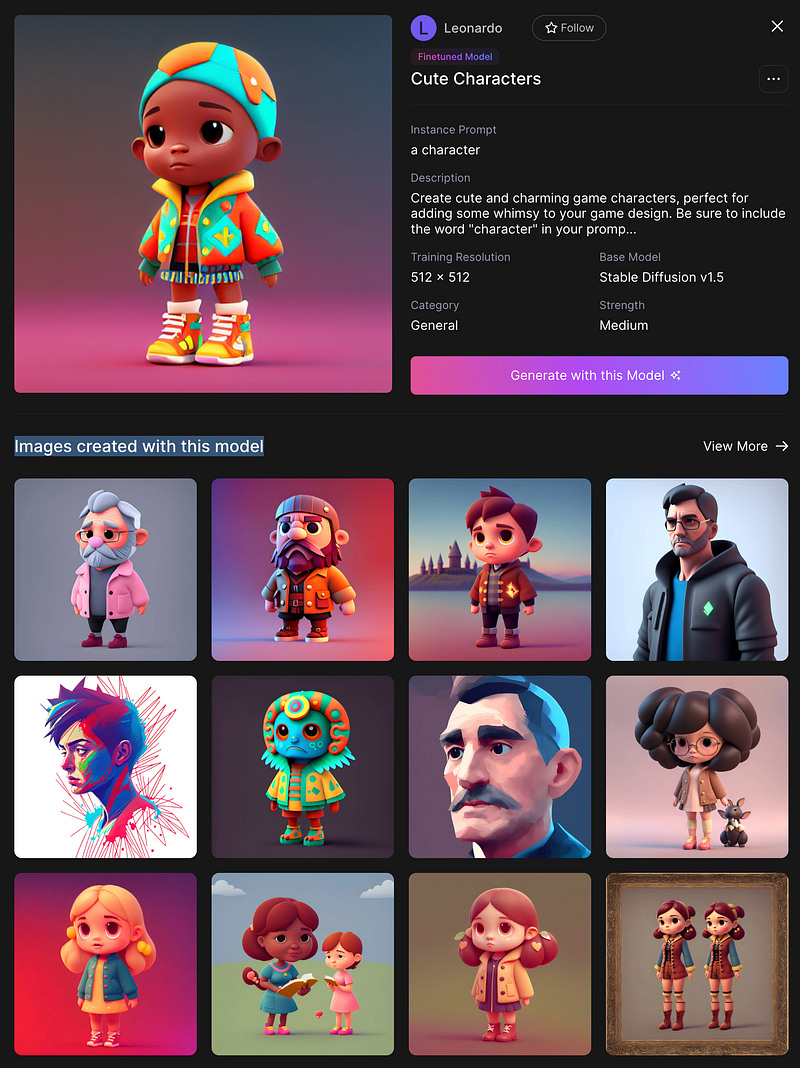
After selecting an image, you will see the details about the image such as the prompt details, the creator's name, the resolution of the image, creation time, etc. There are three options for the next steps:
- Copy Prompt
- Image2Image which copies the prompt over to the AI Image Generation User Tool and loads the image.
3. Remix which copies the prompt and all generation settings to the AI Image Generation User Tool.
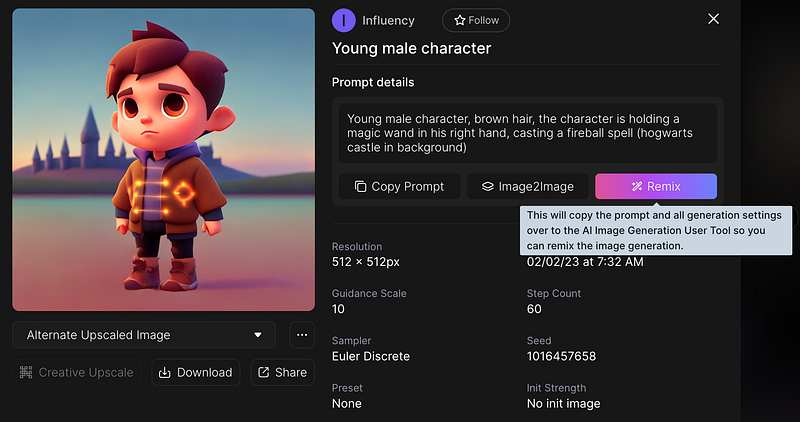
Click remix and modify the prompt based on your preference. Click the Generate button to create the images.
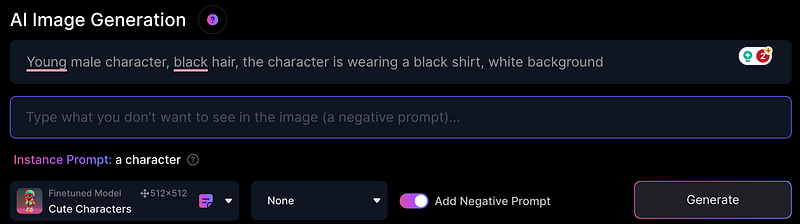
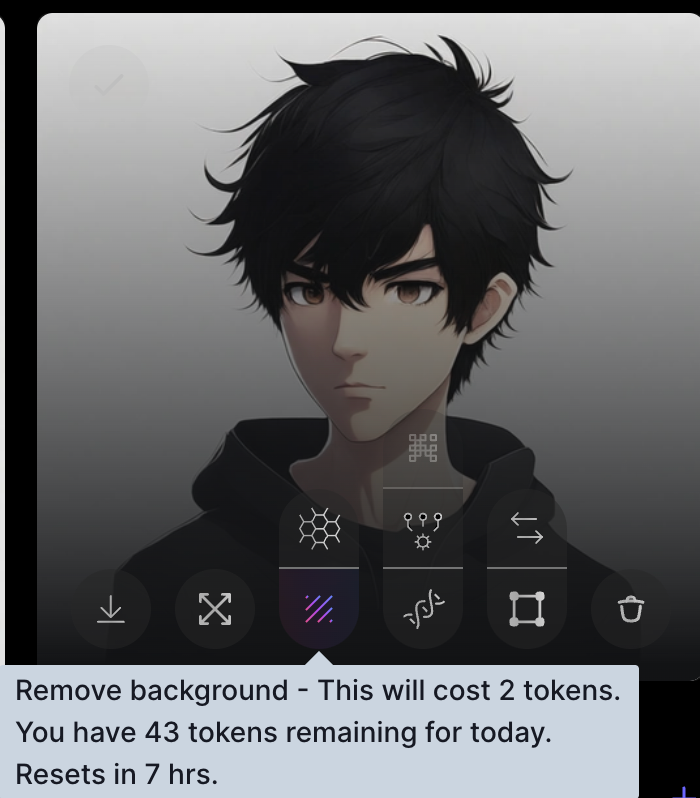
You can tweak your prompt and regenerate more images. The free account has 150 tokens per day. Choose the image you like and remove the background.
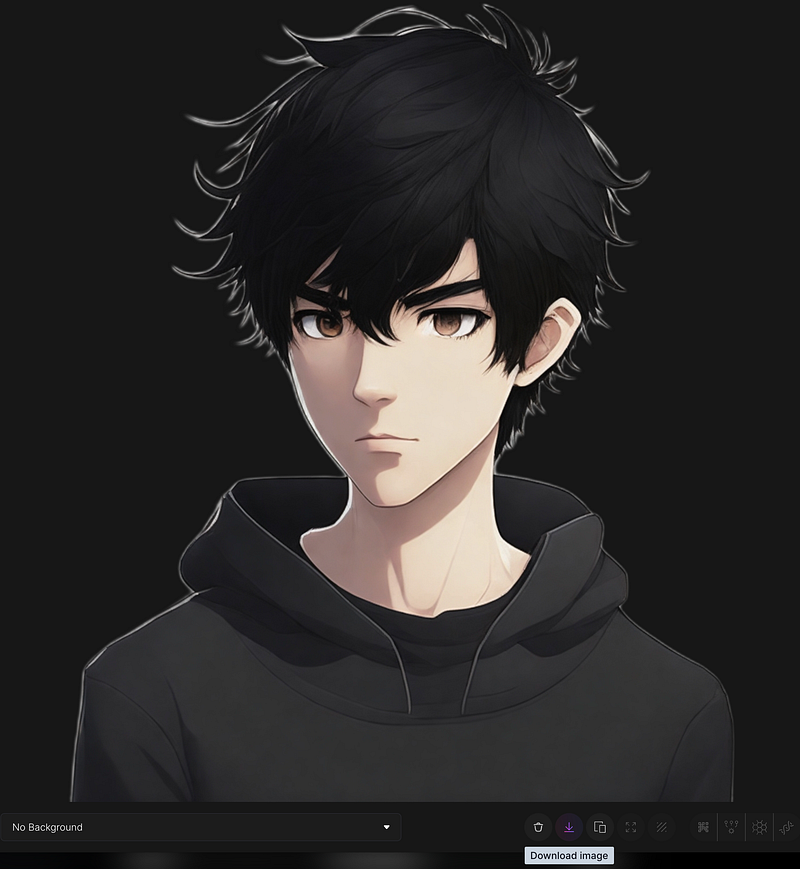
Download the character without background to your computer by clicking the download icon.
Step 2: Use ChatGPT for Transcript
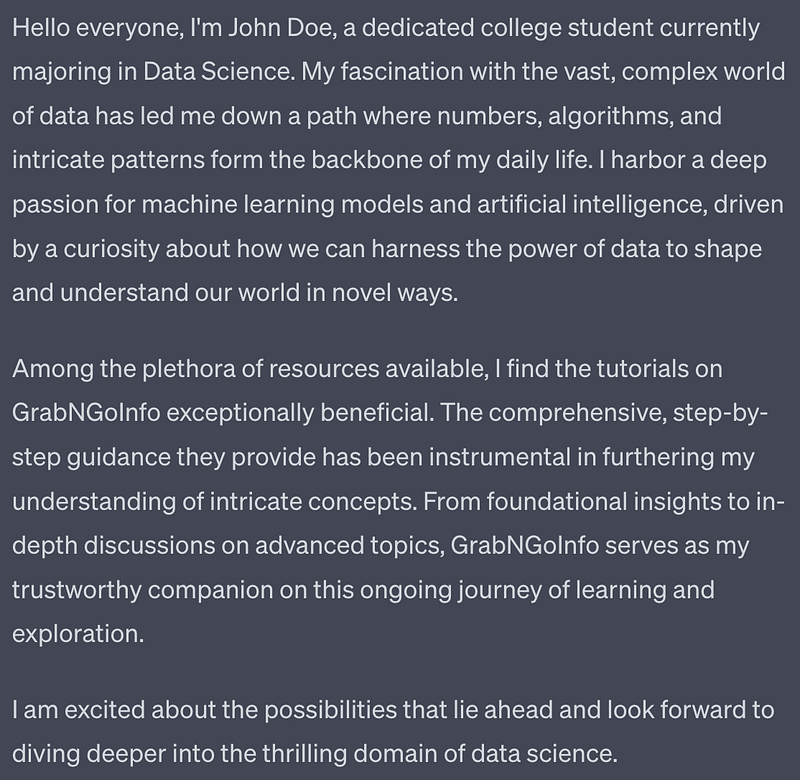
Login to ChatGPT and generate a transcript for the video. Learn how to write an efficient prompt from this tutorial. I used the prompt “Create a self-introduction of about 150 words. Includes the following information: My name is John Doe, and I am a college student majoring in data science. I am passionate about data, machine learning models, and AI. I love the tutorials on GrabNGoInfo.” It produced the output below.
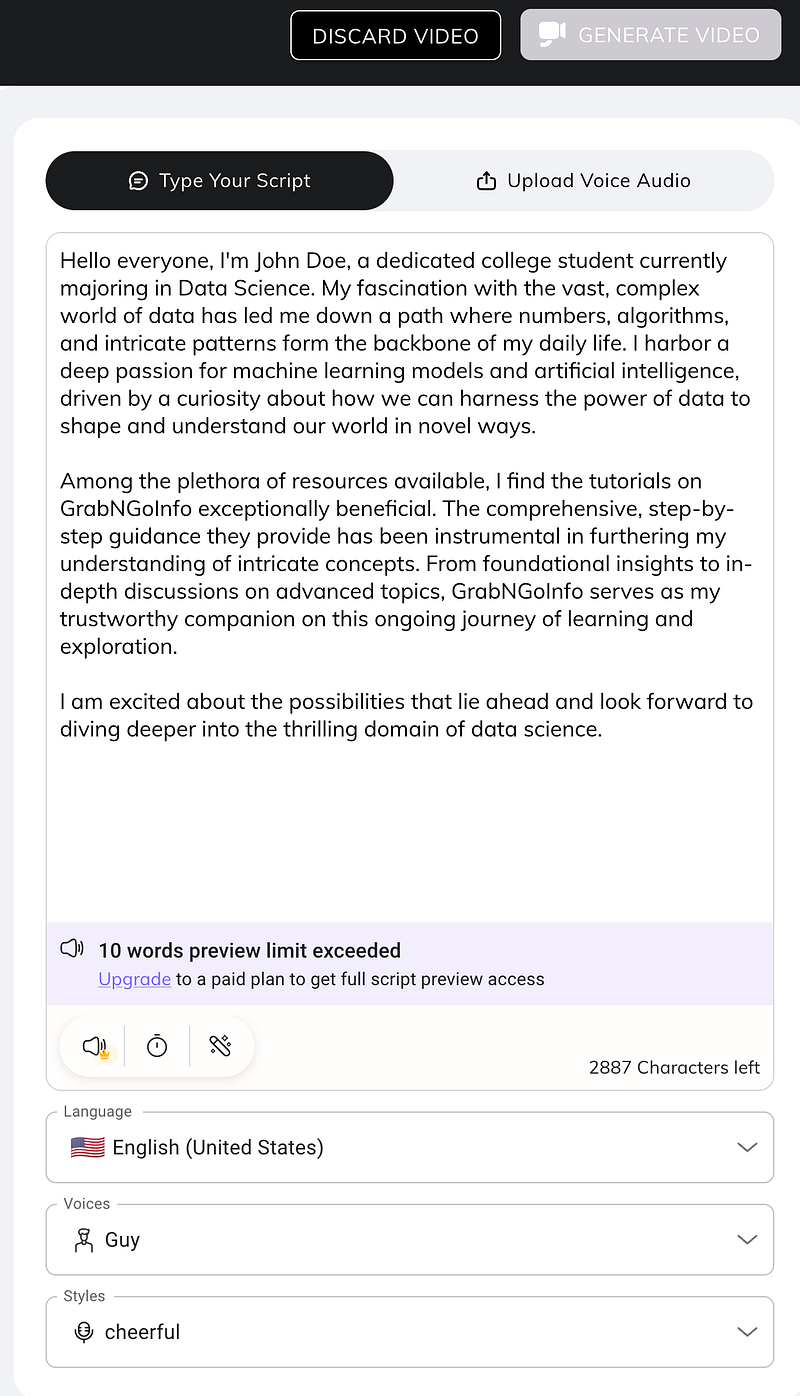
Step 3: Talking Avatar Using D-ID
We will use d-id.com to make the avatar talk. You will get 20 credits for the free plan, which generates about 5 minutes of avatar videos. The credits reset each month.
Click Start Free Trial on the upper right corner of the D-ID homepage.

Then click Create Video on the upper right corner of the new page.

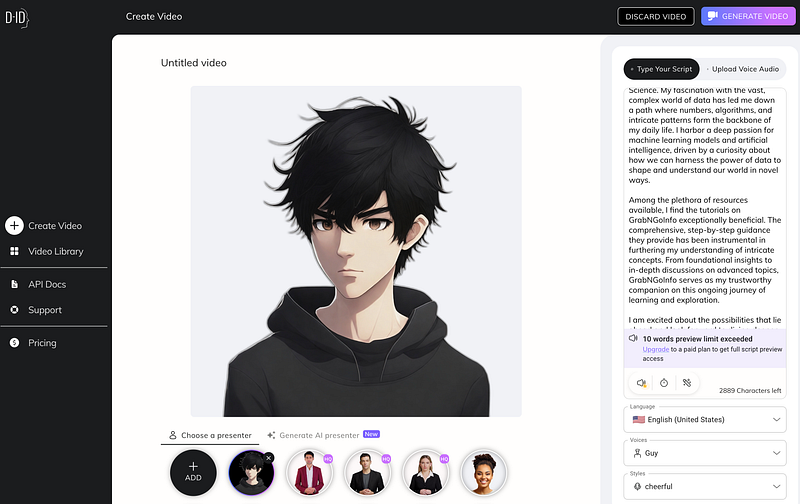
On the video creation page, we have the option of pasting the script or uploading an audio file. I chose to use the transcript created by ChatGPT. Under language, we chose English and a male voice. The voice can speak in different Styles. I chose the cheerful style for our avatar. Note that some voices have a golden crown next to it, indicating that it’s only available for the paid version. But there are plenty of choices for the free version.
There are three different options for avatars. We can use an existing avatar provided by D-ID, upload our own avatar, or generate a new avatar using AI.
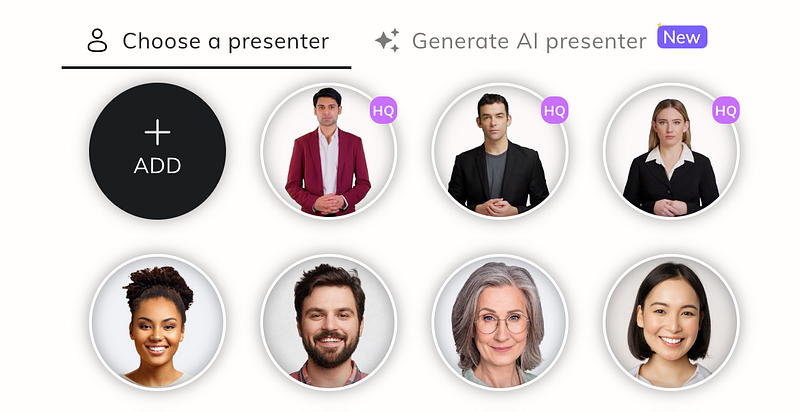
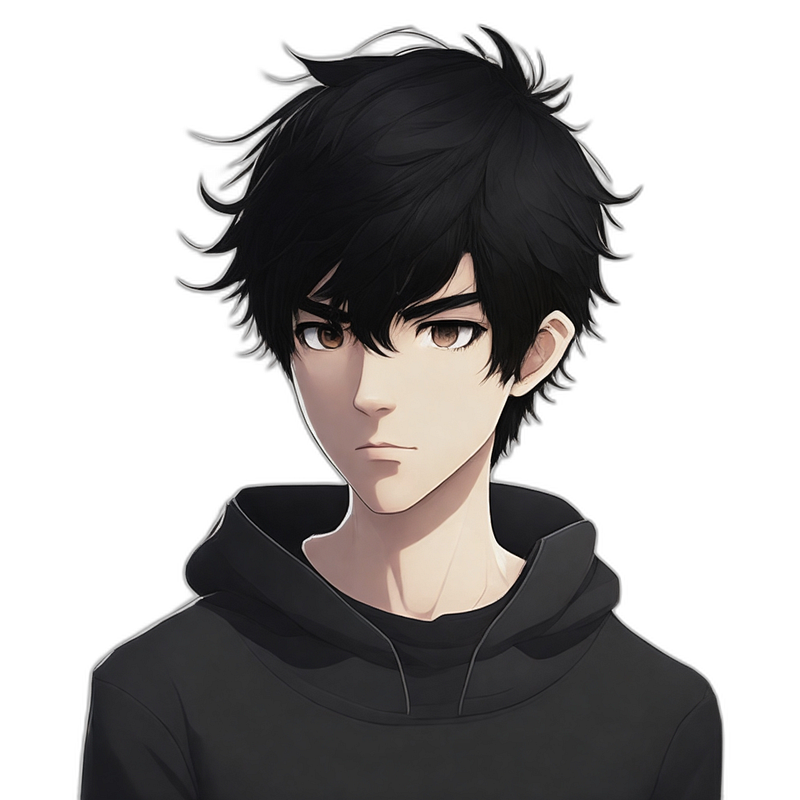
I chose to upload the avatar created using Leonardo.ai because it has more flexibility for image styles. After uploading the avatar, click the purple GENERATE VIDEO button on the upper right corner of the screen.
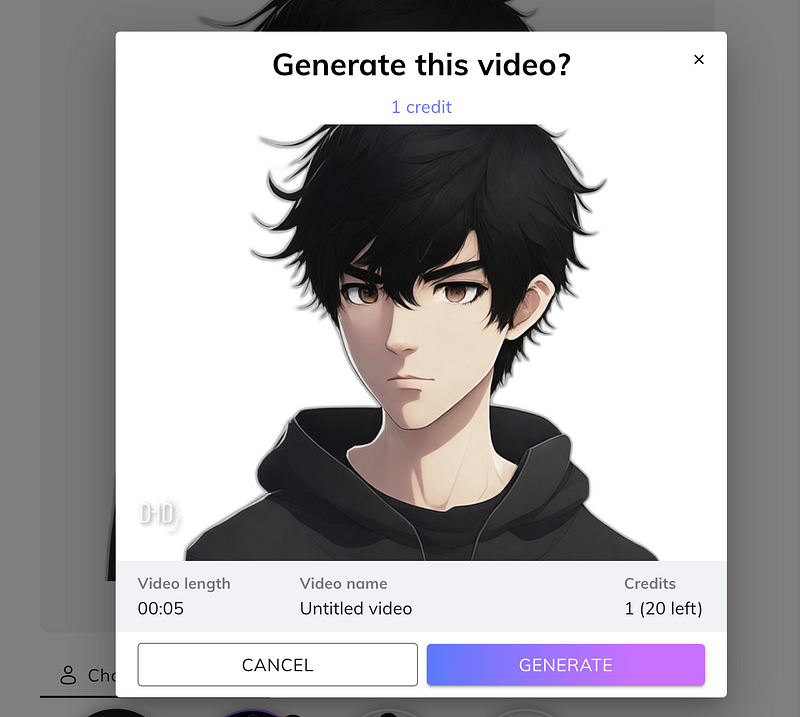
A popup window confirms that the length of the video, and how many credits it costs. Click the purple GENERATE button.
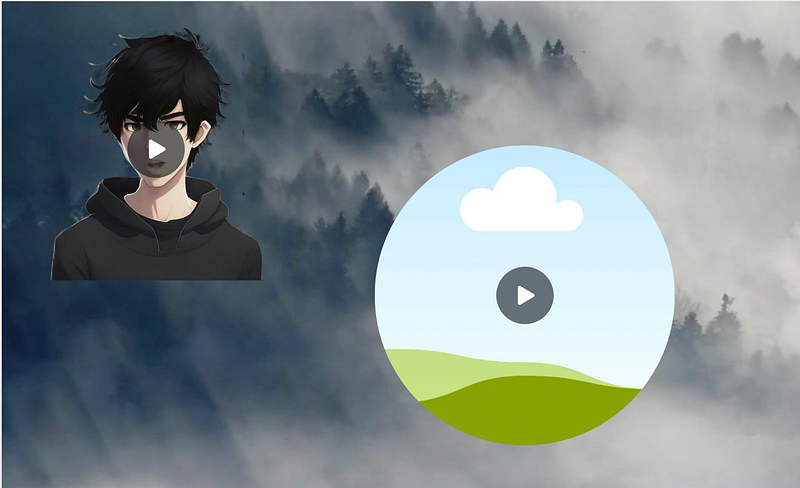
After the video is generated, we can click the play button to review the video.
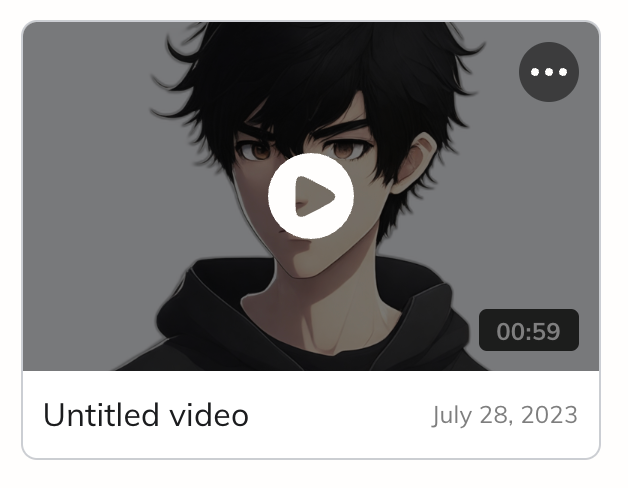
Check out the video and let me know what you think. I personally think it’s pretty amazing in terms of mouth and eye movement. However, the hair details create some challenges for seamless head movement.
Step 4: Add the Talking Avatar to Another Video
Canva.com is an online design and publishing tool that allows users to create professional-quality visual content such as graphics, presentations, posters, videos, and other visual content. It uses a user-friendly drag-and-drop interface and a vast library of templates, fonts, and images. We will use canva to add the talking avatar to a video.
Step 4.1: Select or upload the main video
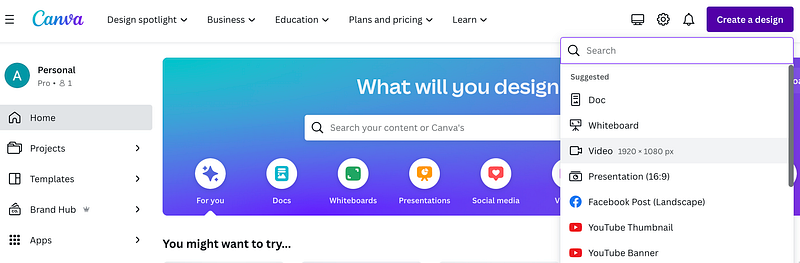
Go to canva.com and create a free account. Then click Create a design and select Video.
A new file will open. Click Elements on the left menu and then click See all for Videos. You may need to scroll down to see the Videos section.

Choose the video you like and drag it to the blank canvas. The avatar’s speech is 59 seconds, so I chose a video that’s longer than 59 seconds.
Step 4.2: Upload the talking avatar video created by D-ID
Next, upload the talking avatar video to Canva by clicking the Uploads, then Upload files. You will see the file in the Videos section.

Step 4.3: Add the talking avatar video to the main video and remove the background
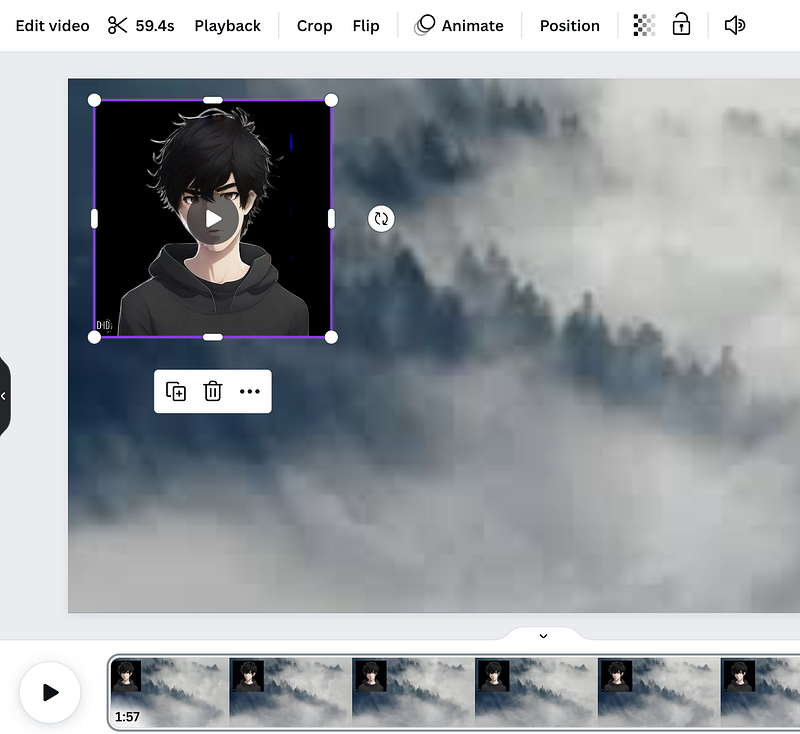
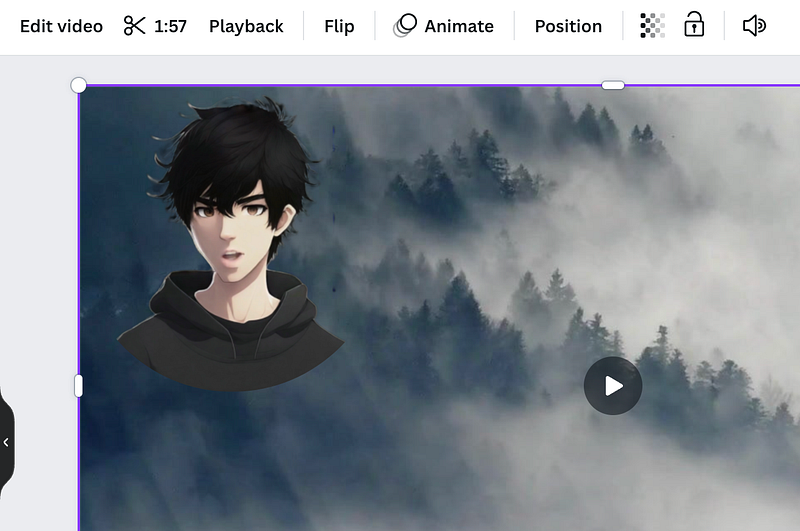
Go to Uploads and click the talking avatar video. The video will be added to the main video. you can drag the video to a position you like and adjust the size by dragging the corner of the video.
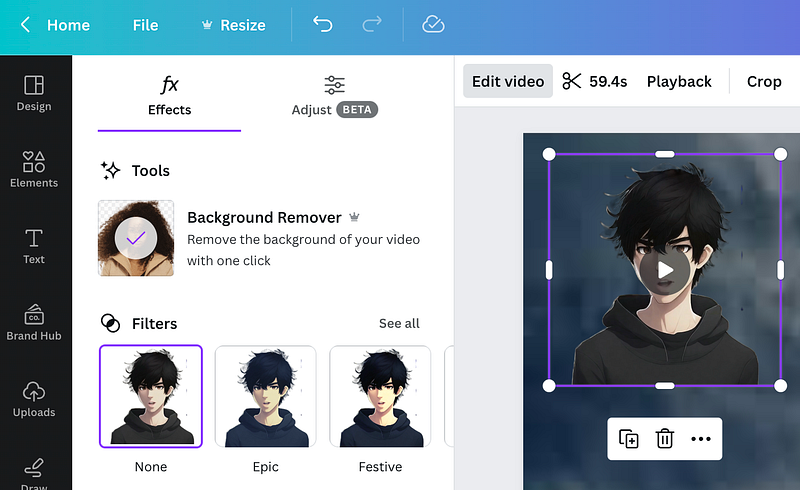
You will see that the avatar video has a black background. To remove the black background in the talking avatar video, select the frame and click Edit video.
On the left-hand side, you will see the video Background Remover tool. Background Remover is a Canva Pro feature, which costs $12.99 per month. Canva Pro has a free trial.
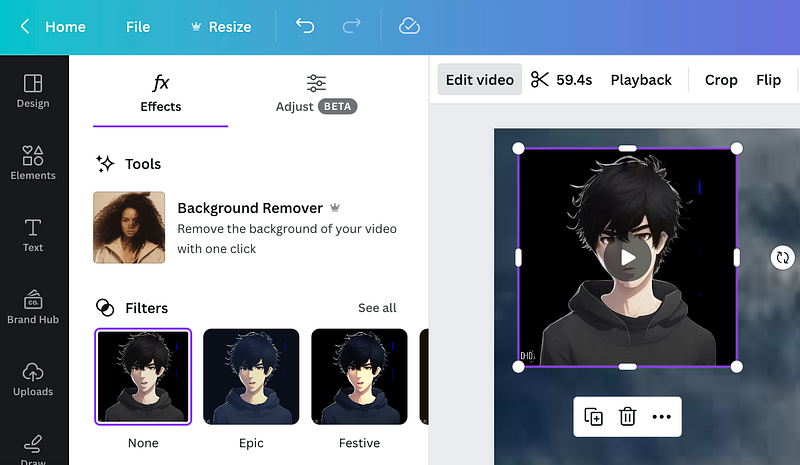
Click the Background Remover tool removes the black background for the avatar.
Step 4.4: Add a frame to the main video
Go to Elements and search frame. Select a frame shape that you like.
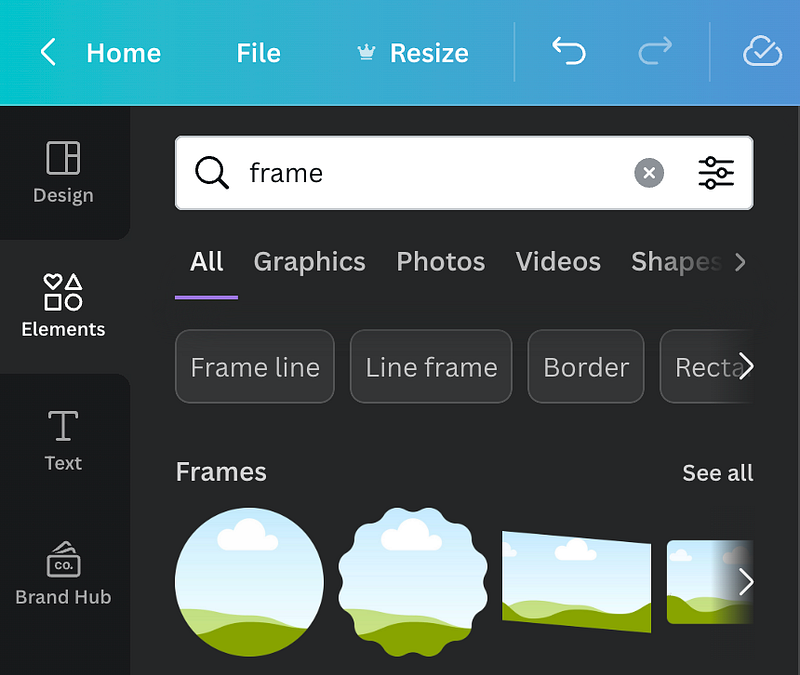
I selected a circle-shaped frame.
Drag the talking avatar video into the frame and adjust the position of the frame by dragging it.
Step 4.5: Adjust the video length
The main video is 1 minute and 57 seconds and the talking avatar video is 59 seconds, so we need to trim the end of the main video, otherwise the avatar will repeat the transcript from the beginning.
To trim the video, click the scissors on the top menu and change the time from 1:57 to 59, then click Done, and we completed the video editing!

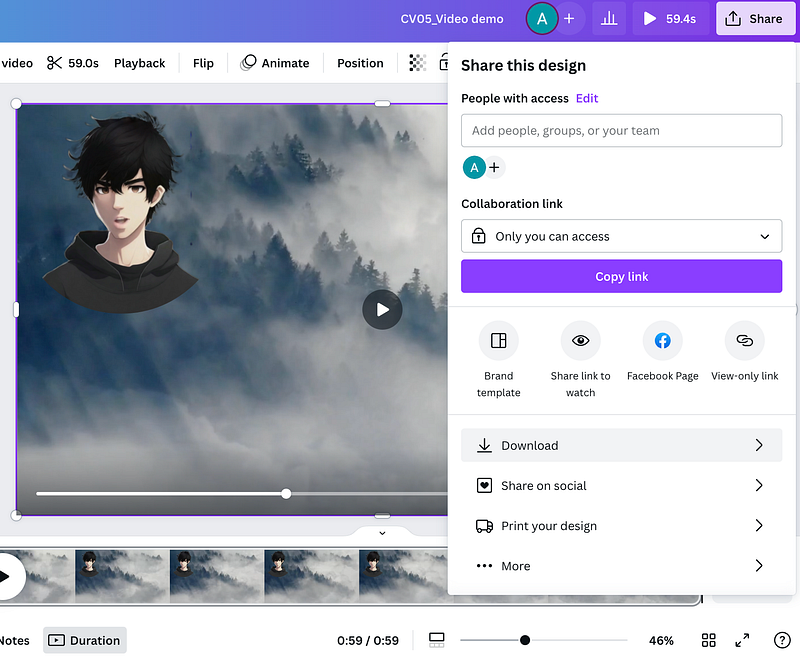
Step 5: Download the final video
Click Share on the upper-right corner of Canva and click Download. The video will be downloaded in MP4 format.
Here is the final video if you are interested in checking it out:
Summary
In this blog tutorial, we have walked you through the process of creating your own talking AI avatar in a video for free. We utilized Leonardo.Ai, D-ID, and Canva. Through this step-by-step guide, we’ve explored how complex AI technologies can be easily harnessed by anyone to create compelling and interactive digital personas. By leveraging these free, user-friendly tools, you’re now ready to bring your own talking AI avatar to life!
More tutorials are available on GrabNGoInfo YouTube Channel, GrabNGoInfo.com, and LinkedIn.
Should you find this article enjoyable, show your appreciation on Medium with claps and comments. Don’t forget to hit the follow button for more content like this. Unlock unlimited access to a world of knowledge — become a Medium member today through my referral link and empower your learning journey!
Recommended Tutorials
- GrabNGoInfo Machine Learning Tutorials Inventory
- Leonardo.Ai: Free Alternative to Midjourney — Beginners Tutorial
- Create Stunning AI Art in Under 5 Minutes with Midjourney — Perfect for Absolute Beginners!
- Create Beautiful AI Art Using Python KerasCV StableDiffusion on Google Colab
- The ChatGPT Power User’s Handbook on Prompts
- Recommendation System: User-Based Collaborative Filtering
- Top 20 AB Test Interview Questions and Answers
- Top 10 Causal Inference Interview Questions and Answers


