
The Ultimate Midjourney Prompt Guide 2023
As I mentioned in this post, I wanted to get some degree of control on generating the images. After learning from MidJourney’s documentation and experiments, I’ve gained more knowledge than last time. Although there is much more to learn, I’d like to share what I have learned this time. In the next post, I will research on how to create rich text prompts to generate images, since the newest version Midjourney V5 prefers detailed descriptions.
And later this month I tried to create consistent characters with your desired reference Pictures.
1. Basic — official user guide
I always start learning a tool from its documentation, so I checked MidJourney’s user guide. There are nine parameters we can play around with. In my opinion, version, seed, chaos and stylize are more important because they are related to the content or backbone of the images. While the rest parameters, including quality, aspect ratio, stop, tile and video, are more related to the format of the generated images.
(1) Version
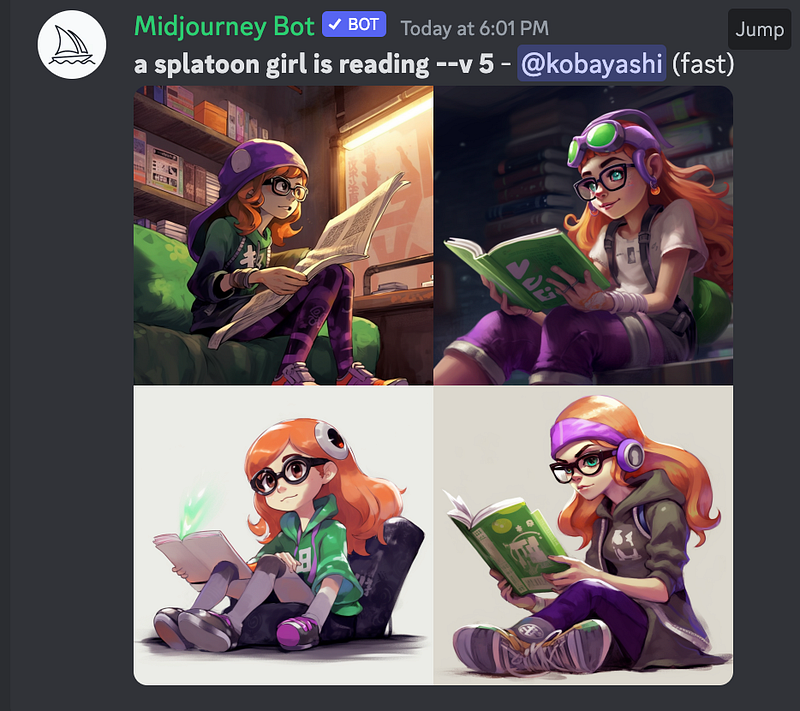
The default setting is version 4. I didn’t know it before reading the user guide, which means I’ve never tried version 5 yet.
using the --version or --v parameter
or by using the /settings command and selecting a model version. 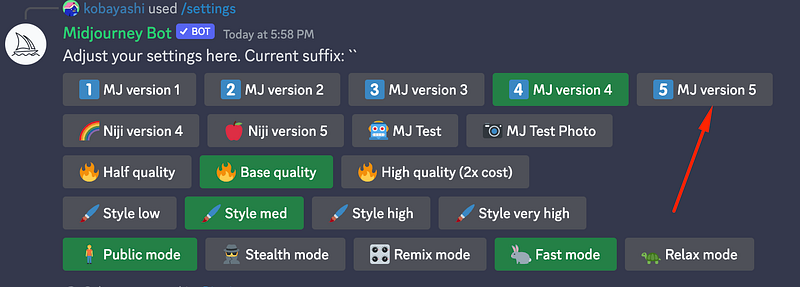
(2) Seed
I think the seeds are important as I want to generate the same picture using the same prompt after I pick my favourite image.
--seed accepts whole numbers 0–4294967295.We can use a random number each time, but if we forget, we could still find the seed information by sending the post an envelope emoji.

(3) Chaos
Chaos is used to variant the images of different generations; it is useful to try a wider range at the beginning. The default is 0 (maximum is 100), which means you will get similar images if you use the same prompt every time.

(4) Stylize
This parameter influences how artistic the image is. Let me try 750 on the Splatoon girl.
--stylize's default value is 100 and accepts integer values 0–1000Wow, I like this.

(5) The rest parameters
- Quality, output resolution, and the default value is 1, the highest quality.
- Aspect ratio, the size of the image
- Tile, generating images that can be used as repeating tiles
- Stop, stop at any point of the generation process
- Video, saving how the image evolves
2. Medium — focus on styles
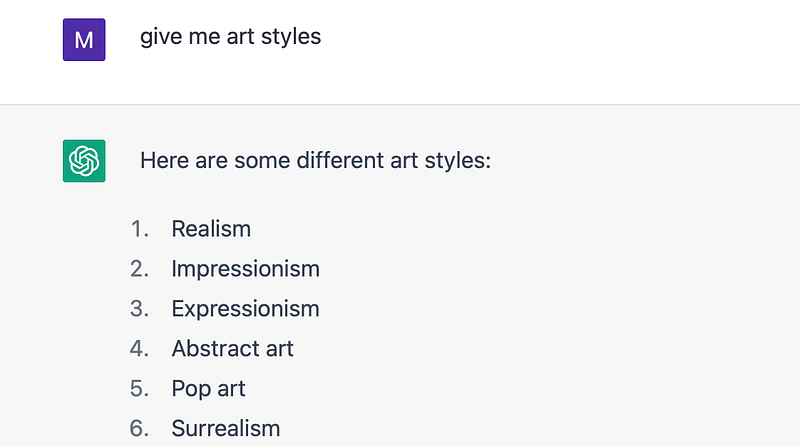
There are different styles we can specify. The difficult part is, we need more art knowledge. For example, you can specify an artist’s style if you know his/her name.
Thanks to GPT, we can find out the style names faster than ever.
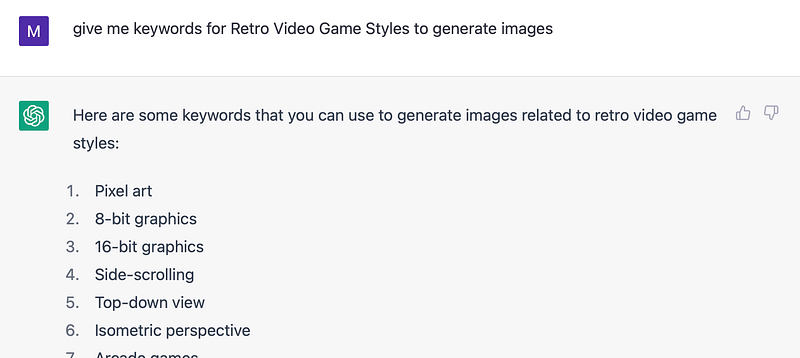
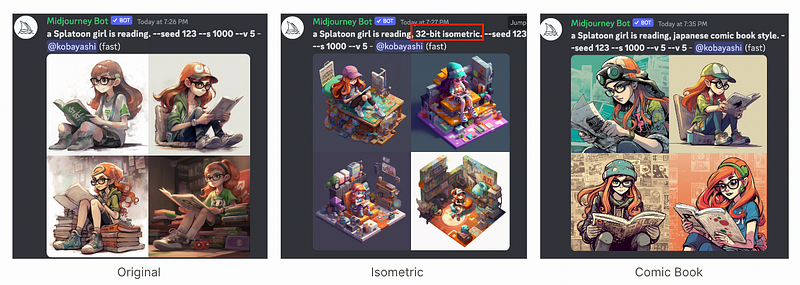
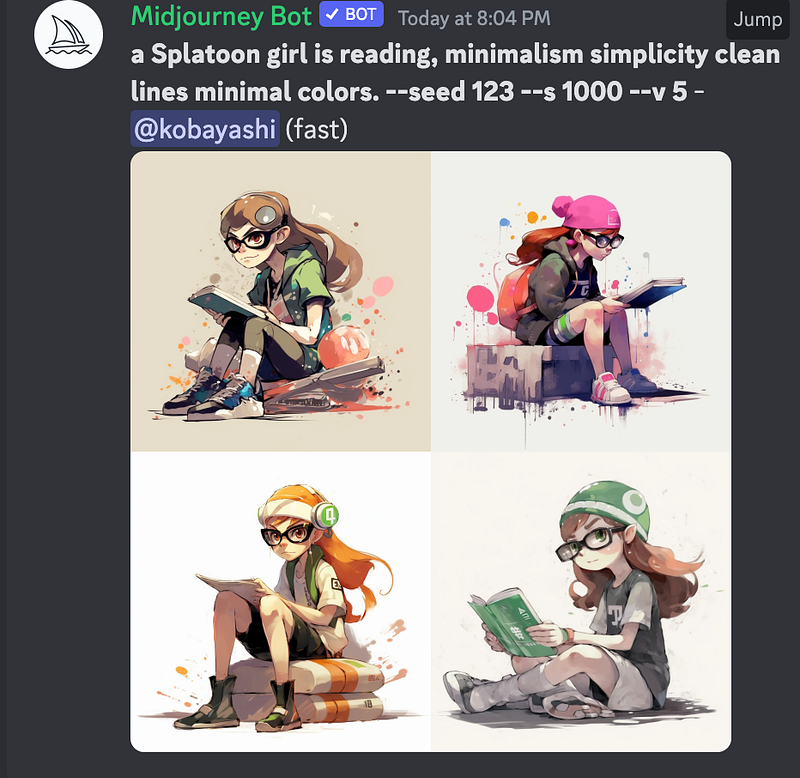
(1) Genre
- Retro Video Game/ Anime/ Comic book / Kawaii Styles
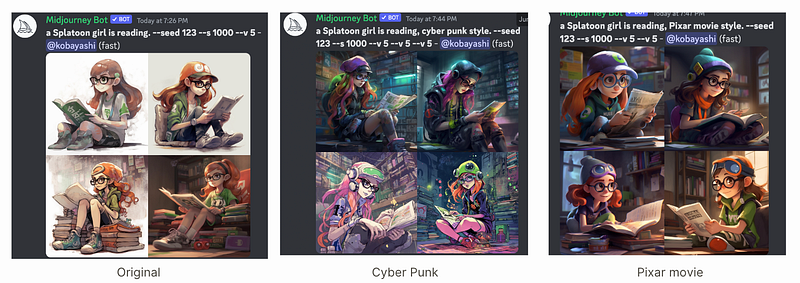
- More specifically, like Cyber Punk/ Pixar Movie Styles
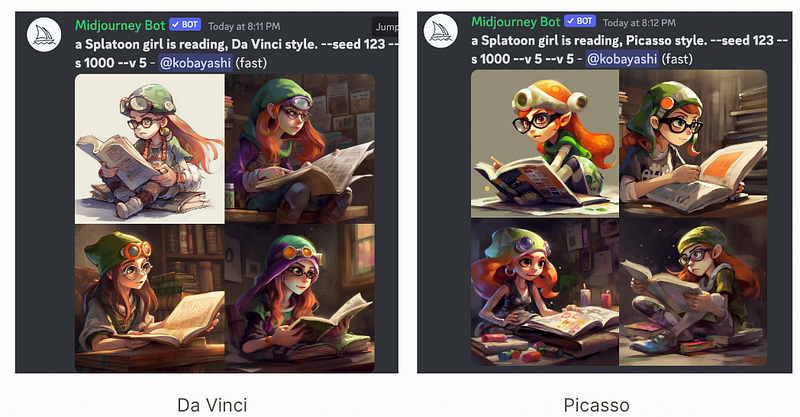
(2) Artists
These ones failed; I think the Splatoon style is too impactful…
(3) Filming terms like lighting, angle
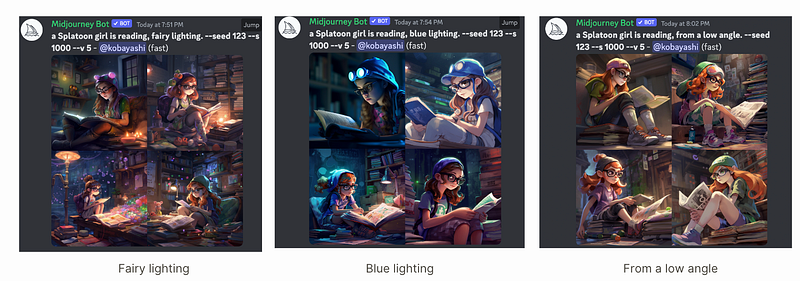
The list is endless, just find out the terms or texts describing the style you like with the help of ChatGPT.
3. Advanced — having more control
Some advanced techniques are listed in the documentation too.
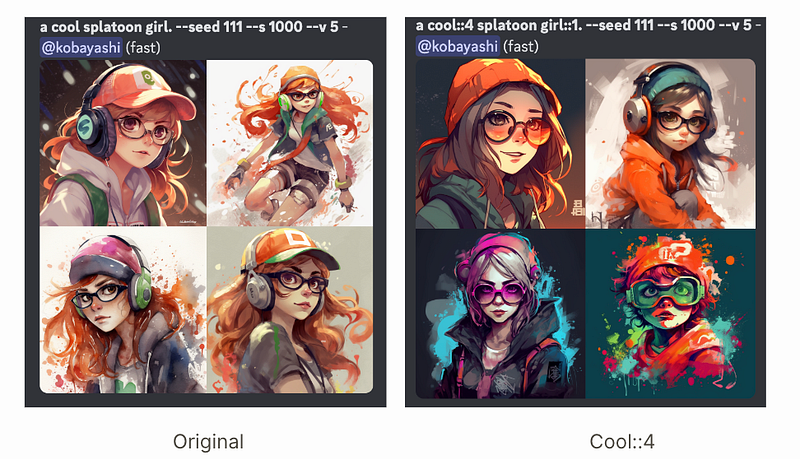
(1) Weighting Your Prompts
Adding a double colon :: to a prompt indicates that each part of the prompt is separated. Assign values to define the weights.
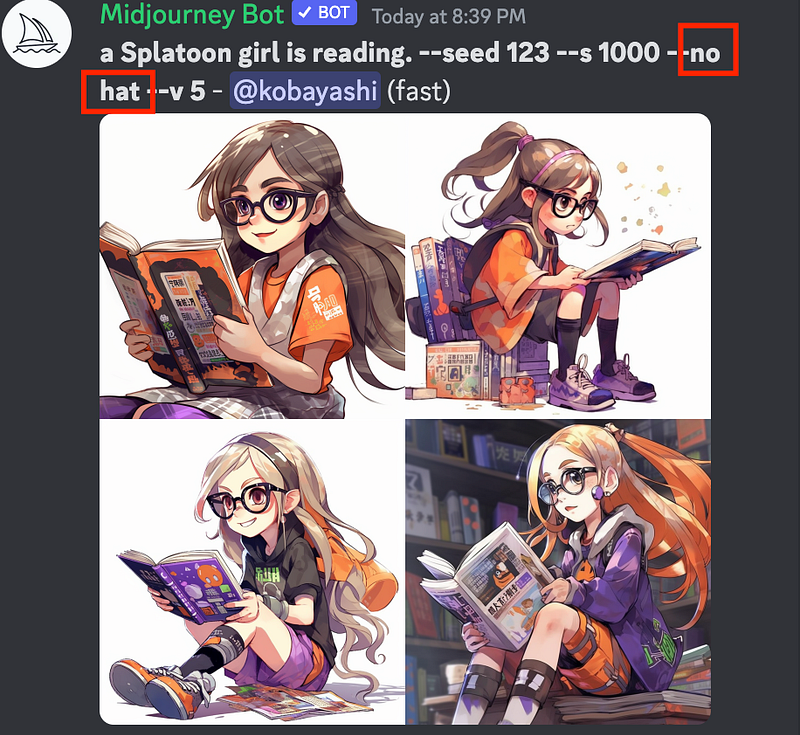
(2) Exclude the object using the “no” keyword
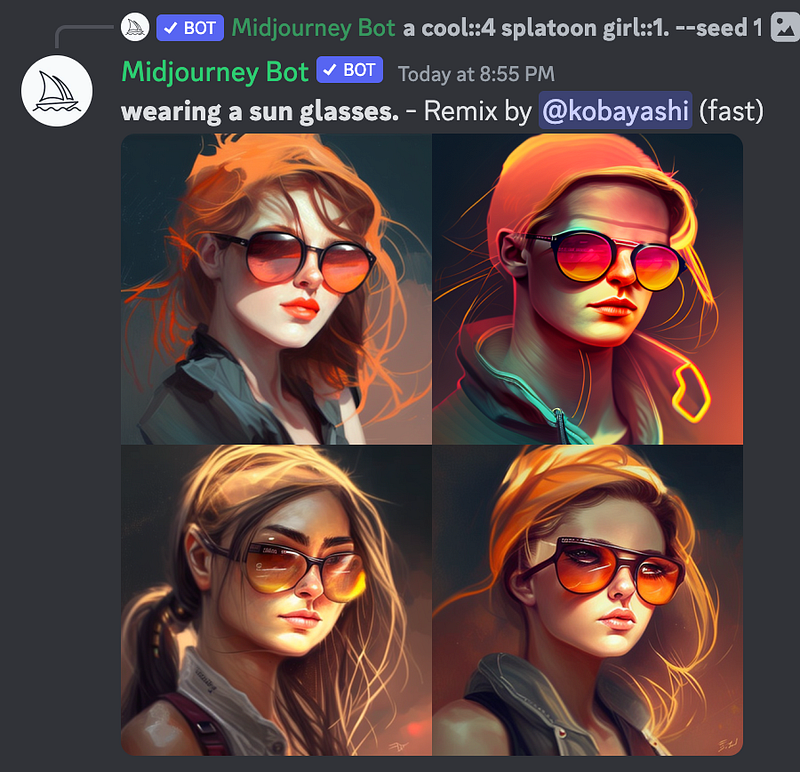
(3) Remix
Remix is a nice way to edit based on the original image.
Activate Remix mode with the /prefer remix command
or by using the /settings command and toggling the 🎛️ Remix Mode button.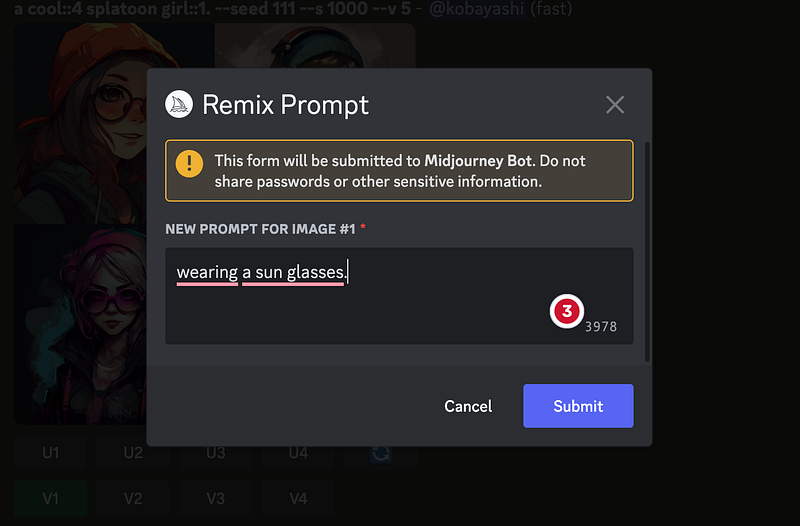
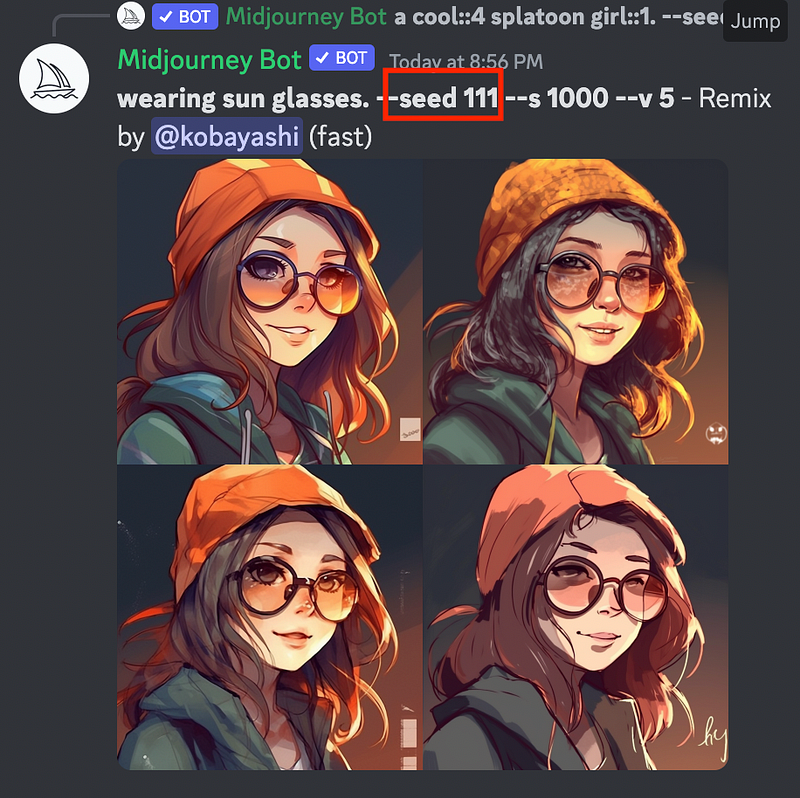
I forgot to include the seed information
Try again:
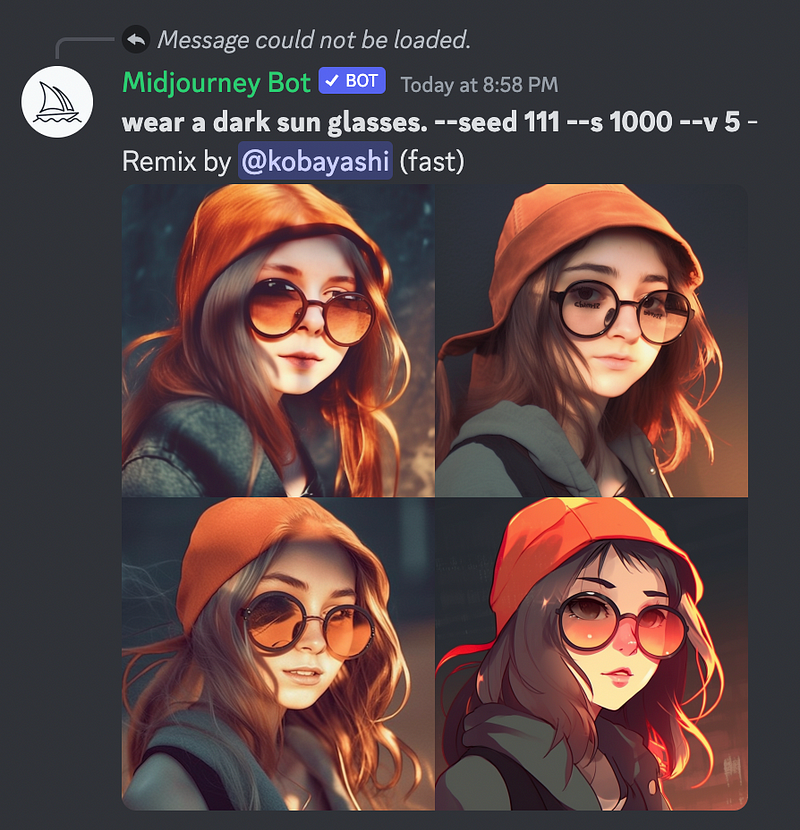
Assign “Dark” sunglasses. Darker, but the image is not
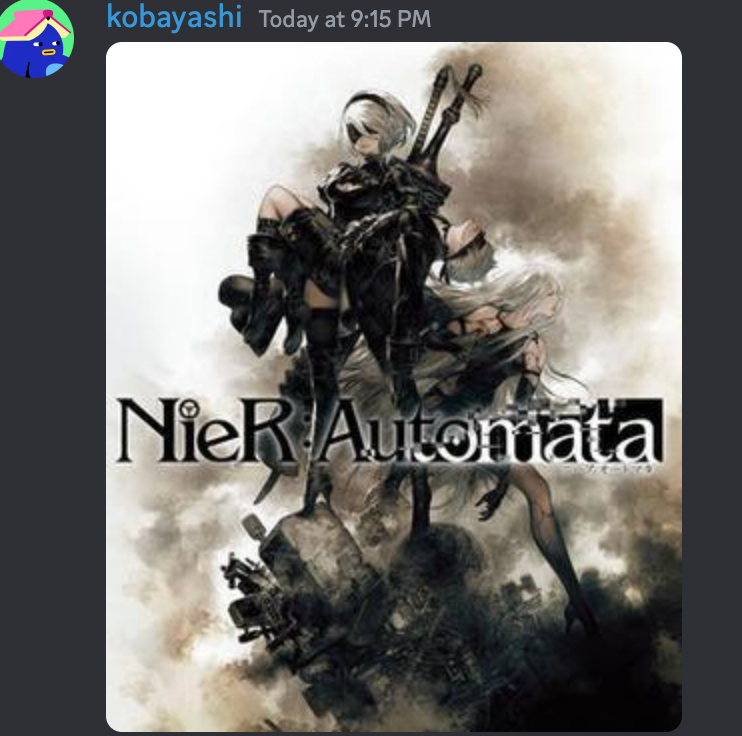
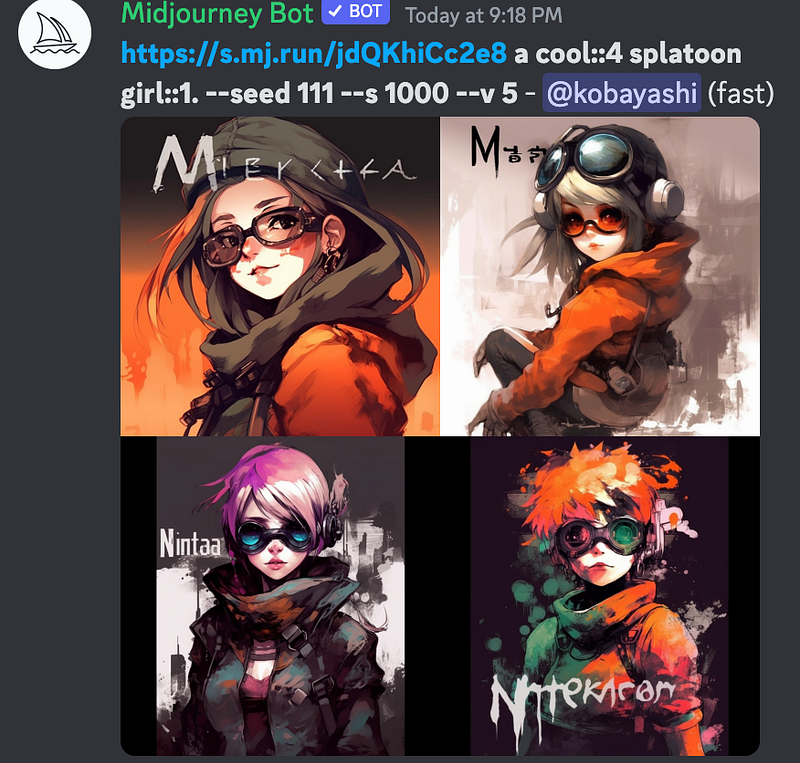
(4) Based on your uploaded image
Upload(drag and drop or click the + button) the image, open the image in the browser to copy the link, and add the previous text prompt. I thought I could edit the uploaded image, but it seems to capture how the text is placed in the Nier picture. In other words, instead of editing on top of your image, it applies the style of your image to the text prompt.
If you liked posts like this, you might also like a Medium membership. It’s only $5 a month, but it will give you unlimited access to articles while supporting your favourite writers. If you sign up using this link, I’ll earn a small commission. Thanks!
Here is the Table of Contents for My Medium Posts
The other related posts on exploring how to use AI tools:
- How to use DALL-E 2 to create images from text
- How to use Stable-Diffusion to create images from text
- Using DreamFusion to Generate 3D Models from Text
- The New Impressive Text-to-Music Model by Google
- Safe Ways to Use ChatGPT to Study Better (No Cheating)
- Four Problems Bother Me When Using MidJourney+ChatGPT as a Beginner
- Try Hugging Face’s Open Source Text-to-Video Model (modelscope-text-to-video-synthesis)
- Adobe Firefly is All You Need
- How to Use ChatGPT to Accelerate Literature Review
- The Ultimate Midjourney Prompt Guide 2023
- What is Prompt Engineering? Will it Last Long? Do We Need to Learn It?
- ChatGPT in Healthcare