
11 Badass iPhone Tricks You’ve Never Thought Existed
Massive tricks ahead →
Miscellaneous Tricks
#1. Don’t let Siri go while you stammer 💁♀️
Most people who disabled “Listen for Hey Siri” use Siri like this: They
- Hold the side-button,
- Let Siri appear,
- Leave the button, and
- Command Siri.
I too used her the same way for so long. But the problem: I stammer on few words and word-combinations. Ex:
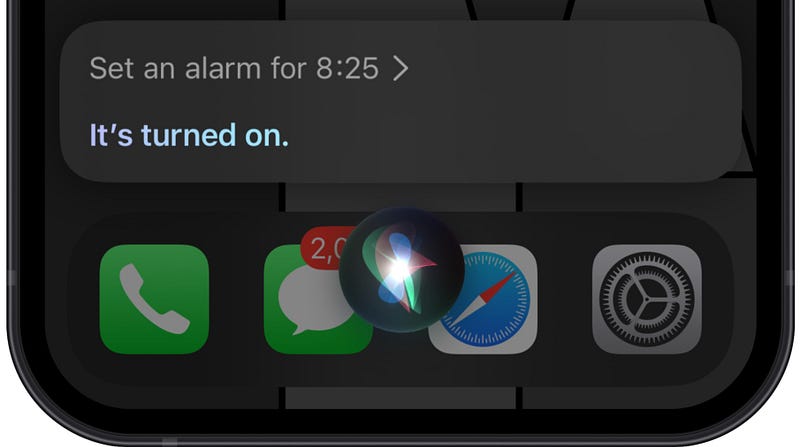
To set alarm for 8:25, I say “Set an alarm for eight ….t-t-t-t-t-t-tonty five”. But even before I complete the sentence, Siri thinks it’s already completed. And it sets an alarm for 8:00 😩.
If you suffer from the same issue, or any other speech difficulties, try using Siri like this:
- Hold the side-button,
- Complete your command,
- Leave the button.
Siri will not go away until you leave the button — so all your words will be considered for the command.
Yayyy!
#2. React to iMessage quickly 💬
Though you can react or reply to an iMessage by haptic pressing it,

you can do that quicker by double tapping it.
Did you know you could track flights on iMessage?
#3. Record screen without the red graphic 📹
Everytime you record screen, you find a red graphic beside the notch [or on the Dynamic Island (DI) for iPhone 14 Pros].
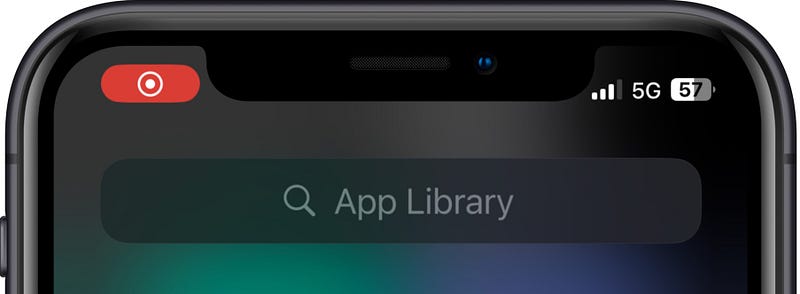
(Now on DI, you can hide it by swiping right. But from iOS 16.4, you can’t. Read #8 of this article for more info)This is okay for personal purposes, but the red thingummy doesn’t look good for commercial purposes (I feel).
So, lemme reveal how Apple Support, and other popular companies record iPhone screens for ads without the red graphic.
Do this.
- Connect your iPhone to Mac wired 🔌.
- Open QuickTime Player.
- Use ⌥ + ⌘ + N for ‘New Movie Recording’. You look awesome :)
- Click ⌄ beside the red dot. < Screen < your_iPhone_name.
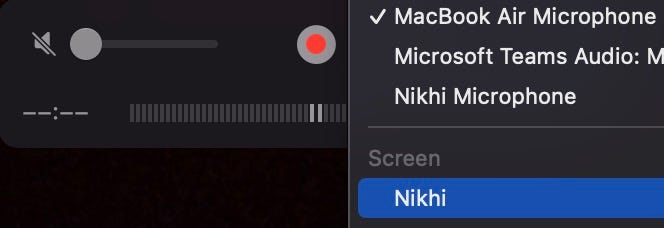
- Click the red dot to start recording!
Now you won’t see the red graphic — and the recording looks much natural.
Something you’d never expect
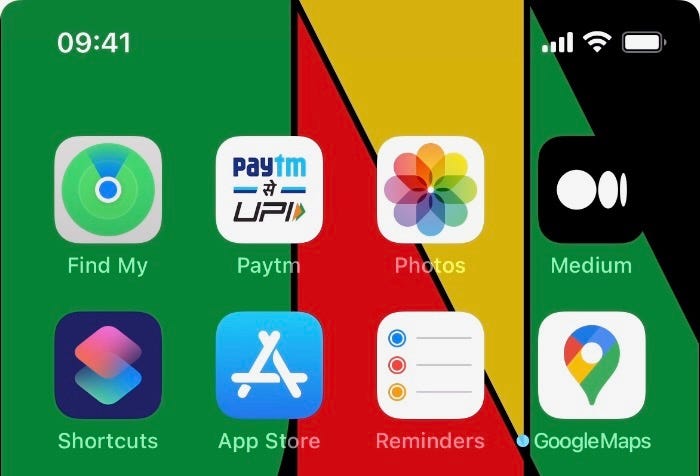
(Observe the picture above)
- Though I connected my iPhone wired, and its charging, it doesn’t reveal that.
- Wi-Fi will always be shown as on — even if it’s not.
- The time (at the top-left corner and Notification Center) will always stay at 09:41 — irrespective of how long you record.
Pukka commercial.
But, why 09:41?
09:41 was the time when Steve Jobs unveiled the first iPhone, and Apple still uses that time for devices in all its commercials as a tradition (Except for Apple Watches that are set at 10:09).
For more such iOS easter eggs,
• Home Screen
#4. Quick alarm in Spotlight ⏰
The fastest way to set alarms on iOS is by using Siri. You’ll often find me saying
- “Hey Siri, set an alarm at 941”
(This sets alarm for the nearest 09:41 AM or PM, unless mentioned explicitly.)- “Hey Siri, set an alarm 15 minutes from now”
(Equivalent to a timer for 15 mins)
But if you still prefer setting alarms manually in ‘Clock’, here’s a bit faster way than that:
- Type ‘alarm’ in Spotlight,
- hit the first result.
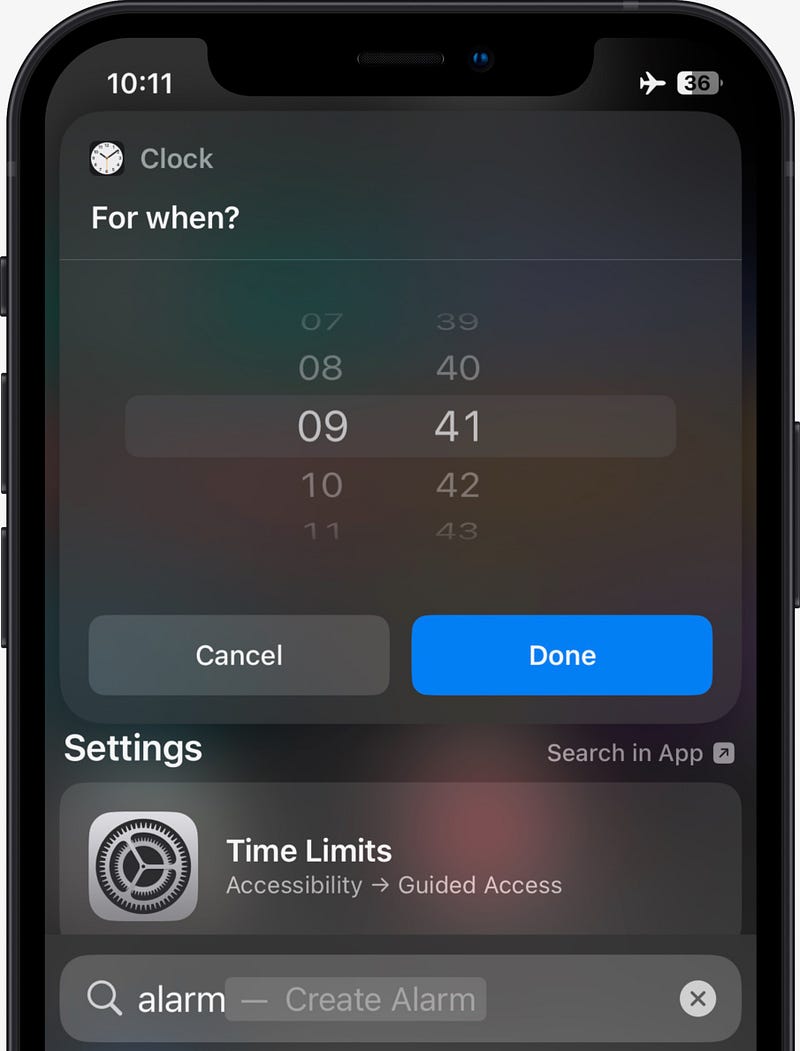
Now, you can set alarm time just as you do in Clock. Isn’t this much simpler?
Did you know?
This trick also works in macOS Ventura.
More Siri alarm tricks
- “Hey Siri! Change my 6:00 alarm to 6:30” (example) retimes your alarm.
- Say “Hey Siri! Turn on all my alarms” if you need multiple alarms to wake up in the morning.
- “Hey Siri! Delete all my alarms” clears your alarm list. Use when you have a lot of them, especially duplicates.
- Say “Hey Siri! Snooze/Stop” to do that when an alarm’s playing.
#5. Prioritise downloading one app over others 🔝
If you’re downloading multiple apps at once (happens especially when updating), haptic press on the app you need the most, and tap ‘Prioritise Download’.
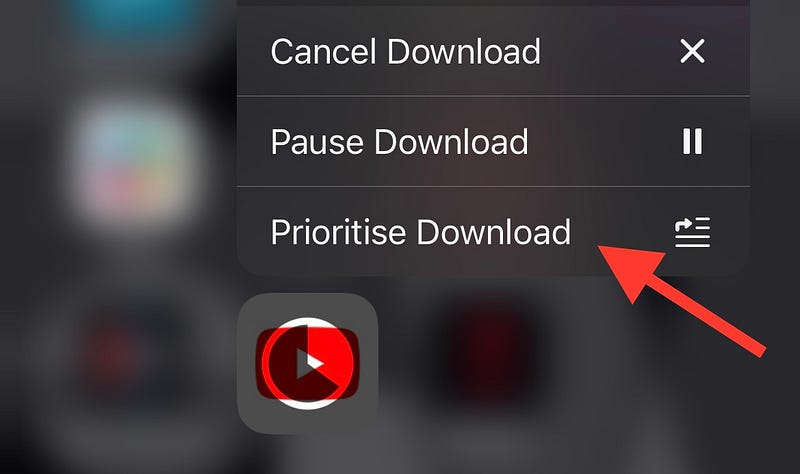
This allocates more bandwidth to the app — and downloads it faster.
• Files
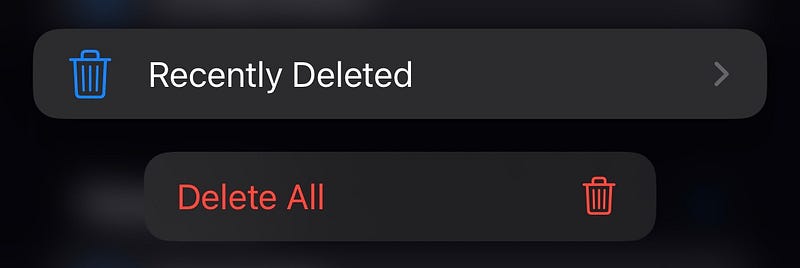
#6. Empty recycle bin quickly 🗑️
By recycle bin, I mean ‘Recently Deleted’ folder in Files.
I often see my pals clearing their ‘Recently Deleted’ folder to free their storage.
Good idea, but why do they
- go into the folder,
- click three dots < Select ✔️ < Delete All
when they could just haptic press on it in Files and tap ‘Delete All 🗑️’?
#7. New folder with selected files 🗂️
I didn’t know this existed until I wrote this article.
To create a new folder with selected files, you don’t need to create a new folder, and then move selected files.
Just select the files first < click three dots < and click New Folder with N Items.
#8. Bulk operations on images 🌄
You already know iOS 16 lets you natively remove background and change file format for an image.
But did you know you could do that in bulk e.g., for a 1000 images at a single go? Here’s how.
- Bring all the images into a folder in Files
(Use the previous tip), - Select all the images,
- Click three dots < Remove Background/Convert Image as per your need.
The UI of Convert Image feels similar to a Shortcut.
#9. Optimise pdf file size natively 🗜️
I’ve always employed online pdf tools like iLovePdf for almost everything pdf — even for compressing their size. I didn’t know iOS could do that natively.
To do that, haptic press on a pdf < Quick Actions 🪄 < Optimise File Size 📄. You could also do that in bulk — just like in the previous tip.
• Photos
#10. Shoot videos directly with filter 🎭
Hey Gen Z, how do you set filters for a video you shoot on iPhone? Think.
No other go, you’ve got to do it after you shoot, by clicking Edit < three circles < and setting your favourite filter.
But, did you know you could shoot a video directly with filter?
Here’s how.
- Open Camera < Photo mode,
- Tap ^ at the top,
- Swipe right on the options till you see the three circles glyph.

- Click on it, choose your favourite filter.
- Haptic press the camera button (swipe right to lock it to video).
Your video’s now recording directly with filter!
Note: You can always change or remove filters in 'Edit'.#11. Auto-straight tilted photos 📏
If you’ve snapped a photo tilted by mistake, and wanna get it straight, do this.
- Go to the photo < Edit < click Crop glyph,
- Click AUTO at the the top.
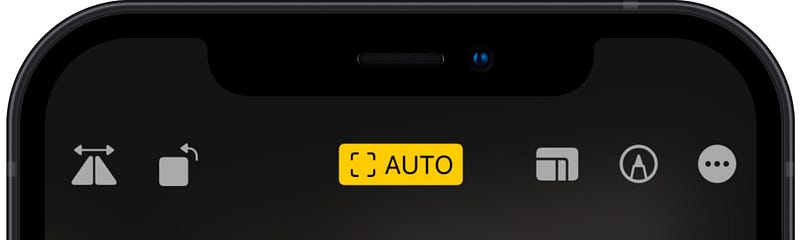
Your photo just got straight! Note this will remove some edge-parts.
For more amazing iPhone hidden tricks, read these.
Join 270+ others to get notified whenever I publish a new story.


