React Routers, Explained
How to build dynamic, multi-page React apps

Traditionally, React has been used to build single-page web apps. However, if you insisted on building a React app with multiple pages or routes, the following process had to be done:
- Tell React to render the page according to the route that the user has navigated to.
- To make this possible, React had to go out and fetch the page from a server.
Implementing these steps in code used to be a bit tedious. This is where React Router starts to shine.
Introduction to React Router
What is React Router?
According to this Medium article, the React Router library allows the user to implement dynamic routing in their app. Furthermore, it utilizes a component-based approach by rendering React components depending on the route. In other words, it tells React to render specific components on specific routes of the URL. For instance, render the About React component when the user is on the /about directory.
When to use React Router
Let me demonstrate this with an example.
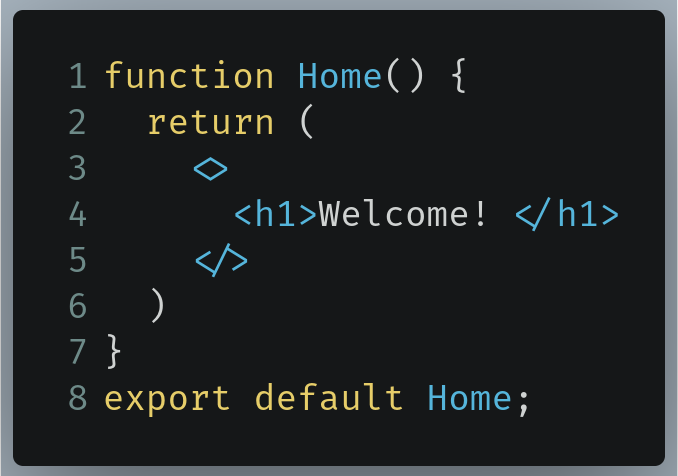
Let’s create a component called Home.js . This will be the component that will be displayed when the user navigates to the root( / ) directory.
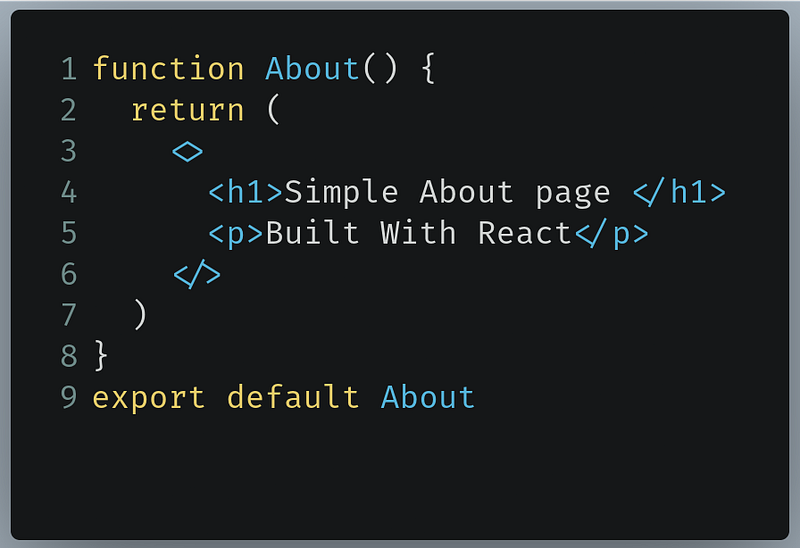
Next, let’s write another component called About.js. This will be rendered when the user goes to the /about directory of the URL.
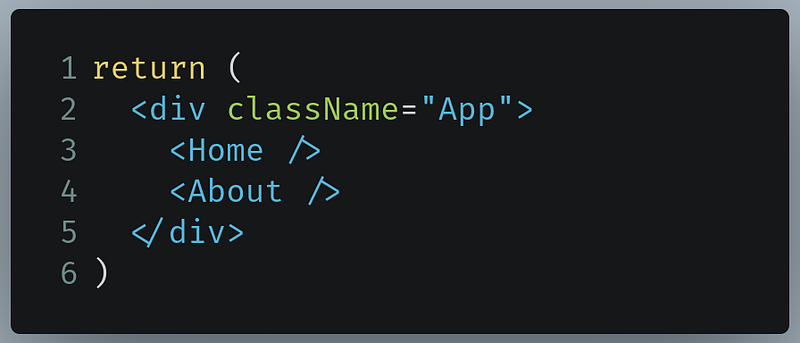
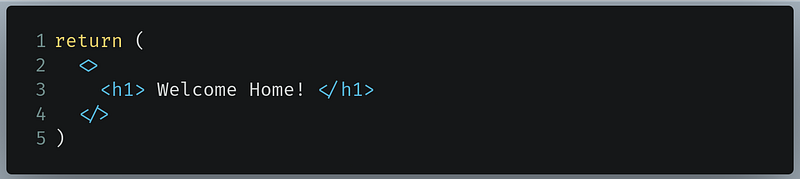
Let’s now display it to the DOM. To do so, let’s go to the return block in App.js:
This will produce the following output:
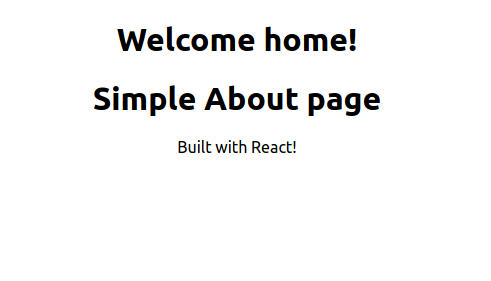
Our code works. However, the problem is that we do not want to render both About and Home on the same page. We want Home to be rendered on the / page and the About component to be rendered on a separate route called /about.
In circumstances like these, we will be utilizing the power of the React Router library.
There is one additional benefit to using this library as well: Since your React app does not have to fetch the page from the server and just has to load up specific components, your web app becomes faster and more dynamic. As a result, this makes your app feel like a native desktop or mobile application.
Let’s write some code!
Getting Started
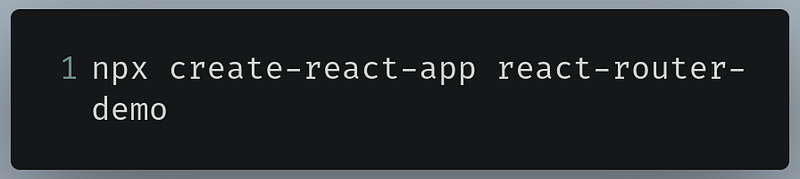
First, initialize your project’s repository using the following terminal command:
When that’s done, let’s now install the react-router-dom package.
Installation of required libraries
We will only install the react-router-dom module since the React Router library is dependent on this package to operate.
To do so, run the following terminal command:

In the next section, we will write code to set up a React Router for our project.
React Routers: Basic Routing
Setup
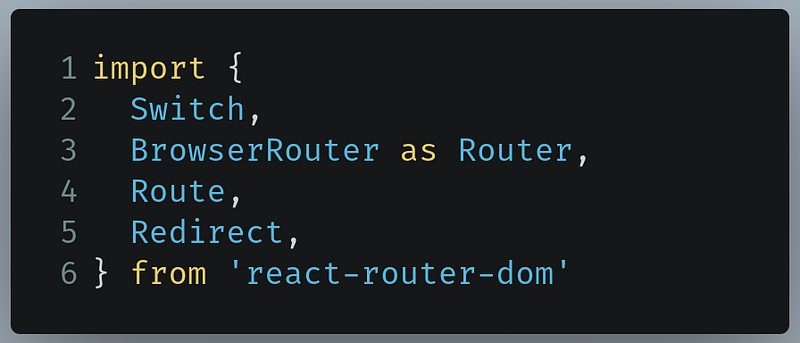
Before starting, go to App.js and import the following modules from the react-router-dom package:
Route: This will allow us to tell React to render specific components based on the routes.BrowserRouter: This will add routing facilities to our project. Everything between theBrowserRoutertags will have the ability to perform routing.Switch: This will render the firstRouteit encounters that will match the route. We will cover this in greater detail later in the tutorial.Redirect: TheRedirectmodule will allow us to redirect the user to another route depending on the directory they have navigated to. For example, redirect the user to the/homedirectory if they navigate to the/directory.
To do so, go to App.js and write the following code:
We are just using the object destructuring assignment to get these packages from react-router-dom.
- Line 3: Here, we are simply renaming
BrowserRoutertoRouter.
Let’s now move on to creating some components that will be used to demonstrate routing in React.
In your src folder, create a new file called Home.js and write the following code:
Let’s now create another component called About.js:
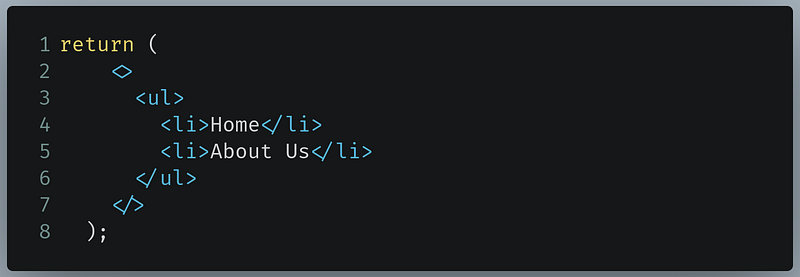
When that is done, let’s create another component called Nav.js. This component will be rendered on every route:
This is a basic component that consists of a ul element with a couple of li child items in it.
When that is done, let’s move on to basic routing.
Basic routing
In this section, we’ll finally add basic routing facilities to our project.
Let’s start by importing our newly made components into App.js:

Go to App.js and find your return block:
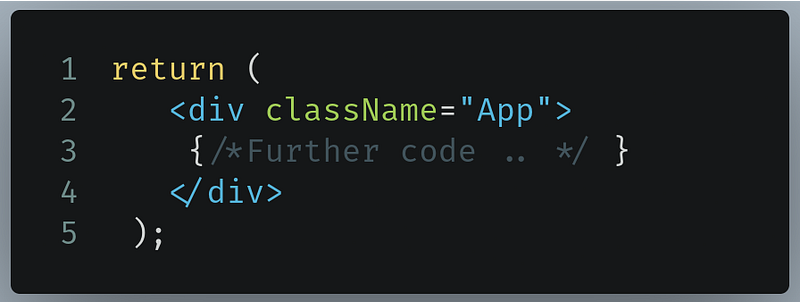
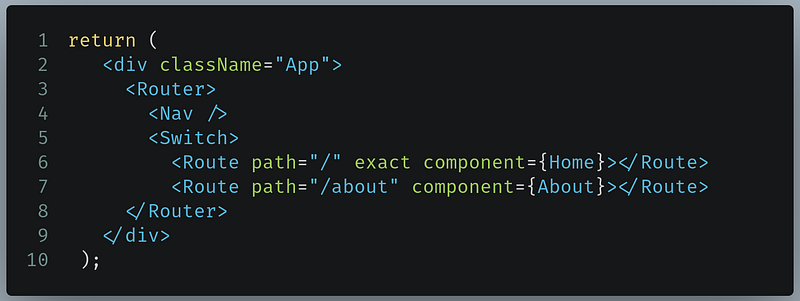
Now remove the code between the div tags and write the following code:
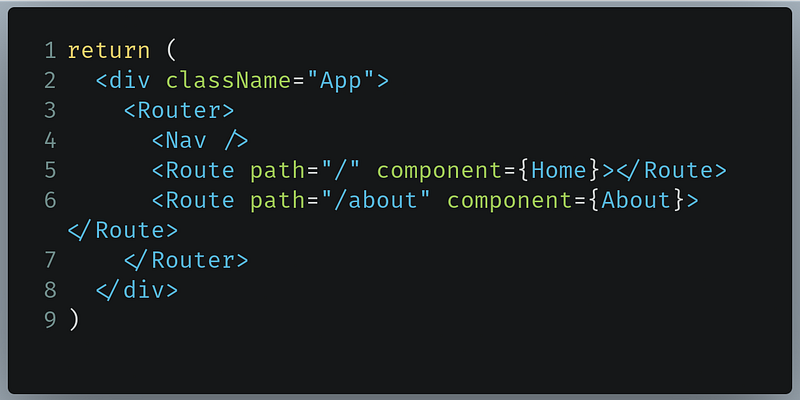
- Line 4: Render the
Navcomponent. - Line 5: Tell React to render the
Homecomponent if the user is on the/directory. - Line 6: Assuming the user is at the
/aboutpage, tell React Router to render theAboutcomponent. - Lines 3 and 7: Everything between the
Routertags now has the ability to perform basic routing.
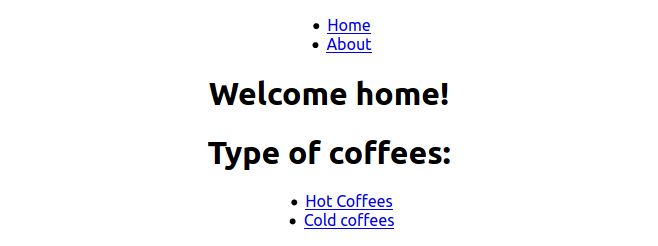
When that’s done, let’s now run the code. This will be the output:
As we can see, the About.js component rendered when we navigated to the /about page. However, the Home component was still displayed even though our code told React to render this component on the / page. So why did this problem occur?
Let’s backtrack to this piece of code we just wrote:
The reason is that Router just checks the route paths without being too specific. So in this piece of code, it essentially goes through all of these Route components.
- According to line 5, we told React to render the
Homecomponent if it encounters a slash (/) in thepathprop of any childRoutecomponent. - Now according to line 6, if we go to the
/aboutpage, React Router first checks if the route contains a/. Since this condition istrue,Homeis being displayed again. Additionally, since the path contained theaboutkeyword, then theAboutcomponent is being rendered as well.
So in a nutshell, by default, React Router will render all of the components that are subroutes of each other. To rectify this issue, we need to use the Switch component.
The Switch component
According to React Router’s documentation, the Switch component essentially stops the whole process of going through all of the route paths as soon as it matches the URL. It will only render the first Route component that matches the current URL.
In App.js , find your return block:
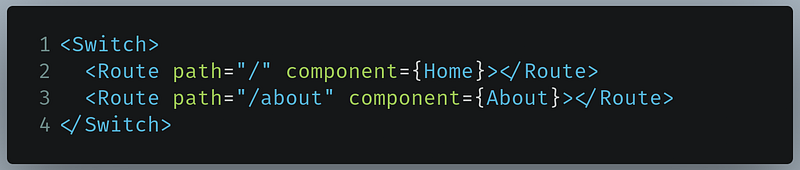
Wrap all of your Route components with Switch tags. In the end, your return block should look like this:
Since we wrapped our Route tags between Switch tags, React Router will now look into these Routes and render the first Route component that matches its criteria. So in theory, Home should be rendered if the user goes to the / path and only About should be rendered when the user navigates to the /about directory.
When you’ve written the code, run the program. This will be the result:
As you can see, the Switch component introduced a problem in our program. Only Home was rendered even when we went to the /about page. So what happened?
Let’s backtrack to the code we just wrote:
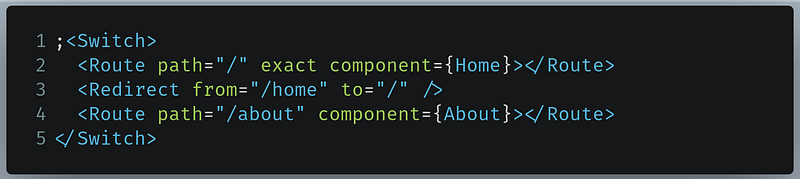
- Line 2: We told React Router to render
Homeif the URL contains a/. - Line 3: We told React Router to render
Aboutif the URL contains a/about. - So when we navigated to
/about, React Router first performed a check of whether the URL contained the/. Since this condition wastrue,Homewas rendered. - This is where
Switchtook over. Recall thatSwitchonly renders the firstRoutecomponent that matches the URL. So on/about, now thatHomewas rendered (the firstRoutecomponent that matched the URL),Switchhalted the URL matching process. Consequently,Aboutwas not rendered to the DOM.
Let’s now work on correcting this problem. To do so, we need to use the exact prop in our Route component.
The exact prop
The exact prop essentially tells React Router to render the Route's component if the pathname matches the URL exactly. So in our app, we can expect that Home should be rendered only when the user navigates to / and that About should only be displayed if the user goes to the /about directory.
Go to your return block in App.js and find the following code:
Now, just add the exact prop to your Route components like so:
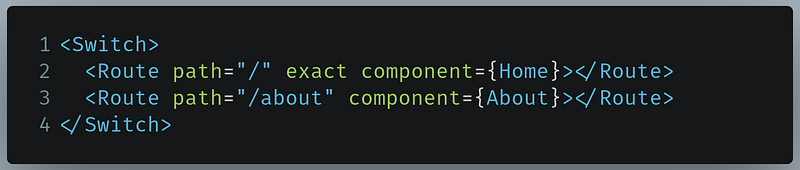
- Line 2: The
exactprop now tells React Router to display theHomecomponent only if the user navigates to the/directory.
When you’ve written the code, run the program. This will be the result:
Our code works! Our output was what we intended.
Next, we’ll work on adding navigation to our app by using the Link component.
The Link component
In real-world use, the user isn’t expected to navigate our website by manually entering the routes into the address bar. We have to use buttons or anchor links that the user will click so that they can go through the website.
This is where React Router’s Link component comes in. You can assume the Link component to be an a tag.
Since Link is used for navigation purposes, we will use it in Nav.js.
Go to Nav.js and start by importing Link from the react-router-dom package like so:

In Nav.js , find your return block:
Now replace this with the following piece of code:
- Lines 4-6: We have wrapped our
Linkcomponent betweenlitags so that they can be rendered in our list element. ThisLinktakes the user to the home page by directing them to the/route. - Lines 7-9: We have wrapped our
Linkcomponent betweenlitags so that they can be rendered in our list element. ThisLinktakes the user to the about page by directing them to the/aboutroute.
Now run the code. This will be the result:

Our code works. Let’s now move on to working with redirects.
The Redirect component
The usage of the Redirect component is fairly straightforward. When rendered, it will navigate the user to a new location. For example, in our program, if the user types the /home route in the address bar, we want our app to redirect them to the / page instead.
Go to your return block in App.js:
Now change this to the following piece of code:
The change is on line 7.
- Line 7: Here, we are telling React Router to redirect the user from
/hometo the/directory. Thefromprop is the pathname to redirect from. Furthermore, thetoprop is the location to redirect to.
That’s it! Let’s run the code.
As you can see, when we typed the /home route into the address bar, the app booted us back to the / directory. This means that our code works!
We are now done with basic routing. In the next section, we will create dynamic and custom routes.
In the end, App.js should look like this:
And Home.js should look like this:
Moreover, Nav.js should look like this:
Finally, About.js should look like this:
React Router: Dynamic and Custom Routing
In this part of the article, we’ll fetch data from an external API. We’ll be using this Coffee API in particular. This is what we’ll do:
- On the home page, we’ll show two
Linkcomponents. - One
Linkcomponent will direct the user to a page with a list of names of hot coffees and the other will direct them to a page with a list of names of iced coffees. - When the user clicks on any of the names on the list, they will be taken to another page that shows the description of the coffee they just clicked on.
Let’s now implement this in code.
Our first step is to render two Links in Home.js. Go to Home.js and import Link from react-router-dom:

Now go to your return block in App.js:
Let’s now render it. Replace it with the following block of code:
Here, we are simply creating two Link components that will be displayed in a list.
- Lines 6-8: This
lielement has aLinkcomponent that will redirect the user to the/coffee/hotdirectory. - Lines 9-11: This
lielement has aLinkcomponent that will redirect the user to the/coffee/iceddirectory.
This will be the output:
Our code works. However, we have not handled the /coffee/hot and /coffee/iced routes yet, which is why nothing will render to the page when they are clicked.
But there is one problem: How do we handle these two routes? Let’s first think.
One solution would be like so:
- Create two components that would handle the
/coffee/hotand/coffee/icedroutes, respectively:


- Then, we could create two
Routecomponents to render these inApp.js:

Although this is one way to rectify our problem, this is not ideal. The code for both HotCoffee and IcedCoffee will be similar, which will break the DRY (Don’t Repeat Yourself) principle of programming.
Another way to rectify this problem is to use parameters. This method is better and requires less code to be written. Notice that in /coffee/hot and /coffee/iced, we can classify the /hot and /iced routes as parameters.
Accessing parameters with useParams
If you have ever worked with Express.js, we would use parameters like so:

But how do we access these parameters in React?
The good news is that React Router allows parameters to be accessed in our code. To access URL parameters in React Router, we use the useParams hook.
Let’s first create a Route to handle the /coffee/:type route. Here, type is the parameter that we want to access.
Go to App.js and find the following code in your return block:
Now edit it with the following code:
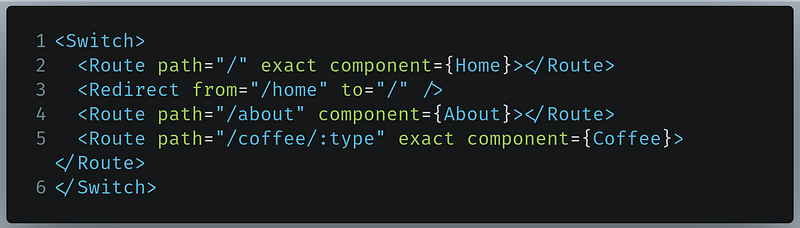
- Line 5: Here, we are telling React Router to render the
Coffeecomponent if the user is on the/coffee/:typedirectory.
Let’s now work with the useParams hook. As our next step, we will create a component that will render the list of coffees. Create a new file called Coffee.js and write the following code:
- Lines 1 and 2: Importing the
useParamsanduseEffectHooks from thereact-router-domandreactmodules, respectively. - Line 4: This
paramsvariable will provide us with data regarding parameters in the URL. It has been assigned theuseParamsHook that contains the value of the parameters in the URL. - Line 6-8: Here, we are logging out the value of
paramswhen theCoffeecomponent is mounted to the DOM.
Before running the program, let’s import this component in App.js. Go to App.js and import Coffee like so:

Now run the program. Let’s first go to the link that directs us to /coffee/hot:
Look into the console of the Developer Tools of your browser. There, we can see the value of params:

As you can see, we got the value of the type parameter! Let’s use it.
Let’s click on the link that redirects the user to /coffee/iced. This will be the output in the console:

Here, the type parameter is now iced. Our code works!
In the next step, we’ll fetch data from the Coffee API and then render the list of coffees by type.
Fetching data
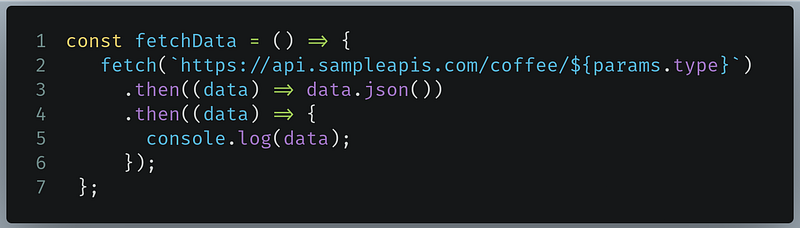
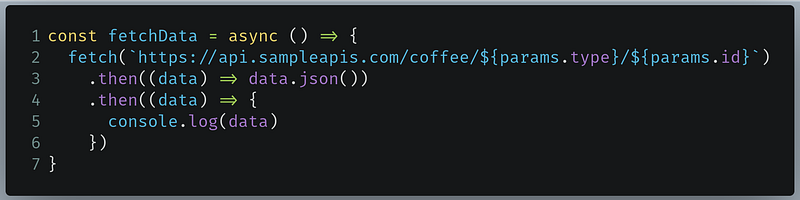
In Coffee.js , create a function called fetchData. There, write the following code:

- Line 2: Here, we are making a call to the Coffee API. In the end, we are appending the
typeparameter value that we procured from theparamsobject. So depending on the clicked link, we are fetching data fromhttps://api.sampleapis.com/coffee/iced/orhttps://api.sampleapis.com/coffee/hot. - Lines 3-4: Convert the extracted raw data to JSON.
- Line 5: Then log out the JSON data into the console.
Now, stay in Coffee.js and find the code in your useEffect hook:

And change it like so:

- Line 2: Here, we are invoking the
fetchDatafunction as soon as the component is mounted.
Run the code. This will be the output:
Nothing has changed here. However, open the Console and look at the output.
Here is the console output when we went to /coffee/hot. The type parameter is hot:
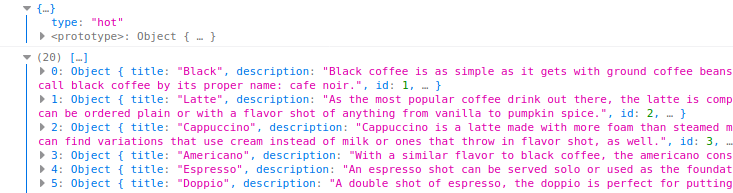
And here is the console output when we navigated to the /coffee/iced directory. The type parameter is iced:
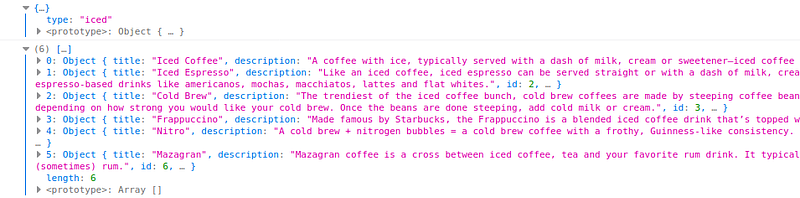
As you can see, we obtained an array of objects from the API. For now, we will only extract the title field from these objects.
In Coffee.js, create a hook that will be assigned with the data from this API:

Now find your fetchData function in Coffee.js:
And change it to the following piece of code:
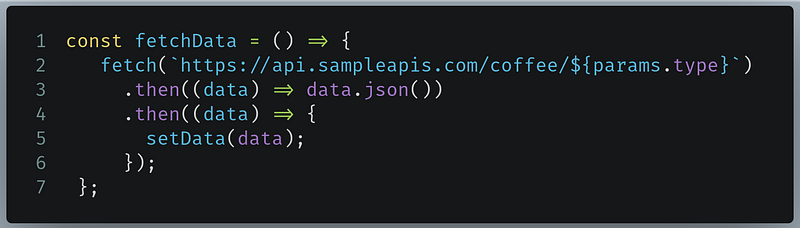
- Line 5: Here, we are setting the value of the
datahook to the data we just fetched from the Coffee API.
Now find your return block in Coffee.js:
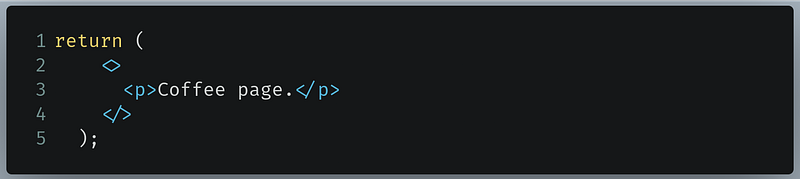
And then change this to the following block of code:
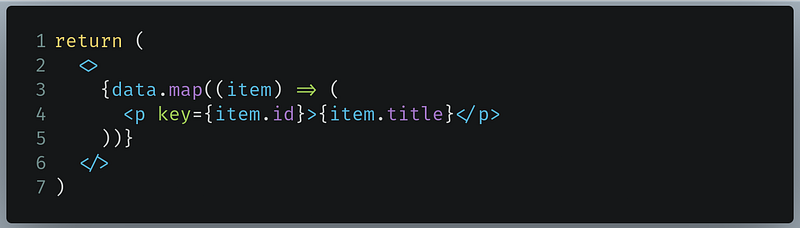
Line 3: Use themapmethod on the contents of thedataarray. This will iterate through the array.- Line 4: Output the
titlefield of each object in the array. Thetitlefield contains the name of the coffee.
Run the code. This will be the output:
Our code works. Let’s now change each item in this list to a clickable Link element.
Find the code we just wrote:
Change it like so:
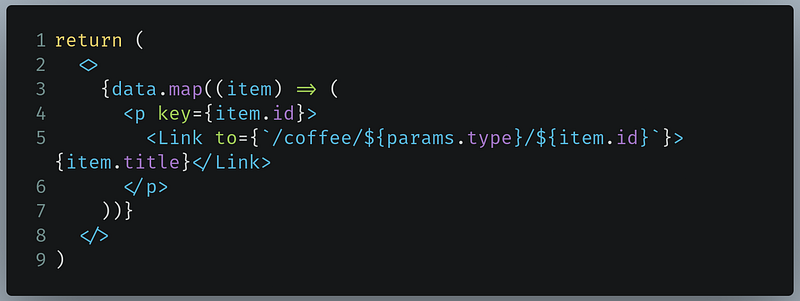
The changes are on line 5.
Line 5: Now each item in the rendered list will direct the user to/coffee/:type/:id. Here,typeandidare parameters. We’ve extracted theidfield of each object in the array.
In the next section, we will render a separate page to display the description of each of these coffees.
In the end, Coffee.js should look like this:
Displaying the description
Let’s first create a Route component that will render a component when the user navigates to the /coffee/:type/:id directory.
Go to App.js and find your return block:
Now change it like so:
- Line 10: Here, we are telling React Router to render the
CoffeeInfocomponent if the user goes to the/coffee/:type/:idroute. On this line,typeandidare parameters.
Let’s now create the CoffeeInfo component. Create a new file called CoffeeInfo.js and write the following code:
This code is fairly similar to the initial version of Coffee.js:
- Line 4: We are just extracting the parameters of the URL with the
useParamsHook and then storing them in theparamsvariable. - Line 7: Log out the result of
paramswhen the component is mounted.
In the end, let’s import this file in App.js. Go to App.js and import the CoffeeInfo.js file:

Now run the code. This will be the result:
Nothing out of the ordinary happened, but we logged out the parameter values in the console in the CoffeeInfo file. Look at your console. This will be the output:

Great! We got the value of the parameters. Let’s now use it.
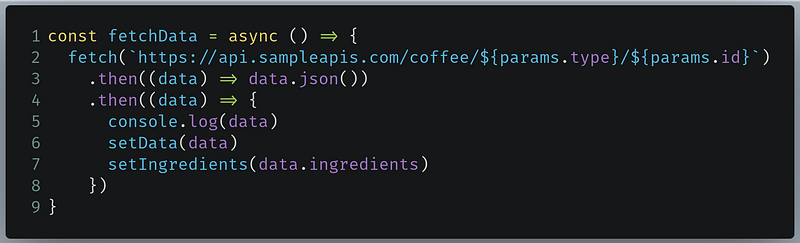
In CoffeeInfo.js, create a function called fetchData. There, write the following code:
- Line 2: Here, we are fetching data from the Coffee API. But this time, we’re appending the parameter’s
typeandidvalues to get the desired coffee description and name. - Line 5: Output the fetched data to the console.
Run the code. This will be the output:
Nothing changed. But look at the console:

Voila! We got our desired data.
As our final step, let’s now display this data to the browser.
In CoffeeInfo.js, declare two Hooks:

- The
dataHook will store the fetched data. - The
ingredientsHook will store just the contents of theingredientsarray from the fetched data.
Now go to your fetchData function in CoffeeInfo:
Change it like so:
The changes are on lines 6 and 7:
- Line 6: Store the fetched data in the
dataHook. - Line 7: Store the
ingredientsarray from the fetched data into theingredientsHook.
Let’s now display it.
Go to your return block in CofeeInfo:

Change it like so:
- Lines 3-4: Display the
titleanddescriptionvalues from the fetched data. - Line 7: Since
ingredientsis an array, we are using themapfunction. - Line 8: Iterate through the
ingredientsarray and display their values.
Run the code. This will be the result:

Our code works.
In the end, this is how CoffeeInfo.js should look:
And this is how App.js should look:
Building a horizontal Navbar
In this section, we will now build a horizontal navigation component. This will help users navigate our website with ease.
To do so, go to Nav.js and assign a className property to your ul element.
//change in Nav.js
return (
  <>
    <ul className="nav"> </ul>
    {/* Further code..*/}
Next, go to your App.css file. Here, append this snippet:
- Line 2: Our
navcomponent should have adisplayproperty ofinline. This means that React will render its child elements in one line. - Lines 6–8: The
floatproperty indicates that JavaScript will display all elements next to each other. Later on, we added some padding so that all the elements will have some space between them. This makes the links easier to click.
This will be the result:
And we’re done!
GitHub Links and Other Resources
GitHub link
Other reading resources
- React Router Tutorial — Dev Ed
- React Router In 5 Minutes — James Quick
- React Router
useParams - React Lists And Keys (a guide on displaying contents of the array)
Conclusion
If you faced any issues with this tutorial, then play with the code and research extensively to fully grasp the inner workings of React Routers. Don’t give up!
This tutorial was by no means a short article. Congratulations on making it to the end! I hope you learned a lot. Thanks for reading!
Next Post: The Complete Guide to Using GraphQL in Node.js With Apollo Server Previous Post: Build A React Pomodoro App With TailwindCSS and Material UI