avatarRandy Runtsch

Free AI web copilot to create summaries, insights and extended knowledge, download it at here

3448

Abstract

5 bolt heads.</li><li><b>Allen wrenches</b> — 2 / 2-L / 2.5 / 3 / 4 (2 pcs) / 5 / 6 / 8 / 10mm — Most bolts on modern bikes need Allen wrenches. They are also called hex or Allen keys.</li><li><b>Spoke wrench</b> — 14G and 15G are common sizes. Use a spoke wrench to adjust the spoke on a wobbly wheel or to install a new spoke or FibreFix (see below).</li><li><b>Bottle opener</b> — Use this tool to open post-ride refreshments.</li><li><b>Tire lever</b> — Use only plastic or aluminum tire levers. Steel levers may damage rims. Use them only in an emergency.</li></ul><figure id="ab6d"><img src="https://cdn-images-1.readmedium.com/v2/resize:fit:800/1*uwY1Os5TxFp79sq_-VPILw.jpeg"><figcaption>6,000 riders participated in PBP in 2015. Waves of 300 riders leave from the French National Velodrome every 15 minutes. © Randy Runtsch</figcaption></figure><h1 id="548e">Other Tools, Parts, and Supplies</h1><ul><li><b>Mechanical tire pump</b></li><li><b>Plastic tire levers (2)</b></li><li><b>Inner tube of the correct size </b>— I carry two tubes on brevets of 300k and longer.</li><li><b>Inner tube patch kit or pre-glued patches</b></li><li><b>Spare brake cable</b></li><li><b>Spare derailleur cable</b></li><li><b>Spare spokes (2</b>)</li><li><a href="https://www.adventurecycling.org/cyclosource-store/equipment/tools-accessories/sp/fiberfix-spoke/"><b>FiberFix emergency replacement spoke</b></a> — Use this Kevlar cable to replace a broken spoke on the drive side of the rear wheel. I used a FiberFix spoke on a 400 km brevet to replace a broken spoke at 2 am. You cannot install a regular spoke on the drive side of the rear wheel away from a shop, since the gear cassette is in the way. The FibreFix in my bag saved the ride.</li><li><b>Tire boot</b> to patch tires (dollar bills also work for this purpose)</li><li><b>Chain lubricant</b> — Carry dry lube in dry weather and wet lube in wet weather.</li></ul><figure id="17c1"><img src="https://cdn-images-1.readmedium.com/v2/resize:fit:800/1*6kfLYeBTcGhJE7UlnsDDZw.jpeg"><figcaption>Cyclists purchase meals at control stops along the 1,200km PBP route. The meal is from Brest. © Randy Runtsch</figcaption></figure><h1 id="7242">Optional Tools</h1><ul><li><b>CO2 pump and cartridge</b> — This type of pump uses a CO2 cartridge to inflate the tire. Each 16g cartridge inflates one standard road bike tire.</li><li><b>Tire pressure gauge </b>— Without a gauge, you can only guess at the air pressure in a tire. Some pumps have a built-in gauge.</li><li><b>Small needle-nose pliers</b> — Use pliers to pull cables, bend metal parts, or remove objects from tires. A small multi-tool, such as a Leatherman Micra, includes pliers and other tools, such as a knife blade and scissors.</li><li><b>Presta-to-Schrader valve adapter</b> — Use this adapter to fill a tire with a pump made for a Schrader valve if your Presta-only pump fails. This happened to me on the first day of a four-day bike tour.</li><li><b>Electrical Tape — </b>Electrical tape has two properties that make it useful for temporary repairs and to attach things to the bike: 1. it is flexible, and 2. it is easy to remove and doesn’t leave residue on the bike. This tape is useful to attach items, such as wires or spokes, to the bike frame. If you use a dynamo lighting system, you can use it to make temporary wiring repairs, too.</li><li><b>Duct tape</b> — I carry a miniature roll of duct tape on long rides. Tougher than electri

Options

cal tape, use it to temporarily fasten loose or broken parts. It is useful stuff.</li></ul><figure id="ec8f"><img src="https://cdn-images-1.readmedium.com/v2/resize:fit:800/1*qsNNx26hLYxFsBWLO8YqCg.jpeg"><figcaption>The author pauses on the bridge south of Brest, the halfway point of PBP. © Randy Runtsch</figcaption></figure><p id="b979">It is tough to suffer a mechanical failure when I don’t carry essential tools, supplies, or parts. I know from experience. Recently, 125 km into a 200 km brevet, the rear derailleur cable on my bike snapped. I hadn’t packed a replacement cable. The best solution was to adjust the rear derailleur’s upper limit screw to remain in the lowest gear possible. Unfortunately, since the bike had a double crankset, I could use only two gears out of 22: high and higher. I pushed through and climbed big hills with the big gears to finish within the 13-hour time limit. If the ride had been longer, I would have experienced a “did not finish” (DNF).</p><figure id="fef5"><img src="https://cdn-images-1.readmedium.com/v2/resize:fit:800/1*zQFv6_4YamG2hFokgqJXcw.jpeg"><figcaption>Pastries are popular food sources for cyclists on PBP. © Randy Runtsch</figcaption></figure><p id="d5aa">Randonneuring is a style of cycling that requires mental and physical endurance. Finishing a brevet on time can bring satisfaction and relief. But there is no reason to suffer a DNF because of a simple mechanical failure. So, why not carry the essential tools of the road?</p><div id="7738" class="link-block"> <a href="https://readmedium.com/a-canoe-trip-in-the-boundary-waters-85cd7ceee62f"> <div> <div> <h2>A Canoe Trip in the Boundary Waters</h2> <div><h3>The Boundary Waters Canoe Area in northern Minnesota features over 1,100 lakes to explore by canoe.</h3></div> <div><p>medium.com</p></div> </div> <div> <div style="background-image: url(https://miro.readmedium.com/v2/resize:fit:320/1*2X5ZEz5-qxwm53EyQFw3pA.jpeg)"></div> </div> </div> </a> </div><div id="7c43" class="link-block"> <a href="https://readmedium.com/a-nesting-common-snapping-turtle-402b5b9190b9"> <div> <div> <h2>A Nesting Common Snapping Turtle</h2> <div><h3>Common snapping turtles can be aggressive out of water. But this mother was too busy laying her clutch of eggs to…</h3></div> <div><p>medium.com</p></div> </div> <div> <div style="background-image: url(https://miro.readmedium.com/v2/resize:fit:320/0*51oO5u_TfJEWSKqZ)"></div> </div> </div> </a> </div><div id="6fc1" class="link-block"> <a href="https://readmedium.com/a-genuine-wild-goose-chase-9107407d5c27"> <div> <div> <h2>A Genuine Wild Goose Chase</h2> <div><h3>The idiom “wild goose chase” originated in the sixteenth century. In this real-life wild goose chase, an angry…</h3></div> <div><p>medium.com</p></div> </div> <div> <div style="background-image: url(https://miro.readmedium.com/v2/resize:fit:320/0*5nKkV5E0YDXl27sf)"></div> </div> </div> </a> </div></article></body>

Bicycles, Randonneuring, and Adventure

Randy’s Rules of Randonneuring — Essential Tools of the Road

Carry essential tools, supplies, and parts for long bike rides — just in case

The author during the 1200km Paris-Brest-Paris (PBP) in France in 2015. © Randy Runtsch

Whenever I get on my bike, I usually carry a tire pump, inner tube, tire levers, and multitool. The longer the ride is, such as a 1200 km grand randonneur, the greater the risk of equipment failure. Mechanical problems can result in lost time and expense, such as paying for an Uber or Lyft ride or a bus or train ticket. So, it pays to prepare.

The author enjoys dinner with his son and daughter-in-law before the start of Paris-Brest-Paris (PBP). © Randy Runtsch

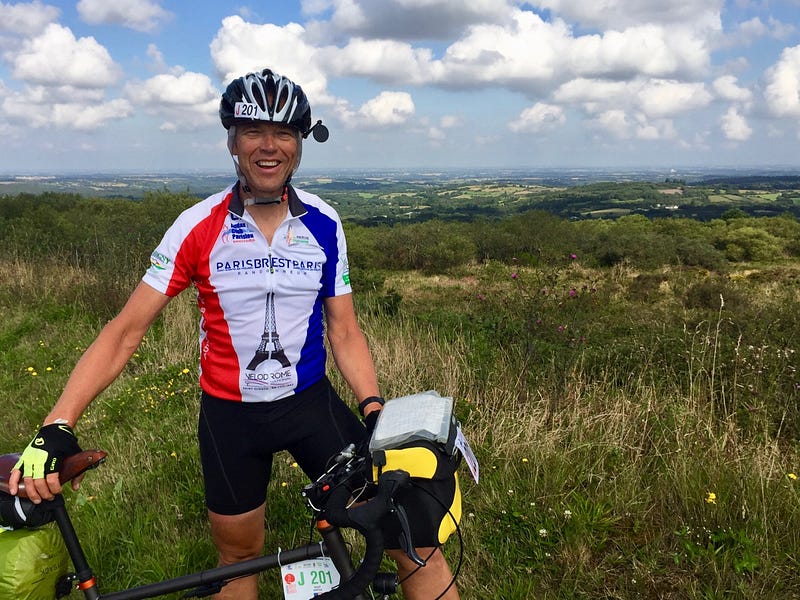
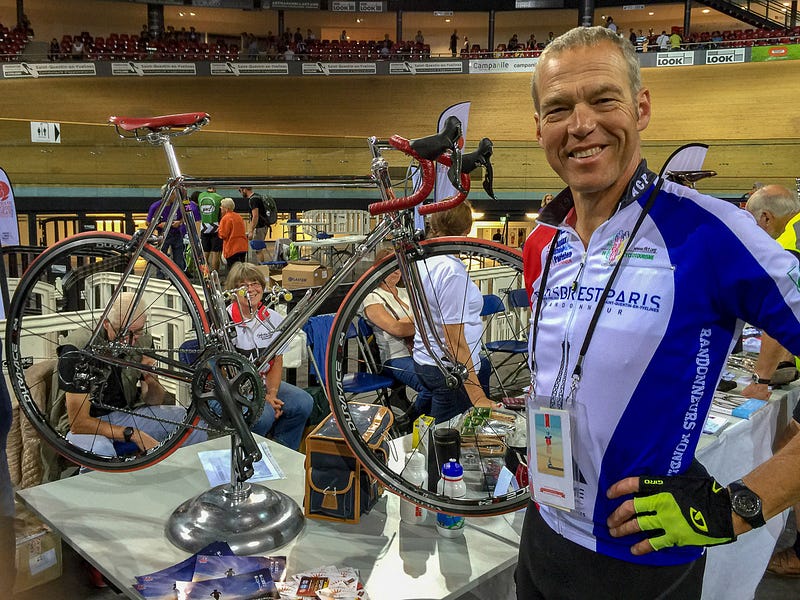
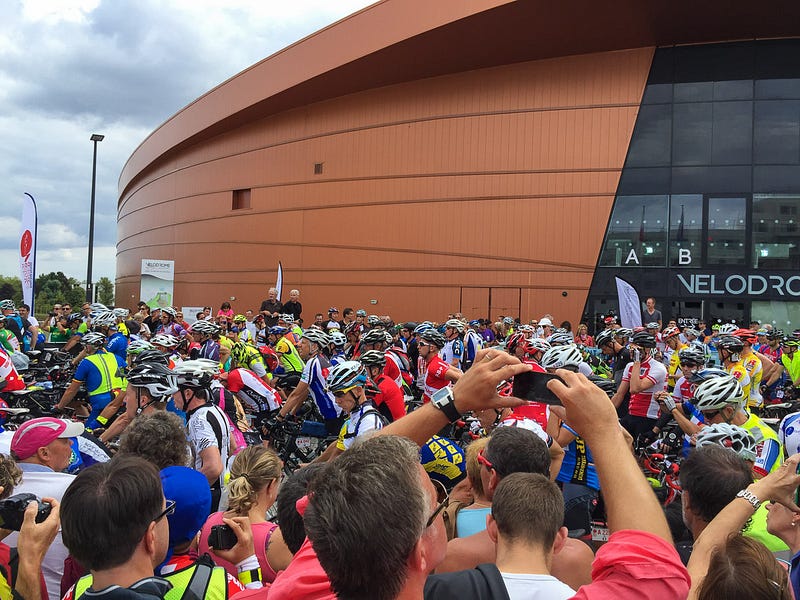
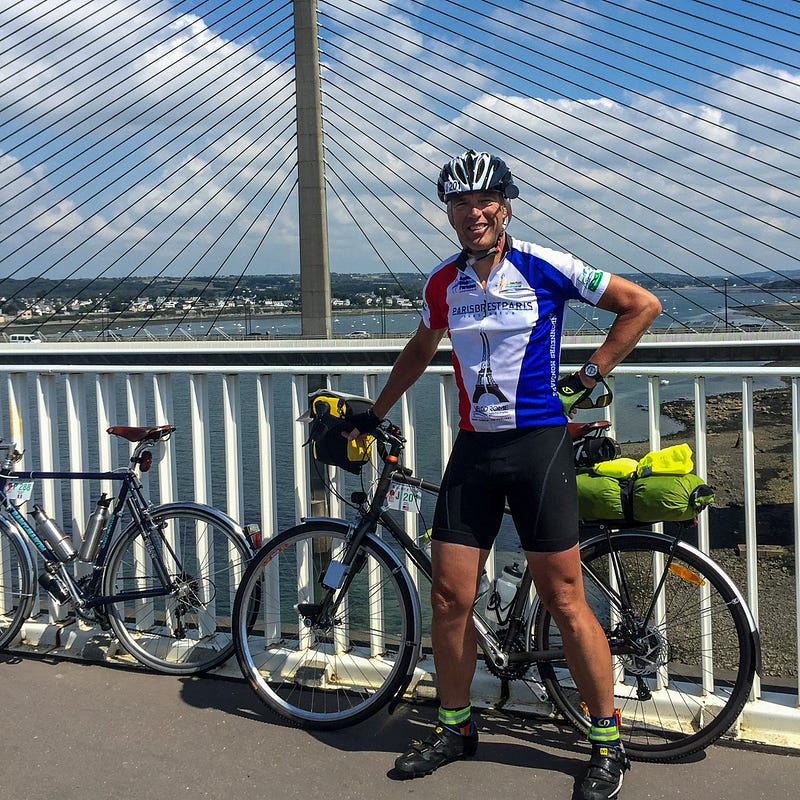
Randonneuring is an ultra-distance style of cycling. Rides, called brevets, follow a specified route with designated control points. Most brevets are 200, 300, 400, 600, 1000, or 1200 km long. The rider must cover the course within a time limit to qualify as a finisher. The most famous randonneuring brevet is 1200 km Paris-Brest-Paris (PBP) grand randonneur in France.

Randonneuring is an extreme sport. Riders must prepare for the mental, physical, and mechanical challenges of the road. To succeed in the sport of randonneuring, each rider should:

  • Be in superb physical condition
  • Ride a suitable bike in good running condition
  • Nourish and hydrate themselves before and during rides
  • Carry and know how to use basic tools and other necessities.

This story describes the bike tools, supplies, and parts that I carry on brevets.

The author admires a fine randonneuring bicycle. © Randy Runtsch

Multitool or Separate Tools

I carry a Topeak Mini 18+ multitool. At 185 grams (6.51 ounces), it tucks into a neoprene pouch and features most of the tools that I need on the road. I have listed its tools below. If you choose to carry individual tools, then this list provides a good starting point. You can omit the bottle opener and duplicate Allen wrenches from your toolkit, of course.

Topeak Mini 18+ Multitool Tools or Individual Tools

  • Chain tool — This tool is also called a chain rivet remover or a chain breaker. You can use it to shorten the chain and convert the bike’s drivetrain to single-speed should the rear derailleur cable break. You can also use it to shorten the chain if a link breaks during the ride.
  • #2 Phillips screwdriver — Use this screwdriver to adjust derailleur limit screws.
  • Flat-head screwdriver — Most bikes don’t require flat-head screwdrivers, but they come in handy.
  • Torx T25 wrench — Some brakes, stems, and shifters use T25 bolt heads.
  • Allen wrenches — 2 / 2-L / 2.5 / 3 / 4 (2 pcs) / 5 / 6 / 8 / 10mm — Most bolts on modern bikes need Allen wrenches. They are also called hex or Allen keys.
  • Spoke wrench — 14G and 15G are common sizes. Use a spoke wrench to adjust the spoke on a wobbly wheel or to install a new spoke or FibreFix (see below).
  • Bottle opener — Use this tool to open post-ride refreshments.
  • Tire lever — Use only plastic or aluminum tire levers. Steel levers may damage rims. Use them only in an emergency.
6,000 riders participated in PBP in 2015. Waves of 300 riders leave from the French National Velodrome every 15 minutes. © Randy Runtsch

Other Tools, Parts, and Supplies

  • Mechanical tire pump
  • Plastic tire levers (2)
  • Inner tube of the correct size — I carry two tubes on brevets of 300k and longer.
  • Inner tube patch kit or pre-glued patches
  • Spare brake cable
  • Spare derailleur cable
  • Spare spokes (2)
  • FiberFix emergency replacement spoke — Use this Kevlar cable to replace a broken spoke on the drive side of the rear wheel. I used a FiberFix spoke on a 400 km brevet to replace a broken spoke at 2 am. You cannot install a regular spoke on the drive side of the rear wheel away from a shop, since the gear cassette is in the way. The FibreFix in my bag saved the ride.
  • Tire boot to patch tires (dollar bills also work for this purpose)
  • Chain lubricant — Carry dry lube in dry weather and wet lube in wet weather.
Cyclists purchase meals at control stops along the 1,200km PBP route. The meal is from Brest. © Randy Runtsch

Optional Tools

  • CO2 pump and cartridge — This type of pump uses a CO2 cartridge to inflate the tire. Each 16g cartridge inflates one standard road bike tire.
  • Tire pressure gauge — Without a gauge, you can only guess at the air pressure in a tire. Some pumps have a built-in gauge.
  • Small needle-nose pliers — Use pliers to pull cables, bend metal parts, or remove objects from tires. A small multi-tool, such as a Leatherman Micra, includes pliers and other tools, such as a knife blade and scissors.
  • Presta-to-Schrader valve adapter — Use this adapter to fill a tire with a pump made for a Schrader valve if your Presta-only pump fails. This happened to me on the first day of a four-day bike tour.
  • Electrical Tape — Electrical tape has two properties that make it useful for temporary repairs and to attach things to the bike: 1. it is flexible, and 2. it is easy to remove and doesn’t leave residue on the bike. This tape is useful to attach items, such as wires or spokes, to the bike frame. If you use a dynamo lighting system, you can use it to make temporary wiring repairs, too.
  • Duct tape — I carry a miniature roll of duct tape on long rides. Tougher than electrical tape, use it to temporarily fasten loose or broken parts. It is useful stuff.
The author pauses on the bridge south of Brest, the halfway point of PBP. © Randy Runtsch

It is tough to suffer a mechanical failure when I don’t carry essential tools, supplies, or parts. I know from experience. Recently, 125 km into a 200 km brevet, the rear derailleur cable on my bike snapped. I hadn’t packed a replacement cable. The best solution was to adjust the rear derailleur’s upper limit screw to remain in the lowest gear possible. Unfortunately, since the bike had a double crankset, I could use only two gears out of 22: high and higher. I pushed through and climbed big hills with the big gears to finish within the 13-hour time limit. If the ride had been longer, I would have experienced a “did not finish” (DNF).

Pastries are popular food sources for cyclists on PBP. © Randy Runtsch

Randonneuring is a style of cycling that requires mental and physical endurance. Finishing a brevet on time can bring satisfaction and relief. But there is no reason to suffer a DNF because of a simple mechanical failure. So, why not carry the essential tools of the road?

Bicycles
Bikes
Cycling
Randonneuring
Adventure
Recommended from ReadMedium