
Go and Build Something (Physical)!
It’s very easy to live in a technology “bubble”. Especially as a Product Manager at a tech company. Especially as someone who wrote a book called Building Digital Products.
Living in this bubble myself, it’s easy to imagine that every problem can be solved and every major industry disrupted with just a few killer developers and a great idea. Even in the more physical manifestation of this tech bubble, WiFi switches, Nest, and Roomba are much preferred as home improvement solutions vs. new flooring, tile, and furnishings.
However, this Winter holiday, I decided to take a break from the technology world and step squarely into the world of home improvement (along with the help of my future father-in-law, Rick).
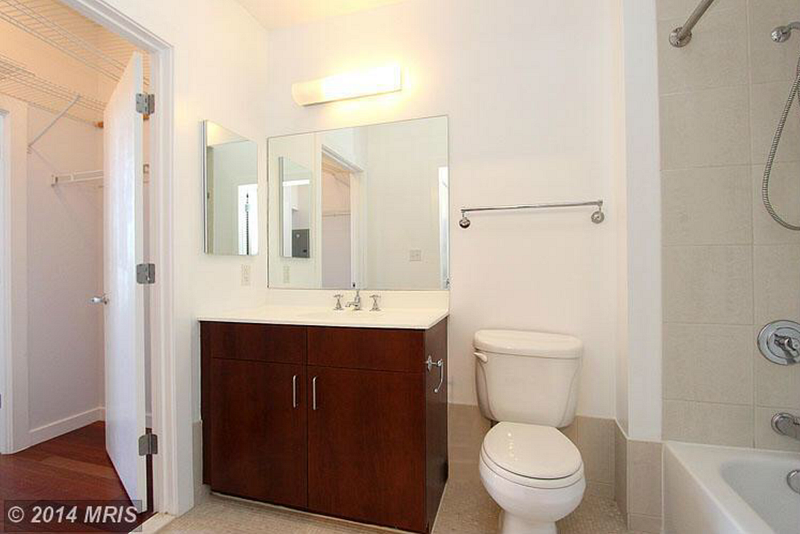
We had our eyes set on a manageable, but by no means quick and easy project: Updating the bathroom of my apartment with more modern, grey tile.
But, before I tell you how the project went (and all of the ups and downs), I wanted to share why I think you, yes YOU, should go and build something physical soon.
5 Reasons You Should Build Something Physical
- Appreciate How Things Are Constructed
How does your toilet mount to the floor, how do you layer one type of tile onto another, how do you even cut tile? (bonus points for providing a non-saw answer) These are just a few of the questions I found answers to during this project.
2. Think With Another Part of Your Brain and Use Other Muscles
At work and in most of my personal life, I’m highly focused on goals that are often accomplished with computers: pulling and interpreting analytics on my products, planning a product roadmap, writing Building Digital Products, or even blog posts like this one!
When you’re building something physical, a completely different part of your brain is activated. You’re thinking spatially, you’re problem solving, you’re using grit and (real) muscles to make your vision a reality. While my brain still functions more strongly with tech challenges, introducing physical challenges helps add another perspective and strengthens your holistic mind.
3. Improve Your Living Space
The quality of your living space has a direct impact on the quality of your life. If your home is functional, maintained, and stress-reducing, you’ll find it easier to work there, easier to relax there, and easier to think there.
Never stop improving your living space, even if the changes are much smaller than a new bathroom!
4. Change is Great
There are thousands of very well-written articles about the positive effects of embracing change and this post is not intended to recreate them.
However, here are just a few benefits you can realize from changing your physical environment and your way of thinking:
Change teaches you to be flexible.
Change can challenge your values and beliefs.
Change reveals your strengths.
Change breaks up routines.
Change offers opportunities.
Source: Attitude is Altitude
5. It’s Way Cheaper Than Hiring Someone!
Initially, I was set on hiring a contractor to do the tile project. I received quotes between $3,500 and $5,000 for the project (!)
By doing the work myself, I only spent about $750 for the whole bathroom including the tile, mirror, lighting, cabinet, and paint. And I had the additional satisfaction of knowing the level of effort I put into the work.
The Project
The new tile project took a total of 3 days and about 15 hours of work (not including trips to Home Depot, drying times, etc.)
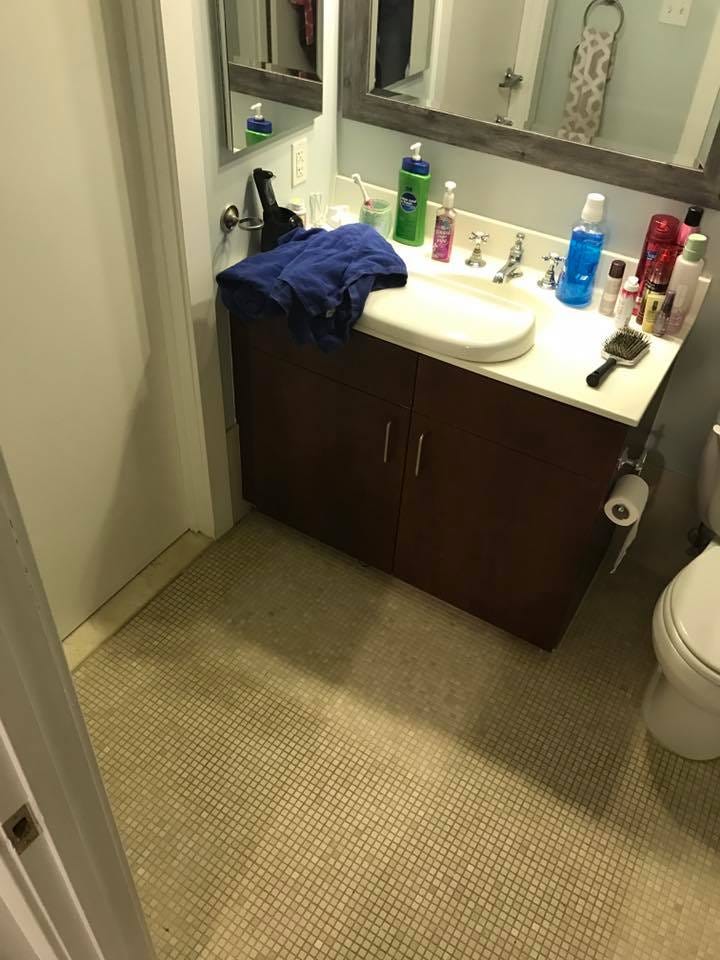
Step 1: Prepare the Bathroom
In order to prepare for the project, we had to cut notches in the wood door frames to accommodate the additional height of the new tiles.
Additionally, we had to take off the toilet. Make sure to have extra towels ready for this!
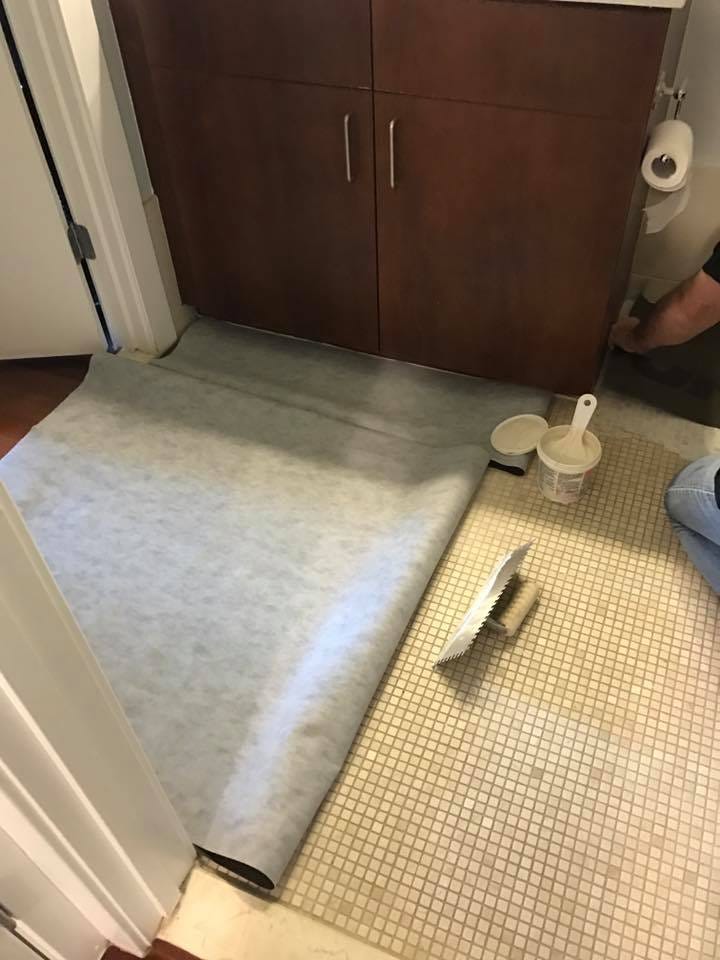
Step 2: Lay The Membrane
You can’t simply lay one layer of tile on another. If you did, you’d have a really unstable floor with absolutely no cushion. Rather, you have to glue a membrane between the two layers with a thick adhesive that also serves to help with any leveling issues.
We quickly found that the bathroom had a spot that was significantly off level and we had to layer extra adhesive to compensate.
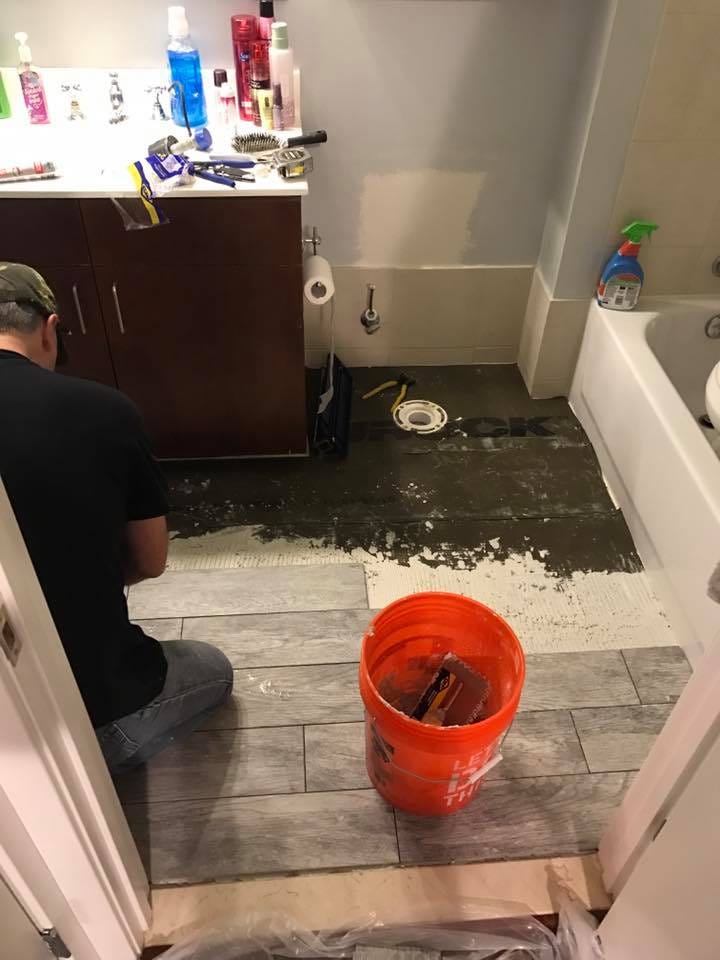
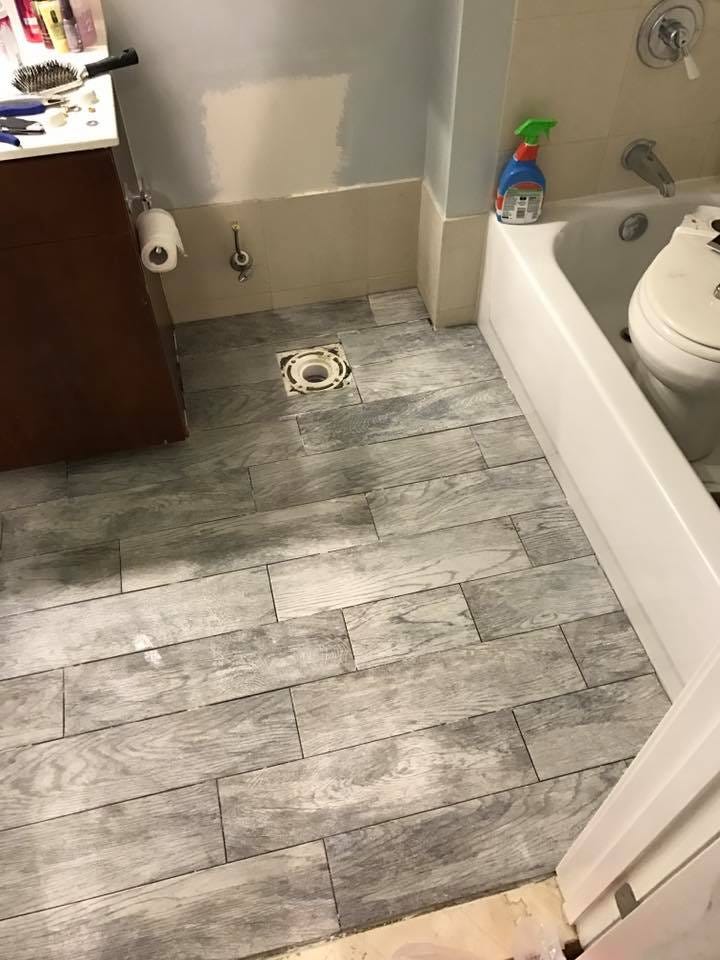
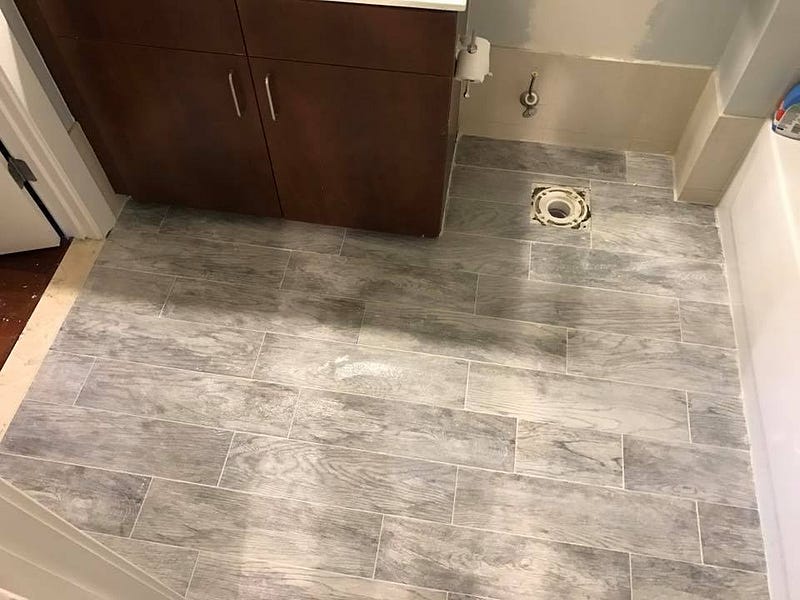
Step 3: Apply Mortar and Add Tiles
This is by far the most labor intensive step. You start by applying mortar on top of the membrane you placed in step 2 and then create lines in the mortar using a notched trowel to provide a better grip between the two layers.
Then you just lay the tiles right? Not so fast. For a bathroom as small as this one, we could only lay about 2 full tiles per row and then 2 cut tiles. In order to cut tiles shorter (lengthwise), we mostly used a manual tile cutting tool like this one:
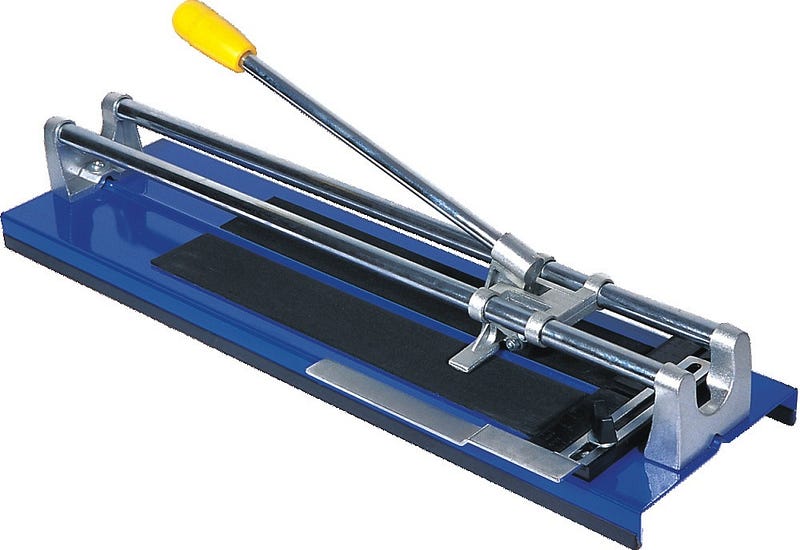
But, when we needed to make a complex cut, for example, around the toilet connection, or a width-reducing cut, we needed to resort to the wet saw:
Step 4: Let Mortar Harden Overnight
Step 5: Grout Tiles
After letting the mortar harden overnight, it’s time to grout the tiles. Grout fills in the gaps between the tiles and between the tile and the wall, bathtub, and entryways.
This was actually the most fun part of the project for me because it combines both form (clean and crisp grout lines) with function (preventing the tile from moving).
Once the grouting is complete, you’ll want to let the tiles sit again overnight to dry and harden completely.
Step 6: Re-install Toilet, Patch Grout, Seal Gaps (Probable: Fix Leaks)
When you return the next day, you can reinstall any fixtures you removed, including the toilet. Inevitably, some of your grouting will be less than perfect and you’ll make final patches and polishes.
We found this was especially true with one tile that overlapped the non-level part of the floor but we were able to fix it with a combination of silicone sealant and grout.
When you reattach your toilet, pay special attention to make sure that there are no leaks. We found that we had disturbed the water line nut just enough to create a small leak, but fortunately that was fixed by cleaning out the old seal remnants and reattaching.
Finally, you’ll want to seal the toilet to the floor and any other cracks that may be subjected to moisture with a silicone sealant (either clear or matching the color of your grout).
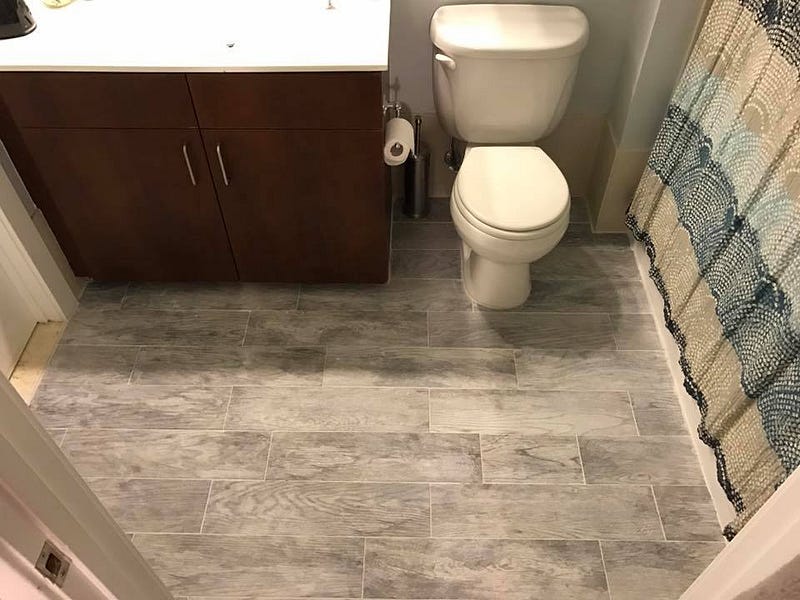
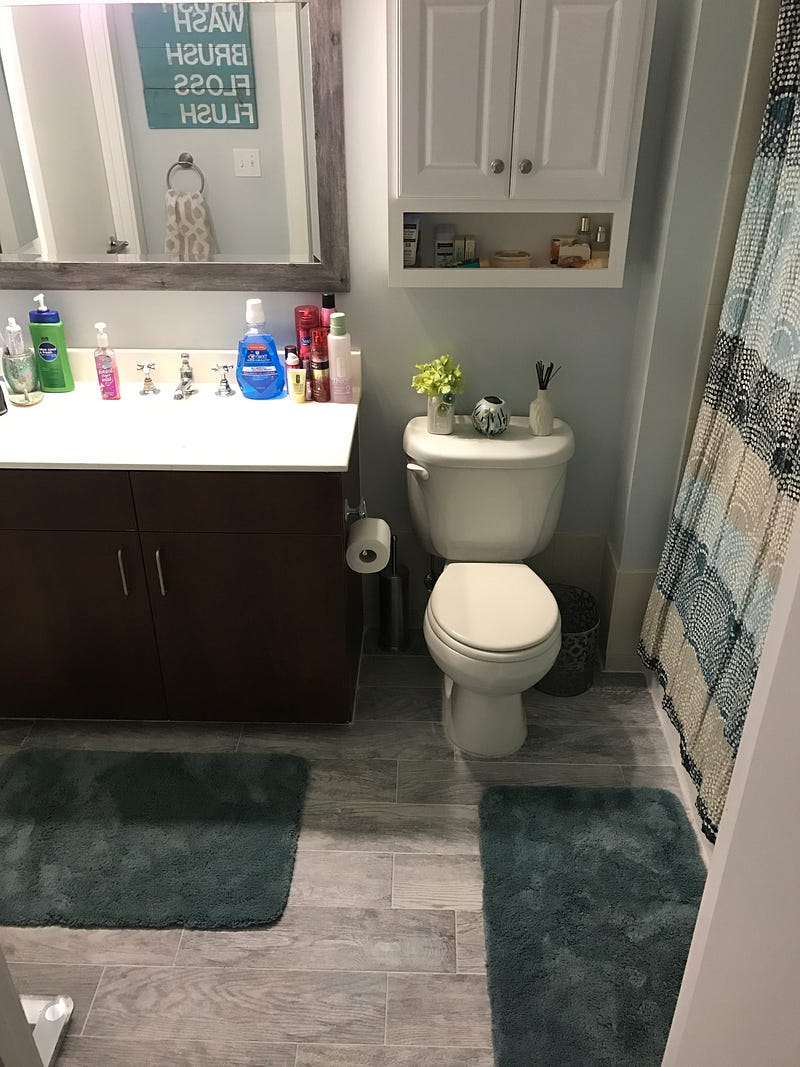
The Finished Project
After a few hard days of work and LOTS of learning, we now have a bathroom that looks dramatically better than the original.
What’s next? Painting that vanity (light grey) and then finding another project!
What’s holding you back?
Step outside your comfort zone. Enlist the help of a home improvement guru in your family or friend network and take on a physical project of your own.
Get building!
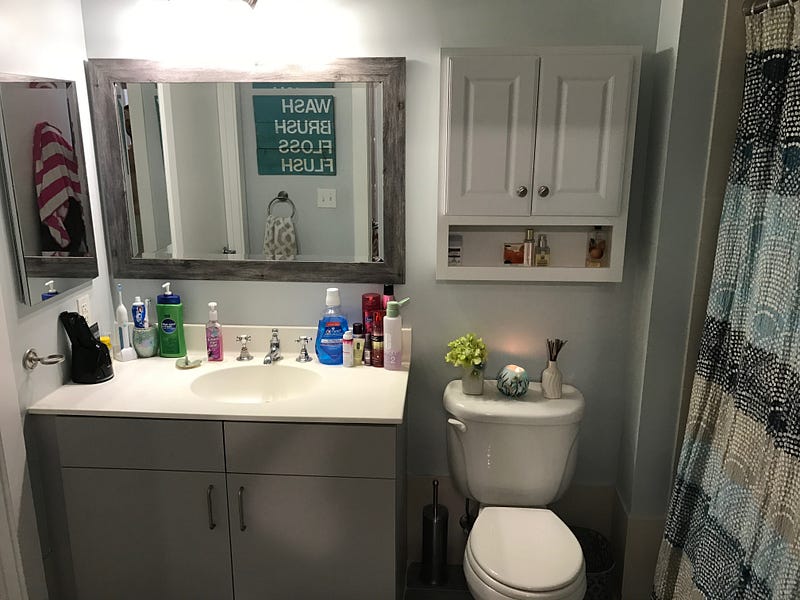
Update (12/30): Vanity painted!
Check out my book, Building Digital Products at www.buildingdigitalproducts.com and Amazon
More about Alex Mitchell
Also By Alex Mitchell:
Check out Alex’s Book: Building Digital Products
Amazon: https://www.amazon.com/Building-Digital-Products-Ultimate-Handbook/dp/1522824936
Digital Download: https://gum.co/CLccb


