
Exploring OpenAI DALL·E APIs With Next.js
Edit images based on descriptions and more
Introduction
DALL·E is an AI system that can create realistic images and art from natural language descriptions. The software is named after the animated robot Pixar character WALL·E and the Spanish surrealist artist Salvador Dalí. This deep learning model is one of the AI products of OpenAI.
A previous article has described how to set up openAI account, and we continue to use the account to explore DALL·E. We also export OPENAI_API_KEY as an environment variable for the Next.js working environment. Next.js is a React Framework with a built-in client and server, where APIs are invoked on the server side.
We use the following command to set up a Next.js project named next-dalle2:
% yarn create next-app next-dalle2 --typescript
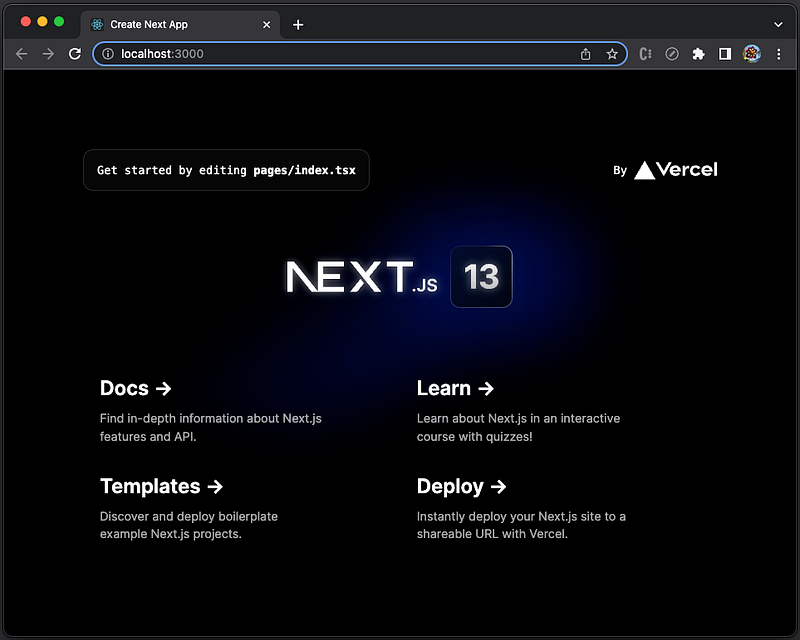
% cd next-dalle2Execute the command, yarn dev, and we will see the default Next.js UI at http://localhost:3000. It is Next.js 13’s Get Started page.
In this article, we will explore DALL·E features and see how they can be used in Next.js. We’ll do the following:
- Generate images based on language description
- Create image variations based on a given image
- Edit an existing image for inpainting and outpainting
Generate Images Based on Language Description
OpenAI provides an intuitive interface to generate images. You can type a detailed description in the input field and click the button, Generate.
For example, we type the prompt, A flying robot in space that is drawn by Vincent van Gogh, and it generates four images.
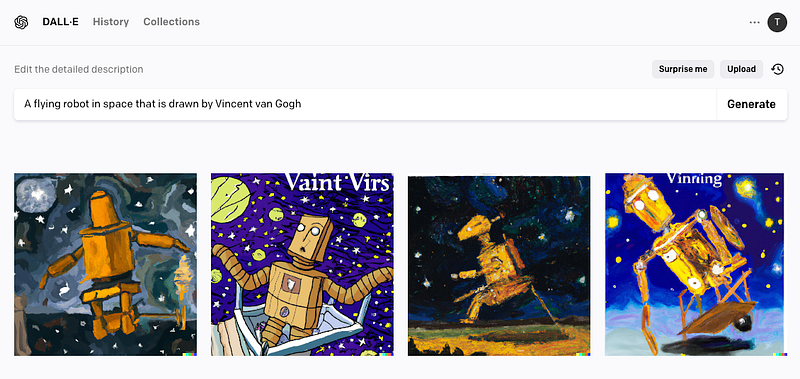
The above images are of professional quality and are made in Vincent van Gogh's style. It is noticeable that each image has a DALL·E signature or watermark in the bottom right corner.
Click on the first image, and examine the enlarged picture below:
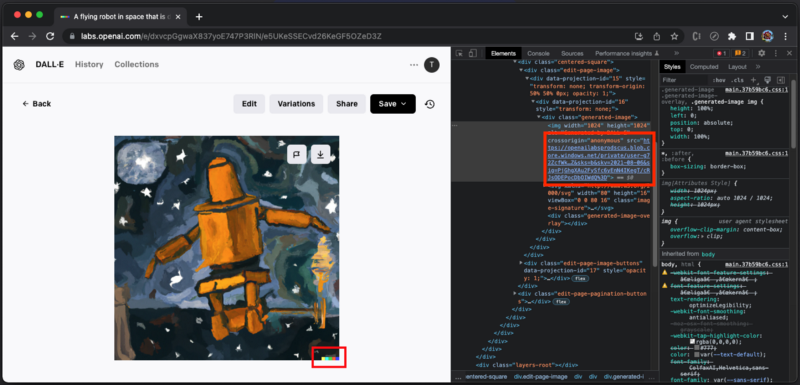
We can download this image with the DALL·E signature or open the inspect window to get the URL for the same image without the DALL·E signature.
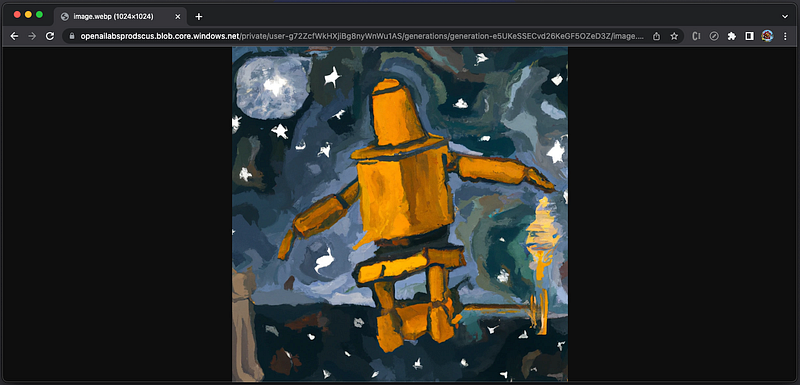
The generated images’ private URLs will be available for an hour. Save the images for keep before they expire.
We build DALL·E inside the Next.js project, and it takes five steps to do it:
- Install
openai in the project. - Modify the get started page,
pages/index.tsx. - Update the page styles,
styles/Home.module.css. - Configure call handler in
api/hello.ts.
1. Install openai in the project
Run the following command to install the openai package:
% yarn add openaiopenai becomes part of dependencies in package.json:
"dependencies": {
  "openai": "^3.1.0",
}
2. Modify the get started page, pages/index.tsx
Files in the pages folder are React components. When a file is added to the pages folder, it is automatically available as a route. index.tsx is the home route. It is invoked when a user access /. The default content is the Get Started page, and we modify it to be a page with prompt and images.
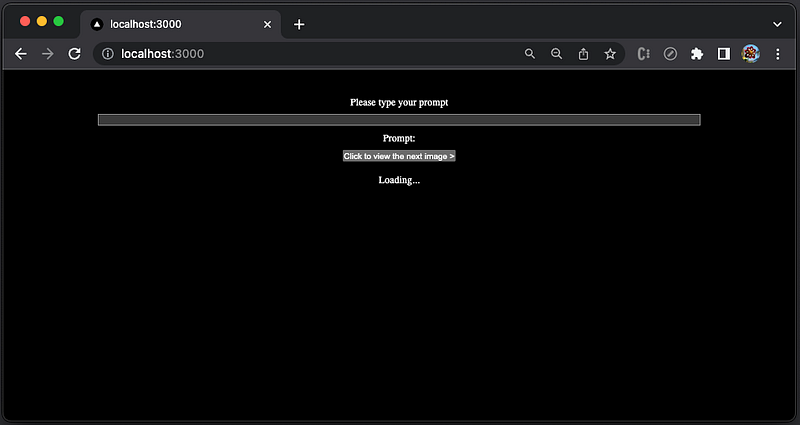
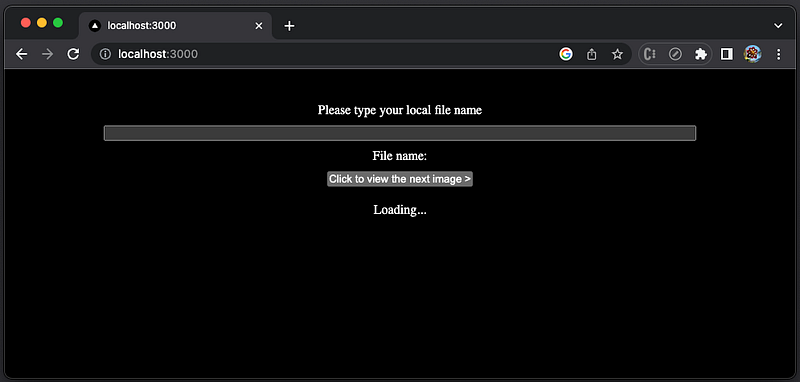
The UI has an input field to type a new prompt. After the user presses the enter key, the input text is cleared. The prompt is displayed on the page. The response images will be displayed in the Loading… area. Since we will generate ten images each time, there is a button, Click to view the next image >, to rotate images to be viewed.
The following screenshot shows what it looks like after the images are generated:
Here is the modified pages/index.tsx:
In the above code, we set two const variables:
IMAGE_COUNT(line 4): The number of images to generate. It must be between 1 and 10, and the default value is 1. It is set to10to ensure the selection pool is big enough.IMAGE_SIZE(line 5): The size of the generated images. It must be one of 256, 512, or 1024. It is set to 1024. The value is used to compose the image size as`${IMAGE_SIZE}x${IMAGE_SIZE}`. The default value is'1024x1024'.
There are four React states created:
value(line 8): It is the value in the input field applied at line 48.valueis updated byhandleInput(lines 13–16).prompt(line 9): It is the user prompt to generate images, which is displayed by line 49.promptis set byhandleKeyDown(lines 18–39) when the input field has akeydownevent with the key,'Enter'(line 20). The API route call is handled at lines 24–34, where the endpoint is'/api/hello'(line 24), and the request body definesprompt(line 30),n(number of images, line 31), andsize(line 32).imageIndex(line 10): It is the index to choose which generated image to be displayed, among the total ten images.images(line 11): It is the generated ten images. One of the images is displayed in theiframecomponent (lines 52–56). At line 50, clicking the button callshandleNextImage(lines 41–43) to increaseimageIndex. When there are no images loaded,'Loading...'is displayed (line 51).
3. Update the page styles, styles/Home.module.css
To layout pages/index.tsx nicely, we update styles/Home.module.css:
- At lines 1–7, the
mainclass is styled as a flex layout by the column direction, with some padding. - At lines 9–11,
.main iframeis styled with no border. - At lines 13–15,
.main divis styled with some padding. - At lines 17–19,
.main inputis set to 80% of the width. - At lines 21–23,
.main buttonadds some margin at the bottom.
4. Configure call handler in api/hello.ts
API routes provide a solution to build APIs. Files inside the pages/api folder are mapped to /api/*, and each of them is treated as an API endpoint. Since it is a server-side bundle, it is secure to invoke calls with OPENAI_API_KEY.
Here is the modified api/hello.ts:
- At lines 4–6,
configurationis created withapiKeythat is set to the environment variable,OPENAI_API_KEY. - At line 7,
openaiis instantiated withconfiguration. - At lines 9–11, the type
Datais defined. - At lines 13–24, the API
handleris defined, which takes a request object and builds a response object. The response object is injsonformat with the status code200(line 23). - The response data comes from
result(line 18), which is the response fromopenai.createImagethat createsnimages (line 20) ofsize(line 21), with specificprompt(line 19).
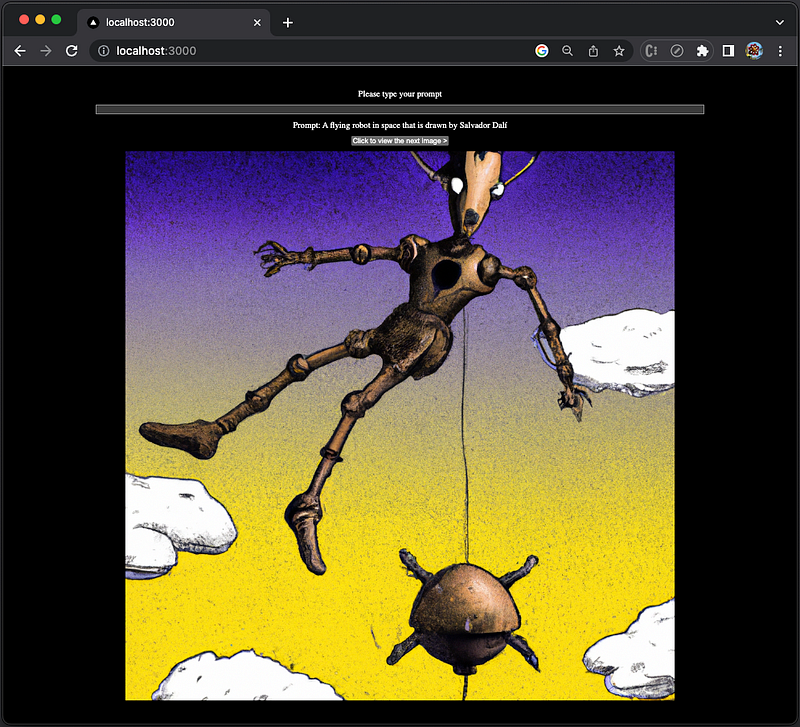
Execute yarn dev. Type the prompt, A flying robot in space that is drawn by Salvador Dalí, and it generates ten images. Clicking the button, Click to view the next image >, we view each of the generated images.
Create Image Variations Based on a Given Image
DALL·E can create a variation based on a given image. With the following image of robot in van gogh style, it has three options:
Edit imageGenerate variationsReportan issue
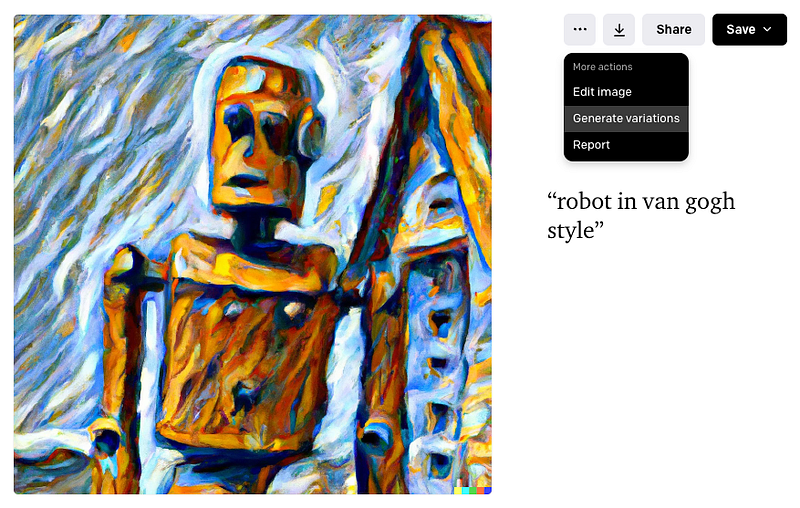
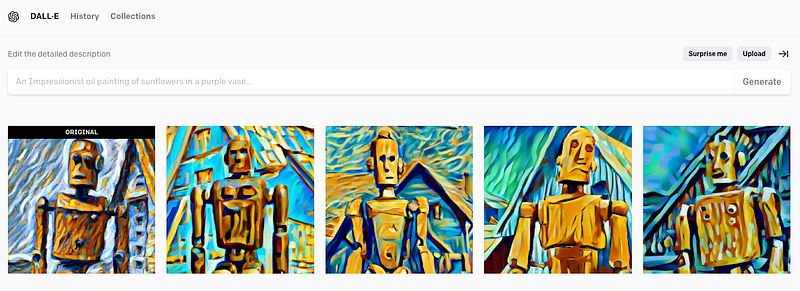
Execute the command, Generate variations, and four new images are generated, along with the original image.
Creating image variation can be achieved by the Next.js project as well. Instead of typing a prompt, it requires the original image file from the local file system.
Here is the modified pages/index.tsx:
- At line 9, we replace
promptwithfileName. - At line 30, the request body takes
fileName. - At line 49,
fileNameis displayed.
Here is the modified api/hello.ts:
- The response data comes from
result(line 19), which is the response fromopenai.createImageVariationthat createsnimages (line 21) ofsize(line 22), from a specificFilethat is read from a local file (line 20).
The following is the file image, p1.png, which is generated from the prompt, A flying robot in space that is drawn by Pablo Picasso.
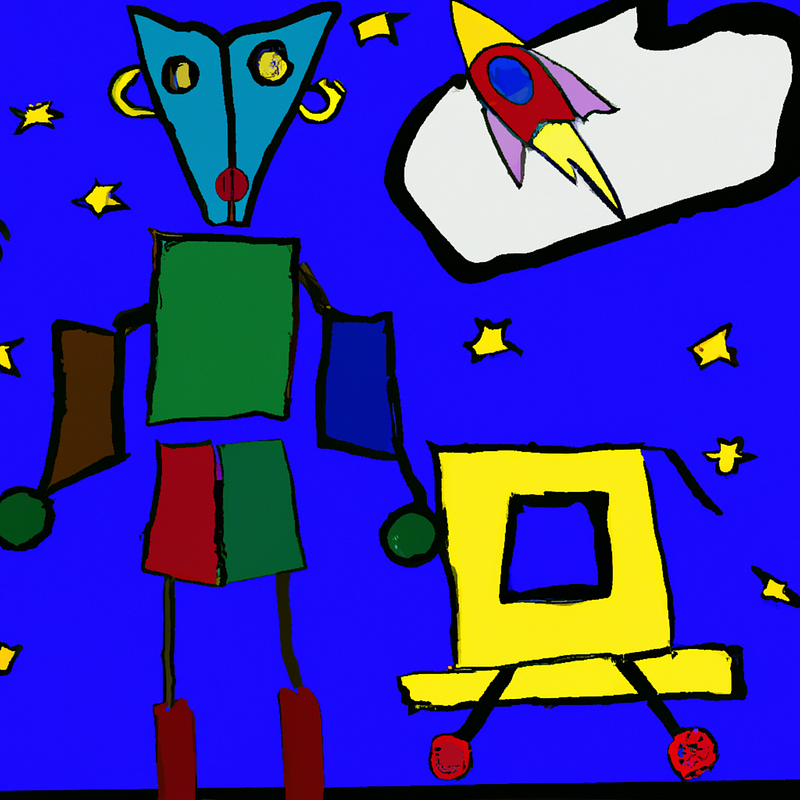
Execute yarn dev. Type the file name, p1.png, and press enter. It generates ten images. Clicking the button, Click to view the next image >, we view each of the generated images.
Edit an Existing Image for Inpainting and Outpainting
When DALL·E creates variations of a given image, a user has zero control of the outcome. The editing feature gives a user some control, using a prompt and specifying areas to fill. It is also called inpainting and outpainting.
- Inpainting: It tweaks the original image to create controlled variations, such as changing an outfit of a model.
- Outpainting: It extends the original image to create large-scale images in any aspect ratio, such as creating a garden from a tree.
Both inpainting and outpainting take into account the image’s existing visual elements — including shadows, reflections, and textures — to maintain the context of the original image.
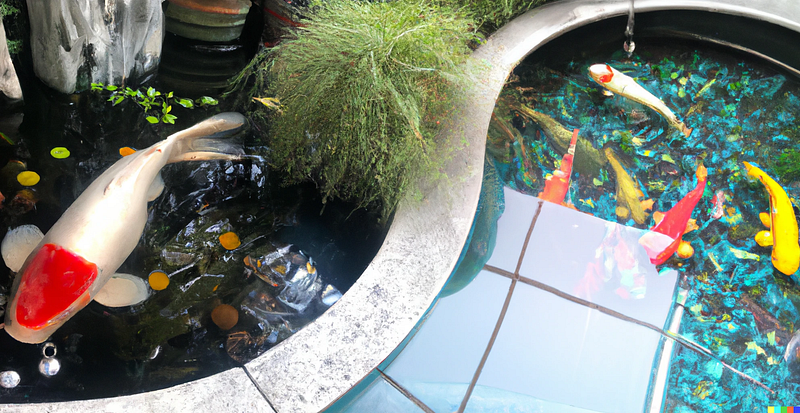
Here is the image editing screen, and we put two images in the editing area. This is inpainting as the changes are in the image boundary.
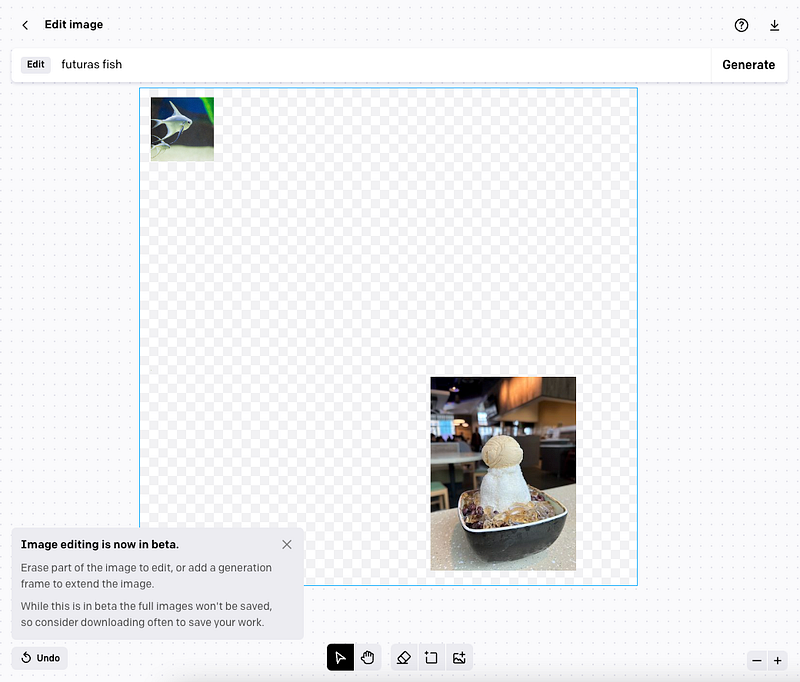
It generates four images based on the prompt, A futuras fish swims to a bowl of ice cream.
What do you think of the output images?
Here is the author’s choice:

The following is outpainting, as the image boundary is extended:
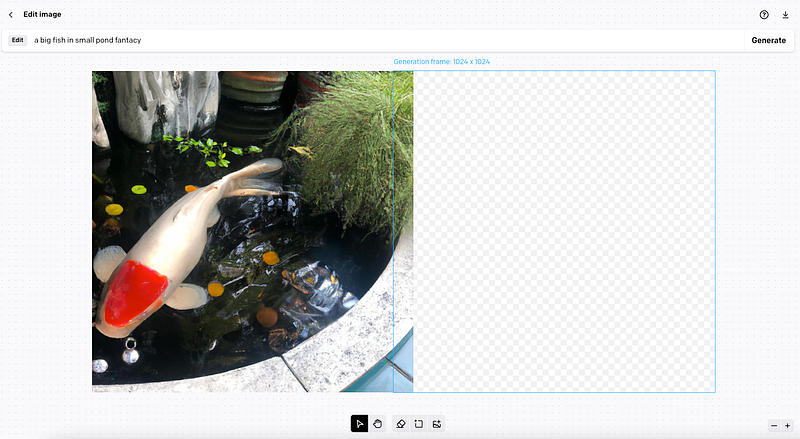
It generates four images based on the prompt, a big fish in a small pond fantasy.
Here is the author’s choice:
Strictly speaking, editing an image is inpainting as it only supports editing a square image. However, outpainting can be achieved by making the image boundary large and cropping the final result to any size.
Let’s try to edit an image in the Next.js project. It requires a local file name and a prompt.

Here is the modified pages/index.tsx:
- At line 6,
MASK_FILE_PREFIXis created to build the mask file name. The mask file is an additional image whose fully transparent areas indicate whereimageshould be edited. It should have the same dimensions as the original image. - At line 9,
valueis used for the file name input. - At line 10,
value2is used for the prompt input. - At line 11,
fileNameis for the original file name and the associated mask file name. - At line 12,
promptis used for the prompt. - At lines 38–44, the request body takes
fileName,maskFileName,prompt,n, andsize. - At lines 59–64, the required
fileName,maskFileName, andpromptare taken from the input fields and displayed on the screen.
Here is the modified api/hello.ts:
- The response data comes from
result(line 19), which is the response fromopenai.createImageEditthat createsnimages (line 23) ofsize(line 24), from the original local file (line 20) and the local mask file (line 21).
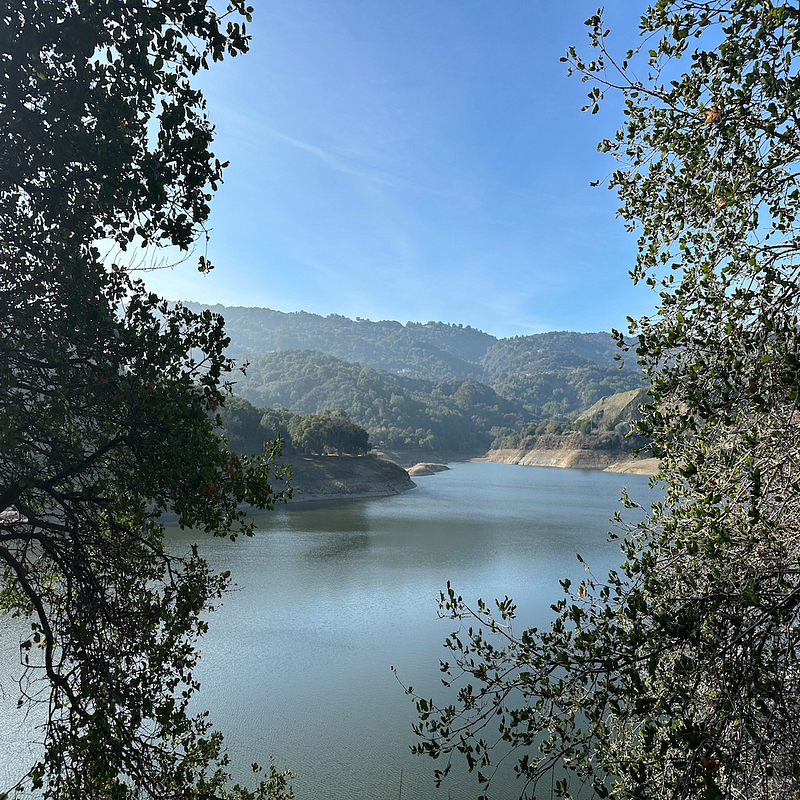
The following is the original file image, lake.png, which is a photo taken at Stevens Creek Reservoir.
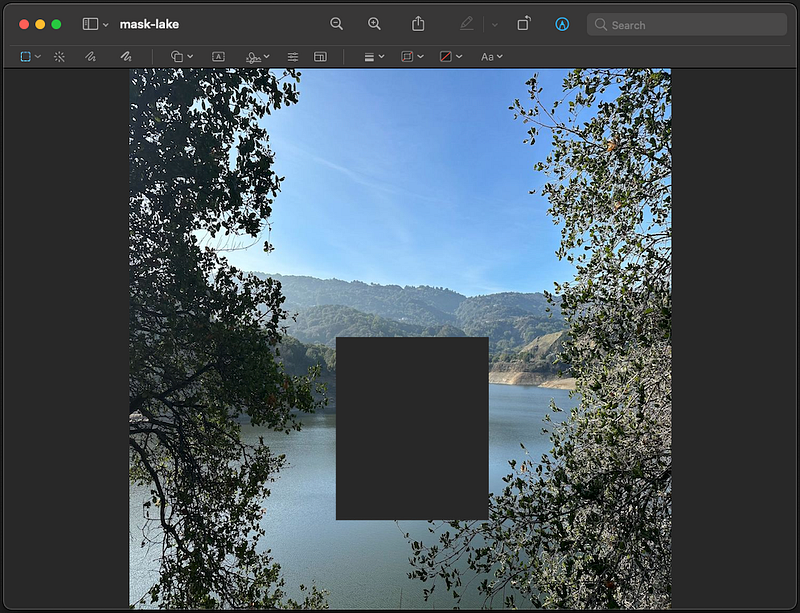
The following is the mask file image, mask-lake.png, built with the preview tool on Mac.
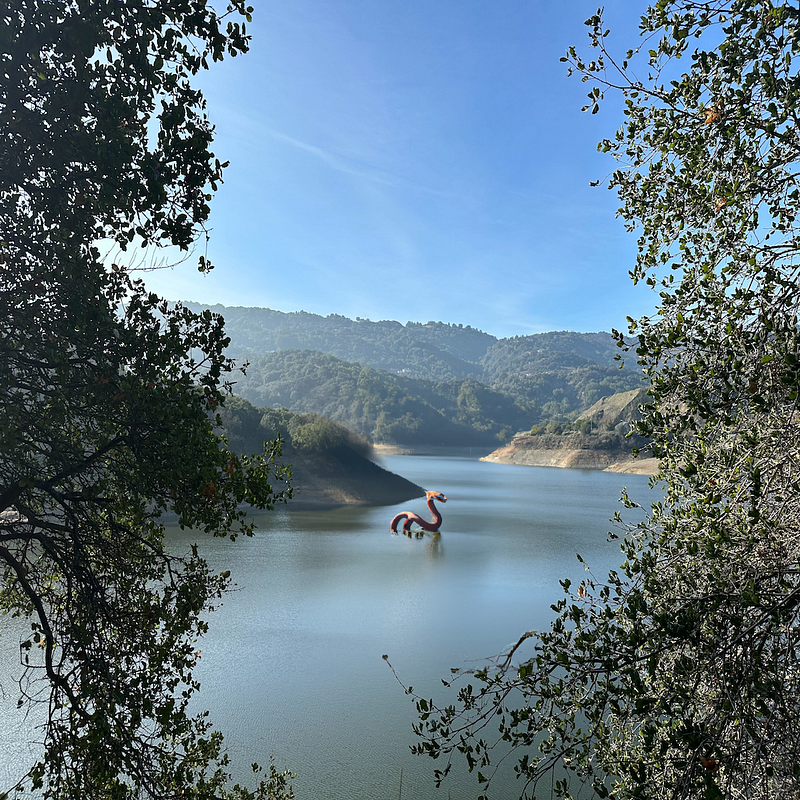
Execute yarn dev. Type the fileName, lake.png. Type the prompt, A dragon rises from a lake, and press enter. It generates ten images. Clicking the button, Click to view the next image >, we view each of the generated images.
There are two images of the author’s choices.
Choice 1 is a realistic dragon.
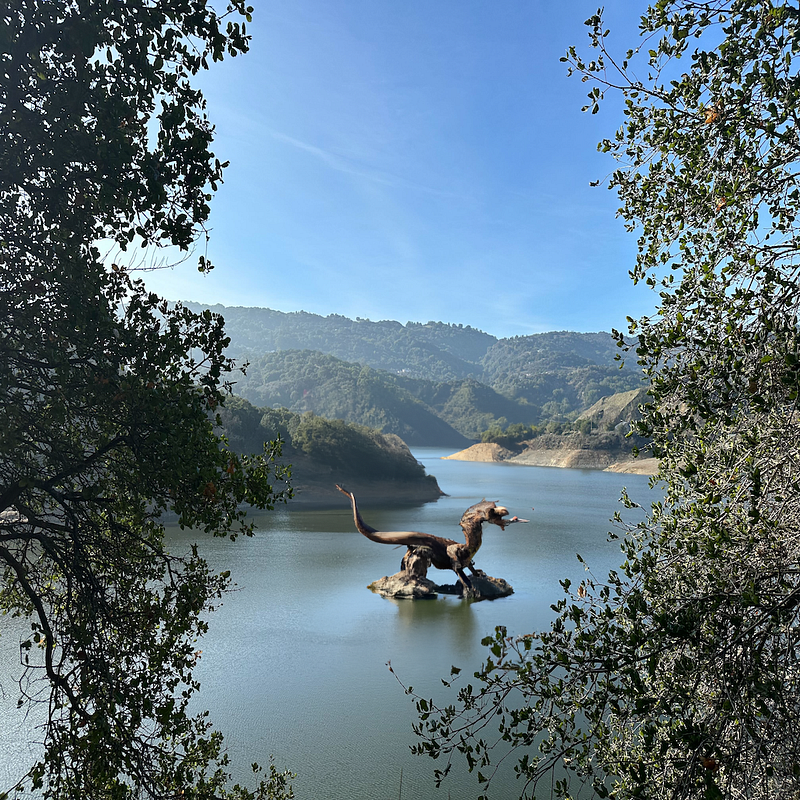
Choice 2 is an imaginary dragon.
Conclusion
We have shown DALL·E’s capability to generate images based on language description, to create image variations based on a given image, and to edit an existing image for inpainting and outpainting. These operations can be achieved using OpenAI’s online UI or programmed in a web application like Next.js.
As the invention of the camera changed art history, AI-driven art is reshaping the field of art and our daily life. Are you thrilled or disturbed?
Regardless, OpenAI DALL·E is a powerful tool, along with Stable Diffusion, GPT-3, ChatGPT, Point·E, and Whisper.
Thanks for reading.
Want to Connect?

If you are interested, check out my directory of web development articles.


