
Create your painting app with AI and Streamlit
How to make an app with few lines of code and a spare afternoon
Neural Style transfer (NST) is a technique of selecting one digital image (content) and applying to it the style of another (style).
It was originally published in a 2015 article by Leon Gatys. The original article used VGG19 (a convolutional network trained on Imagenet) as a model. Later, Google released a method that allowed several styles to be applied at the same time. Since then, a lot of templates and apps have come out.
Okay, but why not create one ourselves?
Okay, as we had seen in this article we can use Sreamlit, a Python library that allows us to create web apps. Not only that, but it also allows us to be able to deploy to the cloud (you just need to have an account on GitHub).
The first step is to create a .py file in which we first insert the libraries we need:
#structural libraries
import streamlit as st
import io
from PIL import Image
from io import BytesIO
import requests

#model specific libraries
import tensorflow as tf
import tensorflow_hub as hub
import numpy as np
import pandas as pd
The second step is to create functions that allow us to load images into our app (a function that we will very prosaically call load_images). The purpose of this function is to load images: the image we want to paint and the one from which we take the style
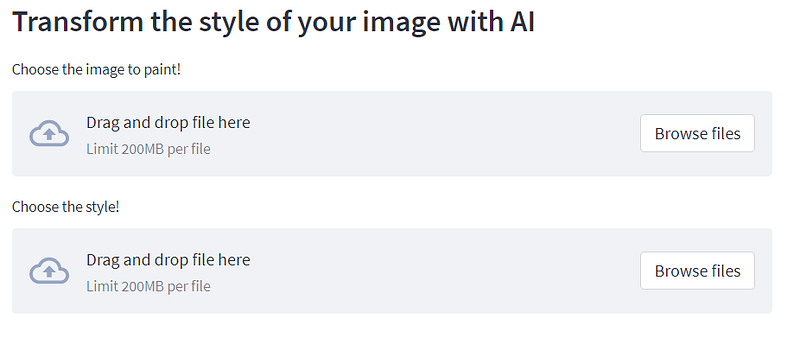
def load_images():
    content_img = st.file_uploader("Choose the image to paint!")
    style_img = st.file_uploader("Choose the style!")
    if content_img:
            cont = content_img.getvalue()
            content_img = Image.open(io.BytesIO(cont))
            print('p')
    if style_img:
            styl = style_img.getvalue()
            style_img = Image.open(io.BytesIO(styl))
            print('p')

    return content_img, style_img
Once the images are uploaded they must be processed, this is because we need to use them with an artificial intelligence model. Since we are using TensorFlow, we will have to use functions according to this framework (if you want to do it in PyTorch it is pretty much the same, only the names of the functions change). In a nutshell, we are just rescaling the image and transforming it into a tensor.
def process_input(img):

  img = tf.keras.preprocessing.image.img_to_array(img)
  img = tf.image.convert_image_dtype(img, tf.float32)
  shape = tf.cast(tf.shape(img)[:-1], tf.float32)

  scale = 1024 / max(shape)
  new_shape = tf.cast(shape * scale, tf.int32)
  img = tf.image.resize(img, new_shape)
  img = img[tf.newaxis, :]
  img /= 255.0
  return img
obviously, the model will return a tensor so we have to transform the output into an image.
def process_output(tensor):
  tensor = tensor*255
  tensor = np.array(tensor, dtype=np.uint8)
  if np.ndim(tensor)>3:
    assert tensor.shape[0] == 1
    tensor = tensor[0]
  return Image.fromarray(tensor)
Instead of having to train the model we can get it from tensorflow hub (where there is a collection of free models).
def load_model():
    model = hub.load('https://tfhub.dev/google/magenta/arbitrary-image-stylization-v1-256/2')
    return model
Now we need to write a function that combines all these elements together, takes the two images, and passes them into the model. After that, the resulting image is post-processed.
def NST(model, content, style):
t_content = process_input(content)
t_style = process_input(style)
out = model(tf.constant(t_content), tf.constant(t_style))[0]
result = process_output(out)
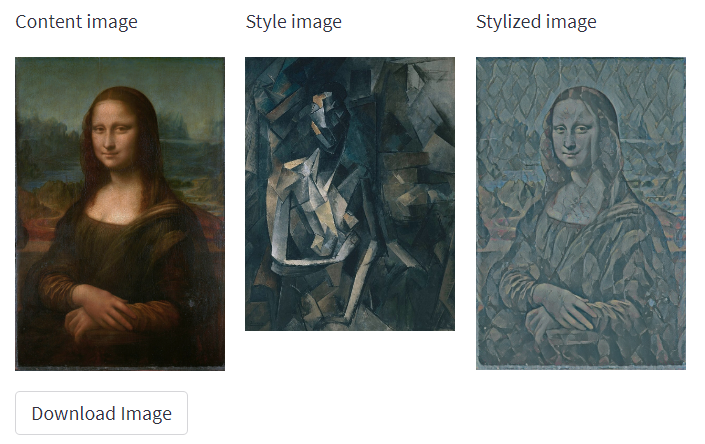
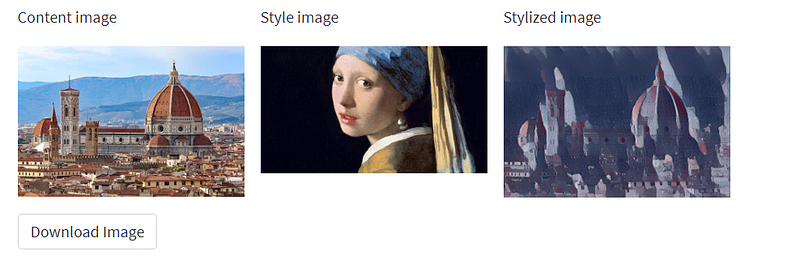
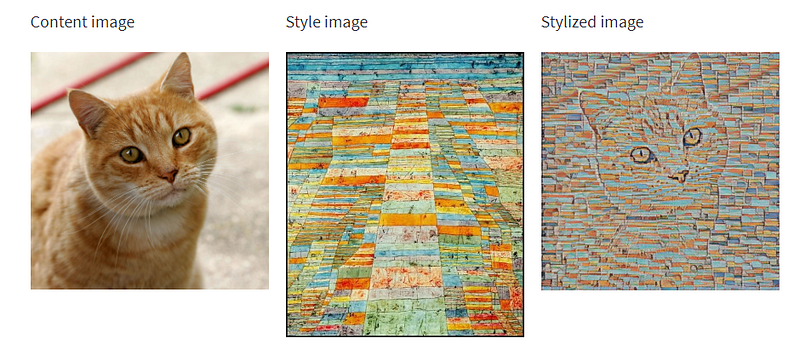
return resultAt this point, we create a function that plots all three images. Notice that this function is both plotting the image and providing captions for them
def outputs(style, content, styled_img):
    col1, col2, col3 = st.columns([0.25, 0.25, 0.25])
    with col1:
        st.write('Content image')
        st.image(content)
    with col2:
        st.write('Style image')
        st.image(style)
    with col3:
        st.write('Stylized image')
        st.image(styled_img)
at this point, we can start building our app: what users will see when they open the app. The idea is to divide it into two columns, the first one will have the title of our app and the other will have the logo of our app. Note, that you can insert HTML elements if we want to adjust the style of our lettering or images.
def main():
    #Title and column
    col1, col2 = st.columns( [0.8, 0.2])
    with col1:
        st.markdown(""" <style> .font {
        font-size:35px ; font-family: 'Cooper Black'; color: #000000;}
        </style> """, unsafe_allow_html=True)
        st.markdown('<p class="font">StreamStyle</p>', unsafe_allow_html=True)


    with col2:
        response = requests.get(img_logo)
        logo = Image.open(BytesIO(response.content))
        st.image(logo,  width=150)

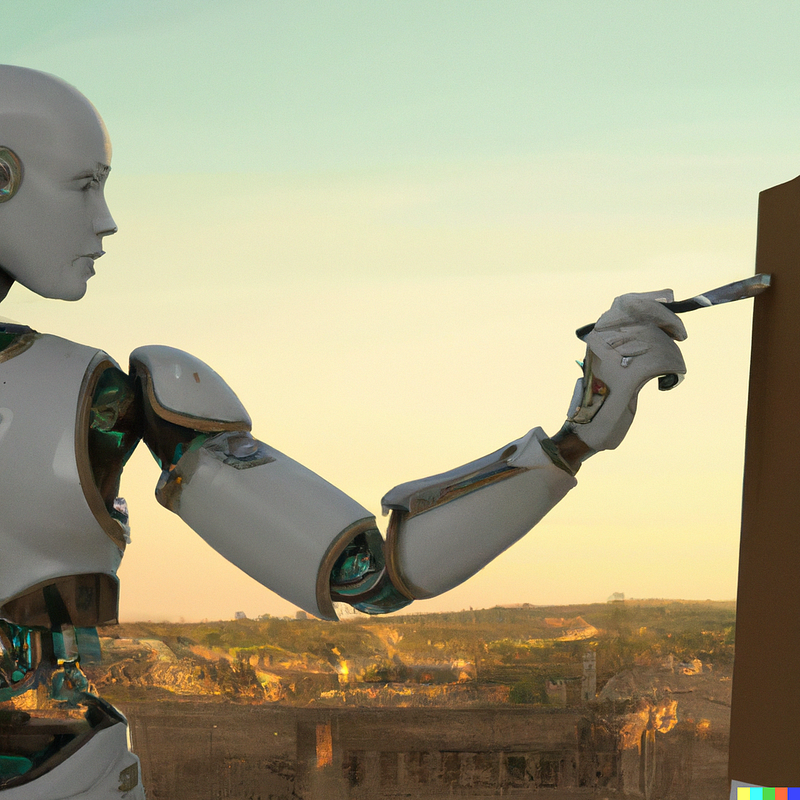
Now we can add an image. The image was generated with AI (since we are on the subject).
response = requests.get(img_path)
img_screen = Image.open(BytesIO(response.content))
st.image(img_screen, caption=capt, width=None, use_column_width=None, clamp=False, channels="RGB", output_format="auto")
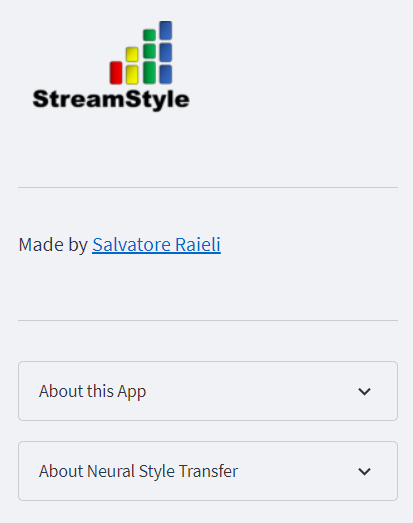
st.subheader('Transform the style of your image with AI')To improve the app we can add a sidebar where we provide information about the app. I admit I was lazy, I wanted to write a description of the NST, but I thought that being an AI app I could have an AI describe it. the description was written by ChatGPT.
Note that st.expander allows you to create pop-up boxes that are very useful for organizing the app. st.write allows you to write, while if you want to use markdown you can write using the markdown format
    st.sidebar.image(logo,  width=150)
    st.sidebar.markdown("---")
    st.sidebar.markdown("Made by [Salvatore Raieli](https://www.linkedin.com/in/salvatore-raieli/)")
    st.sidebar.markdown("---")
    with st.sidebar.expander("About this App"):
     st.write("""
        This simple app is using **Neural Style Transfer** to apply the style of an image to another.
     """)
    with st.sidebar.expander("About Neural Style Transfer"):
        st.write("""
        Neural style transfer is a technique in computer vision that allows for the creation of new images or videos by combining the content of one image or video with the style of another image or video. It is based on the idea of using deep neural networks to separate the content and style representations of an image and then recombining them in a new image that combines the content of the first with the style of the second. This technique has been used to create a wide range of applications, including the generation of artistic images and the creation of realistic virtual environments. It has also been used to improve the performance of machine learning models by providing a way to transfer knowledge from one domain to another. Neural style transfer has the potential to revolutionize the field of computer vision and has already had a significant impact on the way we think about and interact with images and videos.
        (this is written by ChatGPT)
        """)
What remains to be done is to enter the functions. We also add the method to allow users to be able to download the obtained image. The image can be saved whether you use the app from a computer or mobile (try it to believe, want a new profile picture? a few clicks and you’ll get it)
content, style = load_images()
if content and style:
        model = load_model()
        styled_img = NST(model, content, style)
        outputs(style, content, styled_img)
        buf = BytesIO()
        styled_img.save(buf, format="JPEG")
        byte_im =buf.getvalue()
        st.download_button(
            label="Download Image",
            data=byte_im,
            file_name="styled_img"+".jpg",
            mime="image/jpg"
            )
Now, if the code is on GitHub, you need just to register on Streamlit and you can easily upload your app to the cloud. Streamlit provides you with 1 GB of free resources and a free CPU (yes, sadly no GPU). But as you can see this is more than enough.
You can find the app here:
here is the complete code:
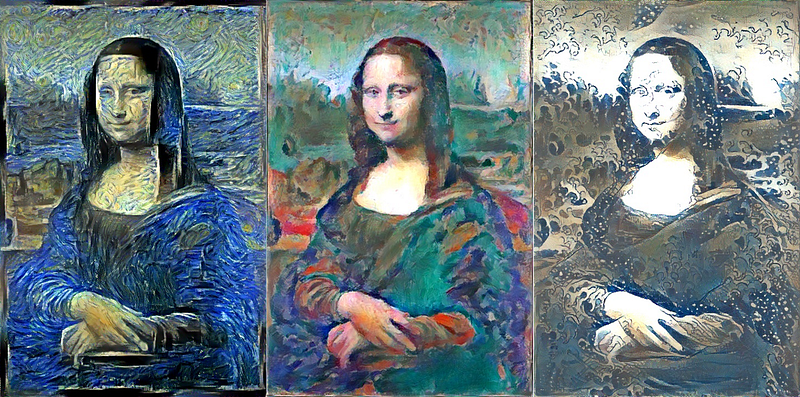
And here few examples (but you can try them yourself)
If you have found it interesting:
You can look for my other articles, you can also subscribe to get notified when I publish articles, and you can also connect or reach me on LinkedIn. If you want to support me, please clap and share, or you can also sign up here at no additional cost to you.
Here is the link to my GitHub repository, where I am planning to collect code and many resources related to machine learning, artificial intelligence, and more.
or if you may be interested in:


