
Make an app with streamlit in minutes
Build an app to predict yoga position from photos with Python
You must have rehearsed explaining your work as a data scientist to your parents. The result will probably not have been the most exciting. After all, as the saying goes, “Show, don’t tell.”
With data science, it is not exactly easy to show an impact. If you had to explain to the client what you were going to do and what benefits it might bring, you might be tempted to use some scientific jargon and artificial intelligence.
Certainly, it is not the same thing to show a website or lines of code on a Jupiter Notebook. Perhaps the mathematical elegance of your model might win you a Fields medal, however, the client will still not be happy.
Okay, we agree. How do I show him my wonderful neural network? My client has no idea how to program and I want to show him my wonderful convolutional neural network, he just wants to press a button and have the result. how do I do that?
well, this article is the solution.
Two hints about web apps and deployment
In short, what we are going to do is to train a neural network step by step with PyTorch and then do the deployment of a web app that is accessible from both mobile and computer. Don’t worry, we will start from an image dataset until deployment.
Why doing it?
- Make your work more accessible and impactful
- your work finally gets out of the Jupiter Notebook and comes to life
- Makes it easy to understand how the model works with real data
- Is a business card for your portfolio
- even your parents can play with it.
From dataset to neural network
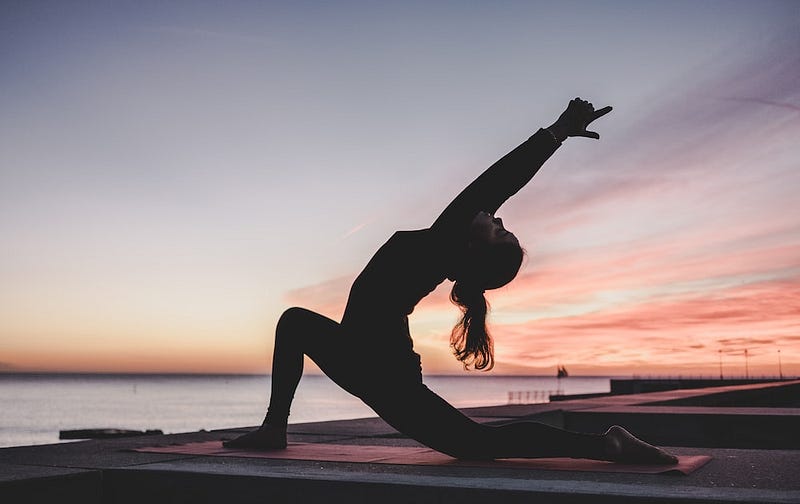
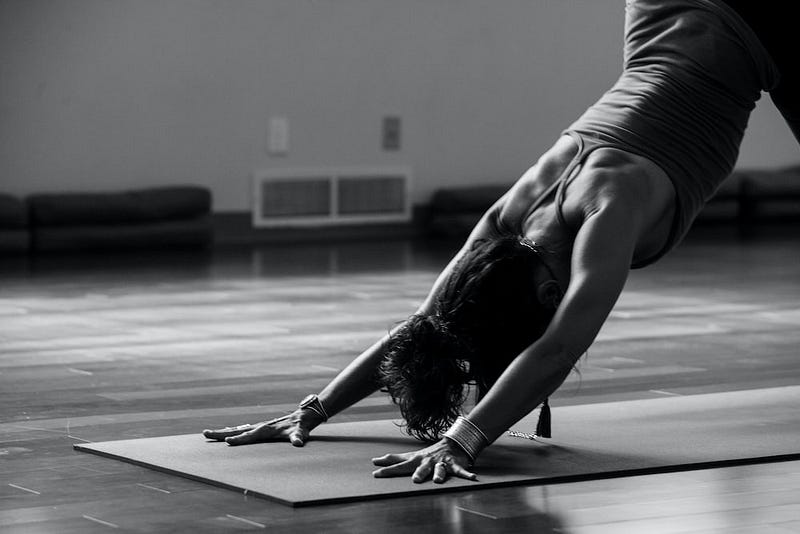
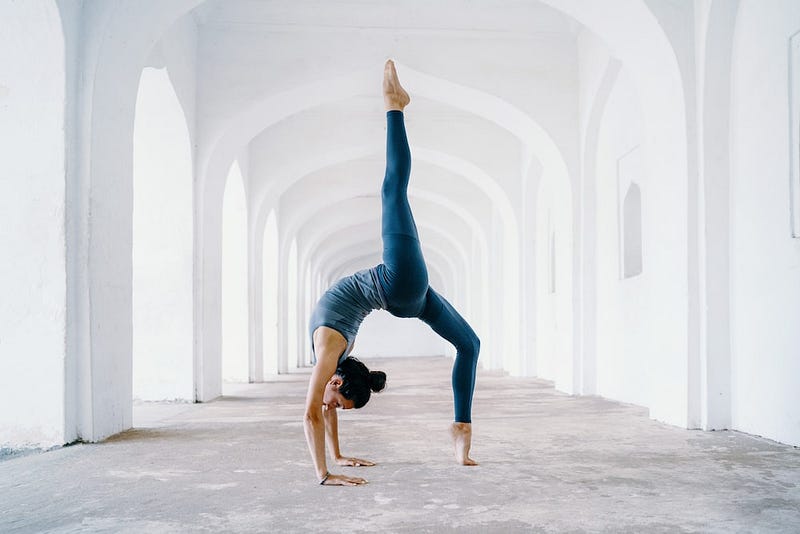
We will use as a dataset, a dataset of yoga postures (the dataset can be downloaded from here). It is a dataset (about 2700 images obtained by web scraping) of 47 different Yoga positions.
The first necessary thing to do once the images are downloaded is to randomly assign them to two different folders (training and validation).
First, you need to import the library and select the path
import os
from os.path import isfile, join
from os import listdir
import random
from PIL import Image

#use your path
mypath='./archive (2)/'
#onlyfiles = [f for f in listdir(mypath) if isfile(join(mypath, f))]
files =[f for f in listdir(mypath)]
files[:5]
Then, you can use this loop (change the names of the path if you need it)
for i in [f for f in listdir(mypath)]:
    path = './data/train/' +i
    os.mkdir(path)
    path = './data/val/' +i
    os.mkdir(path)
    folder = './archive (2)/' + i +'/'
    files=[f for f in listdir(folder)]
    randomlist = random.sample(range(0, len(files)), int(len(files)*0.2))
    n=0
    for j in range(len(files)):
        if j in randomlist:
            x=  folder +files[j]
            im = Image.open(x)
            dirx= './data/val/'+i +'/'
            fname = dirx + i +'_'+ str(n) +'.png'
            im.save(fname)
        else:
            x=  folder +files[j]
            im = Image.open(x)
            dirx= './data/train/'+i +'/'
            fname = dirx + i +'_'+ str(n) +'.png'
            im.save(fname)
        n+=1
It should take a few minutes. Then, we just need to save a file with the different yoga positions (classes):
with open('model_classes.txt', 'w') as f:
    for line in files:
        f.write(f"{line}\n")
As you may have guessed the purpose, is to create a model that takes as input the image of a person doing yoga and predicts what the position is.
The first problem, we have only two thousand images for training (the rest we are using for the validation set). That is not a lot! Plus, if you have looked at the images they are very heterogeneous and not all of the quality (there is writing, some contain other objects, etc…). Probably if we were to build a neural network from scratch, we could test all the architectures we want but we would not be able to escape overfitting. the solution?
Transfer learning! We use a model that has been trained on a million images (and a thousand classes) as a base model. The beauty of transfer learning is that a model trained on other images can work just fine on other types of images because it has learned patterns that can be useful in other tasks.
In short, the idea is to take a high-performing model like ReNet18 and adapt it to our task (fine-tuning). For speed, I quickly adapted the code from this tutorial (link here). Of course, it could be improved (add more augmentation types, change hyper-parameters) but that is another story.
The code for the neural network can be found here. once trained (depending on whether you have a GPU or not it may take more or less time). Save the model et voila! We have a model that can predict images.
torch.save(model_ft, 'model.pt')Now all you have to do is show your Jupiter notebook to the client and …
Just kidding, we build our app!
Web app with streamlit
Streamlit is an open-source Python library. What makes it special is that it not only allows you to build a web app in a very short time but also allows you to be able to deploy to the cloud if you have a GitHub account.
Aside from fine-tuning the template, you can build an app in five minutes (assuming there are no errors to fix). Sure, there are some limitations, but still, for doing mini-projects it is perfect.
What we need:
- A file with requirements (the libraries we used).
- A python py file representing our app.
In our case, we have in addition our model and a file with the model classes. That’s enough for our first mini-app.
If you have not already done so, create an account on streamlit (we will need it later). Register with GitHub as is recommended for the first time (of course, I assume you also have an account on GitHub).
After that, install streamlit on your computer.
pip install streamlit
Then, we start to write the app. We specify which library to import:
import io
from PIL import Image
import streamlit as st
import torch
from torchvision import transforms
import requests
from io import BytesIO

device = 'cpu'
model_dir = 'models/model.pt'
Yoga_dir = 'models/model_classes.txt'
Then, we define what is doing our app:
- we are adding a title and a sub-header
- we are adding an image (st.image) and using markdown we can describe what is doing our app
- Then we have a function loading the model, one loading the label and one to load the image we want to test
- Then if the user provides an image and clicks on the button we provide predictions
def main():
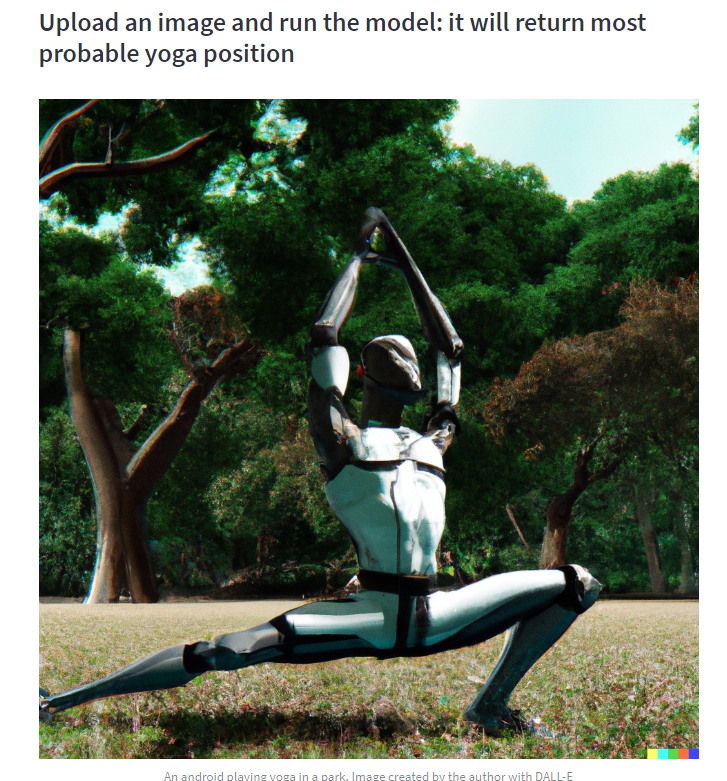
st.title('YOGA position prediction')
st.subheader('Upload an image and run the model: it will return most probable yoga position')
response = requests.get(img_path)
img_screen = Image.open(BytesIO(response.content))
st.image(img_screen, caption=capt, width=None, use_column_width=None, clamp=False, channels="RGB", output_format="auto")
st.markdown('This webapp is powered by deeplearning. A convolutional neural network has been trained on a dataset of YOGA images')
st.markdown('[you can find the coda here](https://github.com/SalvatoreRa/Yoga_position)')
st.markdown('[here you can find the companion tutorial]()')
model = load_model(model_dir)
categories = load_yoga_positions(Yoga_dir)
image = load_test_image()
predictions = st.button('Predict the Yoga pose')
if predictions:
st.write('Making prediction: please wait')
predict(model, categories, image)Now we can define our functions:
def load_test_image():
    uploaded_file = st.file_uploader(label='Upload an image for test')
    if uploaded_file is not None:
        image_data = uploaded_file.getvalue()
        st.image(image_data)
        return Image.open(io.BytesIO(image_data))
    else:
        return None


def load_model(model_path):
    model = torch.load(model_path, map_location='cpu')
    model.eval()
    return model


def load_yoga_positions(labels_file):
    with open(labels_file, "r") as f:
        yoga_poses = [s.strip() for s in f.readlines()]
        return yoga_poses
Now, an artificial intelligence model should be used with a GPU, but streamlit makes a CPU available. Therefore, we will make our predictions on a CPU (as you also see from the function).
def predict(model, categories, image):
    st.write('loaded image in the model')
    preprocess = transforms.Compose([
        transforms.Resize(256),
        transforms.CenterCrop(224),
        transforms.ToTensor(),
        transforms.Normalize(mean=[0.485, 0.456, 0.406], std=[0.229, 0.224, 0.225]),
    ])
    image=image.convert('RGB')
    input_tensor = preprocess(image)

    input_batch = input_tensor.unsqueeze(0).to(device)

    with torch.no_grad():
        output = model(input_batch).cpu()

    probabilities = torch.nn.functional.softmax(output[0], dim=0)

    probs, yoga_pos = torch.topk(probabilities, len(categories))
    probs, yoga_pos = probs[:5], yoga_pos[:5]
    for i in range(probs.size(0)):
        st.write(categories[yoga_pos[i]], probs[i].item())
Now, what we need to do is to create a repository on GitHub. Upload the files we created.
Once the repository is created, we need to do the deployment on the cloud (follow this tutorial, it’s super easy). Once done, we can go to the link (which we can also share) and our app is ready.
You should see this:
You can now upload an image to test:

then you just need to click to run the model:

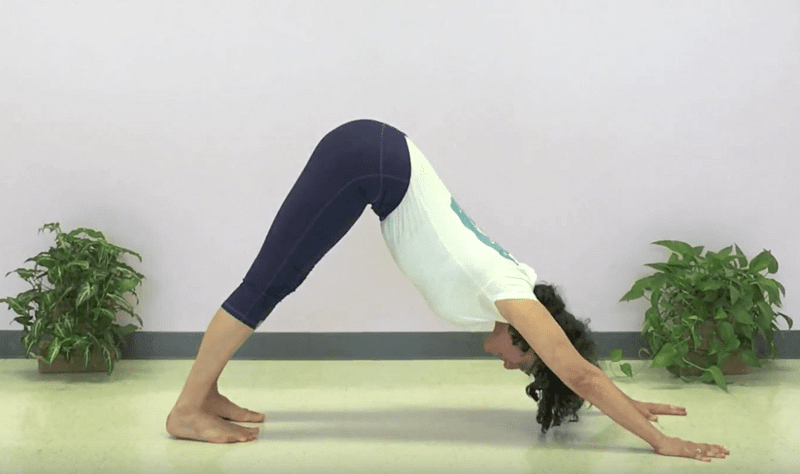
It will return the probability for the top 5 predicted positions:
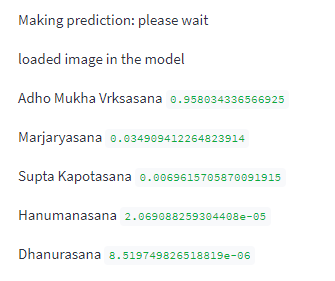
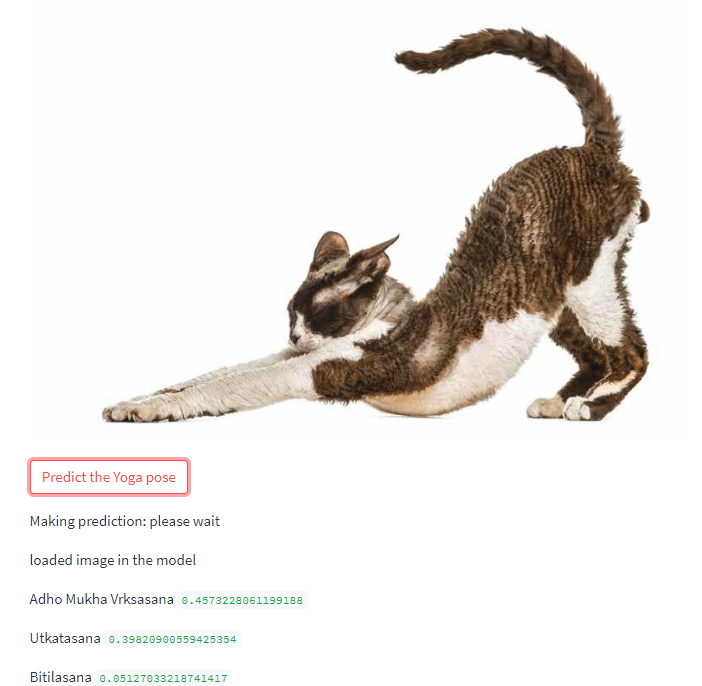
It works also with your cat when it is doing stretching:
Et voilà! Now you can try a few yoga poses and test your photos, or try making an app. You just need a dataset, readjust the code a little bit and train the model. What app would you like to make? What do you think?
You can find the app here:
and all the code is here:


