
Chapter 16: HTML Text Nodes in JavaScript
A Complete Frontend Developer Textbook for Beginners (2023 Edition)
This is the textbook version of Lesson 16 of 100 from the Udemy video course: A Complete Frontend Developer Course for Beginners
← Chapter 15: Responsive Layouts with CSS Grid
Overview
This lesson covers the following HTML tags, CSS properties, and JavaScript commands for the first time:
HTML
None.
CSS
None.
JS
- document.querySelector(“p:first-child”).textContent
- document.querySelector(“main”).firstChild.nextSibling
- document.querySelector(“main”).lastChild.previousSibling
- document.querySelector(“main”).childNodes.length
- document.querySelector(“main”).firstElementChild
- document.querySelector(“main”).firstElementChild.nextElementSibling
- document.querySelector(“main”).lastElementChild
- document.querySelector(“main”).lastElementChild.previousElementSibling
- document.querySelector(“main”).children.length
- document.querySelector(“main”).childElementCount
This lesson begins with this Codepen. Code along with me to increase retention!
Lecture
Starting with this lesson, we begin to learn much more about the contents of tags. To start, let’s explore tags that were created specifically to hold plain text.
<html>
 <head></head>
 <body>
  <header></header>
  <main>
   <p></p>
   <p>Hello World</p>
  </main>
  <footer>
  </footer>
 </body>
</html>
In Lesson 6, we were lightly introduced to some very common content tags: h1 through h6, img, a, button, and of course, p. Let’s begin by studying the paragraph tag (p) in more detail.
textContent in JavaScript
To select the first p tag using JavaScript, we can write:
document.querySelector(“p:first-child”)Remember, we can use any CSS selector inside these quotes.
Let’s log it to the Console:
console.log(document.querySelector("p:first-child"))Console output:
<p></p>To see what text content it has, we can simply add:
console.log(document.querySelector("p:first-child").textContent)Console output:
""Inside the quotes is the text, but for this particular p tag, it is an empty text.
This is exactly right because as we can visually see, there is nothing inside this p tag:
<html>
 <head></head>
 <body>
  <header></header>
  <main>
   <p></p>
   <p>Hello World</p>
  </main>
  <footer>
  </footer>
 </body>
</html>
Let’s compare this p tag with the second p tag:
<html>
 <head></head>
 <body>
  <header></header>
  <main>
   <p></p>
   <p>Hello World</p>
  </main>
  <footer>
  </footer>
 </body>
</html>
As you can see, this one has some text in it.
Let’s try to select it using JavaScript:
console.log(document.querySelector(“p:last-child”).textContent)The result:
"Hello World"Awesome! As a matter of fact, the text content itself is also a HTML tag. Except, it is invisible.
As such, it is known as a textNode that also exists in the HTML Tree.
Let’s prove this!
If we ask for the tagName:
console.log(document.querySelector(“p:last-child”).tagName)We get the result:
"P"This is correct because our querySelector() selects the second p element.
We believe that Hello World is a textNode which is a child of this p element. Therefore, if we write:
console.log(document.querySelector(“p:last-child”).firstChild)The result:
[object Text]This means the firstChild of the second p element is indeed a textNode!
And if we add:
console.log(document.querySelector(“p:last-child”).firstChild.tagName)The result:
undefinedWe get undefined which makes sense because textNodes do not have tag names like the p tag.
To prove that this firstChild is indeed the text Hello World, let’s ask for the contextContent of this firstChild:
console.log(document.querySelector("p:last-child").firstChild.textContent)The result:
"Hello World"Perfect! 🎉
The finished Codepen:
Siblings in JavaScript
We now know about the existence of textNodes which hold plain texts.
For more practice, let’s explore the textNodes in the header tag, the main tag, and the footer tag:
<html>
 <head></head>
 <body>
  <header></header>
  <main>
   <p></p>
   <p>Hello World</p>
  </main>
  <footer>
  </footer>
 </body>
</html>
As you can see, the header tag has no content.
<header></header>If we ask for its firstChild, we should expect JavaScript to return nothing.
Let’s verify that:
console.log(document.querySelector(“header”).firstChild)The result:
nullnull in JavaScript means nothing so that checks out!
However, the footer tag may look like it has no content either, but it actually does!
<footer>
</footer>
Let’s ask for its firstChild too:
console.log(document.querySelector(“footer”).firstChildThe result:
[object Text]Again, this means the firstChild of footer is a textNode. To see what this text content is, we can ask for the textContent like before:
console.log(document.querySelector("footer").firstChild.textContent)The result:
"
        "
What is that? 🤔
Believe it or not, that is 1 newline character (Return key) and 2 tab characters (Tab key).
Return key => newline character
Tab key => tab character
The symbol for a newline character is: \n
And the symbol for a tab character is: \t
Return key => \n
Tab key => \t
Hence, what we saw in the Console window is:
\n\t\tTo prove this, we can write:
console.log("\n\t\t")The result:
"
        "
Notice they are identical!
As for the main tag, it can be tricky.
<main>
   <p></p>
   <p>Hello World</p>
</main>
Visually, we can see that there are 2 p tags and no textNodes.
But in fact, there are actually 3 textNodes!
These 3 textNodes are holding the 3 newline and tab characters:
- from the opening
maintag to the firstptag:\n\t\t\t - from the first
ptag to the secondptag:\n\t\t\t - from the second
ptag to the closingmaintag:\n\t\t
<main>[textNode 1]
   <p></p>[textNode 2]
   <p>Hello World</p>[textNode 3]
</main>
For a total of 5 children.
2 p tags + 3 textNodes = 5 childrenLet’s verify this!
If we ask for the textContent of the firstChild, we should expect \n\t\t\t.
<main>[textNode 1]
   <p></p>[textNode 2]
   <p>Hello World</p>[textNode 3]
</main>
Let’s check:
console.log(document.querySelector("main").firstChild.textContent)The result:
"
            "
Great!
If we ask for the next sibling after the firstChild, we should expect the first p tag.
<main>[textNode 1]
   <p></p>[textNode 2]
   <p>Hello World</p>[textNode 3]
</main>
Let’s check:
console.log(document.querySelector(“main”).firstChild.nextSibling)The result:
<p></p>Great!
If we ask for the textContent of the nextSibling after that, we should expect another \n\t\t\t.
<main>[textNode 1]
   <p></p>[textNode 2]
   <p>Hello World</p>[textNode 3]
</main>
Let’s check:
console.log(document.querySelector(“main”).firstChild.nextSibling.nextSibling.textContent)The result:
"
            "
Awesome!
Now let’s try asking from the opposite direction.
If we ask for the textContent of the lastChild, we should expect \n\t\t.
<main>[textNode 1]
   <p></p>[textNode 2]
   <p>Hello World</p>[textNode 3]
</main>
Let’s check:
console.log(document.querySelector(“main”).lastChild.textContent)The result:
"
        "
Great!
Finally, if we ask for the previous sibling before the lastChild, we should expect the second p tag:
<main>[textNode 1]
   <p></p>[textNode 2]
   <p>Hello World</p>[textNode 3]
</main>
Let’s check:
console.log(document.querySelector(“main”).lastChild.previousSibling)The result:
<p>Hello World</p>Perfect!
As you can see, all 5 children of main have been accounted for.
If we want, we can also verify the total by asking for:
console.log(document.querySelector(“main”).childNodes.length)The result:
5
Awesome!
This code tells JavaScript to count the number of child nodes that belongs to main.
The finished Codepen:
To review, HTML tags become nodes in the DOM Tree.
DOM Tree: tags => nodesIf the nodes have tag names, they are referred to as elements. In the next lecture, we will clarify the difference between nodes and elements.
Element Children in JavaScript
To help solidify our understanding of textNodes, let’s revisit selecting the children of the main element that are not textNodes:
<main>[textNode 1]
   <p></p>[textNode 2]
   <p>Hello World</p>[textNode 3]
</main>
As we have discussed, the first p element is not the firstChild of main.
<main>[textNode 1]
   <p></p>[textNode 2]
   <p>Hello World</p>[textNode 3]
</main>
Rather, it’s an invisible textNode containing \n\t\t\t:
<main>[textNode 1]
   <p></p>[textNode 2]
   <p>Hello World</p>[textNode 3]
</main>
Fortunately, the first p element is the firstElementChild of main.
<main>[textNode 1]
   <p></p>[textNode 2]
   <p>Hello World</p>[textNode 3]
</main>
Therefore, we can select it with this shortcut:
console.log(document.querySelector(“main”).firstElementChild)The result:
<p></p>Awesome!
Likewise, the next p element is not the nextSibling of the first p element:
<main>[textNode 1]
   <p></p>[textNode 2]
   <p>Hello World</p>[textNode 3]
</main>
Rather, it’s an invisible textNode containing \n\t\t\t:
<main>[textNode 1]
   <p></p>[textNode 2]
   <p>Hello World</p>[textNode 3]
</main>
Fortunately, the next p element is the nextElementSibling of the first p element:
<main>[textNode 1]
   <p></p>[textNode 2]
   <p>Hello World</p>[textNode 3]
</main>
Therefore, we can also select it with this shortcut:
console.log(document.querySelector(“main”).firstElementChild.nextElementSibling)The result:
<p>Hello World</p>Perfect!
Likewise, the last p element is not the lastChild of main:
<main>[textNode 1]
   <p></p>[textNode 2]
   <p>Hello World</p>[textNode 3]
</main>
Rather, it’s an invisible textNode containing \n\t\t:
<main>[textNode 1]
   <p></p>[textNode 2]
   <p>Hello World</p>[textNode 3]
</main>
Fortunately, the last p element is the lastElementChild of main:
<main>[textNode 1]
   <p></p>[textNode 2]
   <p>Hello World</p>[textNode 3]
</main>
Therefore, we can also select it with this shortcut:
console.log(document.querySelector(“main”).lastElementChild)The result:
<p>Hello World</p>Awesome!
Likewise again, the previous p element is not the previousSibling of the last p element:
<main>[textNode 1]
   <p></p>[textNode 2]
   <p>Hello World</p>[textNode 3]
</main>
Rather, it’s an invisible textNode containing \n\t\t\t:
<main>[textNode 1]
   <p></p>[textNode 2]
   <p>Hello World</p>[textNode 3]
</main>
Fortunately, the previous p element is the previousElementSibling of the last p element:
<main>[textNode 1]
   <p></p>[textNode 2]
   <p>Hello World</p>[textNode 3]
</main>
Therefore, we can also select it with this shortcut:
console.log(document.querySelector(“main”).lastElementChild.previousElementSibling)The result:
<p></p>Perfect!
As you can see, these shortcuts let us ignore the textNodes if we so choose because, most of the time, these textNodes are just newlines and indentations to help make our HTML code clean and readable.
In fact, it is also possible to select only the element children of main like this (the 2 p tags):
console.log(document.querySelector(“main”).children)Then to get the total, we can simply add:
console.log(document.querySelector(“main”).children.length)The result:
2
Awesome!
Knowing this total can be very useful sometimes that JavaScript has dedicated a special shortcut for it:
console.log(document.querySelector(“main”).childElementCount)The result:
2
Perfect!
The finished Codepen:
To recap, HTML tags become nodes in the DOM Tree. Plain texts are unusual because they are nameless tags. Nevertheless, they still exist as nodes in the DOM Tree. To easily distinguish between named tags versus unnamed ones, named tags are additionally referred to as element nodes.
Summary
In the first part of this lesson, we explored a special HTML tag called a textNode.

It is special because it is a nameless tag. Nevertheless, it still exists in the DOM Tree and is responsible for storing all the plain text we write in the HTML document.
In this example HTML document:
<html class="e"><head><title>Aliens?</title></head>
 <body>Why yes.
</body></html>
How many textNodes do you see?
Let’s count.
The first textNode is Aliens?:
<html class="e"><head><title>Aliens?</title></head>
 <body>Why yes.
</body></html>
Which is the contents of the title element.
The second textNode is the newline character followed by a space after the closing head tag:
<html class="e"><head><title>Aliens?</title></head>[textNode]
 <body>Why yes.
</body></html>
The final textNode is Why yes. and a newline character:
<html class="e"><head><title>Aliens?</title></head>
 <body>Why yes.
</body></html>
Which is the contents of the body element.
To select the text content that is stored inside the textNode using JavaScript:
First, we select the textNode:
[Node]Then, we write:
[Node].textContent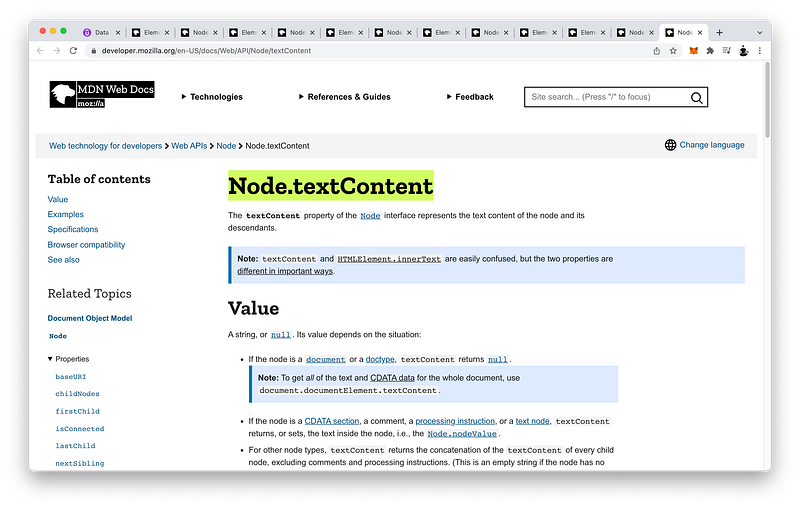
For our convenience, there is a faster way we can select the textContent of a textNode.
<div id="divA">This is <span>some</span> text!</div>Since textNodes are nameless and therefore tagless, they always appear as a child of some other HTML tag:
<div id="divA">This is <span>some</span> text!</div>Therefore, to select the textNode, we can simply select the parent element first:
document.getElementById('divA')Then, we can write:
document.getElementById('divA').textContentHowever, keep in mind that this will select all the textNodes that are descendants from the parent element:
<div id="divA">This is <span>some</span> text!</div>To select all the child nodes of a parent element:
First, we select the parent element:
[Node]Then, we write:
[Node].childNodes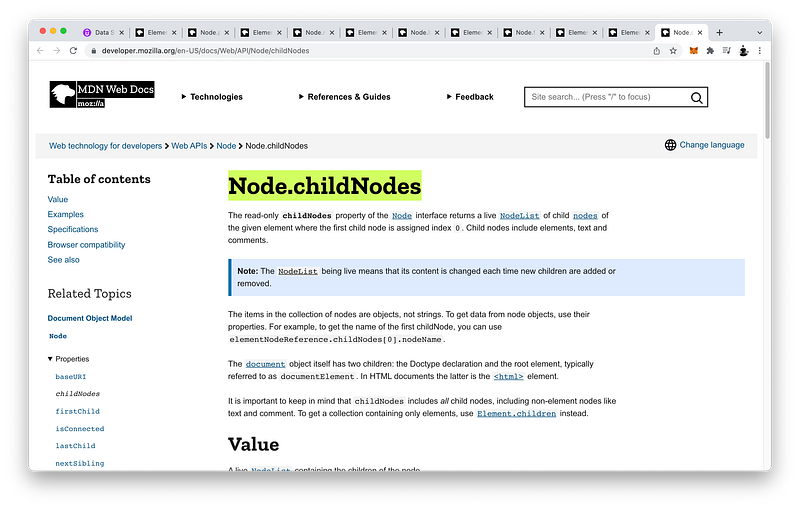
If we want to select only the element children of a parent element, in other words, exclude all the textNodes:
First, we select the parent element:
[Element]Then, we write:
[Element].children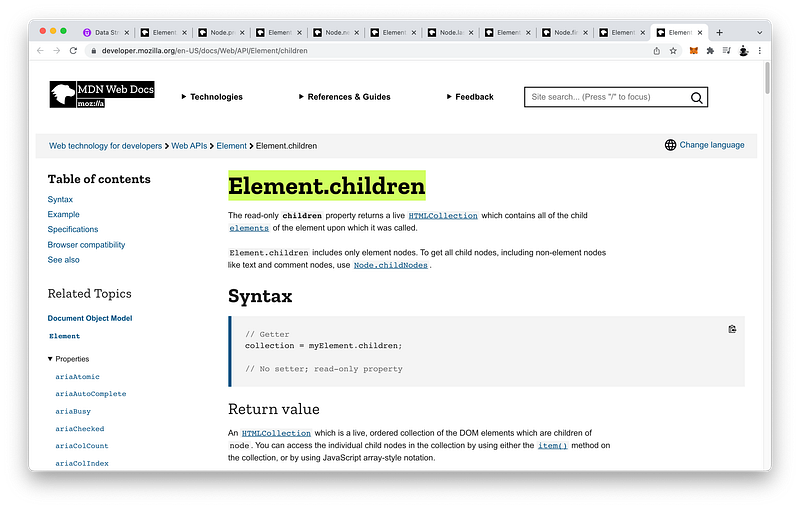
In both cases, if we want to calculate the total number of selected children, we can simply add:
[Node].childNodes.length[Element].children.lengthIn fact, finding out the total number of element children is so common that there is a special shortcut we can use:
First, select the parent element:
[Element]Then, write:
[Element].childElementCount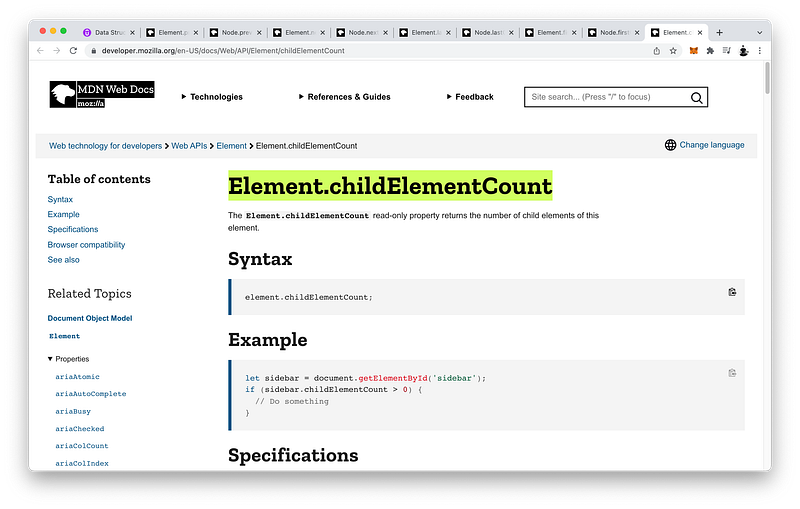
To get the first child of a parent element, we can write:
[Node].firstChild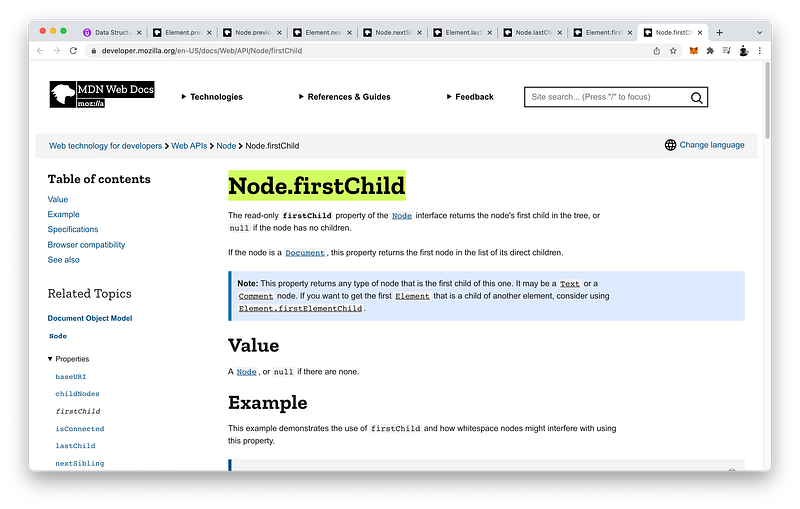
To get the first element child of a parent element, which is not a textNode, we can write:
[Element].firstElementChild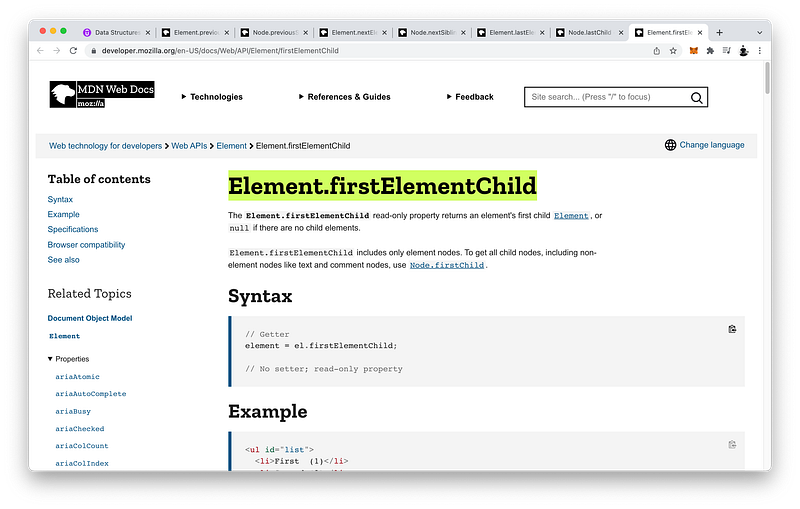
Likewise, to get the last child of a parent element, we can write:
[Node].lastChild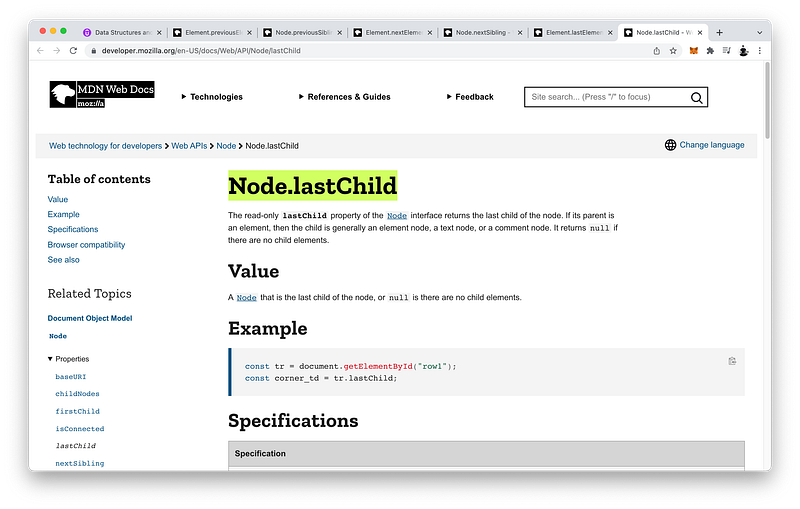
To get the last element child of a parent element, which is not a textNode, we can write:
[Element].lastElementChild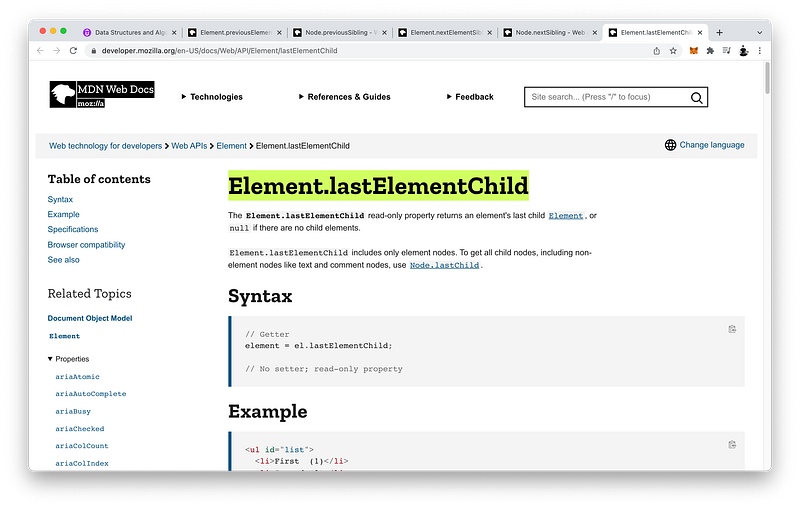
To get the next sibling of an element, we can write:
[Node].nextSibling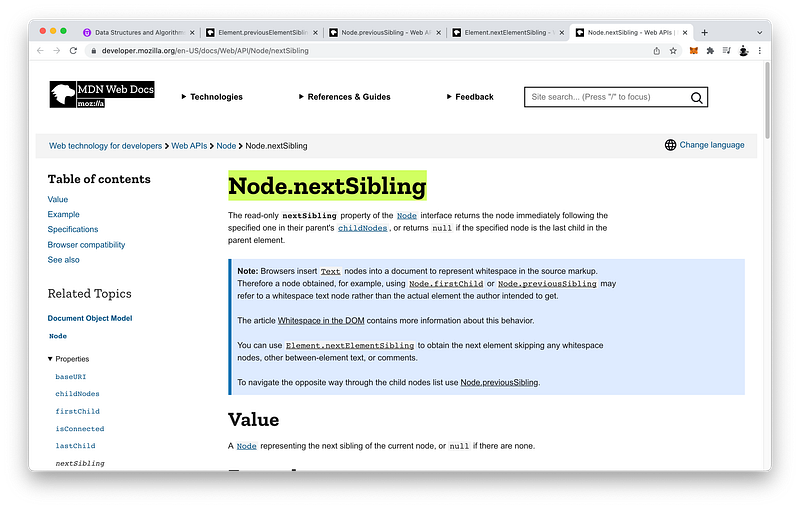
To get the next element sibling of a element, we can write:
[Element].nextElementSibling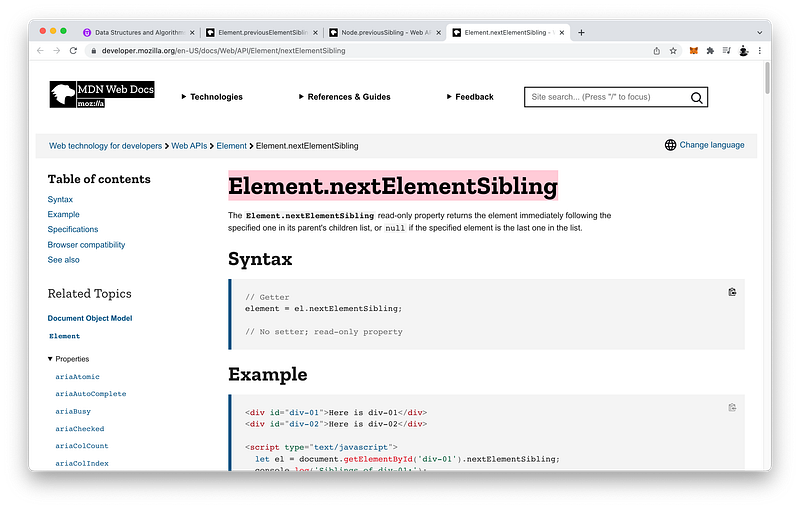
Likewise, to get the previous sibling of an element, we can write:
[Node].previousSibling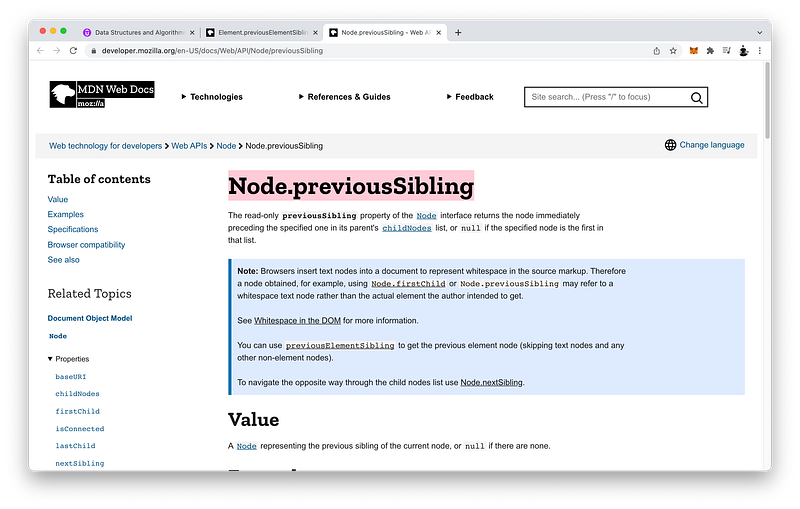
To get the previous element sibling of an element, which is not a textNode, we can write:
[Element].previousElementSibling
Taking the time to master textNodes will prepare you for Unit 3 where we will dive deep into the DOM Tree.
Concept Quiz
Take my Programming Concept Quiz to check your understanding! For every correct choice, you will earn SW Coins which you can redeem for coupons towards the purchase of any of my Udemy courses!
Sample Quiz Questions for Lesson 16:
Question 1:
Which HTML element is used to store plain text?
pspan- textNode
Question 2:
textNodes have a tag name.
- True
- False
Question 3:
textNodes exist in the DOM Tree.
- True
- False
Question 4:
HTML:<p>Hello World</p>Which code will select the contents of the p tag?
document.querySelector(“p”).textdocument.querySelector(“p”).contentdocument.querySelector(“p”).textContent
Question 5:
HTML:<p></p>This p tag has a textNode.
- True
- False
Question 6:
HTML:<p> </p>What is the textContent of p?
""" "null
Question 7:
HTML:<p>
</p>What is the textContent of p?
""" ""\n"
Question 8:
HTML:<p>Hello World</p>Which code will NOT select the contents of the p tag?
document.querySelector(“p”).textContentdocument.querySelector(“p”).firstChild.textContentdocument.querySelector(“p”).firstElementChild.textContent
Question 9:
HTML:<main>
<p></p>
<p>Hello World</p>
</main>main has how many children?
- 2
- 3
- 4
- 5
Question 10:
HTML:<main>
<p></p>
<p>Hello World</p>
</main>main has how many textNodes?
- 2
- 3
- 4
- 5
Question 11:
HTML:<main>
<p></p>
<p>Hello World</p>
</main>main has how many element children?
- 1
- 2
- 3
- 4
Question 12:
HTML:<main>
<p></p>
<p>Hello World</p>
</main>The code document.querySelector("main").childNodes.length will return:
- 2
- 3
- 4
- 5
Question 13:
HTML:<main>
<p></p>
<p>Hello World</p>
</main>The code document.querySelector("main").children.length will return:
- 2
- 3
- 4
- 5
Question 14:
HTML:<main>
<p></p>
<p>Hello World</p>
</main>The code document.querySelector("main").childElementCount will return:
- 2
- 3
- 4
- 5
Question 15:
HTML:<main>
<p></p>
<p>Hello World</p>
</main>The code document.querySelector("main").firstChild will return:
<p></p>- textNode
- null
Question 16:
HTML:<main>
<p></p>
<p>Hello World</p>
</main>The code document.querySelector("main").firstElementChild will return:
<p></p>- textNode
- null
Question 17:
HTML:<main>
<p></p>
<p>Hello World</p>
</main>The code document.querySelector("main").firstChild.nextSibling will return:
<p></p>- textNode
- null
Question 18:
HTML:<main>
<p></p>
<p>Hello World</p>
</main>The code document.querySelector("main").firstElementChild.nextElementSibling will return:
<p>Hello World</p>- textNode
- null
Question 19:
HTML:<main>
<p></p>
<p>Hello World</p>
</main>The code document.querySelector("main").lastChild will return:
<p>Hello World</p>- textNode
- null
Question 20:
HTML:<main>
<p></p>
<p>Hello World</p>
</main>The code document.querySelector("main").lastElementChild will return:
<p>Hello World</p>- textNode
- null
Question 21:
HTML:<main>
<p></1>
<p>Hello World</p>
</main>The code document.querySelector("main").lastChild.previousSibling will return:
<p>Hello World</p>- textNode
- null
Question 22:
HTML:<main>
<p></p>
<p>Hello World</p>
</main>The code document.querySelector("main").lastElementChild.previousElementSibling will return:
<p></p>- textNode
- null
Question 23:
HTML:<main>
<p></p>
<p>Hello World</p>
</main>The code document.querySelector("main").firstElementChild.firstChild will return:
<p></p><p>Hello World</p>- textNode
- null
Question 24:
HTML:<main>
<p></p>
<p>Hello World</p>
</main>The code document.querySelector("main").lastElementChild.firstChild will return:
<p></p><p>Hello World</p>- textNode
- null
Question 25:
HTML:<main>
<p></p>
<p>Hello World</p>
</main>The code document.querySelector("main").lastElementChild.firstChild.textContent will return:
"""\n\t""Hello World"
→ Programming Concept Quiz for Chapter 16
Coding Exercises
Check out my Interactive Coding Exercises to put to practice what you have learned! There, you will also find interactive hints to help you understand each line of code. Likewise, for every correct solution, you will earn SW Coins which you can redeem for coupons towards the purchase of any of my Udemy courses!
→ Interactive Coding Exercises for Chapter 16
Syntax Flashcards
Review what you have learned by playing my Syntax Flashcard Game! These flashcards are designed to help you commit to memory all the new code syntaxes you learned in this lesson. Likewise, for every correct answer, you will earn SW Coins which you can redeem for coupons towards the purchase of any of my Udemy courses!
→ Syntax Flashcard Game for Chapter 16
Next Steps
Congrats on completing Unit 2: Lesson 11 of 13! 🎉
Unit 1: 100% Completed
Unit 2: 85% Completed
Unit 3: 0% Completed
Unit 4: 0% Completed
Unit 5: 0% Completed
Bonus Unit 6: 0% Completed
Bonus Unit 7: 0% Completed
Overall Progress: 16% Completed→ Join Remote Frontend Cohort Program
Next Lesson
Now that you have mastered textNodes, you’re ready to learn about all the various content tags that are intended to contain textNodes. There are many besides the p tag! In the next lesson, we will go over all the most popular and some not-so-popular as well. Moreover, we will also learn about some interesting CSS styles that are intended just for these content tags! Like the sectioning tags, mastering how and when to use the correct content tags will make your webpage search-engine friendly and screen-reader friendly!
→ Chapter 17: HTML Content Tags and Styles
When you use my referral link above 👆 to become a Medium member, all proceeds will be donated towards the construction of the Silicon Wat Campus for children in Ukraine and Cambodia ❤️


