
Chapter 6: HTML Sectioning Tags
A Complete Frontend Developer Textbook for Beginners (2023 Edition)

This is the textbook version of Lesson 6 of 100 from the Udemy video course: A Complete Frontend Developer Course for Beginners
← Chapter 5: Importing JavaScript Code← Table of Contents
Overview
This lesson covers the following HTML tags, CSS properties, and JavaScript commands for the first time:
HTML
CSS
None.
JS
None.
This lesson begins with a fresh Codepen. Open a new one and code along with me to increase retention!
Lecture
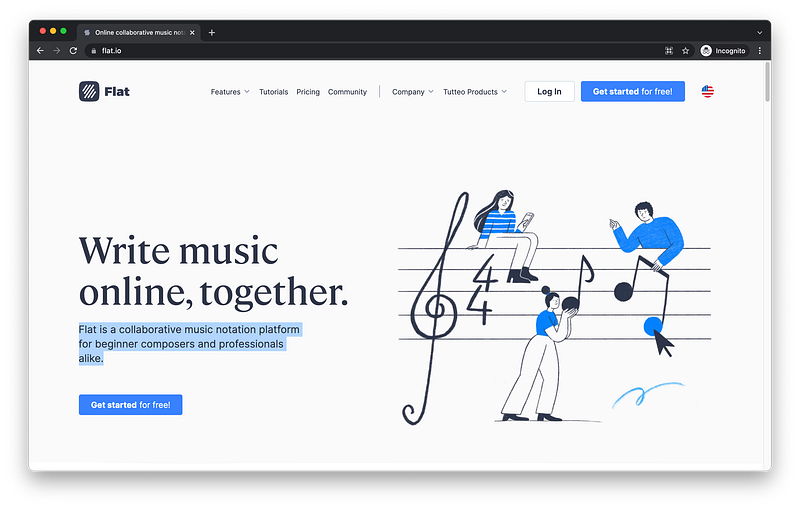
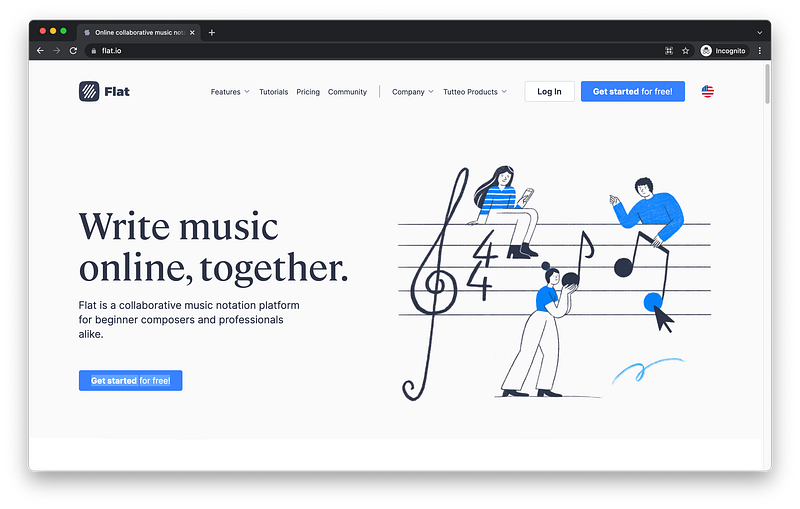
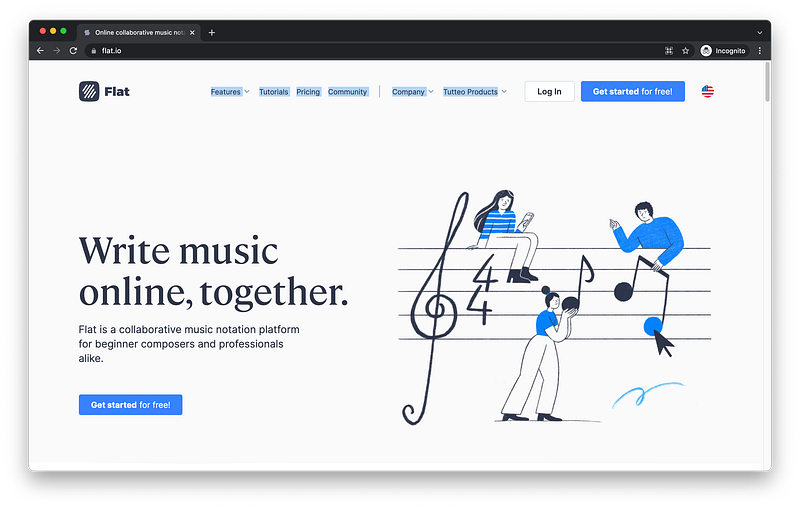
In this lesson, we examine how to properly layout a page. Let’s use Flat’s homepage as a model for reference:
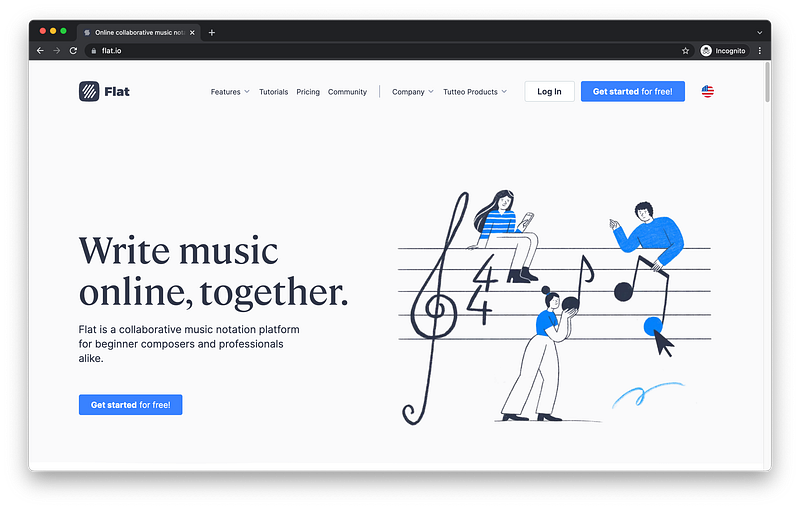
The best practice is for every page to have a header section at the very top where the logo and menu reside.
header section: logo + menuAt the very bottom is the footer section where the sitemap and copyright reside.
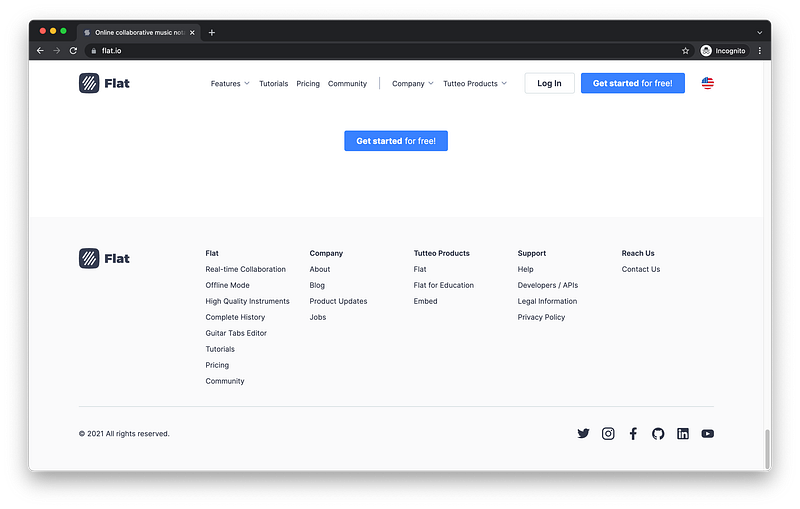
footer section: sitemap + copyrightIn between is the main section where the main content resides.
main section: contentSectioning Tags
In our HTML code, we can easily model this.
<html>
   <head></head>
   <body></body>
</html>
Inside the body, we can write header as the first child:
<html>
   <head></head>
   <body>
      <header></header>
   </body>
</html>
main as the second child:
<html>
   <head></head>
   <body>
      <header></header>
      <main></main>
   </body>
</html>
And footer as the last child:
<html>
   <head></head>
   <body>
      <header></header>
      <main></main>
      <footer></footer>
   </body>
</html>
When we clearly section the content in our body in this way, screen readers are able to easily understand our page and properly communicate it to any users with disability.
Screen Readers => Sectioning TagsAlso, this makes it easier for search engines like Google to accurately index our page which helps us to attract the right users to our site.
Search Engines => Sectioning TagsThe finished Codepen:
Subsectioning Tags
To make it even more search engine friendly and screen reader friendly, it’s recommended that we also further organize our sections into subsections.
sections => subsectionsReferencing Flat as an example, inside the header section, we can group the menu inside a navigation tag:
header: menu => navigation subsection = <nav></nav>We could also use this navigation tag to group the sitemap in the footer section:
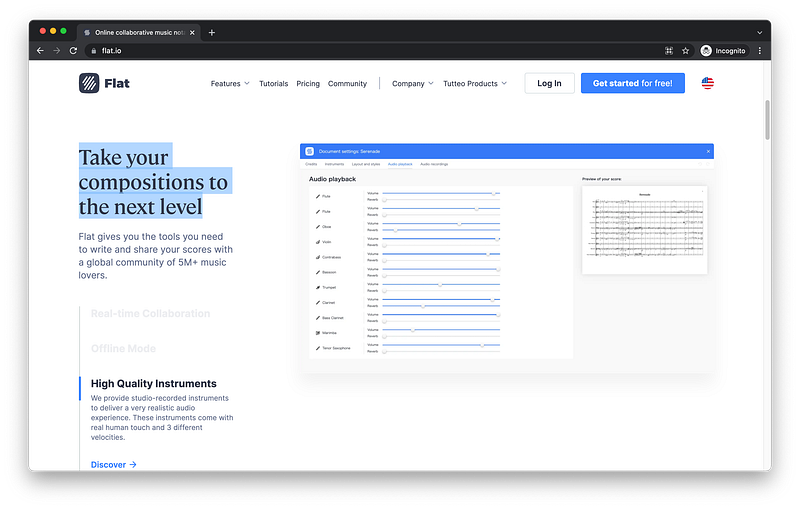
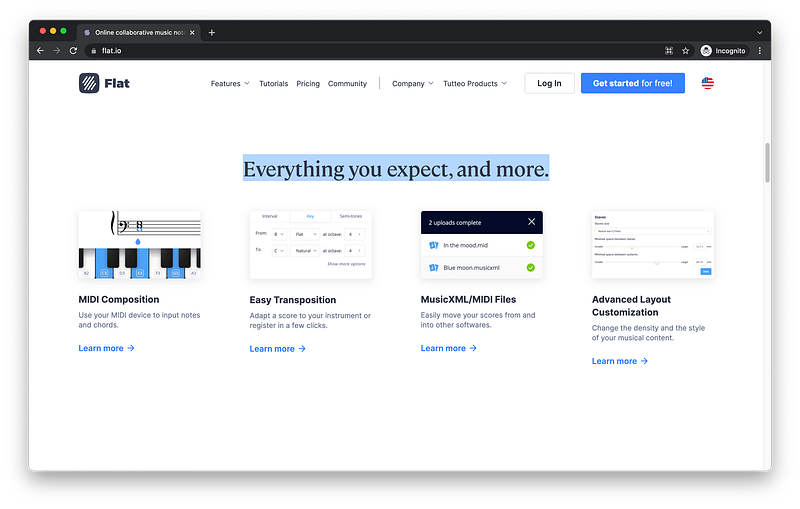
footer: sitemap => navigation subsection = <nav></nav>As for the main section, we can clearly see multiple subsections:
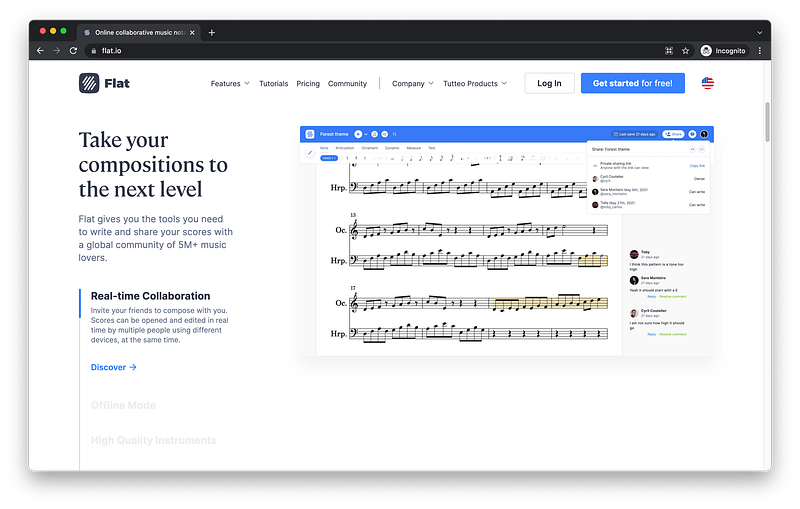
Therefore, we can simply use a generic section tag for each one.
main: subsections => section subsections = <section></section>In HTML code, we can also easily model this.
<html>
   <head></head>
   <body>
      <header></header>
      <main></main>
      <footer></footer>
   </body>
</html>
Inside header, we can add a nav tag for the menu:
<html>
   <head></head>
   <body>
      <header>
         <nav></nav>
      </header>
      <main></main>
      <footer></footer>
   </body>
</html>
Inside footer, we can also add a nav tag for the sitemap:
<html>
   <head></head>
   <body>
      <header>
         <nav></nav>
      </header>
      <main></main>
      <footer>
         <nav></nav>
      </footer>
   </body>
</html>
Inside main, we can add as many section tags as necessary:
<html>
   <head></head>
   <body>
      <header>
         <nav></nav>
      </header>
      <main>
         <section></section>
         <section></section>
         <section></section>
      </main>
      <footer>
         <nav></nav>
      </footer>
   </body>
</html>
Again, when we organize our content into sections and subsections using descriptive tag names, we make it easy for search engines and screen readers to understand our page.
Search Engines => sections + subsections
Screen Readers => sections + subsections
Furthermore, team members appreciate it too because our HTML code is more organized and easier to read.
Team Members => sections + subsections
The finished Codepen:
Content Tags
We have learned how to use sectioning tags and subsectioning tags to organize and describe our page.
HTML document: sections + subsectionsFor our texts and images, we should also use the right kinds of tags to describe them.
texts + images => content tagsThese kinds of tags are known as content tags because they contain actual content (e.g., text nodes and image data) as their children.
For example, there are six types of heading tags numbered 1 through 6:
Heading 1 = <h1></h1>
Heading 2 = <h2></h2>
Heading 3 = <h3></h3>
Heading 4 = <h4></h4>
Heading 5 = <h5></h5>
Heading 6 = <h6></h6>
Heading 1 should be used for the highest heading levels while heading 6 should be used for the lowest heading levels.
Heading 1 => Highest
Heading 6 => Lowest
Referencing Flat for instance, this could be heading 1:
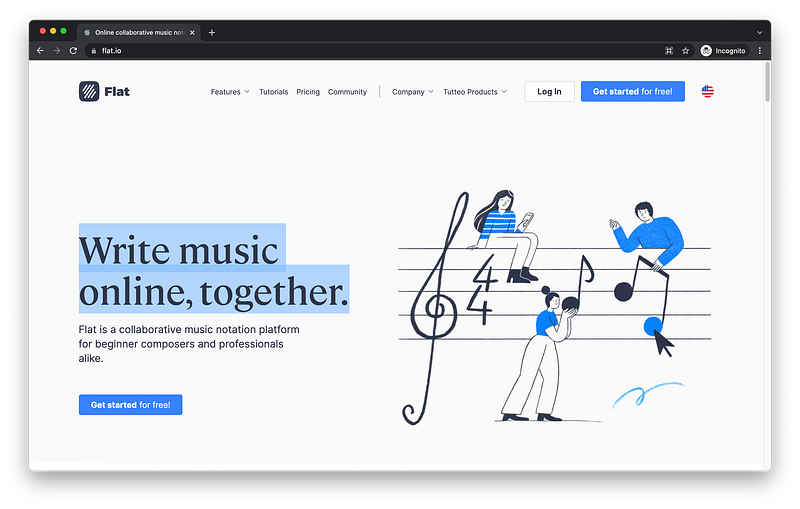
While this could be heading 2:
And this could also be heading 2:
We could use a paragraph tag for this description:
paragraph tag = <p></p>A button tag for this button:
button tag = <button></button>And an image tag for this image:
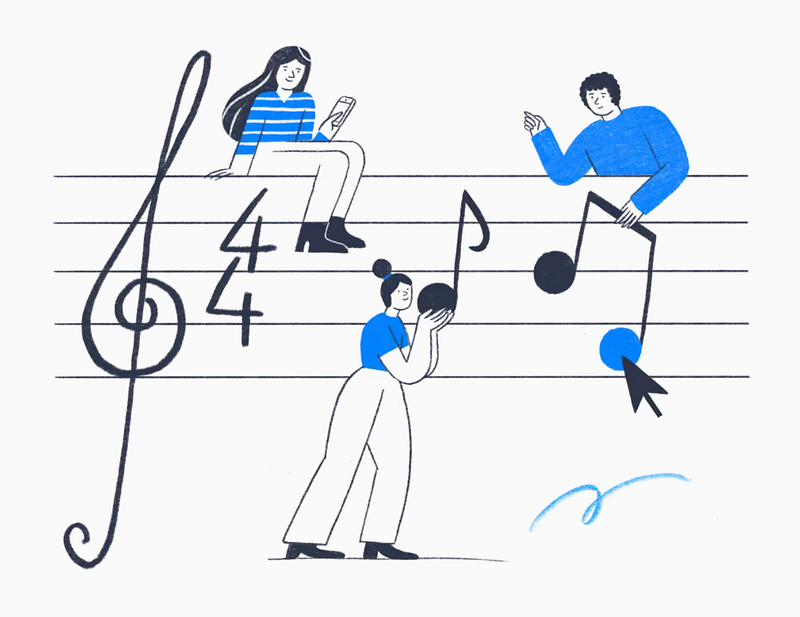
image tag = <img />We could use anchor tags for these links in the header:
And these links in the footer:
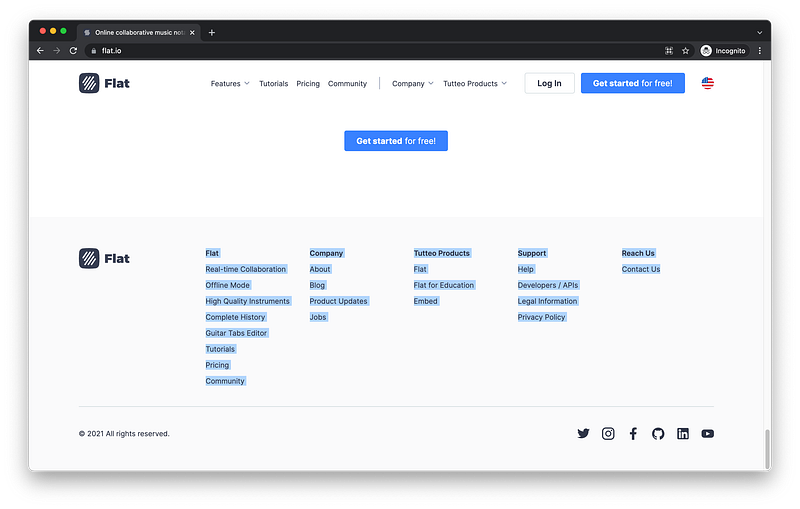
anchor tag = <a></a>In the HTML code, we can also easily model this:
<html>
   <head></head>
   <body>
      <header>
         <nav></nav>
      </header>
      <main>
         <section></section>
         <section></section>
         <section></section>
      </main>
      <footer>
         <nav></nav>
      </footer>
   </body>
</html>
Inside nav in the header, we can add as many anchor tags as necessary for the menu:
<html>
   <head></head>
   <body>
      <header>
         <nav>
            <a></a>
            <a></a>
         </nav>
      </header>
      <main>
         <section></section>
         <section></section>
         <section></section>
      </main>
      <footer>
         <nav></nav>
      </footer>
   </body>
</html>
Anchor is shortened to just a because it’s used very often.
Remember, the shorter the tag names, the more popular they are!
We could also add as many anchor tags as necessary for the sitemap inside the nav in the footer:
<html>
   <head></head>
   <body>
      <header>
         <nav>
            <a></a>
            <a></a>
         </nav>
      </header>
      <main>
         <section></section>
         <section></section>
         <section></section>
      </main>
      <footer>
         <nav>
            <a></a>
            <a></a>
         </nav>
      </footer>
   </body>
</html>
Inside the first subsection of main, we can add a heading 1 tag:
<html>
   <head></head>
   <body>
      <header>
         <nav>
            <a></a>
            <a></a>
         </nav>
      </header>
      <main>
         <section>
            <h1></h1>
         </section>
         <section></section>
         <section></section>
      </main>
      <footer>
         <nav>
            <a></a>
            <a></a>
         </nav>
      </footer>
   </body>
</html>
Inside the second and third subsections, we can add heading 2 tags:
<html>
   <head></head>
   <body>
      <header>
         <nav>
            <a></a>
            <a></a>
         </nav>
      </header>
      <main>
         <section>
            <h1></h1>
         </section>
         <section>
            <h2></h2>
         </section>
         <section>
            <h2></h2>
         </section>
      </main>
      <footer>
         <nav>
            <a></a>
            <a></a>
         </nav>
      </footer>
   </body>
</html>
Again, heading is shortened to just h because it’s used very often.
Inside the first subsection, we can add a p tag for the paragraph description, a button tag for the button, and an img tag for the image:
<html>
   <head></head>
   <body>
      <header>
         <nav>
            <a></a>
            <a></a>
         </nav>
      </header>
      <main>
         <section>
            <h1></h1>
            <p></p>
            <button></button>
            <img />
         </section>
         <section>
            <h2></h2>
         </section>
         <section>
            <h2></h2>
         </section>
      </main>
      <footer>
         <nav>
            <a></a>
            <a></a>
         </nav>
      </footer>
   </body>
</html>
Again, these kinds of tags are called content tags because they contain actual content.
content tags => actual contentWhen we use the right kind that describes its content, we will further make our page search engine friendly and screen reader friendly.
In Lesson 16 and 17, we will dive much deeper into content tags!
The finished Codepen:
Summary
Let’s summarize what we have learned using MDN.
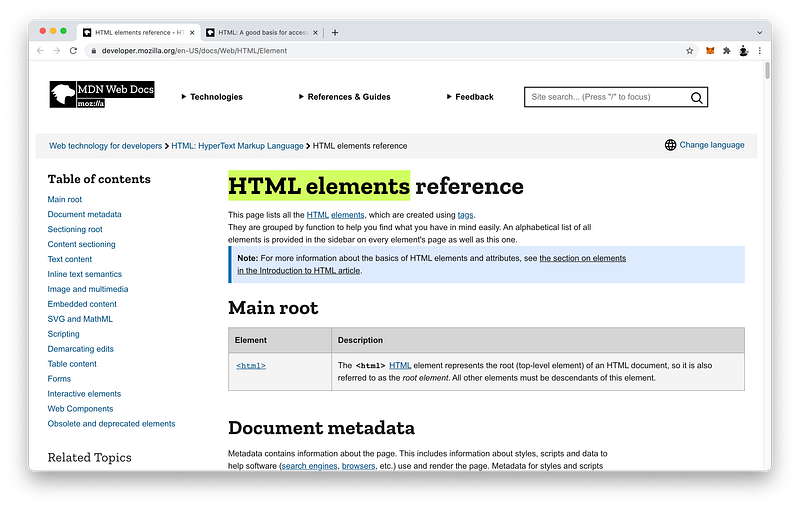
In this lesson, we learned many new HTML tags to help us add more detailed structure to our HTML code.
HTML tags => structureWe learned how to use the header tag, the main tag, and the footer tag to add sections to our body.
<html>
   <head></head>
   <body>
      <header></header>
      <main></main>
      <footer></footer>
   </body>
</html>
We also learned how to use the nav tag and the section tag to further divide and organize our sections into subsections.
<html>
   <head></head>
   <body>
      <header>
         <nav></nav>
      </header>
      <main>
         <section></section>
         <section></section>
         <section></section>
      </main>
      <footer>
         <nav></nav>
      </footer>
   </body>
</html>
When we’re ready to add real content, we learned how to use h1 through h6 tags, the img tag, the p tag, the a tag, and the button tag to describe our content.
<html>
   <head></head>
   <body>
      <header>
         <nav>
            <a></a>
            <a></a>
         </nav>
      </header>
      <main>
         <section>
            <h1></h1>
            <p></p>
            <button></button>
            <img />
         </section>
         <section>
            <h2></h2>
         </section>
         <section>
            <h2></h2>
         </section>
      </main>
      <footer>
         <nav>
            <a></a>
            <a></a>
         </nav>
      </footer>
   </body>
</html>
Again, we will dive deeper into content tags in Lesson 16 and 17.
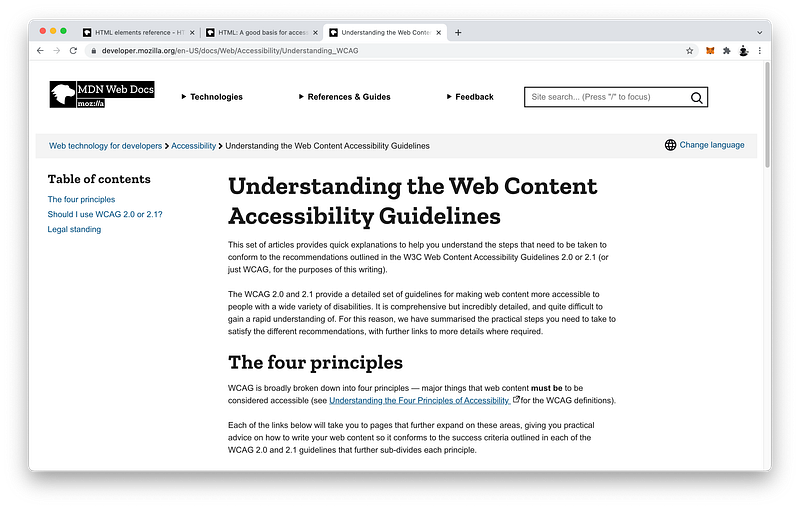
When we take the time to use the correct HTML tags for their intended purpose, our HTML code becomes semantic which greatly helps screen readers to understand our content and make it accessible to anyone with disability.
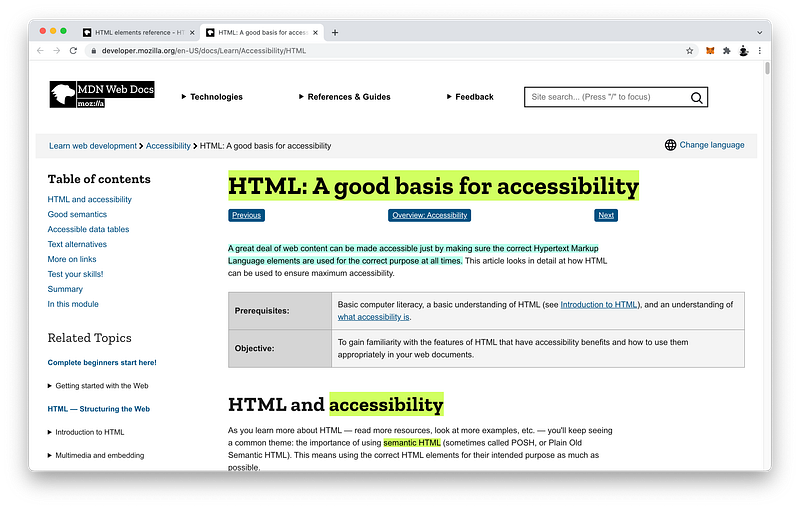
In fact, website accessibility is now a legal requirement in many developed countries.
When our HTML code is semantic, it also helps search engines to accurately index our page which improves our ranking.
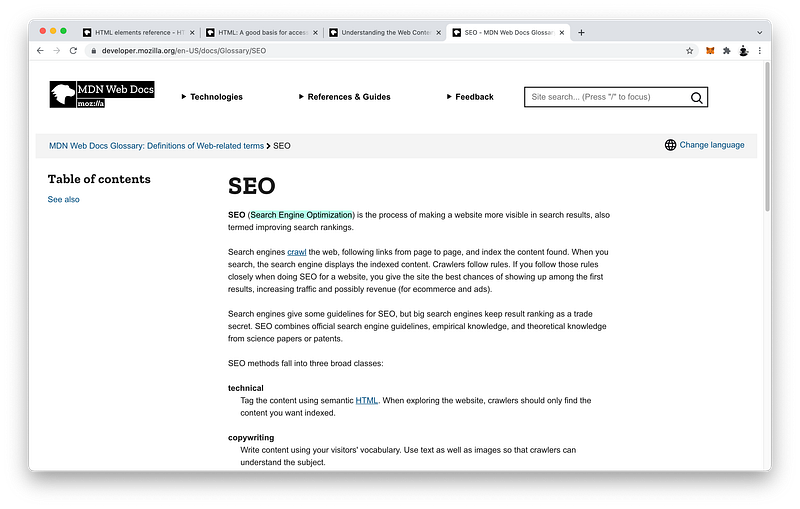
This is known as Search Engine Optimization or SEO.
Concept Quiz
Take my Programming Concept Quiz to check your understanding! For every correct choice, you will earn SW Coins which you can redeem for coupons towards the purchase of any of my Udemy courses!
Sample Quiz Questions for Lesson 6:
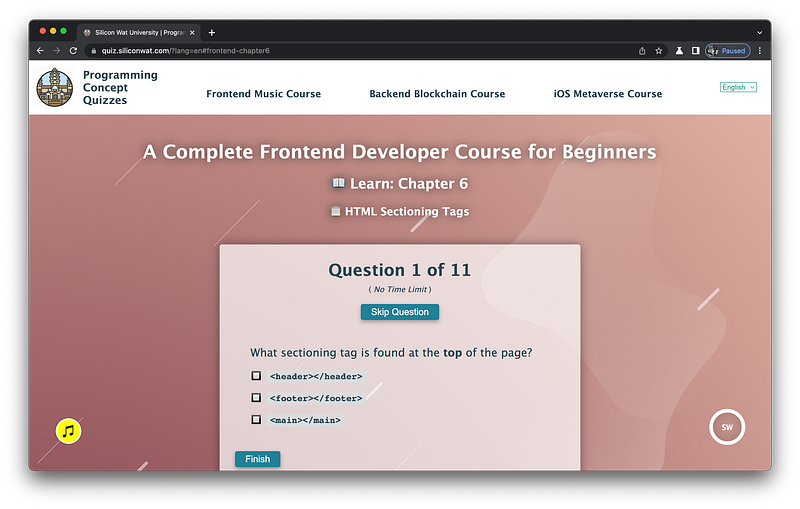
Question 1:
What sectioning tag is found at the top of the page?
<header></header><main></main><footer></footer>
Question 2:
What sectioning tag is found at the middle of the page?
<header></header><main></main><footer></footer>
Question 3:
What sectioning tag is found at the bottom of the page?
<header></header><main></main><footer></footer>
Question 4:
The header tag is NOT the first child of body.
- True
- False
Question 5:
The main tag is the second child of body.
- True
- False
Question 6:
The footer tag is NOT the last child of body.
- True
- False
Question 7:
Which tag is NOT a subsection tag?
<nav></nav><section></section><p></p>
Question 8:
Which tag is NOT a content tag?
<p></p><a></a><button></button><section></section><img/>
Question 9:
Which is NOT a heading tag?
h1h3h6h7
Question 10:
Which is NOT a benefit of semantic HTML code?
- Increased accessibility
- Decreased search engine optimization
- Increased code readability
Question 11:
Website accessibility is a legal requirement.
- True
- False
→ Programming Concept Quiz for Chapter 6
Coding Exercises
Check out my Interactive Coding Exercises to put to practice what you have learned! There, you will also find interactive hints to help you understand each line of code. Likewise, for every correct solution, you will earn SW Coins which you can redeem for coupons towards the purchase of any of my Udemy courses!
→ Interactive Coding Exercises for Chapter 6
Syntax Flashcards
Review what you have learned by playing my Syntax Flashcard Game! These flashcards are designed to help you commit to memory all the new code syntaxes you learned in this lesson.

Likewise, for every correct answer, you will earn SW Coins which you can redeem for coupons towards the purchase of any of my Udemy courses!
→ Syntax Flashcard Game for Chapter 6
Next Steps
Congrats on completing Unit 2: Lesson 1 of 13! 🎉
Unit 1: 100% Completed
Unit 2: 8% Completed
Unit 3: 0% Completed
Unit 4: 0% Completed
Unit 5: 0% Completed
Bonus Unit 6: 0% Completed
Bonus Unit 7: 0% Completed
Overall Progress: 6% Completed→ Join Remote Frontend Cohort Program
Next Lesson
In the next lesson, we will learn how to add dimensions to our sectioning tags using units of length. There are two types of units: absolute and relative. Find out the differences between them and some useful examples in the next lesson!
→ Chapter 7: CSS Units of Length
When you use my referral link above 👆 to become a Medium member, all proceeds will be donated towards the construction of the Silicon Wat Campus for children in Ukraine and Cambodia ❤️