
Chapter 5: Importing JavaScript Code
A Complete Frontend Developer Textbook for Beginners (2023 Edition)

This is the textbook version of Lesson 5 of 100 from the Udemy video course: A Complete Frontend Developer Course for Beginners
← Chapter 4: Importing CSS Code
Overview
This lesson covers the following HTML tags, CSS properties, and JavaScript topics for the first time:
HTML
CSS
None.
JS
This lesson begins with a fresh Codepen. Open a new one and code along with me to increase retention!
Lecture
Just like there are three ways to include CSS code in our HTML document, there are also three ways to include JavaScript code which we cover in this lesson.
External JS
Similar to CSS, the first method is also called external.
Method 1: External JSWhen we write our JavaScript code in this window on Codepen:
JS Window (Codepen 1):console.log("hello world")Console Window (Codepen 1):"hello world"We are really writing our JavaScript code into a separate file.
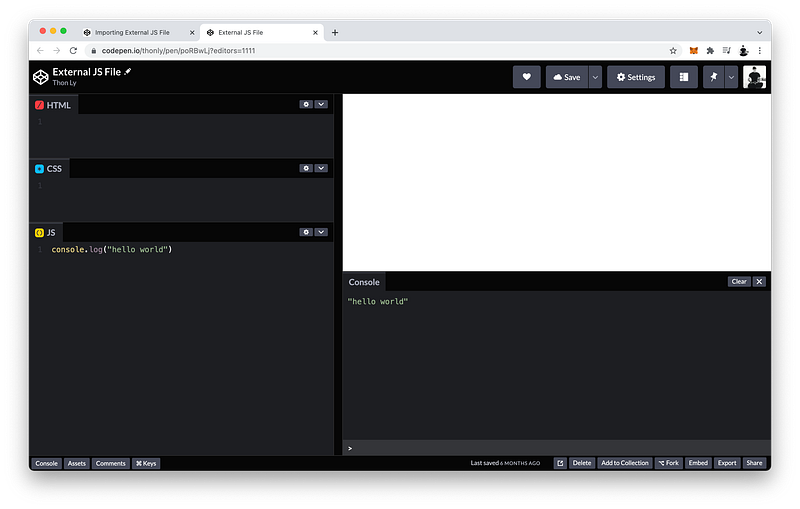
To demonstrate this, let’s create another Codepen file.
JS Window (Codepen 2):[blank]Console Window (Codepen 2):[blank]Now let’s move our JavaScript code over to this new file.
JS in Codepen 1 => JS in Codepen 2 (external file)Select all then Cut.
JS Window in Codepen 1:[blank]If we Save and refresh, the Console will not print "hello world” anymore.
Console Window in Codepen 1:[blank]Then, in our external file, we paste then click Save.
JS Window (Codepen 2):console.log("hello world")Console Window (Codepen 2):"hello world"To import this external JavaScript file to Codepen 1:
- First we copy the URL in Codepen 2.
- Then, we go to our Settings in Codepen 1.
- Under JS, scroll down to Add External Scripts/Pens.
- Then paste in the URL link.
- Press Save & Close.
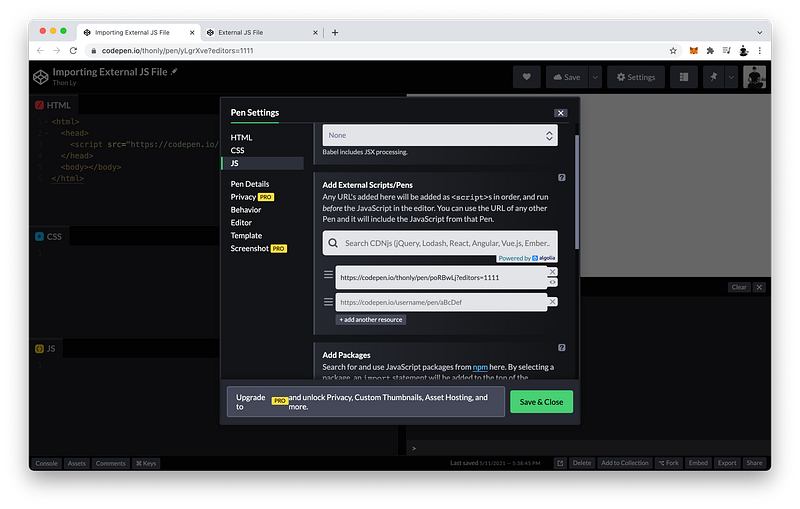
Now notice “hello world” is back in the Console!
Console Window (Codepen 1):"hello world"What happened?
What did Codepen do under the hood to make this possible?
The answer is by using a special tag called a script tag.
<script></script>Basically, to import any external JavaScript file, all we have to do is create a script tag inside the head tag.
<html>
   <head>
      <script></script>
   </head>
   <body></body>
</html>
We must also include a closing script tag because it can have content.
What kind of content?
We will discuss this in the next lecture.
To import our external JavaScript file, we give our script tag just one attribute like this:
<script src="paste link here"></script>src stands for source which behaves much like the href attribute for the link tag.
Altogether, the HTML code looks like this:
<html>
 <head>
  <script src="https://codepen.io/thonly/pen/poRBwLj"></script>
 </head>
 <body></body>
</html>
The finished Codepen:
Internal JS
We have just learned that the first method to include JavaScript code in our document is to import it using a script tag inside the head.
HTML Window:<html>
<head>
<script src="https://codepen.io/thonly/pen/poRBwLj"></script>
</head>
<body></body>
</html>We also learned that Codepen uses this method for the JavaScript code we write in this JS window:
JS Window:[blank]Like CSS, the second method to include JavaScript code in our document is also called internal.
Method 2: Internal JSTo do this is quite simple. We just use the same script tag inside the head.
<html>
   <head>
      <script></script>
      <script src="https://codepen.io/thonly/pen/poRBwLj"></script>
   </head>
   <body></body>
</html>
And its content is JavaScript code!
<html>
   <head>
      <script>JS code goes here</script>
      <script src="https://codepen.io/thonly/pen/poRBwLj"></script>
   </head>
   <body></body>
</html>
This is similar to using the
styletag for internal CSS code!
For example, let’s log the number 3 to the Console:
<html>
   <head>
      <script>console.log(3)</script>
      <script src="https://codepen.io/thonly/pen/poRBwLj"></script>
   </head>
   <body></body>
</html>
Notice that 3 is logged first and “hello world” is logged second.
Console Window:3
"hello world"Why is that?
The answer is because JavaScript is executed in the order it appears.
<script>console.log(3)</script>
<script src="https://codepen.io/thonly/pen/poRBwLj"></script>
Since this internal JavaScript is first, and this external JavaScript is second, that’s the order of execution.
The finished Codepen:
Inline JS
Like CSS, the third and final method to include JavaScript code in our document is also called inline.
Method 3: Inline JSOn the tag that we want to include JavaScript code, we can add attributes called event listeners.
<body listener="JS code goes here"></body>For example, on the body tag:
<body onload="console.log(7)"></body>What this means is that the event we want to listen for is when the body finishes loading.
Listen: body => loading... => eventonload means that after this load event happens, execute this inline JavaScript code:
body => onload => console.log(7)And there it is in the Console:
Console Window:3
"hello world"
7Appearing last because it’s waiting for the body to finish loading.
The finished Codepen:
Summary
Like CSS, there are three ways to include JavaScript code in our HTML document.
Method 1: External JS
Method 2: Internal JS
Method 3: Inline JS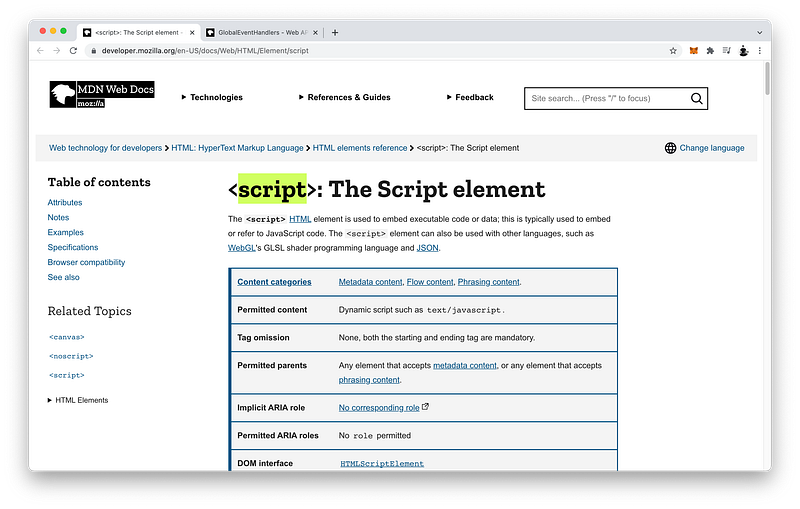
External vs Internal JS
The first method is called external which uses the script tag inside the head.
<html>
   <head>
      <script src="link to JS code"></script>
   </head>
   <body></body>
</html>
The second method is called internal which also uses the script tag inside the head.
<html>
   <head>
      <script>JS code goes here</script>
   </head>
   <body></body>
</html>
To import external JavaScript, we can simply use the source attribute on our script tag.
<script src="link to JS code"></script>To include internal JavaScript, we can simply write the JavaScript code as the content of our script tag.
<script>JS code goes here</script>Remember, in both cases, a closing script tag is required!
<script></script>Inline JS
Finally, the third method to include JavaScript code is called internal.
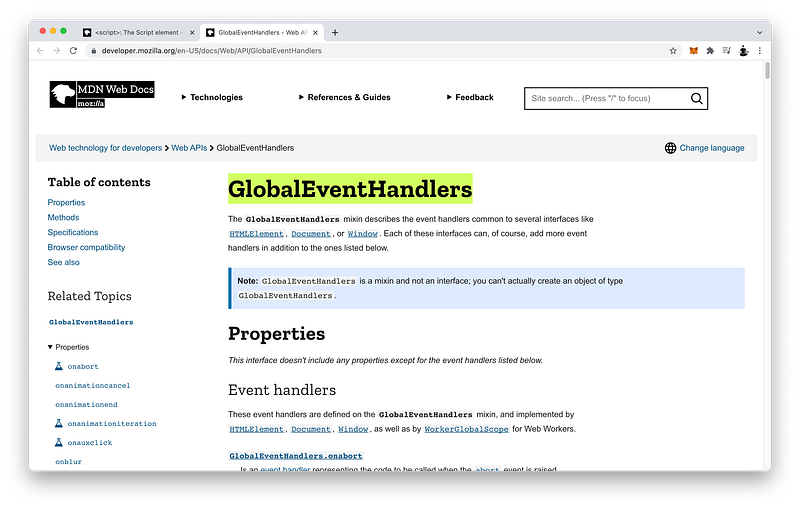
On any tag that we want, we can create event listeners as attributes.
<body listener="JS code goes here"></body>Formally, they are known as global event handlers.
And there are many!
The one we demonstrated was the onload event handler which we used to listen for the load event before executing our inline JavaScript code.
body => onload => console.log(7)Why would we use one method over another?
Just like CSS, each method has the same pros and cons.
In practice, external JavaScript is best because we can contain all the JavaScript code in one file which we can give to the Engineers in our team.
JS File => EngineersOur Engineers can simply focus on and edit this one JavaScript file while our Designers and our Copywriters can focus on and edit the CSS file and the HTML file, respectively.
Copywriters: HTML file
Designers: CSS file
Engineers: JS file
Again, we want “separation of concerns” because this minimizes team members from editing the same files at the same time.
Finally, while CSS code is executed based on specificity, remember that JavaScript code is executed based on order of appearance (editor line order).
Execution: CSS code => specificity
JS code => line orderConcept Quiz
Take my Programming Concept Quiz to check your understanding! For every correct choice, you will earn SW Coins which you can redeem for coupons towards the purchase of any of my Udemy courses!
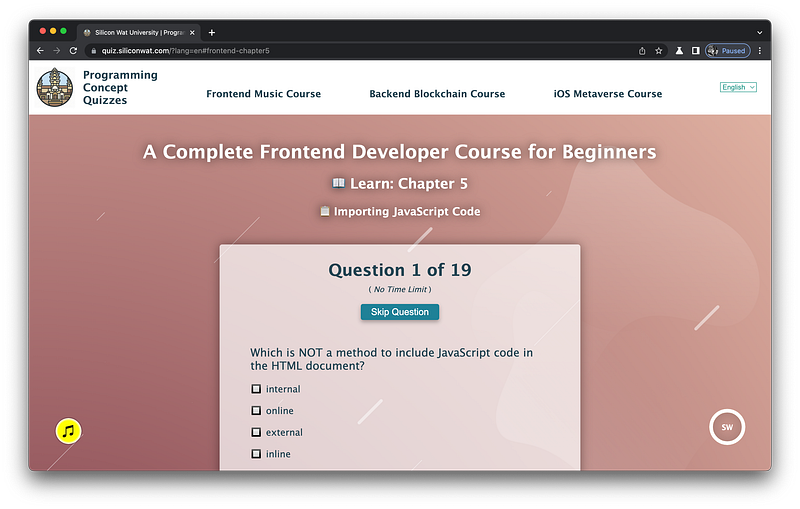
Sample Quiz Questions for Lesson 5:
Question 1:
Which is NOT a method to include JavaScript code in the HTML document?
- external
- internal
- online
- inline
Question 2:
What tag is used to import an external JS file?
<head></head><link></link><script></script>
Question 3:
A script tag is always a child of:
<head></head><body></body><html></html>
Question 4:
A script tag can have content.
- True
- False
Question 5:
A script tag does not require a closing tag.
- True
- False
Question 6:
Which attribute is required by a script tag to import an external JS file?
hrefsrcrel
Question 7:
The src attribute should equal to:
“script”“href”“[URL to external JS file]”
Question 8:
What tag is used to include internal JavaScript?
<head></head><link></link><script></script>
Question 9:
What kind of content is written inside a script tag?
- Anything
- JavaScript code
- Plain text
Question 10:
Tags cannot have event listeners as attributes.
- True
- False
Question 11:
Event listeners as attributes are formally known as global event handlers.
- True
- False
Question 12:
The onload attribute is one example of an event handler.
- True
- False
Question 13:
The onload event handler listens for the load event.
- True
- False
Question 14:
Event handlers cannot have inline JavaScript code.
- True
- False
Question 15:
Event handlers should equal to:
“JS”“JavaScript”“[JavaScript code]”
Question 16:
Which method achieves the most separation of concerns?
- external
- internal
- inline
Question 17:
Which method has the least separation of concerns?
- external
- internal
- inline
Question 18:
In practice, what is the best method for a development team?
- external
- internal
- inline
Question 19:
JavaScript code is not executed based on the order it appears.
- True
- False
→ Programming Concept Quiz for Chapter 5
Coding Exercises
Check out my Interactive Coding Exercises to put to practice what you have learned! There, you will also find interactive hints to help you understand each line of code. Likewise, for every correct solution, you will earn SW Coins which you can redeem for coupons towards the purchase of any of my Udemy courses!
→ Interactive Coding Exercises for Chapter 5
Syntax Flashcards
Review what you have learned by playing my Syntax Flashcard Game! These flashcards are designed to help you commit to memory all the new code syntaxes you learned in this lesson.

Likewise, for every correct answer, you will earn SW Coins which you can redeem for coupons towards the purchase of any of my Udemy courses!
→ Syntax Flashcard Game for Chapter 5
Next Steps
Congrats on completing Unit 1: Lesson 5 of 5! 🎉
Unit 1: 100% Completed
Unit 2: 0% Completed
Unit 3: 0% Completed
Unit 4: 0% Completed
Unit 5: 0% Completed
Bonus Unit 6: 0% Completed
Bonus Unit 7: 0% Completed
Overall Progress: 5% Completed→ Join Remote Frontend Cohort Program
Next Unit
Now that we have a basic understanding of how CSS code and JavaScript code interact with the HTML code, in Unit 2 our focus can center on learning about the latest HTML syntax in depth. But as usual, even though the focus is on HTML, CSS and JavaScript are interleaved to deepen our understanding of their interrelationships.
Hence, the Title of Unit 2: HTML Concerto 😄
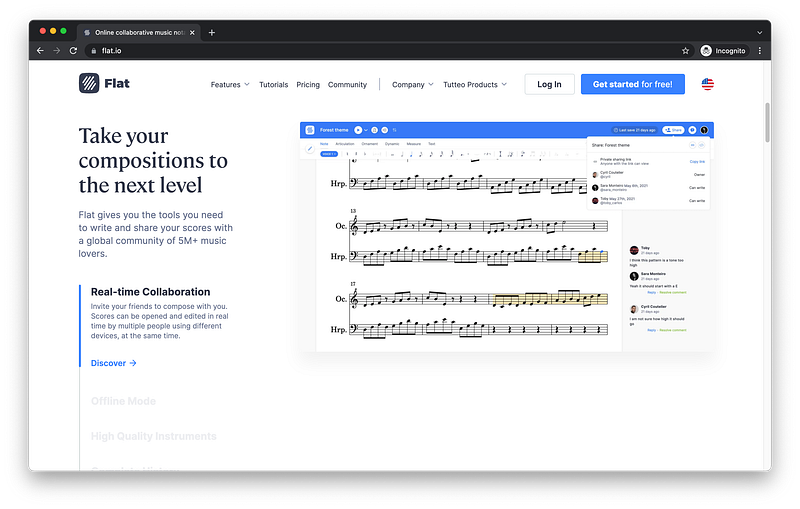
For reference and inspiration, we will look at Flat’s beautiful homepage. By the end of this Unit, you will know how to properly structure and layout a similar web page of your own!
Next Lesson
In the first lesson of this Unit, we will begin by learning how to properly layout a page using sectioning tags. And to make our HTML code fully semantic, we will also learn how to utilize subsectioning tags to organize some simple content tags as examples. Find out why we should do this in the next lesson!
When you use my referral link above 👆 to become a Medium member, all proceeds will be donated towards the construction of the Silicon Wat Campus for children in Ukraine and Cambodia ❤️