
Chapter 4: Importing CSS Code
A Complete Frontend Developer Textbook for Beginners (2023 Edition)

This is the textbook version of Lesson 4 of 100 from the Udemy video course: A Complete Frontend Developer Course for Beginners
← Chapter 3: Tree Structures in HTML, CSS and JavaScript
Overview
This lesson covers the following HTML tags, CSS topics, and JavaScript commands for the first time:
HTML
CSS
JS
None.
This lesson begins with a fresh Codepen. Open a new one and code along with me to increase retention!
Lecture
In this lesson, we explore three different ways to include CSS code in our HTML document.
External CSS
The first method is called external.
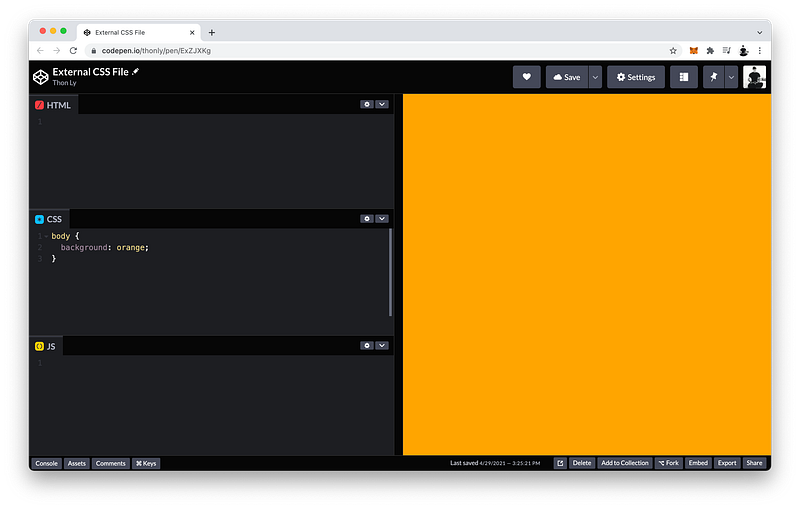
Method 1: External CSSWhen we write our CSS code in this window on Codepen:
CSS Window (Codepen 1):body {
background: orange;
}UI Window (Codepen 1):[background is orange]We are really writing our CSS code into a separate file.
To demonstrate this, let’s create another Codepen file.
CSS Window (Codepen 2):[blank]UI Window (Codepen 2):[background is black]Now let’s move our CSS code over to this new file.
CSS in Codepen 1 => CSS in Codepen 2 (external file)Select all then Cut.
CSS Window (Codepen 1):[blank]Notice the orange background is gone.
UI Window (Codepen 1):[background is black]Then in our external file (Codepen 2), we paste:
CSS Window (Codepen 2):body {
background: orange;
}UI Window (Codepen 2):[background is orange]To import this external CSS file to Codepen 1:
- First we copy the URL in Codepen 2.
- Then we go to our Settings in Codepen 1.
- Under CSS, scroll down to Add External Stylesheets/Pens.
- Then paste in the URL link.
- Press Save & Close.
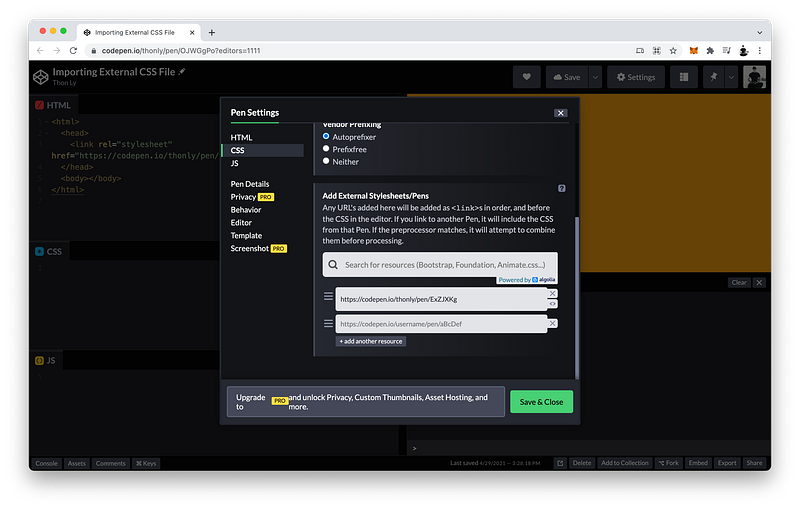
Now notice the orange background is back!
UI Window (Codepen 1):[background is orange]What happened?
What did Codepen do under the hood to make this possible?
The answer is by using a special tag called a link tag.
<link>Basically, to import any external CSS file, all we have to do is create a link tag inside the head tag.
<html>
   <head>
      <link>
   </head>
   <body></body>
</html>
A link tag will never have any content so a closing link tag is not necessary.
<link></link> => <link>For readability, we can make the link tag a self-closing tag by adding a backlash like this:
<link />This is also optional and is not required.
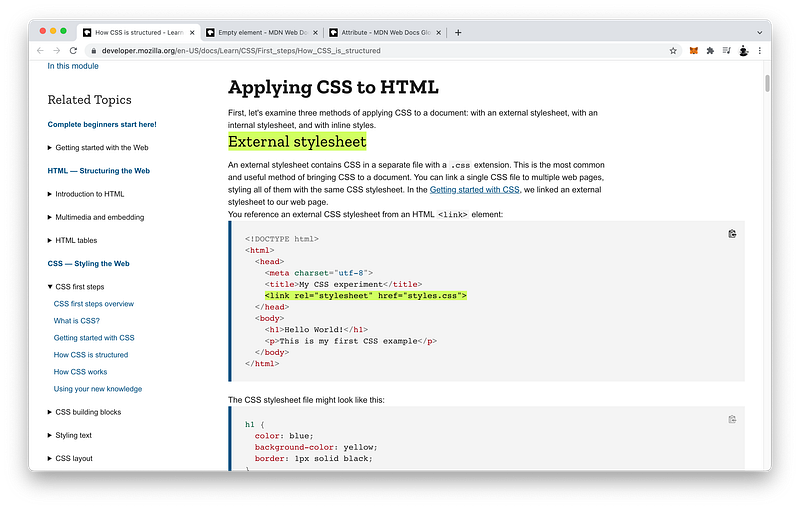
<link /> => <link>To import our external CSS file, we must give our link tag two attributes like this:
<link rel="stylesheet">rel=“stylesheet” indicates that its relationship to the document is a stylesheet.
And:
<link rel="stylesheet" href="paste link here">href stands for Hypertext Reference.
Altogether, the HTML code looks like this:
<html>
 <head>
  <link rel="stylesheet" href="https://codepen.io/thonly/pen/ExZJXKg">
 </head>
 <body></body>
</html>
The finished Codepen:
Internal CSS
We have just learned that the first method to include CSS code in our document is to import it using a link tag inside the head.
HTML Window:<html>
<head>
<link rel="stylesheet" href="https://codepen.io/thonly/pen/ExZJXKg">
</head>
<body></body>
</html>We also learned that Codepen uses this method for the CSS code we write in this CSS window:
CSS Window:[blank]The second method to include CSS code in our document is called internal.
Method 2: Internal CSSTo do this, we use another special tag called a style tag inside the head.
<html>
   <head>
      <style></style>
   </head>
   <body></body>
</html>
Unlike the link tag, the style tag has content and therefore we must include a closing style tag.
<style></style>What is its content?
CSS code.
For example, let’s change the background to yellow.
<style>
   body {
      background: yellow;
   }
</style>
There it is:
UI Window:[background changed to yellow]Notice that our external CSS code and our internal CSS code both want to set the color of the background, but priority is given to a background of yellow instead of orange.
Why is that?
We will answer this question in the next lecture.
The finished Codepen:
Inline CSS
The third and final method to include CSS code in our document is called inline.
Method 3: Inline CSSOn the tag that we want to include CSS code, we can simply add an attribute called style:
HTML Window:<html>
<head></head>
<body style ></body>
</html>Then, we set it equal to the CSS declarations we want to apply to the said body tag.
For example:
HTML Window:<html>
<head></head>
<body style="background: skyblue;"></body>
</html>?Don’t forget to surround the declarations with quotes!
The CSS body selector is not necessary here because it’s already implied by its presence inside the body bag.
<body style="background: skyblue;"></body>Notice that there are now three different locations where the CSS rulesets want to set the color of the background, yet in this case, priority is given to our inline CSS code.
UI Window:[background changed to sky blue]Why is that?
The answer is called CSS Specificity which basically states that priority will be given to the CSS property that is more specific.
You may have guessed it by now: inline CSS is more specific than internal CSS which is more specific than external CSS.
Inline CSS > Internal CSS > External CSSIn other words, inline CSS is the most specific and has the highest priority.
Inline CSS > Internal CSS > External CSSWhile external CSS is the least specific and has the lowest priority.
Inline CSS > Internal CSS > External CSSCSS Specificity has many other nuances which we will study in detail in Unit 3.
The finished Codepen:
Summary
There are three ways to include CSS code in our HTML document.
Method 1: External CSS
Method 2: Internal CSS
Method 3: Inline CSS
External CSS
The first method is called external which uses the link tag inside the head.
link tags do not have content so a closing tag is not necessary.
<link></link> => <link>Formally, they are known as empty elements because they do not have any children.
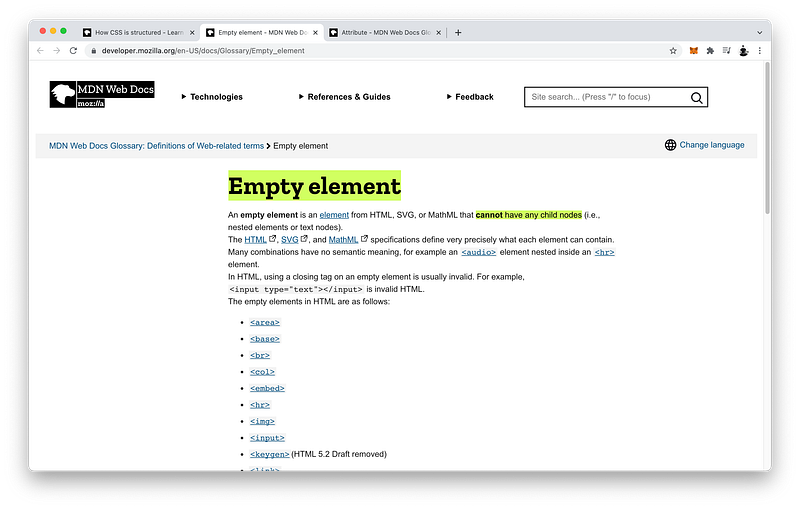
In other words, we can think of empty elements like parents who cannot have children.
Empty elements => Cannot have childrenInstead, link tags have attributes that we can specify.
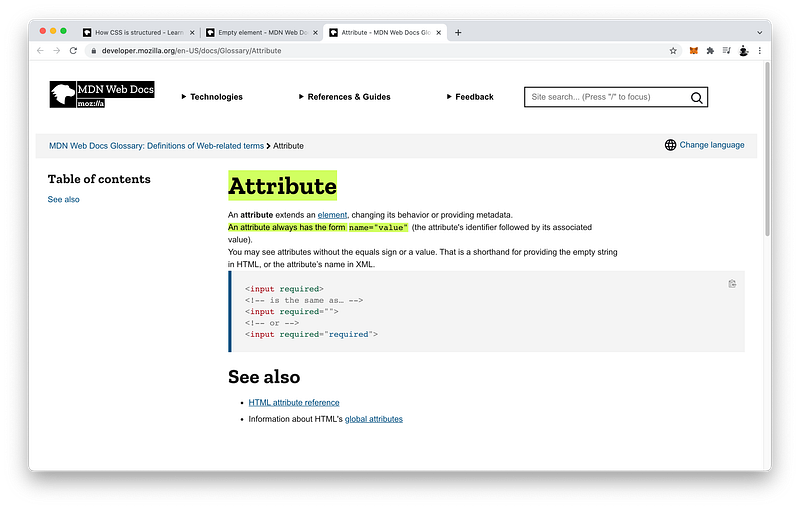
Attributes always have the form:
name="value"And are always written inside of opening tags:
<tag name="value">For example, to import an external CSS file, we specify a relationship attribute and a hypertext reference attribute:
<link rel="stylesheet" href="styles.css">Internal CSS
The second method to include CSS code is called internal which uses the style tag inside the head.
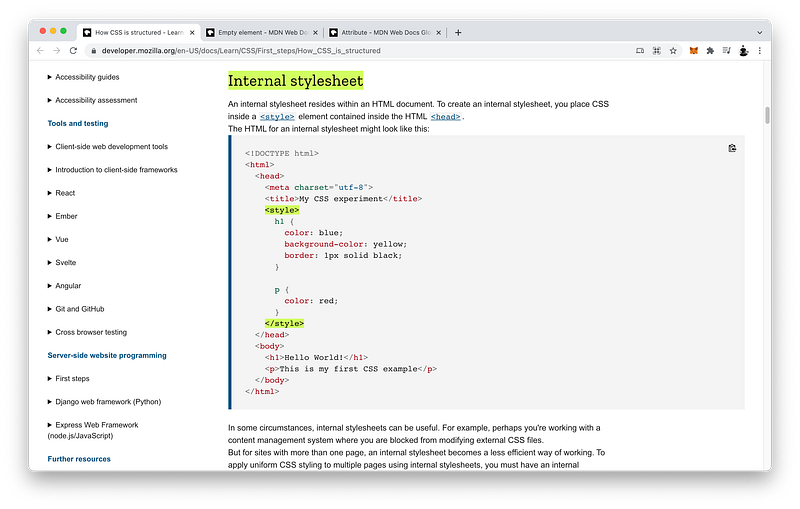
Unlike the link tag, the style tag has content and therefore must include a closing tag.
<style></style>The content is CSS code.
<style>
   CSS code goes here
</style>
In other words, we can think of non-empty elements like parents who can have children.
Non-empty elements => Can have childrenInline CSS
Finally, the third method to include CSS code is called inline which uses the style attribute on the tag that we want to style.
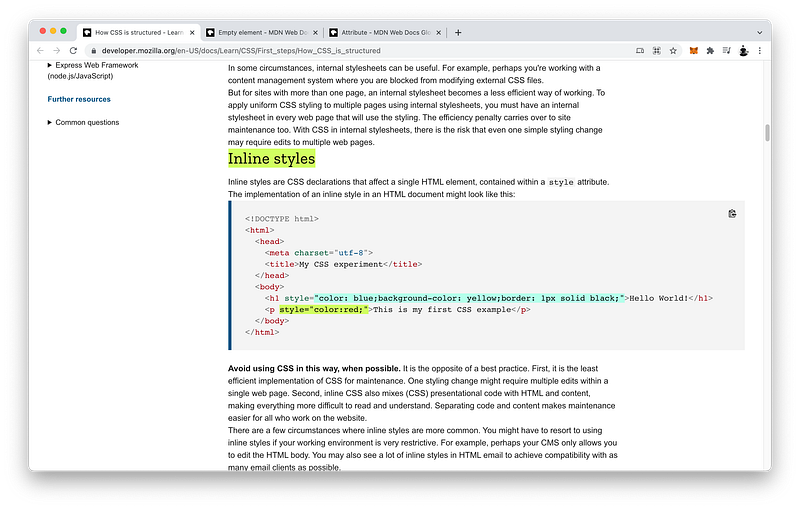
The value of this attribute is CSS declaration statements.
<p style="color:red;">This is my first CSS example</p>CSS Specificity
When all three methods want to set the same CSS properties, priority will be given to the ruleset that is more specific.
More Specific Ruleset > Less Specific RulesetFor example, inline CSS is more specific than internal CSS.
Inline CSS > Internal CSSAnd internal CSS is more specific than external CSS.
Internal CSS > External CSSThis is called CSS Specificity.
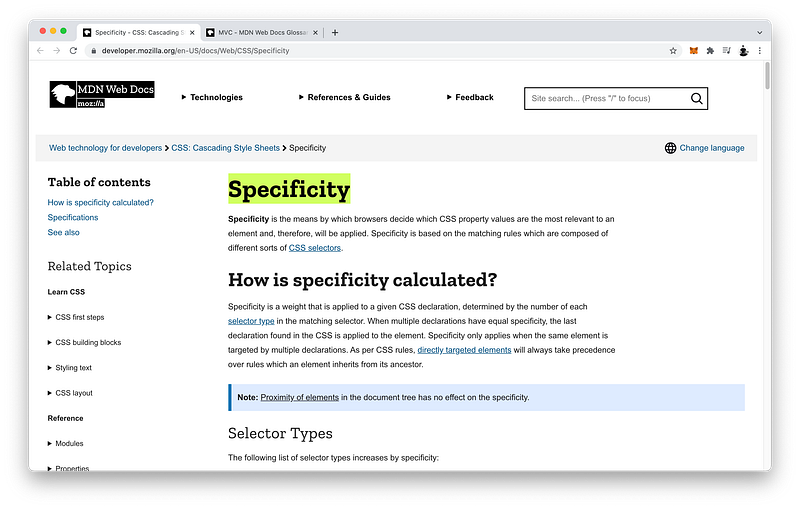
Again, we will study CSS Specificity in great detail in Unit 3.
Why would we use one method over another?
The answer is that each method has both pros and cons.
External CSS is great because we can contain all the CSS code in one file.
External CSS => Separate FileWhich we can give to the Designers in our team.
CSS File => DesignersOur Designers can simply focus on and edit this one CSS file while our Copywriters can focus on and edit the HTML file and nothing else.
Designers: CSS File
Copywriters: HTML File
The drawback is that because it’s a separate file, it’s slower for the browser to go fetch the extra CSS file.
Browser => fetching... => CSS FileInline CSS is great because we can style each tag individually in our HTML document.
Inline CSS => can style each HTML tagHowever, the drawback is that our CSS code commingles with our HTML code which can be confusing for both our Designers and our Copywriters to edit.
Inline CSS: CSS code commingles with HTML codeInternal CSS is great because it’s similar to external CSS in that all the CSS code is located in one place.
<html>
   <head>
      <style>
         CSS code
      </style>
   </head>
   <body></body>
</html>
Yet, it still exists within the same HTML file.
Therefore, it’s faster than external CSS.
Speed: Internal CSS > External CSSHowever, similar to inline CSS, internal CSS is in the same file as our HTML code.
HTML File: HTML Code + CSS CodeHence, our Designers and our Copywriters will have to edit the same file when making changes. This can cause confusions and bugs.
HTML File: Copywriters + DesignersThe best practice, therefore, is actually external CSS because it creates “separation of concerns” which minimizes team members from editing the same files at the same time.
Concept Quiz
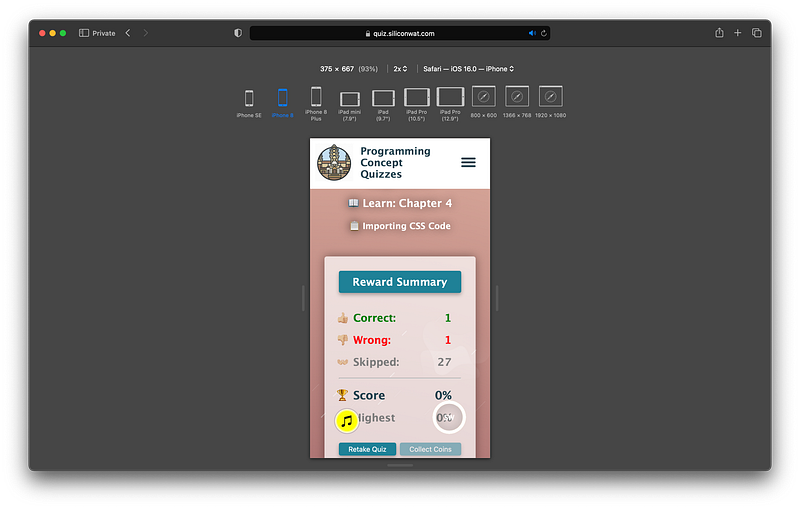
Take my Programming Concept Quiz to check your understanding! For every correct choice, you will earn SW Coins which you can redeem for coupons towards the purchase of any of my Udemy courses!
Sample Quiz Questions for Lesson 4:
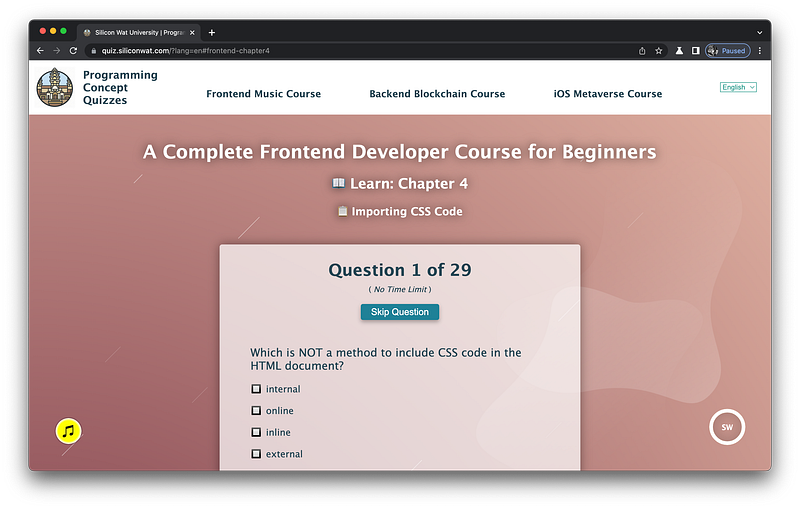
Question 1:
Which is NOT a method to include CSS code in the HTML document?
- inline
- online
- internal
- external
Question 2:
What tag is used to import an external CSS file?
<head></head><link></link><link/>
Question 3:
A link tag is always a child of:
<head></head><body></body>
Question 4:
A link tag can have content.
- True
- False
Question 5:
A link tag can never have children tags.
- True
- False
Question 6:
A link tag can have a closing tag.
- True
- False
Question 7:
Which tag is a self-closing tag?
<link><link/>
Question 8:
A link tag must be a self-closing tag.
- True
- False
Question 9:
Which attribute is NOT required by a link tag to import an external CSS file?
relhrefstyle
Question 10:
The rel attribute should equal to:
“style”“stylesheet”“CSS”
Question 11:
The href attribute should equal to:
“CSS”“stylesheet”“[URL to an external CSS file]”
Question 12:
What tag is used to include an internal stylesheet?
<link><style></style><head></head>
Question 13:
The style tag is always a child of:
<head></head><body></body><link>
Question 14:
A style tag must have a closing tag.
- True
- False
Question 15:
What kind of content is written inside a style tag?
- any text
- CSS code
- children tags
Question 16:
What attribute is used to add inline CSS to any tags?
relhrefstyle
Question 17:
The style attribute should equal to:
"css"“stylesheet”“[CSS declaration statements]”
Question 18:
Which is an empty element?
<head></head><style></style><link>
Question 19:
Attributes always have the form:
name=valuename=”value”
Question 20:
What is CSS Specificity?
- Priority is given to the CSS property that is least specific.
- Priority is given to the CSS property that is most specific.
Question 21:
Which method has the highest CSS priority?
- external
- internal
- inline
Question 22:
Which method has the lowest CSS priority?
- external
- internal
- inline
Question 23:
Which is NOT a benefit of an external stylesheet?
- All the CSS code is located in one file.
- It is slower for the browser to fetch the external file.
Question 24:
Which is NOT a benefit of an internal stylesheet?
- All the CSS code is located in one place.
- Designers and copywriters will need to edit the same file.
Question 25:
Which is NOT a benefit of inline CSS?
- We can style each HTML tag individually.
- The CSS code commingles with the HTML code.
Question 26:
Separation of concerns minimizes team members from editing the same files at the same time.
- True
- False
Question 27:
Which method achieves the most separation of concerns?
- inline
- internal
- external
Question 28:
Which method has the least separation of concerns?
- external
- internal
- inline
Question 29:
In practice, what is the best method for a development team?
- external
- internal
- inline
→ Programming Concept Quiz for Chapter 4
Coding Exercises
Check out my Interactive Coding Exercises to put to practice what you have learned! There, you will also find interactive hints to help you understand each line of code. Likewise, for every correct solution, you will earn SW Coins which you can redeem for coupons towards the purchase of any of my Udemy courses!
→ Interactive Coding Exercises for Chapter 4
Syntax Flashcards
Review what you have learned by playing my Syntax Flashcard Game! These flashcards are designed to help you commit to memory all the new code syntaxes you learned in this lesson.
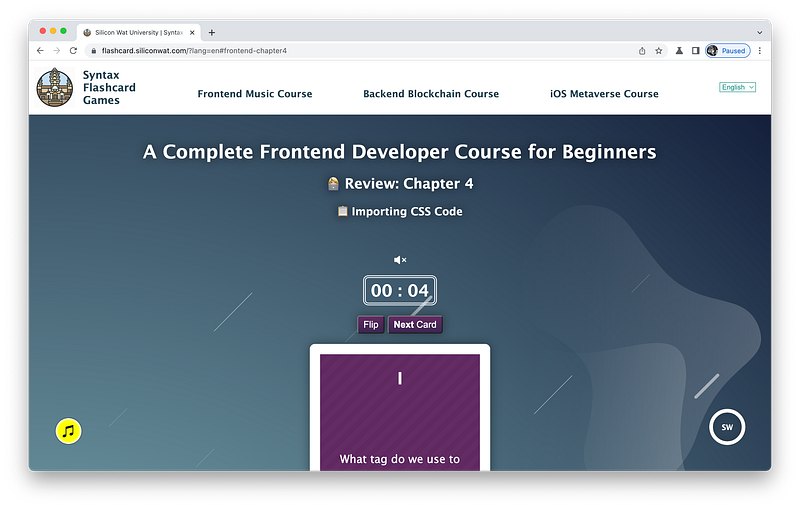
Likewise, for every correct answer, you will earn SW Coins which you can redeem for coupons towards the purchase of any of my Udemy courses!
→ Syntax Flashcard Game for Chapter 4
Next Steps
Congrats on completing Unit 1: Lesson 4 of 5! 🎉
Unit 1: 80% Completed
Unit 2: 0% Completed
Unit 3: 0% Completed
Unit 4: 0% Completed
Unit 5: 0% Completed
Bonus Unit 6: 0% Completed
Bonus Unit 7: 0% Completed
Overall Progress: 4% Completed→ Join Remote Frontend Cohort Program
Next Lesson
In the next lesson, we will learn how to import JavaScript code via three different methods as well. To import external JavaScript code, we use the script tag and the src attribute. To include internal JavaScript code, we use the content of the script tag. To include inline JavaScript code, we can add event listeners as attributes. This lesson will go over these methods in detail!
→ Chapter 5: Importing JavaScript Code
When you use my referral link above 👆 to become a Medium member, all proceeds will be donated towards the construction of the Silicon Wat Campus for children in Ukraine and Cambodia ❤️