
Chapter 3: Tree Structures in HTML, CSS and JavaScript
A Complete Frontend Developer Textbook for Beginners (2023 Edition)

This is the textbook version of Lesson 3 of 100 from the Udemy video course: A Complete Frontend Developer Course for Beginners
← Chapter 2: JavaScript Console
Overview
This lesson covers the following HTML tags, CSS topics, and JavaScript commands for the first time:
HTML
CSS
JS
- document (Document Object Model)
- document.documentElement
- document.documentElement.firstChild
- document.documentElement.lastChild
- document.documentElement.tagName
Again, to get the most from my lecture, please create a new Codepen and code along with me!
Don’t just watch me code! 👀
Lecture
So far we have seen how tags can give our plain text more structure, and how useful this is for selection and manipulation with CSS and JavaScript.
Tags => StructureHTML Tree Structure
In this lesson, we explore how HTML can allow any kind and as many tags as we want.
To make selecting any one of them fast and easy, the creators of HTML came up with a very elegant way to organize them.
The brilliant idea is to allow tags inside of tags.
When we do this, we produce a data structure called a tree structure.
HTML: data structure = tree structureLike a real tree, a tree structure in HTML begins from the root tag which is appropriately named html:
<html></html>Then, inside this root tag, we have 2 and only 2 special tags:
The head tag:
<html><head></head></html>And the body tag:
<html><head></head><body></body></html>Written like this, it’s quite difficult to tell that the head and body tags are inside the html tag.
<html><head></head><body></body></html>So a best practice developed among coders. The convention is to indent them like this:
<html>
   <head></head>
   <body></body>
</html>
Right away, we can clearly and easily tell that the head and body tags are inside the html tag:
<html>
   <head></head>
   <body></body>
</html>
Just like a family tree, we can refer to the head and body tags as the children of the html tag:
<html>
   <head></head>
   <body></body>
</html>
And the html tag as the parent of the head tag and body tag:
<html>
   <head></head>
   <body></body>
</html>
We could even be more specific and refer to the head tag as the first child of the html tag:
<html>
   <head></head>
   <body></body>
</html>
And the body tag as the last child of the html tag:
<html>
   <head></head>
   <body></body>
</html>
Why is a tree structure better?
To answer this question, let’s rewrite our tags as a linear structure:
<html></html>
<head></head>
<body></body>
Let’s say we want to select the body tag:
<html></html>
<head></head>
<body></body>
CSS and JavaScript would need to search through each one by one until they find the body tag.
In Computer Science, we’d say this method takes linear time.
Linear Structure => Linear TimeOn the other hand, if these tags are written as a tree structure, we can just look for a tag that is a last child of the html tag:
<html>
   <head></head>
   <body></body>
</html>
This means we can skip searching the head tag entirely:
<html>
   <head></head>
   <body></body>
</html>
In Computer Science, we would say this method takes logarithmic time, which is much faster than linear time.
Tree Structure => Logarithmic TimeIn other words, by organizing our tags into a tree structure, we can avoid searching through every single one to find the one that we want.
The finished HTML code on Codepen:

CSS Tree Structure
A HTML tree structure is great because CSS code can understand it.
For example, we have learned that to select the body element, we can simply write:
body {}
To make the background green, we can write:
body {
   background: green;
}
There is another way we can use to select the body element. Since the body element is the last child of html, we can use this special selector:
:last-child {}
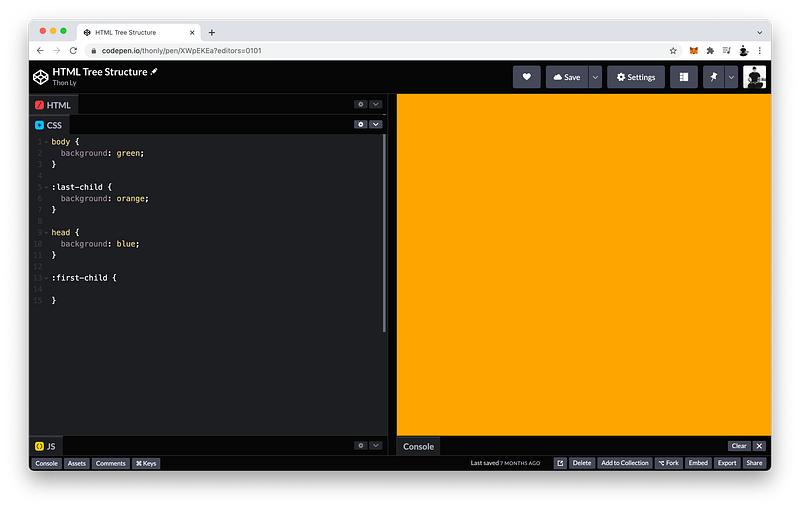
To prove that this works, let’s change the background to orange:
:last-child {
   background: orange;
}
There it is:
UI Window:[has orange background]Let’s say we want to select the head element. Again, we can do this by simply writing:
head {}
Or, you guessed it:
:first-child {}
The
:first-childand:last-childselectors are formally known as pseudo-classes which we will cover in detail in Unit 3.
What’s the difference between a head element and a body element?
The body element is where we show our content.
body => contentThe head element is where we describe the entire document, such as its title, author, date, etc.
head => documentBecause the head element has no content to show, CSS code here does not make sense and will not appear.
For example:
head {
   background: blue;
}
See, no changes:
UI Window:[background is still orange]The finished CSS code on Codepen:
JavaScript Tree Structure
Finally, let’s look at JavaScript.
Because we have arranged our HTML into a nice tree structure, JavaScript can follow this structure to build an exact model in the computer’s memory.
Real HTML => Virtual HTMLThis way, it’s much easier and faster to make changes to the HTML Tree.
In other words, an HTML document by itself is just a static text file:
HTML Document = Static TextBy converting it into a virtual model in the memory, the HTML Tree becomes more dynamic.
Virtual HTML => DynamicAs a matter of fact, this model is easily the most important object of all on the Frontend.
Thus, we give it a special name: the Document Object Model (or DOM for short).
Virtual HTML = DOMIn JavaScript, the DOM is represented by the command:
JS Window:documentInside of which is the entire HTML virtual tree.
document => DOMWithin the DOM, tags are referred to as elements.
HTML => tags
DOM => elements
For example, we know that the HTML Tree begins with the root html element.
With JavaScript, we can get it with the command:
document.documentElementTo verify this, we can console.log() it like this:
console.log(document.documentElement)It’s a little messy as you can see because it’s giving us the entire Codepen HTML:
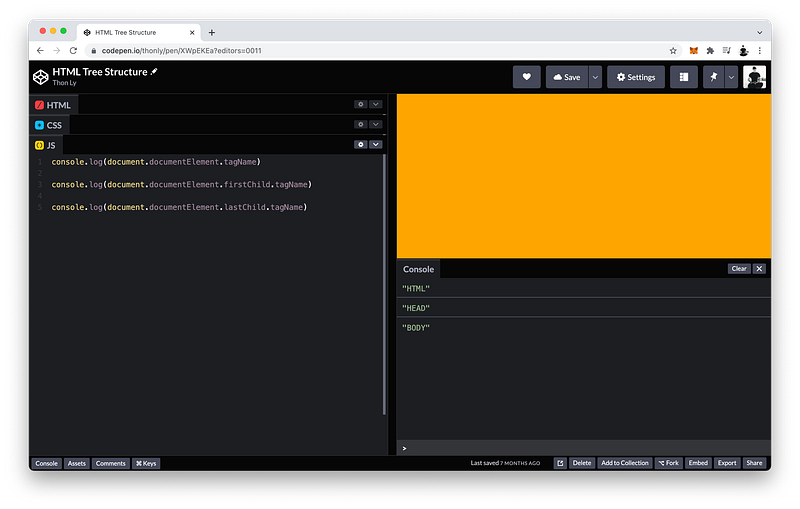
Console Window:<html>...</html>So let’s just ask for the tagName only like this:
console.log(document.documentElement.tagName)There it is:
Console Window:"HTML"We now know that document.documentElement gives us the root html element.
How would we get the head element?
Since the head element is its first child, we can just add .firstChild:
document.documentElement.firstChildTo verify this, let’s console.log() it again:
console.log(document.documentElement.firstChild)Again, it’s a little messy because it’s giving us Codepen’s entire head element.
Console Window:<head>...</head>So let’s just ask for the .tagName only like before:
console.log(document.documentElement.firstChild.tagName)There it is:
Console Window:"HEAD"How about the body element? Can you guess how to get it?
You got it. Just add .lastChild to document.documentElement instead:
document.documentElement.lastChildThis will give us Codepen’s entire body element.
Console Window:<body>...</body>So let’s also add .tagName like before:
document.documentElement.lastChild.tagNameTo verify this works, let’s console.log() it once more:
console.log(document.documentElement.lastChild.tagName)And there it is:
Console Window:"BODY"To review, inside document is the entire virtual HTML Tree. To access its children and its children’s children, and so on and so forth, we use a period (or dot):
.
This is referred to as the Dot Notation in JavaScript.
The finished JavaScript code on Codepen:
Codepen
The complete finished Codepen for this lesson:
Summary
Let’s summarize what we have learned using MDN.
HTML Tree Structure
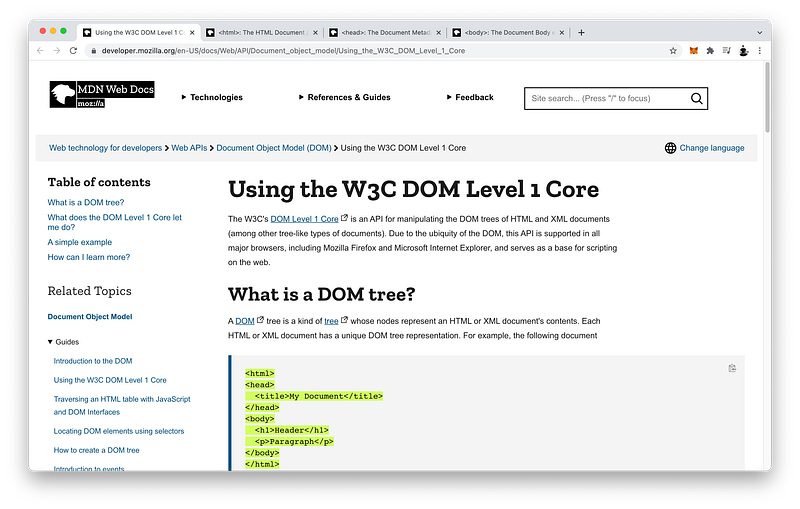
HTML documents are organized into tree structures because they are easier to read and faster to search through.
<html>
  <head>
    <title>My Document</title>
  </head>
  <body>
    <h1>Header</h1>
    <p>Paragraph</p>
  </body>
</html>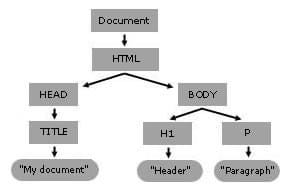
A HTML tree structure always begins with the root html tag.
HTML Document => html (root)Inside of which there are only 2 possible children:
html => head + bodyThe head tag followed by the body tag.
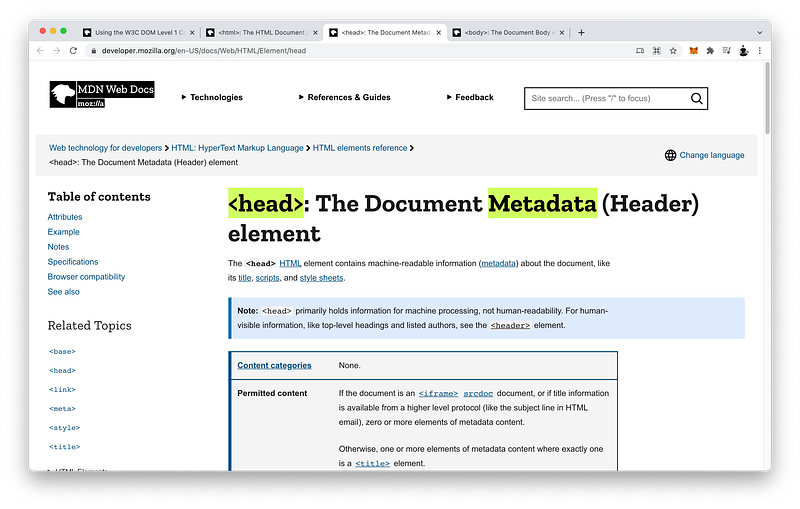
The head tag is where we place information about the document such as the title, author, etc., which are also known as the metadata.
head => metadata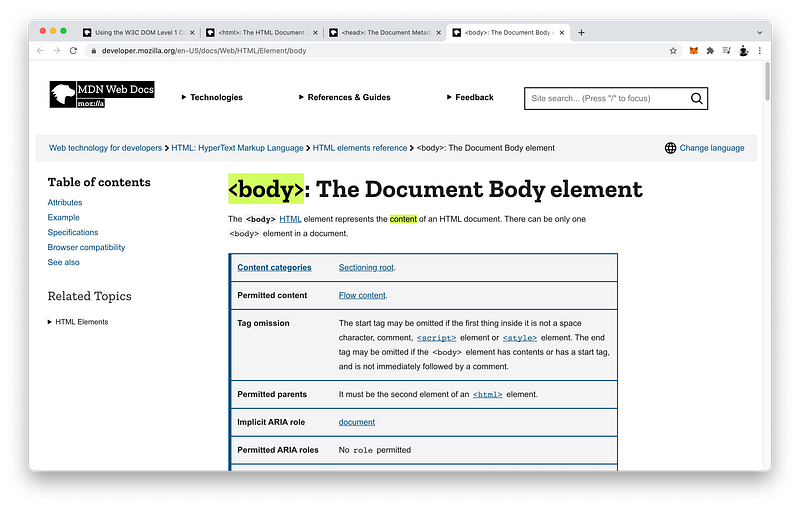
The body tag is where we place the visible content of the document such as a header, a paragraph, etc.
body => content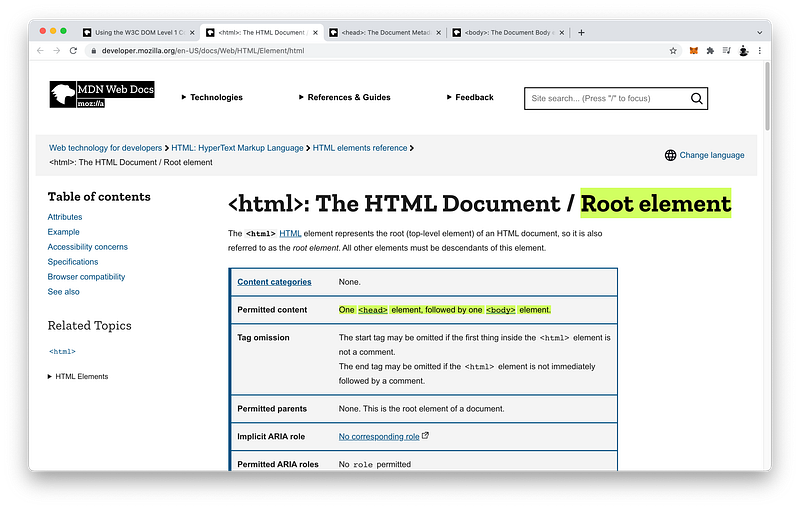
Again, the html tag is the root tag. Its content is just one head tag followed by one body tag.
<html>
  <head></head>
  <body></body>
</html>
The head tag contains the metadata while the body contains the actual content.
head => metadata
body => content
Please commit this very important tree to your memory!
DOM Tree
Remember, a HTML document is really only a file with plain static text.
HTML Document = Plain Static Text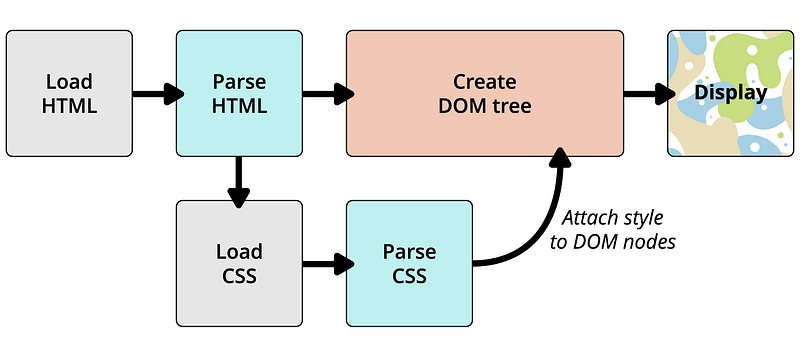
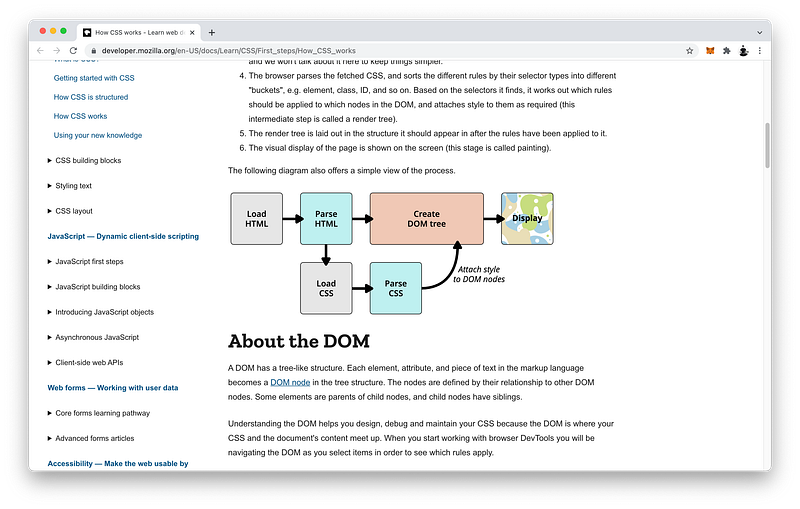
To make the document easier to update, the browser converts the HTML into a special object in JavaScript called the DOM Tree through a process called parsing.
HTML Code => Parsing => JavaScript DOM TreeIn fact, CSS code is also just a file with plain static text.
CSS Code = Plain Static TextSo the browser also parses it and then attaches it to the DOM Tree.
CSS Code => Parsing => CSS DOM TreeFinally, the browser paints the DOM Tree onto the UI window.
DOM Tree => Painting => UI WindowBy converting the static HTML Tree into a virtual DOM Tree in memory, the document becomes more dynamic and therefore easily changeable.
HTML Tree => DOM Tree => DynamicWithout this, for example, smooth animations would be extremely difficult, or impossible to achieve.
In JavaScript, the DOM Tree resides inside a special object called the document.
DOM Tree => documentTo access its children and any descendants, we use the dot notation:
document...By far, this DOM Tree is the most important structure to know as a Frontend Engineer.
Concept Quiz
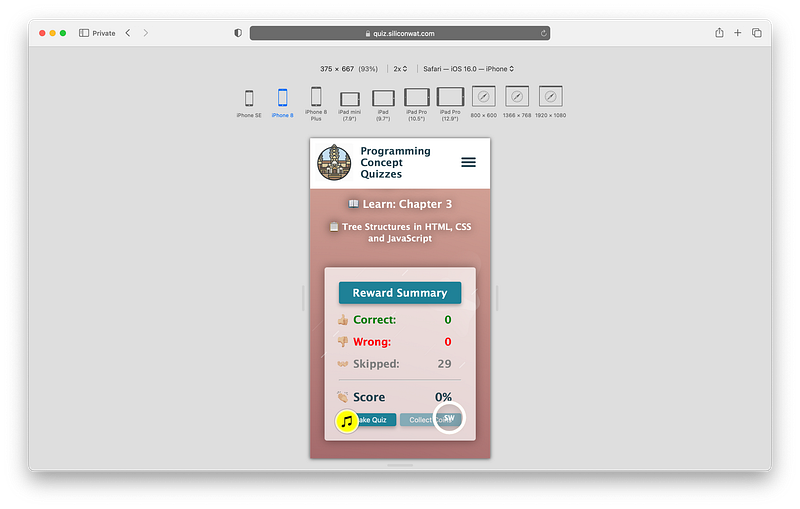
Take my Programming Concept Quiz to check your understanding! For every correct choice, you will earn SW Coins which you can redeem for coupons towards the purchase of any of my Udemy courses!
Sample Quiz Questions for Lesson 3:
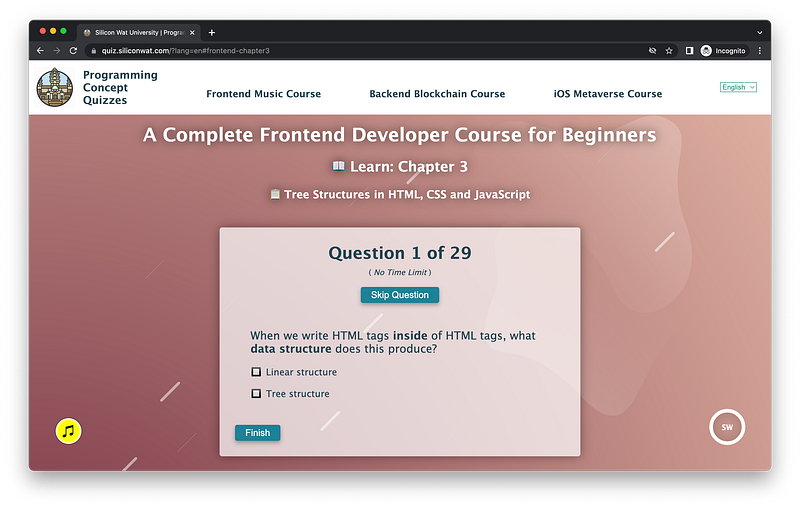
Question 1:
When we write HTML tags inside of HTML tags, what data structure does this produce?
- Linear structure
- Tree structure
Question 2:
A HTML tree structure begins with what tag?
<head></head><body></body><html></html>
Question 3:
Which HTML tag is the root tag?
<html></html><head></head>
Question 4:
How many children tags can the root tag have?
- 1
- 2
- Infinite
Question 5:
Which tag is NOT a child of the root?
<head></head><body></body><p></p>
Question 6:
To make the HTML tree structure easier to read, the convention among coders is to indent the children.
- True
- False
Question 7:
Which tag is the last child of the root?
<head></head><body></body><html></html>
Question 8:
What tag is the parent of head?
<body></body><html></html>
Question 9:
It is faster to search through a linear structure than a tree structure?
- True
- False
Question 10:
A tree structure is faster because we might not need to search through every element to find the one that we want.
- True
- False
Question 11:
What CSS selector will select every element that is a first child?
first-child:first-child
Question 12:
What CSS selector will select every element that is a last child?
:lastChild:last-child
Question 13:
What information is placed inside the head tag?
- data
- metadata
Question 14:
Where should we place a p tag?
- Inside the
headtag - Inside the
bodytag
Question 15:
It is possible to apply CSS styles to the head element.
- True
- False
Question 16:
What best describes a HTML document?
- Static
- Dynamic
Question 17:
What best describes a DOM?
- Static
- Dynamic
Question 18:
The Document Object Model is a virtual copy of the HTML document.
- True
- False
Question 19:
It is faster to make changes to an HTML Tree than a DOM Tree.
- True
- False
Question 20:
What JavaScript command gives us the DOM?
consoledocument
Question 21:
The entire DOM Tree resides inside document.
- True
- False
Question 22:
What notation do we use to access any descendants of document?
- Comma
- Dot
Question 23:
What will this command give us: document.documentElement?
- root element
headelementbodyelement
Question 24:
What will this command give us: document.documentElement.tagName?
"HTML""HEAD""BODY"
Question 25:
document.documentElement.firstChild will give us what?
htmlelementheadelementbodyelement
Question 26:
document.documentElement.firstChild.tagName will give us what?
"HTML""HEAD""BODY"
Question 27:
The browser parses the HTML document into the DOM Tree.
- True
- False
Question 28:
After parsing the CSS file, where does the browser attaches it to?
- HTML document
- DOM Tree
Question 29:
What is the most important structure to know as a Frontend Engineer?
- HTML Tree
- DOM Tree
→ Programming Concept Quiz for Chapter 3
Coding Exercises
Check out my Interactive Coding Exercises to put to practice what you have learned! There, you will also find interactive hints to help you understand each line of code. Likewise, for every correct solution, you will earn SW Coins which you can redeem for coupons towards the purchase of any of my Udemy courses!
→ Interactive Coding Exercises for Chapter 3
Syntax Flashcards
Review what you have learned by playing my Syntax Flashcard Game! These flashcards are designed to help you commit to memory all the new code syntaxes you learned in this lesson.

Likewise, for every correct answer, you will earn SW Coins which you can redeem for coupons towards the purchase of any of my Udemy courses!

→ Syntax Flashcard Game for Chapter 3
Next Steps
Congrats on completing Unit 1: Lesson 3 of 5! 🎉
Unit 1: 60% Completed
Unit 2: 0% Completed
Unit 3: 0% Completed
Unit 4: 0% Completed
Unit 5: 0% Completed
Bonus Unit 6: 0% Completed
Bonus Unit 7: 0% Completed
Overall Progress: 3% Completed→ Join Remote Frontend Cohort Program
Next Lesson
In the next lesson, we will learn how to import CSS code via three different methods. To import external CSS code, we use the link tag. To include internal CSS code, we use the style tag. To include inline CSS code, we use the style attribute. This lesson will go over these methods in detail!
→ Chapter 4: Importing CSS Code
When you use my referral link above 👆 to become a Medium member, all proceeds will be donated towards the construction of the Silicon Wat Campus for children in Ukraine and Cambodia ❤️


