
Connect Model and View
Build an App Like Lego, with SwiftUI — Tutorial 12

1. Introduction
A properly architected app separates the view components (what you see and touch) from the model components (what you can’t see, such as data and calculations). At some point, we need to display some model data in a view. We need some code that dictates how to “present” it or “control” it, which is why it is sometimes described as a “presenter” or a “controller”.
If we have a pure view component (where its properties are also just view related), then we can create an extension of that view that accepts a model and defines how to present it in the view.
In this tutorial, we will create an extension of a view to display data from a model. We will also use the Attributes inspector to select which mock model to use for each view.
In the previous Tutorial 11, we created an Article model and a couple of mock instances. In this Tutorial 12, we will display those articles in news cells.
We will pick up here where the last tutorial left off. Ideally, you have completed the previous tutorials in this series. Or, you can download the prepared project, ready to start this tutorial.
2. Extend NewsCell to Accept an Article
Now we have an Article model and a NewsCell view. We need a way to show the data from an Article in a NewsCell. There are several ways to do this, but the neatest and most extendable way I’ve found is to create an extension of the view (NewsCell) that expects a model (Article) as the only parameter.
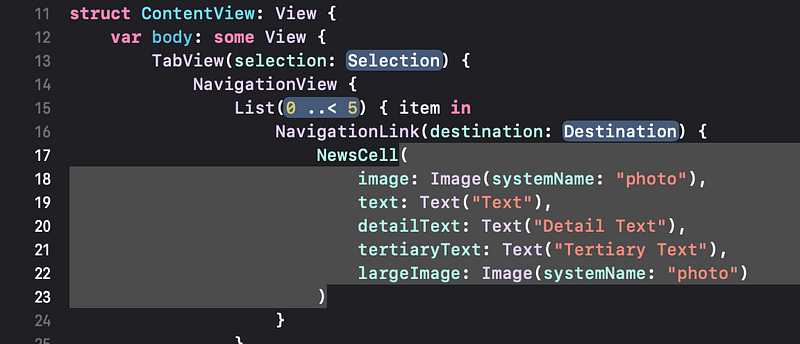
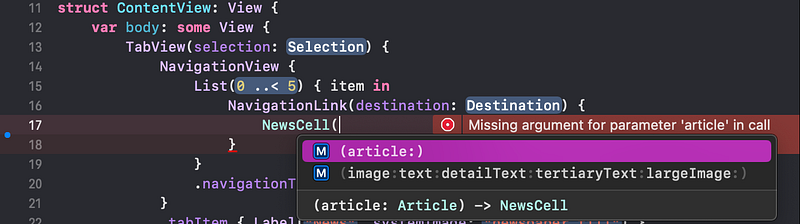
👁 Look at ContentView.swift. Recall that in Tutorial 10 we temporarily created a NewsCell instance by providing all of the expected view properties: image, text, etc.
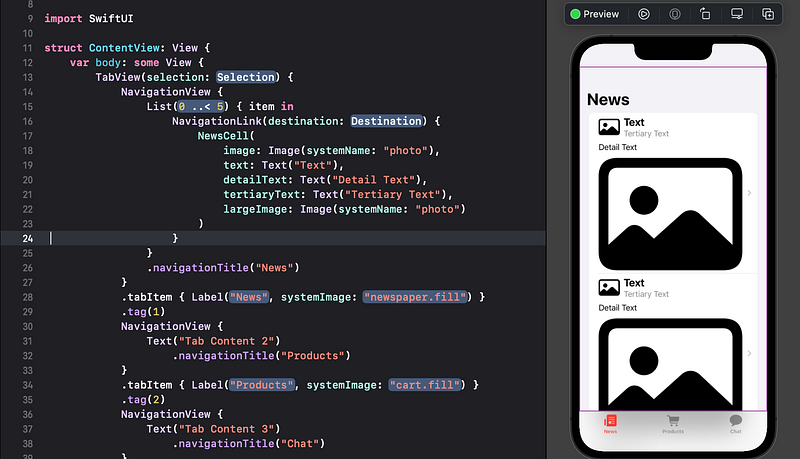
This NewsCell instance is currently just a placeholder.
Now that we have an Article model, we would like to replace this NewsCell placeholder with the data from Article (model) instances.
For example:
or:
To facilitate this, we need to define an alternative init (initialization) for NewsCell that will take an Article.
In other words, we already have an init (a way to create) for NewsCell where we specify each Text and Image subview. It would be convenient for us to have another init which would instead just need an Article. The code will extract each part of the Article to make the required Text and Image subviews.
Let’s do that now.
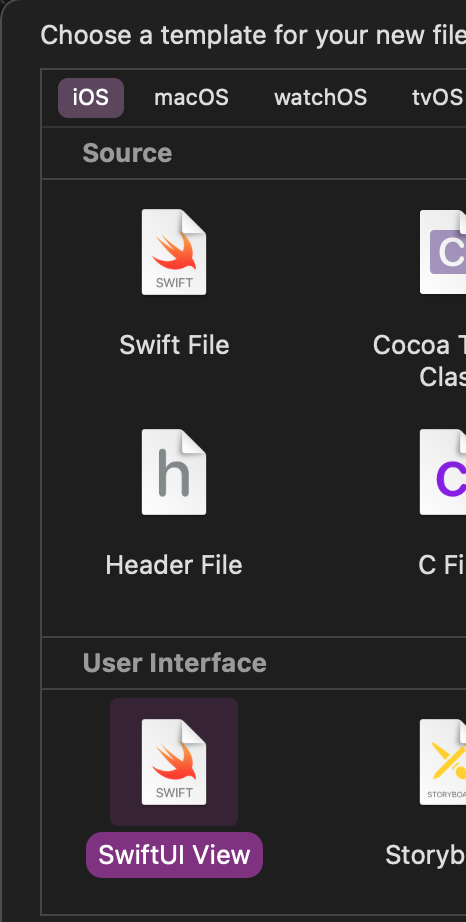
👉 Create a new file using the SwiftUI View template. Call the new file NewsCell+Article.swift.

👉 In the new file, select the default struct NewsCell_Article code.
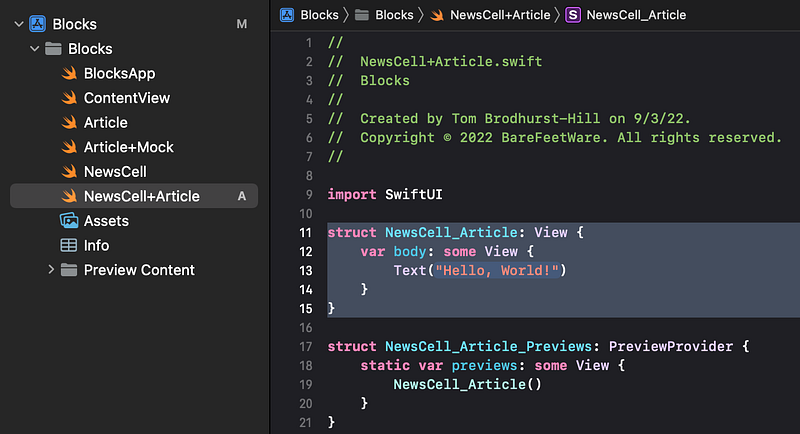
👉 Delete it and replace it with the following code:
In the preview, replace the template NewsCell_Article() instance with:
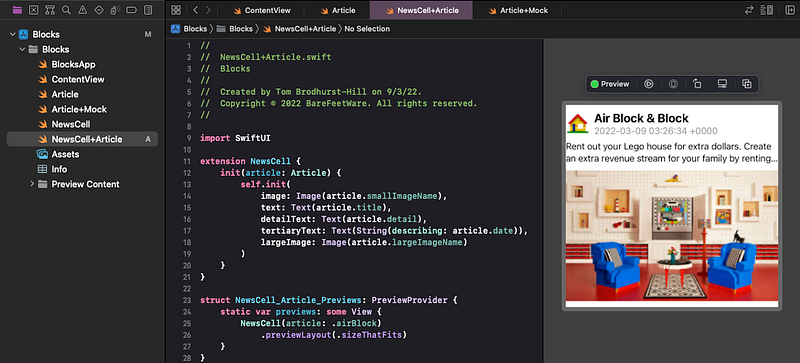
👁 Your code should look like this:
👉 Check that your code compiles, by selecting Build from the Product menu. Fix any errors in the code.
ℹ️ Let’s walk through what’s happening here, in the code. Again, you don’t need to worry about these inner workings — this is just for those who want to understand the code:
extension NewsCelljust means: Add this new code to the existing functionality ofNewsCell.init(article: Article)means: Define a new way of initializing/instantiating aNewsCell, that just requires a parameter namedarticlewith an argument (value) that is anArticle.self.init(image...)means: Create aNewsCellusing the existing properties/parameters ofimage,textetc, with the arguments/values listed below for each.article.smallImageNamemeans: the article’ssmallImageName. Getting the property of an instance like this is referred to as "dot notation”.image: Image(article.smallImageName)means: For the expectedimageparameter/property, create anImageusing thesmallImageNameof the providedarticle. Similar forlargeImage.text: Text(article.title)means: For the expectedtextparameter/property, create a aTextview using thetitleof the providedarticle. Similar fordetailText.- For the
tertiaryText, we want to show thearticle’sdate.Text()expects aStringargument but thearticle’sdateis aDate, not aString. To create aStringfrom aDate, we can use theString(describing:)initialiser function. This will give a basicStringdescription of theDate. It won’t be pretty, but it will do for now, and we’ll fix it later.
👉 If the preview hasn’t updated, click on the Resume button in the top right of the preview pane.
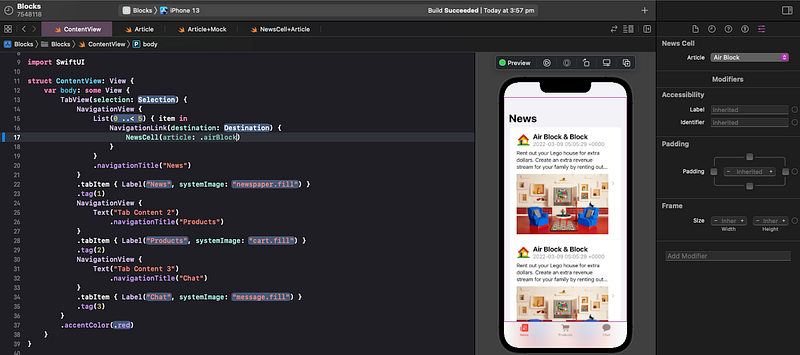
👁 Confirm that the preview shows the “Air Block & Block” article data, as shown above. Of course, the date will show as your current local date.
3. Select a Mock Instance from the Attributes Inspector
👉 Click on the NewsCell(...) instance in the preview code.
Make sure that the Attributes inspector (right panel) is showing. If not, you can display it through the View menu.
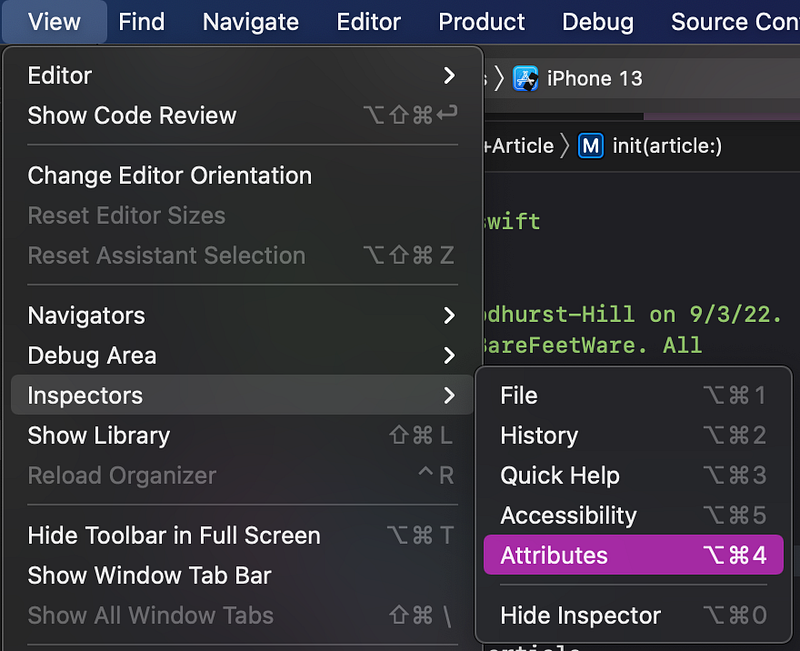
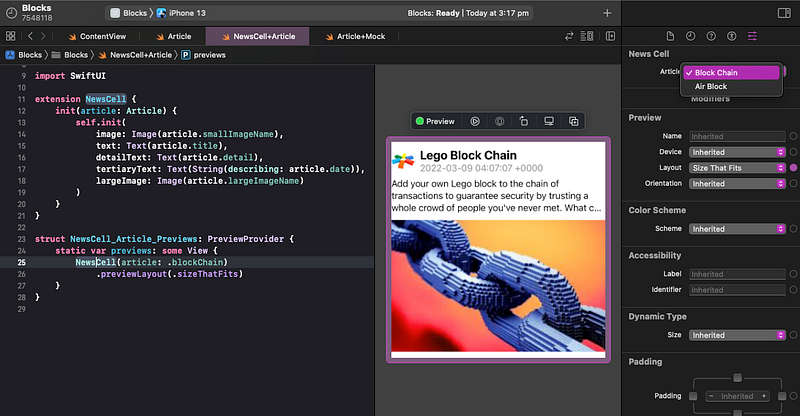
👉 At the top of the Attributes inspector, click on the Article popup menu.
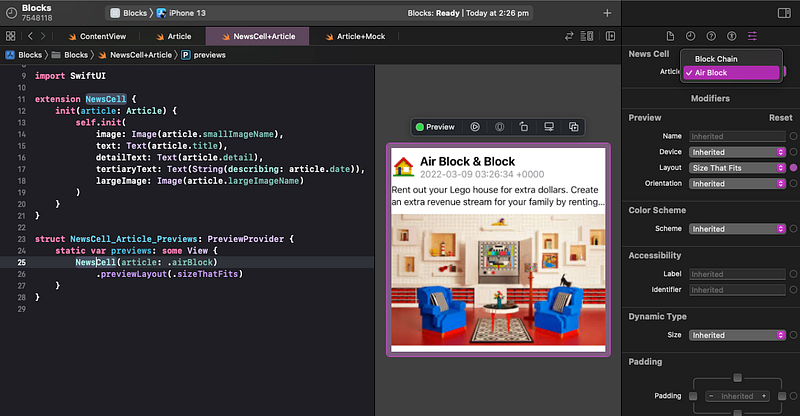
👁 As you can see, when the NewsCell(…) instance in the preview is selected, the Attributes inspector shows the Article popup menu, which contains all of the available instances of Article. Note that the Attributes inspector conveniently converts the camel case of our variable names (like airBlock) to more human-readable separate words in title case (like Air Block).
👉 In the Attributes inspector, change the Article popup menu from Air Block to Block Chain. Confirm that the preview updates to show the different Article .
👉 Then, change it back to Air Block.
4. Show Articles in the List
Now that we have created the NewsCell’s init(article: Article) initializer, let’s use an article in the list display in ContentView.
👉 In ContentView.swift, locate the NewsCell( line of code. Double click on the opening parenthesis (, which will select the entire multiline contents between the opening and closing parentheses.
👉 Hit delete on the keyboard.
👉 Type the opening ( again. This time, in the auto-completion popup menu, you should see the additional option of the NewsCell(article:) initializer. Select it.
👁 Xcode places an Article placeholder where it expects an instance of an Article.

👉 With the Article placeholder selected, type a period (.). Xcode should offer a popup menu of the available instances of Article (which we created in an earlier tutorial).
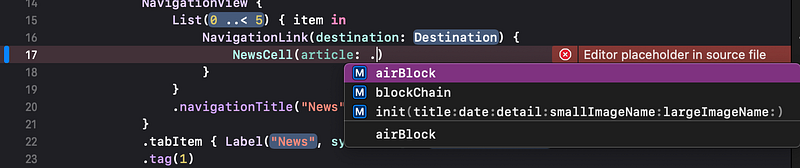
👉 Select airBlock from the popup menu.
👉 Check that the list of news cells in the preview all show the airBlock article. If necessary, build the app (select Build from the Product menu) and refresh the preview.
5. Commit Changes
As you’ve done before:
- 👉 Choose
Commitfrom theSource Controlmenu. - 👉 Enter a description such as:
NewsCell can display an Article - 👉 Click on the
Commitbutton.
6. Next…
The list is showing whatever article we choose, but it’s showing the same one repeatedly.
Next, in Tutorial 13, we will loop through the Article instances to show them all in the list.
See upcoming tutorials in the table of contents. Follow the author to be notified of more articles.
⁉️ If you have any questions or comments, please add a response below.
This series is released via Next Level Swift. Subscribe to keep updated and never miss a new Tutorial of this series!

We are always looking for talented and passionate Swift developers! Check out our writer’s section and find out how you can share your knowledge with the Next Level Swift Community!


