
Define Properties for a View
Build an App Like Lego, with SwiftUI — Tutorial 10

1. Introduction
A component is most flexible when we declare “properties” to customize differently for each instance.
For a view component, the properties are best declared as subviews, such as an image or text, or as a view attribute such as color. We usually set a property when the instance of the view is created, so that it has a “constant” value for that instance.
Then, one type of view component can appear in different forms, determined by the values we assign to the properties of each instance.
In the previous Tutorial 9, we moved the NewsCell code into its own file. It had static text and images, but they were the same for every cell.
In this Tutorial 10, we will add some properties to our code, so that each instance of the news cell can contain different images and text.
We’ll pick up here where the last tutorial left off. Ideally, you have completed the previous tutorials in this series. Or, you can download the prepared project, ready to start this tutorial.
2. Add properties
In our struct NewsCell code we have three Text subviews and two Image subviews. Currently, they are “hardcoded” with placeholder values like "Detail Text" and systemName: "photo". Let’s refactor the code to bring out these five subviews as properties of the NewsCell.
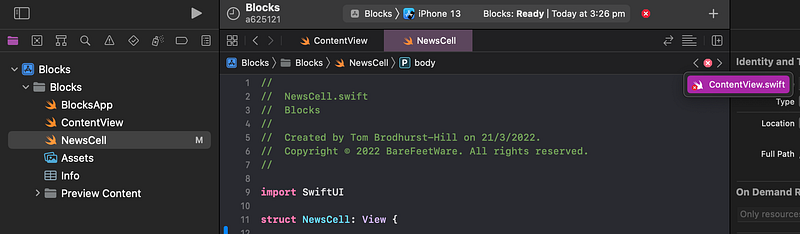
👉 Select the NewsCell.swift file, in the File navigator.
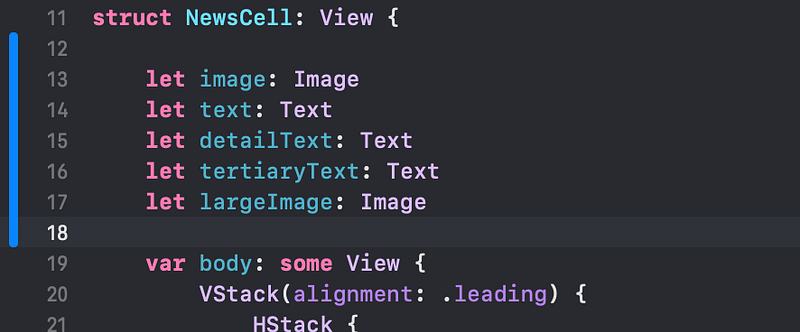
👉 Insert the following let lines of code between the struct NewsCell line and the var body.
👁 It should look like this in Xcode:
You don’t need to worry about the mechanics of these lines of code. But here’s a crash course on the principles involved here:
letdeclares that each property will be assigned once and then not change. Technically,letdeclares this property as a “constant”. Alternatively, we would usevarif we needed to vary (change) a property after it was first created.- The word after
letis the name of the property. We can use any name we like, that isn’t already used by Swift. In the Swift programming language, the name of a property (constant or variable) can’t have spaces between multiple words, so we join words by capitalizing the first letter of each new word. For example, the “detail text” is nameddetailText. This is referred to as “camel case” style since it has a hump (or humps) of upper case letters in the middle of the name. - The colon (
:) means “this property (on the left) is that type (on the right)”. For example,detailText: Textmeans that thedetailTextproperty is aTextview. - In Swift, it is standard practice to use a suffix for the variable name that matches the type. For example,
largeImageis anImage. - Since this
NewsCellis a view, it should only be concerned about the subviews it contains and not the data “model” that populates it. For example, the second line of text, in gray, is currently showing the date. But it could contain any text in the future. That’s why we name the text views according to visual prominence (such astertiaryText) rather than the data model (such asdateText).
3. Parameters and arguments
👁 Xcode shows an error on the preview, complaining that the NewsCell() instance is missing arguments (values) for parameters image, text etc.

Let’s pause to explain some buzzword technical terms.
We have created a NewsCell “type”. Specifically, this one is a struct (structure), with properties like text and image. A type is just the blueprint plan. To create an “instance” (a single occurrence) of that type, we need to provide any required properties in the parentheses of an instance. Each property in the parentheses appears with a name and value. The name is called the “parameter” and the value is called the “argument”, but these terms are often interchanged.
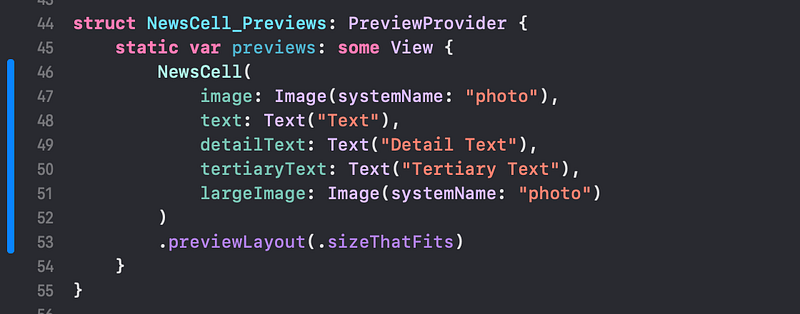
For example, consider this NewsCell instance:
This NewsCell instance has five parameters. The first parameter is image with the argument Image(systemName: "photo").
Now, back to our code.
We need to provide values for the properties in the NewsCell() instance in the preview.
👉 Delete the () after NewsCell. Re-type the opening (. Xcode should offer to autocomplete with all the new parameters and placeholders for the arguments (values).
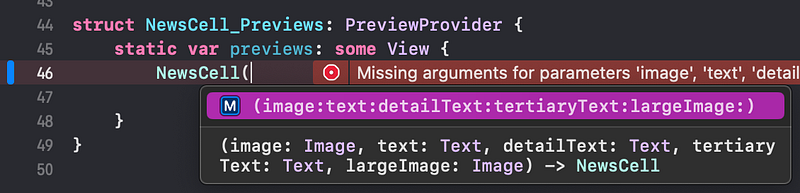
👉 Choose that autocompletion option, by hitting Return or double-clicking in the popup menu.

👉 Replace the first Image argument placeholder with Image(systemName: "photo").

👁 As you can see, the NewsCell(...) line of code containing the arguments is getting long and will get longer as we fill in each argument.
Let’s wrap each parameter and argument on its own line to make it more readable. Remember that Swift allows us to format code spacing how we like, without affecting the execution of the code.
👉 Click just before the first parameter image (just after the opening () and hit Return. Click just before the text parameter and hit Return. Repeat for all the parameters.
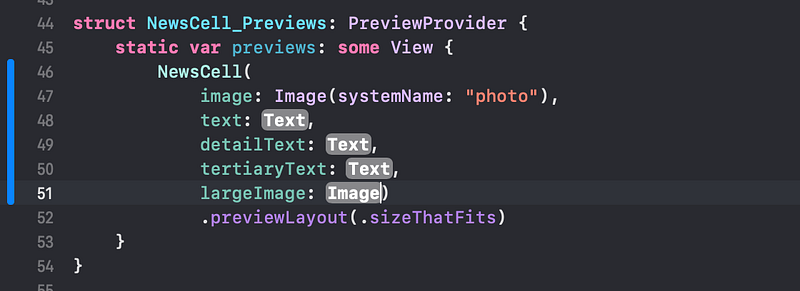
👉 Replace the remaining placeholder arguments with values. You can either type them in, or copy them from the code above.
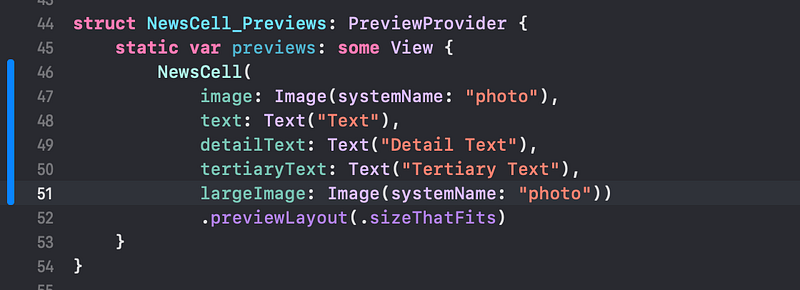
👉 After the last Image(...), click between the two closing parentheses:)). Hit return to move the second ) to a new line.

👉 Let’s ensure that the code is neatly indented. Select all the code in this file (such as by choosing Select All in the Edit menu). Hit Control — i to re-indent the code (or, in the Editor menu, select Structure > Re-Indent).
👁 Xcode moves the .previewLayout modifier to line up with the closing ) in the preview code.
4. Implement the properties
We have defined the properties of our NewsCell, but the code inside var body doesn’t yet actually use them. We need to replace the occurrences of the Text and Image views in the code with those property names.
👉 In the var body code, select the first Image(systemName: "photo") code. Type image to replace it.
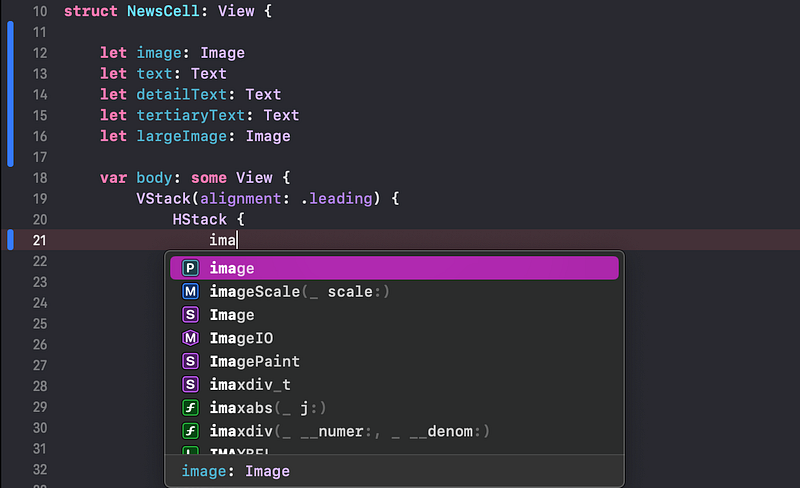
👁 As you type, Xcode offers to autocomplete with various options. You can choose the desired property by clicking or hitting return with selected. In the popup menu, image is marked with a P for “property” , or might be temporarily be marked with an L.
👉 Similarly, select Text("Text"). Replace it with text.
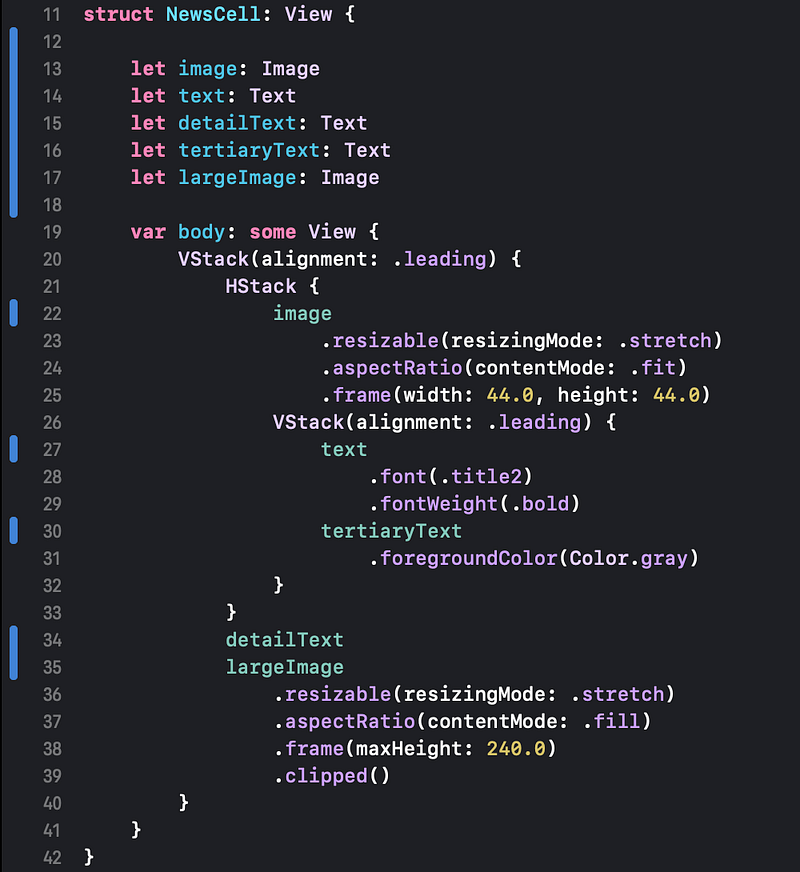
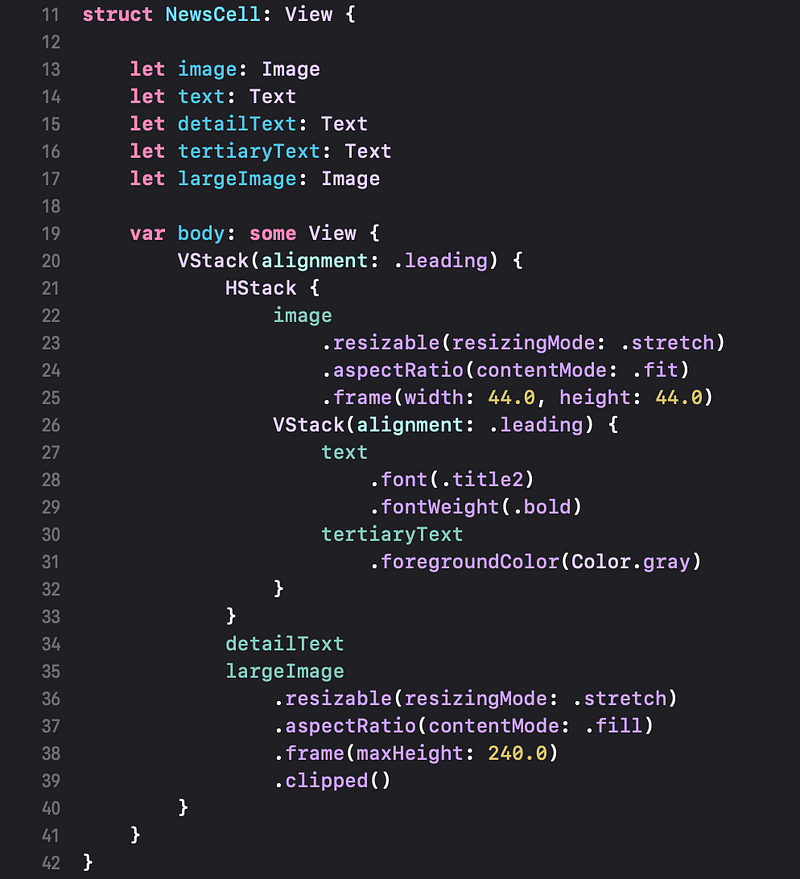
👉 Repeat for all of the properties, by replacing the other two Text views and one Image view with the corresponding property names, as shown below:
NewsCell now requires that all five properties are given a value when we create an instance, using NewsCell().
5. Add properties to the instance in ContentView
👉 In the Product menu, choose Build.
“Build” asks Xcode to try to build the app without actually running it. It’s also referred to as “compiling” the code.
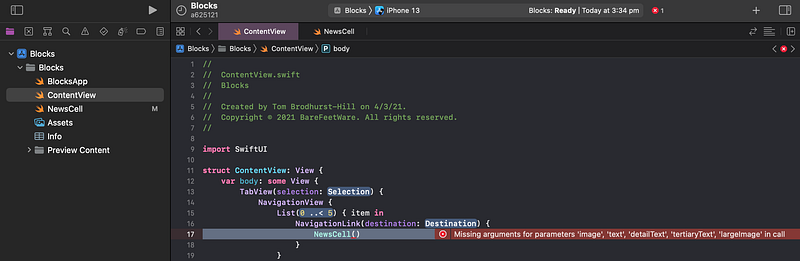
👁 Xcode shows another error as a stop sign in the title bar and in the path bar.
👉 Click on the error (stop sign) in the path bar. Xcode shows the file containing the error. Click on ContentView.swift in the popup menu.
👁 As you can see, the NewsCell() instance in the ContentView now has the error Missing arguments for parameters, the same error that we fixed earlier in the NewsCell preview.
For now, we’ll just fill this NewsCell() with the same placeholder data as we had in the preview. In the next tutorial, we will connect it to a data model.
👉 Copy the populated NewsCell(...) instance from the preview in NewsCell.swift to replace the empty NewsCell() instance in ContentView.
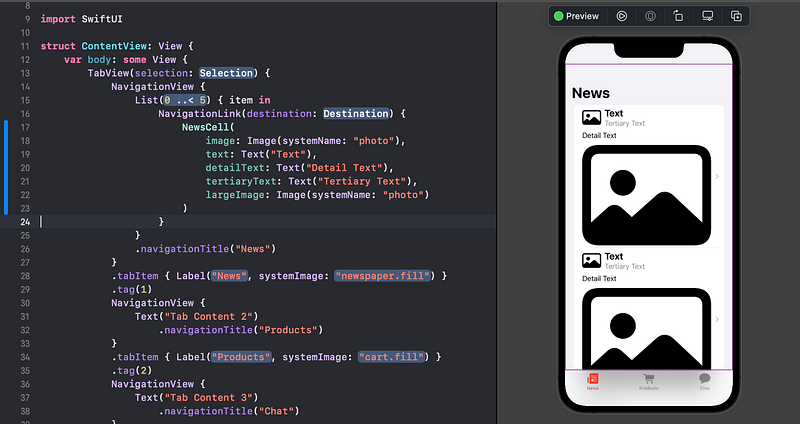
👁 Check that the preview shows the new placeholder text and images. You will probably need to refresh the preview using the Try Again or Resume button.
6. Commit changes
As you’ve done before:
- 👉 Choose
Commitfrom theSource Controlmenu. - 👉 Enter a description such as:
NewsCell: refactored with properties - 👉 Click on the
Commitbutton.
7. Next…
Our NewsCell now has properties, so we can give each instance different property values. Currently, however, each instance in our News scene is exactly the same.
Next, in Tutorial 11, we will add a data model with multiple news articles, which we will use in different instances of a NewsCell.
See upcoming tutorials in the table of contents. Follow the author to be notified of more articles.
💬 If you have any questions or comments, please add a response below.
This series is released via Next Level Swift. Subscribe to keep updated and never miss a new Tutorial of this series!

We are always looking for talented and passionate Swift developers! Check out our writer’s section and find out how you can share your knowledge with the Next Level Swift Community!


