
3. Running Airflow with Docker
My personal notes from the book “Data Pipelines with Apache Airflow” by Bas Harenslak and Julian de Ruiter — Chapter 2, Part 3

This series of posts is meant to summarize my learnings from the book by Bas Harenslak and Julian de Ruiter. If you like the content, you can purchase the book on Manning.
Complete list:
Chapter 2: - 1. Introduction to Airflow - 2. Running Airflow Locally (in a Python Environment) - 3. Running Airflow with Docker - 4. Understanding Airflow User Interface
Running Airflow with Docker
The end goal of Docker containers and Python Virtual Environment is the same: create an isolated environment in order to run a set of Python packages and avoid conflicts among dependencies.
The difference between a Docker container and a Python Virtual Env is that the former creates an isolated environment at the operating system level while the latter creates an isolated environment only at runtime.
You can think of a Docker container as a virtual environment on “steroids”: not only do you have a set of Python packages with specific versions, but also other dependencies such as database drivers.
Running Docker containers requires a Docker engine to be installed on your computer. If you have a MacBook, you can follow these instructions. Once you have the engine installed, you need to open the application (the one with the logo of a little whale) and let Docker Desktop start.
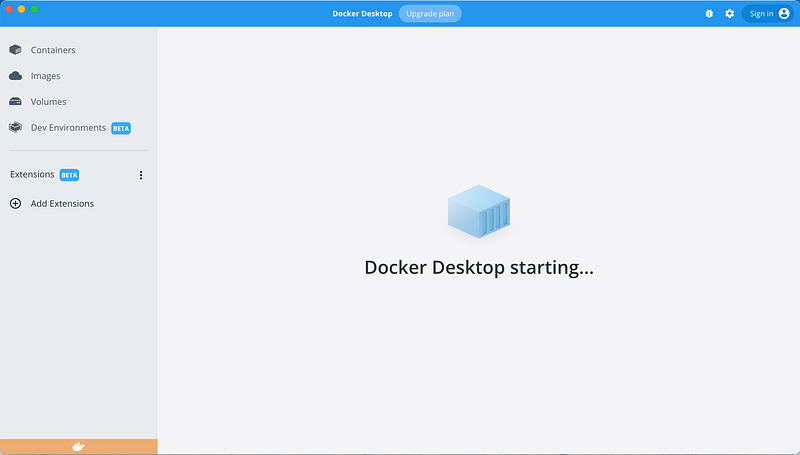
Once the engine starts, you should see something like this:
To quickly get Docker up and running, you can start the Airflow webserver, scheduler, and metastore all in one container. The code below does exactly this. However, in production, it’s not desirable to run multiple processes in a single Docker container and you should use separate containers (more about this in future posts).
docker run -ti -p 8080:8080 \
-v </path/to/dags/on/your/local/machine/>:/opt/airflow/dags/<dag.py> \
--entrypoint=/bin/bash \
--name airflow apache/airflow:2.0.0-python3.8 \
-c '( \
airflow db init && \
airflow users create --username admin --password admin --firstname Anonymous \
--lastname Admin --role Admin --email [email protected] \ ); \
airflow webserver & airflow scheduler'
docker run: start and run a container.-ti: run the container in interactive mode and attach a terminal.-p 8080:8080: expose Airflow on port 8080 of the host (i.e. your machine). This will allow you to use Airflow on http://localhost:8080/home.-v <path>: mount the DAG file in the container. Alternatively, you can mount the entire “dags” directory.--entrypoint=/bin/bash: will start Docker with a bash terminal that will execute the command in the string after the-coption. The-cparameter is indeed a bash option that, if present, makes bash read commands from a string.--name: name to give to the container.apache/airflow:2.0.0-python3.8: Airflow Docker image to use.airflow db init: initialize the metastore in the container.airflow users create --username admin --password admin --firstname Anonymous --lastname Admin --role Admin --email [email protected]: create user.airflow webserver: start Airflow webserver.airflow scheduler: start Airflow scheduler.
This set of commands will download and run the Airflow Docker image apache/airflow. Once running, you can view Airflow on http://localhost:8080 and log in with username “admin” and password “admin”.
Running Airflow with Docker after the first-time setup
Once you have completed the installation once, you should be able to run airflow on Docker just doing the following:
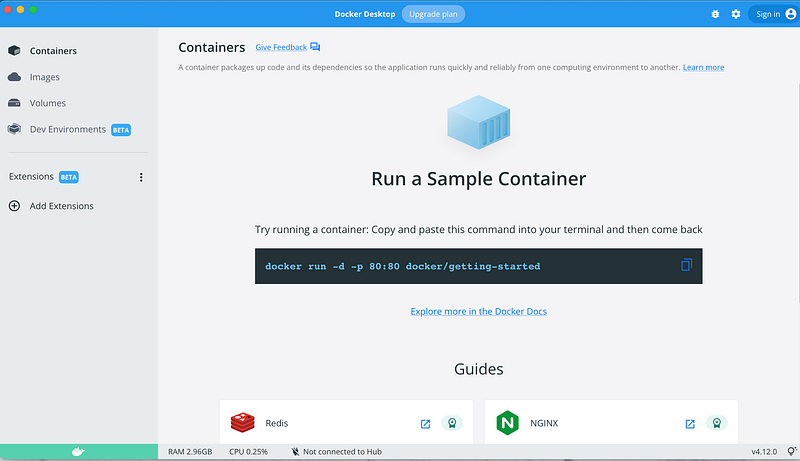
- Open Docker Desktop. This will start the Docker Daemon:

2. Start the container (with the command we used above). For example:
docker run -ti -p 8080:8080 -v /Users/najmabader/Projects/data_pipelines_with_airflow/dags:/opt/airflow/dags/ --entrypoint=/bin/bash --name aiflow apache/airflow:2.0.0-python3.8 -c '(airflow db init && airflow users create --username admin --password admin --firstname Anonymous --lastname Admin --role Admin --email admin@example.org); airflow webserver & airflow scheduler'Make sure to have all the above commands on one line!
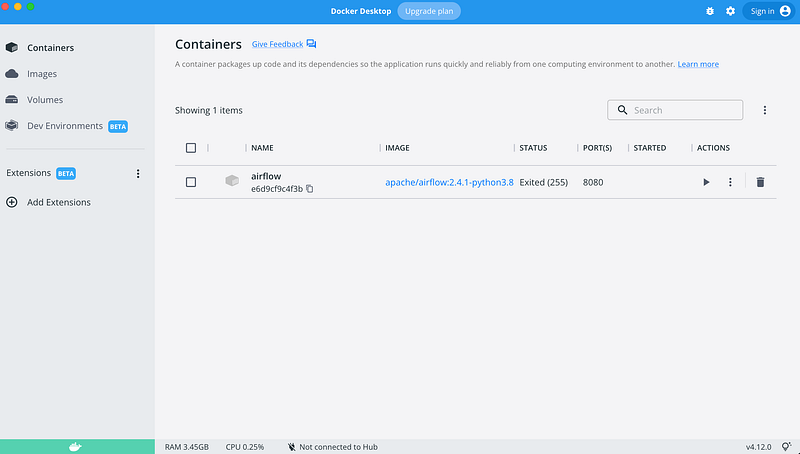
3. You can check that the container is running with docker ps :

4. Go to http://localhost:8080/home and happy Airflowing!
I hope this helps ❤️ See you in the next post!
References
Data Pipelines with Apache Airflow by Bas P. Harenslak and Julian Rutger de Ruiter


