Using Visual Studio Code for modernized Python development — From beginner to Master
Visual Studio Code (as know as VSCode, or Code, in short) is a lightweight but powerful source code editor which runs on your desktop and is available for Windows, macOS and Linux. It comes with built-in support for JavaScript, TypeScript and Node.js and has a rich ecosystem of extensions for other languages and runtimes (such as C++, C#, Java, Python, PHP, Go, .NET). The official Visual Studio Code provides a comprehensive reference and tutorials website, check it out here.

Install VSCode
There are two options to run VSCode, install in local computer, or run in browser online.
The online version provides quick edits but limited features for some extensions. To access online version, open this link.
To install VSCode at local, first, open a browser to the official download link here.
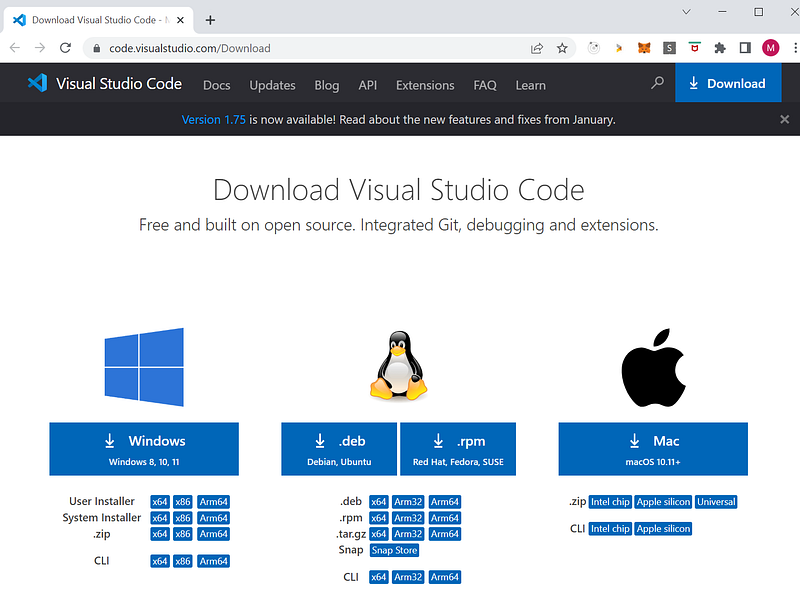
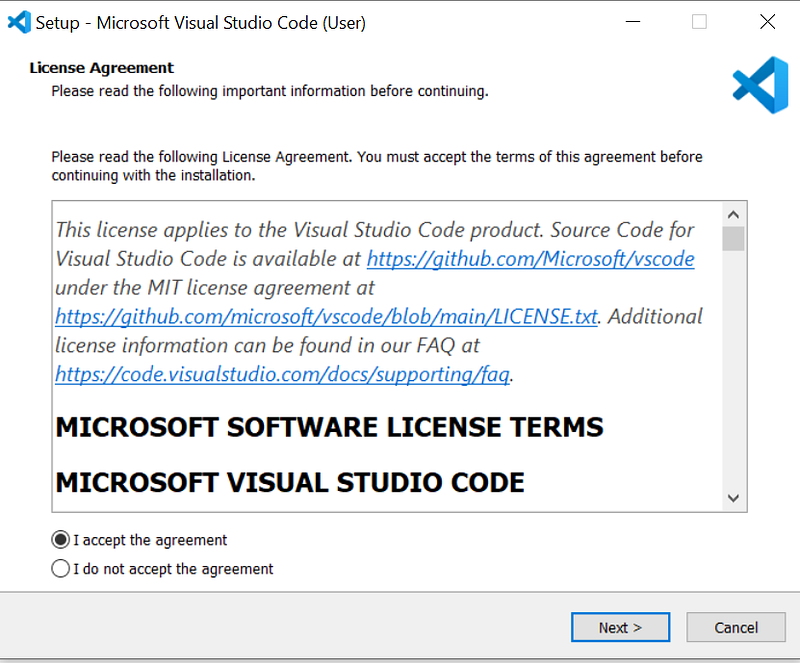
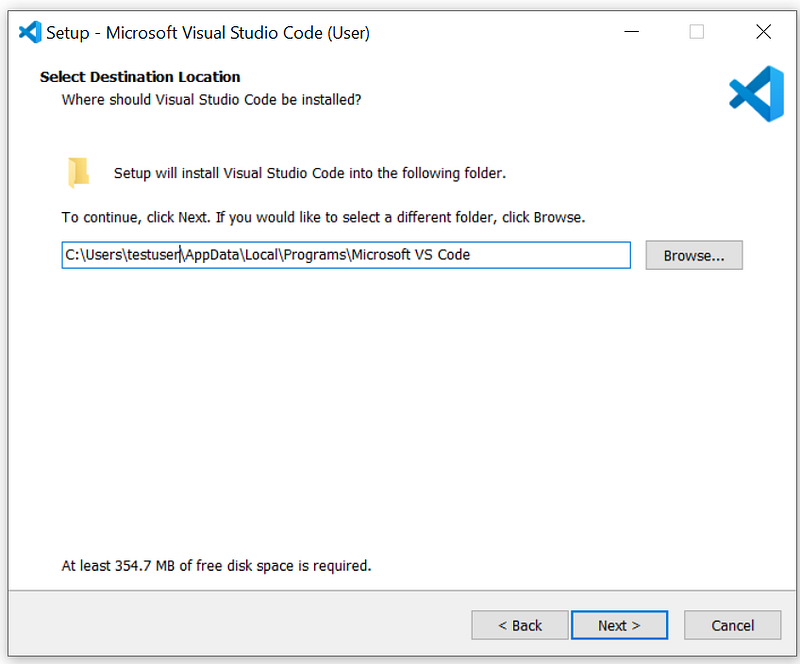
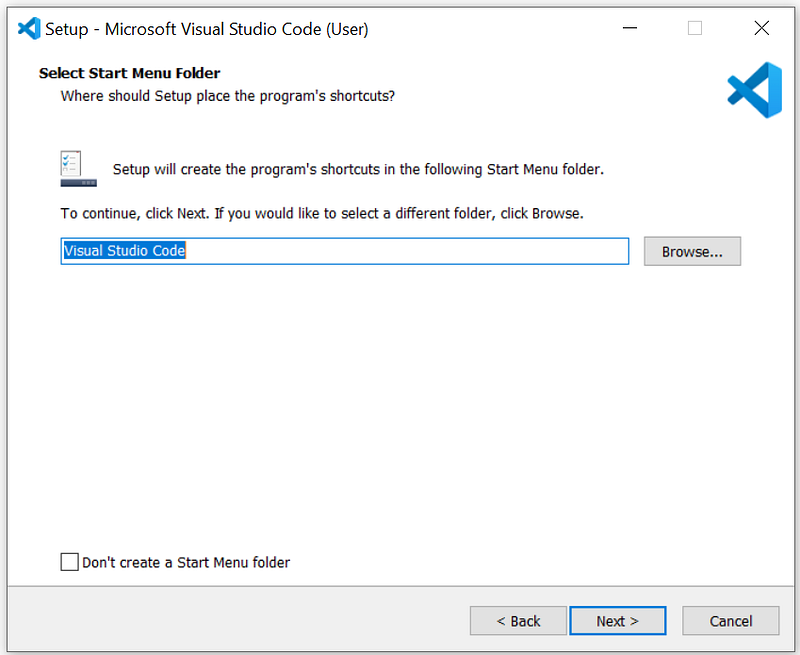
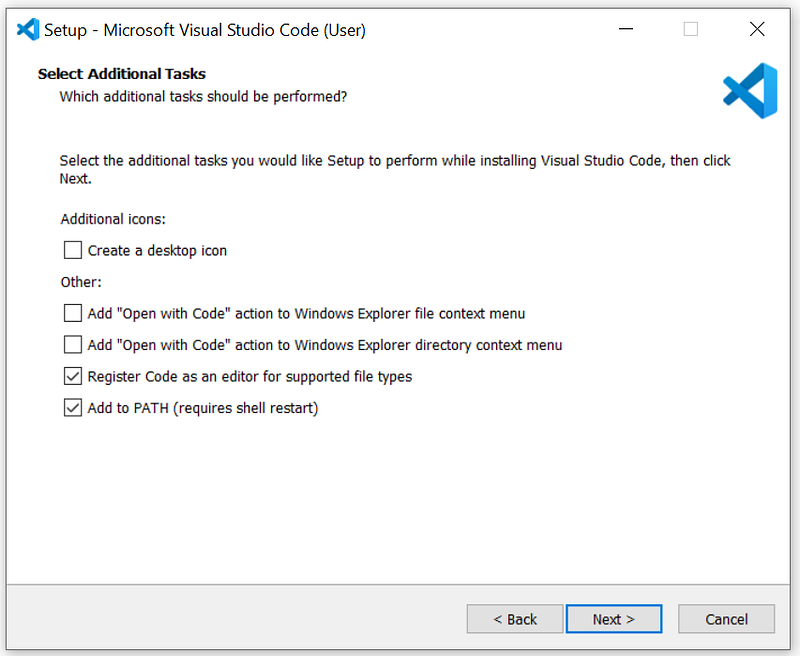
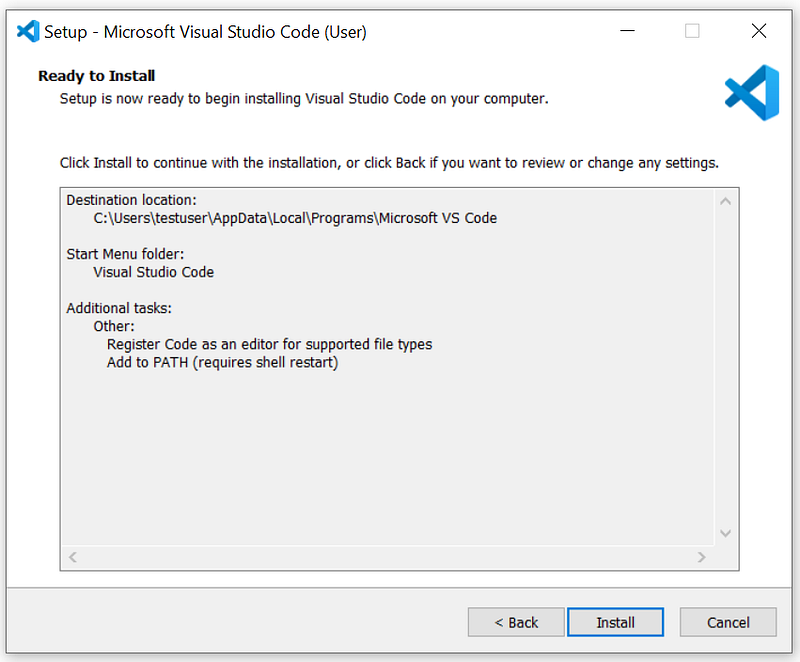
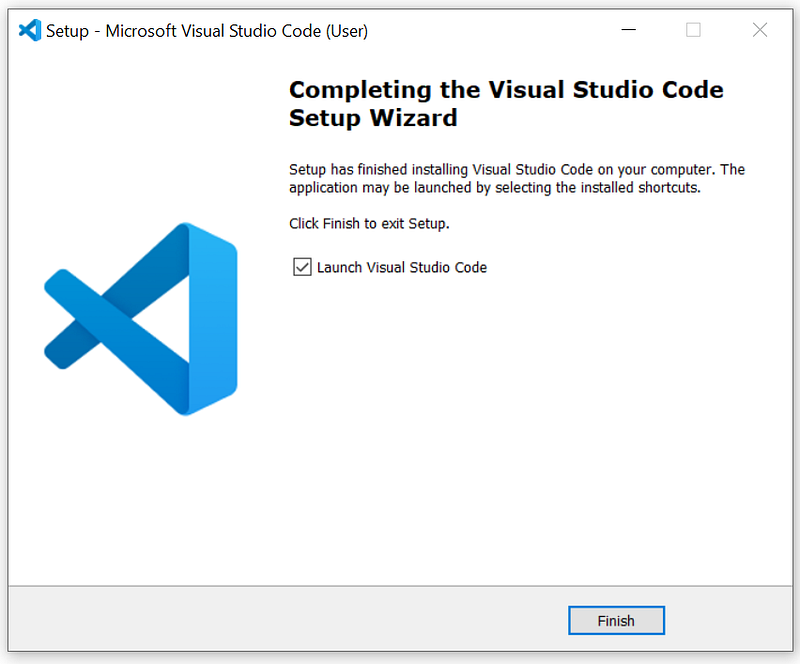
Download the proper installer (we are using Windows as example here), and start the installation.
Basic Concepts
VSCode installation refers to all features installed just from VSCode installer. It is nothing more than just a text editor (like Notepad, Notepad++, Vim, etc.) with friendly interface for software developers.
Workspace is a local directory containing all files you will be working on. It could be just an empty directory, or root directory of your working files and sub-directories, or a project checked out from version control, like Git, BitBucket, etc.
Extensions refers to an extensibility model which allows extension authors to contribute new features into VSCode. The beauty of VSCode is all about how to use extensions effectively for certain usage, like Python development, Web development, etc. There are thousands of extensions to support hundreds of different programming languages. Those extensions are contributed from community and vary contributors. To view / search all extensions, go to VSCode Marketplace.
Install Python Extensions
To use Python in VSCode, you need have Python installed. To install Python, you could refer to link: Install Python 3 with venv environments within 5 minutes or Install Anaconda/Miniconda and Virtual Environments.
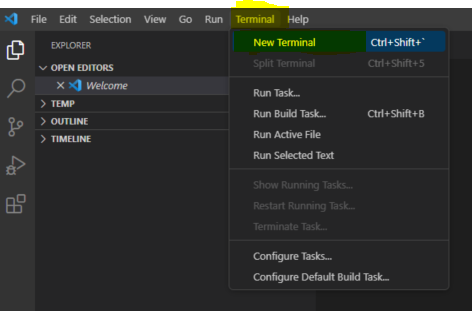
To check Python version, click on menu “Terminal” > “New Terminal”
Run below command:
Python -VTo install extensions, click on “Extensions” in VSCode, search for extension you are looking for, then, click on “INSTALL” at extension page at main panel. For example:
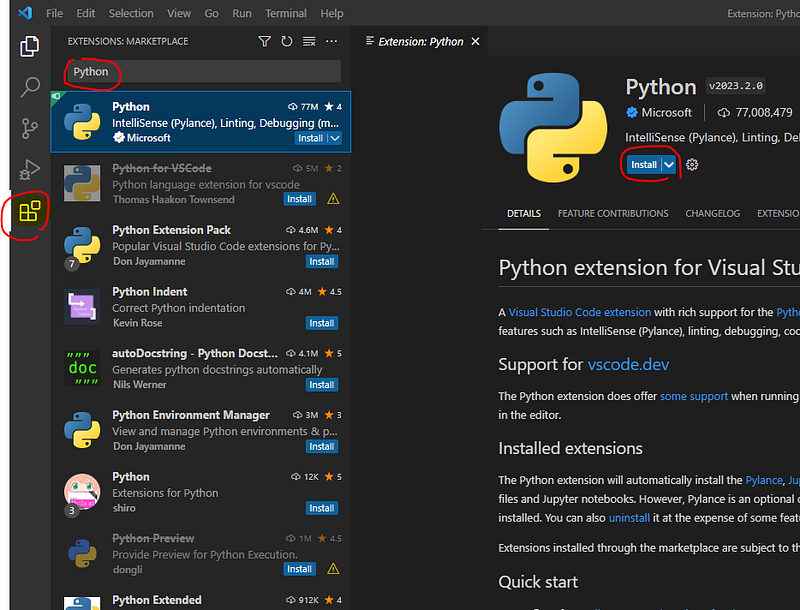
The most popular Python extensions
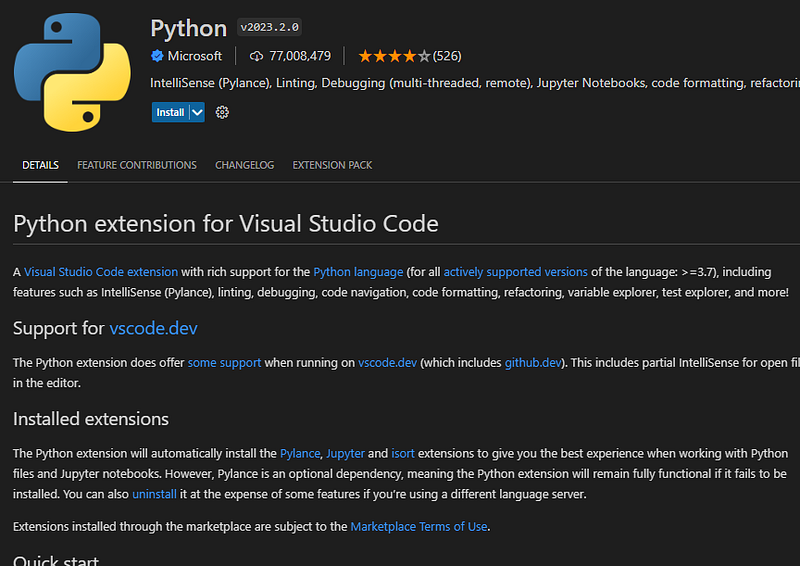
Python is the first extension you need install. It enables code editing, debugging, testing, linting, etc.
Note: “Support for vscode.dev” means this extension also works for VSCode online editor.
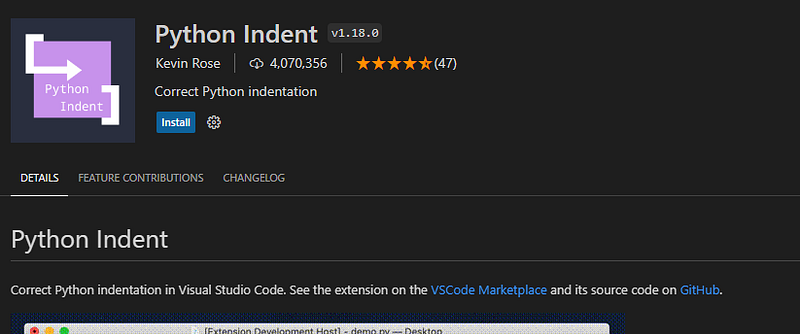
Python Indent helps correct Python indentation in VSCode. Indention is one of common mistakes in coding, and it is easily to be ignored and causing issues.
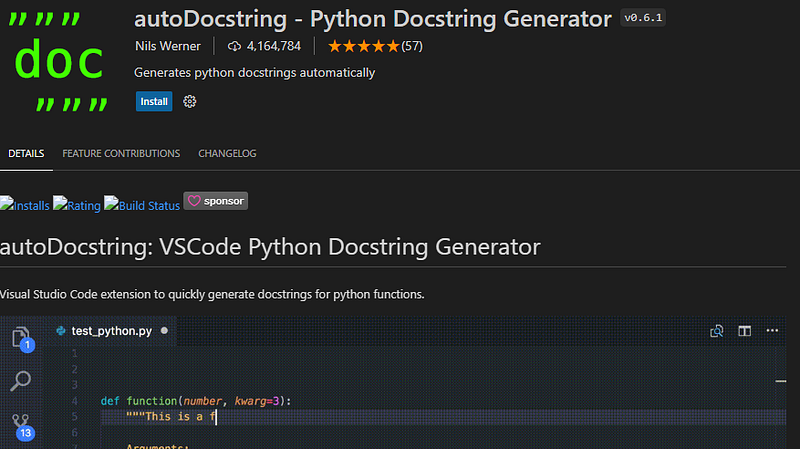
Python Docstring Generator generates a docstring snippet from args, kwargs, decorators, errors, parameters, etc. through PEP484 type hints, default values, and var names.
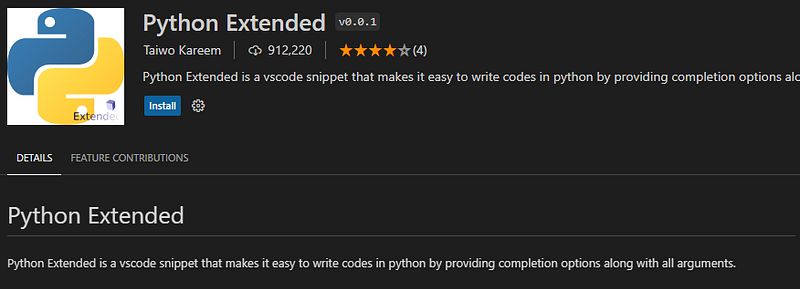
Python Extended is a VSCode snippet that makes it easy to write codes in python by providing completion options along with all arguments.
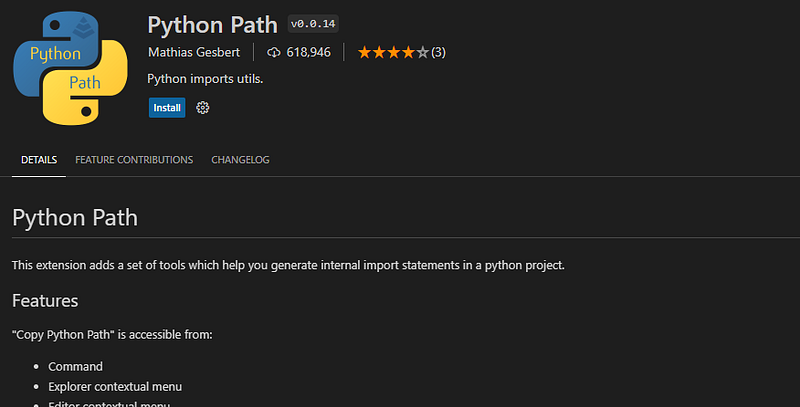
Python Path is used when developing multiple modules / classes during Python development. This extension is very helpful for internal import statements.
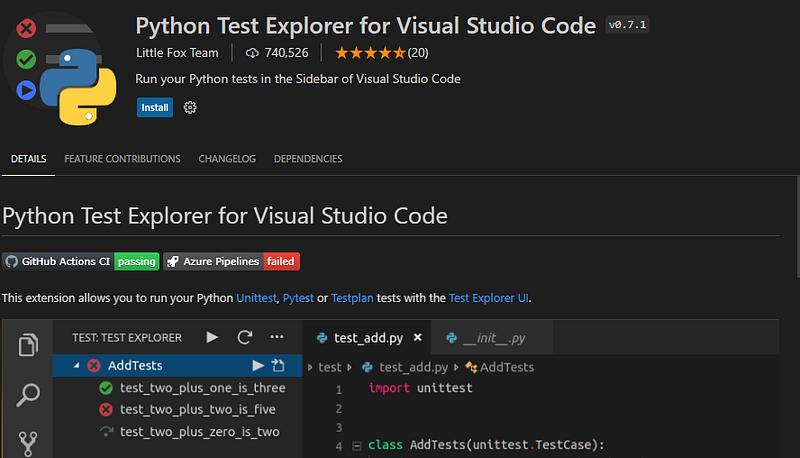
Python Test Explorer for Visual Studio Code helps you to configure VSCode to discover and execute your tests on Unittest, Pytest, Testplan, etc. from sidebar of the test view.
Python Snippets provide a rich collection of sample Python codes for almost all the build in methods, types, objects, etc.

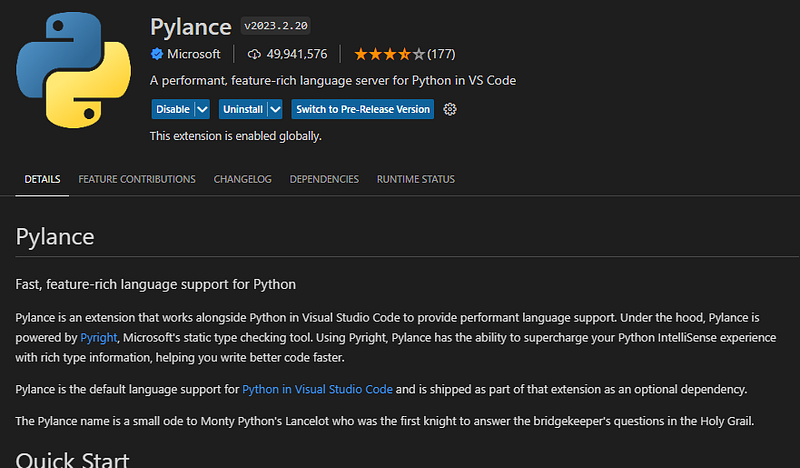
Pylance is another coding helper, for static type checking, and bunch of features as well.
GitLens is a visualized version control client via Git blame annotations and CodeLens, seamlessly navigate and explore Git repositories, etc.
Markdown Preview Enhanced
Work on Python
Now let’s run through some common tasks by using above plugins, and developing Python in VSCode.
- Run Python in VSCode
To run Python in VSCode, simply right click on the .py file and select “Run current file in interactive window” or “Run Python File in Terminal”.
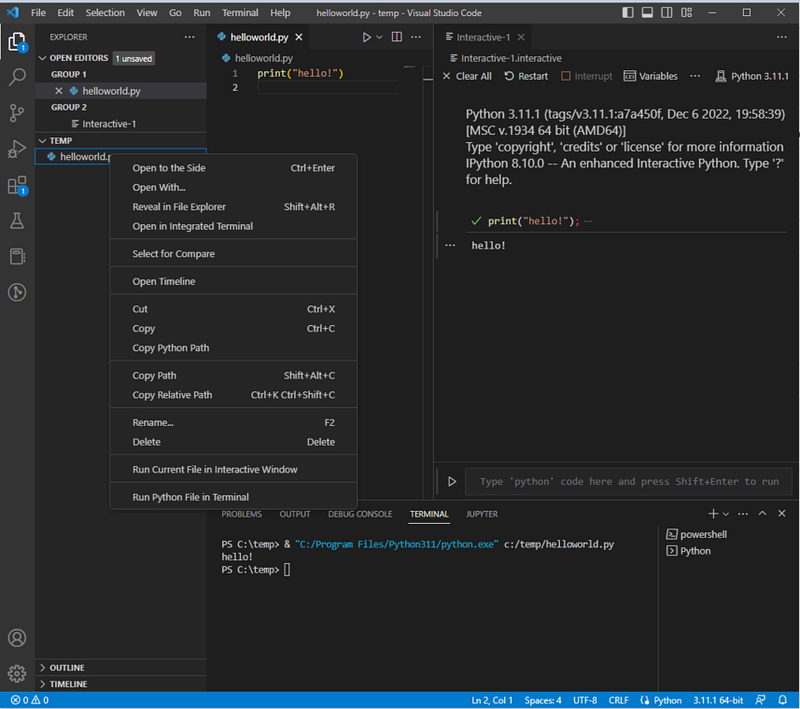
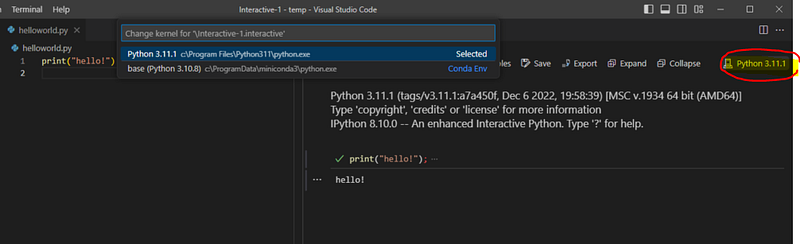
The interactive window is a Python extension we installed above. It connects to installed system Python by default. If you have multiple Python or multiple virtual environments, click on the button showing below to switch Python version.
The “Run Python in Terminal” uses Python defined in settings.json configurations. To access settings.json, use CTRL+SHIFT+P to call out a search panel, and search for “settings” like below:
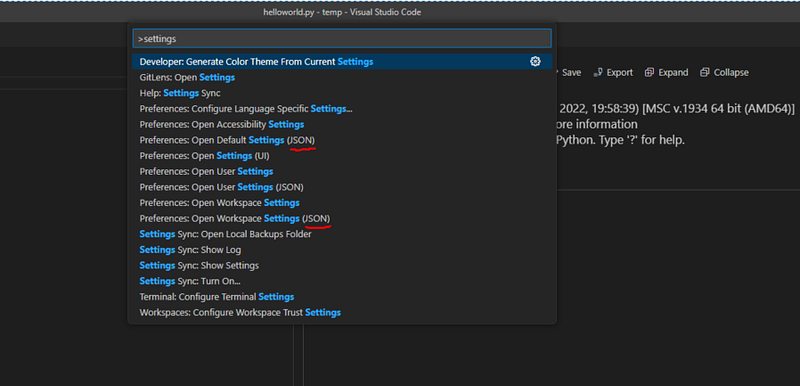
There are two (JSON) settings above. The difference between these two JSON settings is that Open Workspace Settings (JSON) applies configurations to VSCode workspace only, and Open Default Settings (JSON) applies all your VSCode projects (as long as no .vscode file in VSCode). So, people normally use Open Workspace Settings (JSON) to avoid confusion.
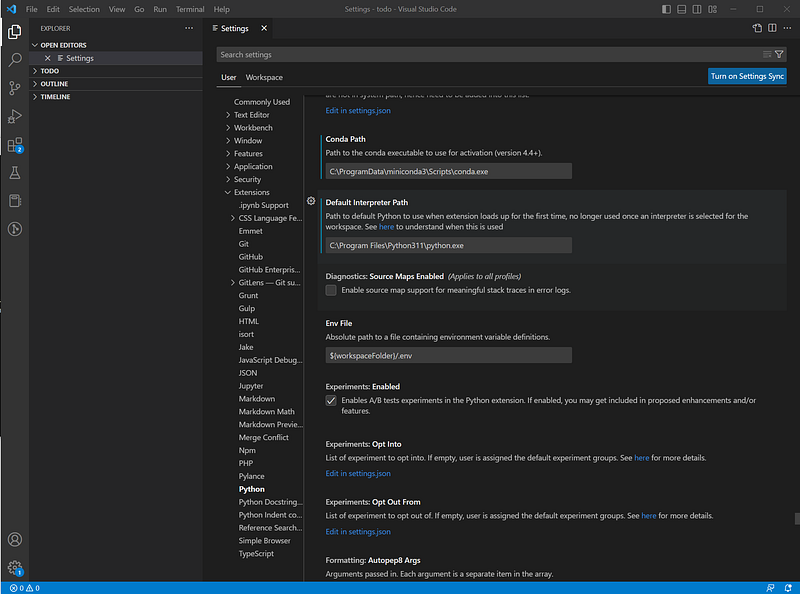
Alternatively, settings could be updated via VScode UI. To do so, click on File > Preference > Settings > Workspace > Extensions > Python. Then, set “Default Interpreter Path” to Python installation, set “Conda Path” to Anaconda (or miniconda) installation. If you don’t know where they are installed, you could use below commands in Windows:
> where conda
> where python
Or below commands in Linux or MacOS:
$ which conda
$ which python
Below is an example how the settings look like:
To select desired Python version, press “Ctrl+Shift+P” (For Mac, use Command+Shift+P ) and then, type “Python:” to select “Python:Select Interpreter”
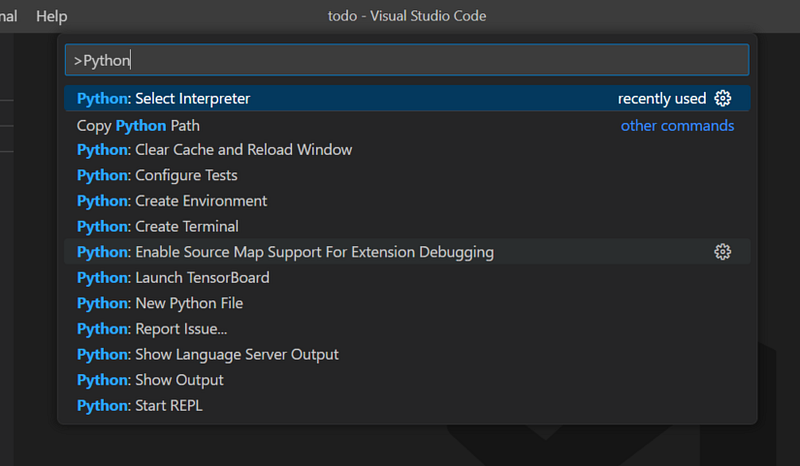
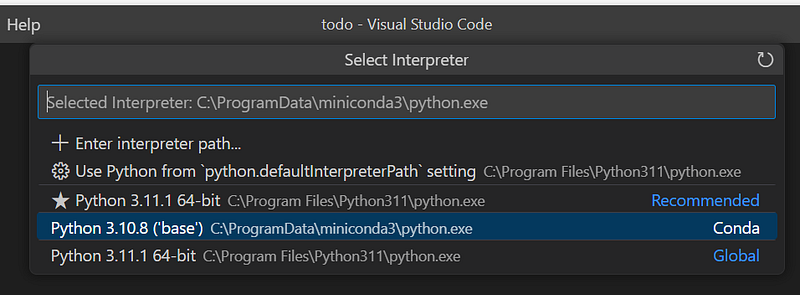
Then, pick the right Python version for your needs.
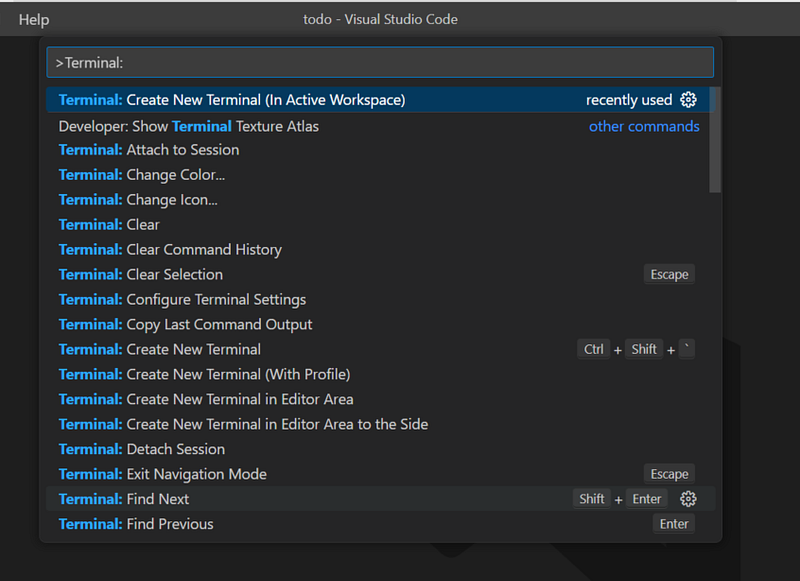
To create and activate conda environment, you need a “active terminal”. Now, press “Ctrl-Shift-P” again, and type/select “Terminal:Create New Terminal (In Active Workspace)”.
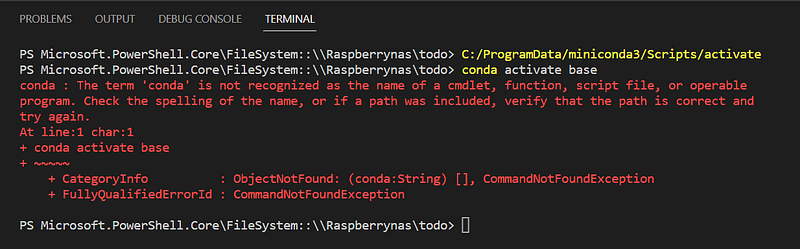
If you are using Windows environment, the terminal might default to PowerShell environment, and “conda” would be not in PowerShell path directories. So, you will see below error:
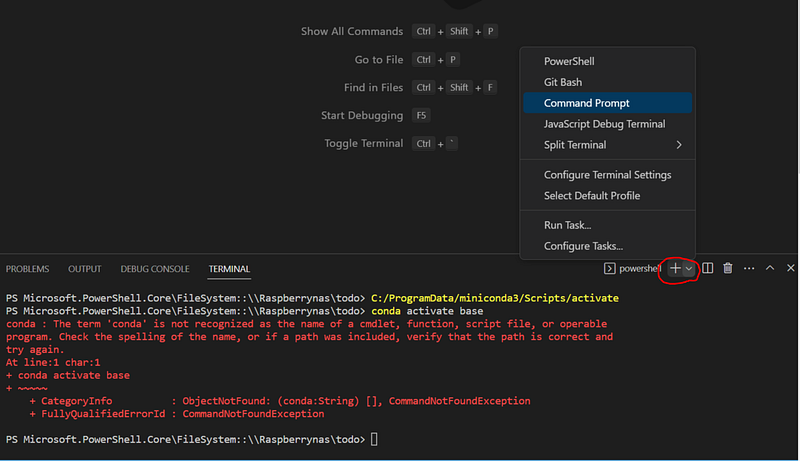
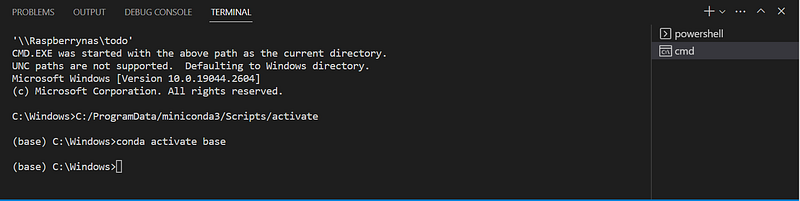
To resolve it, click on small “V” icon at right side of “+” (see below screenshot) and switch to “Command Prompt” as Terminal.
Last, let’s debug Python codes in VisualStudioCode. Click on “Run and Debug” icon from left panel or press “Ctrl+Shift+D”.

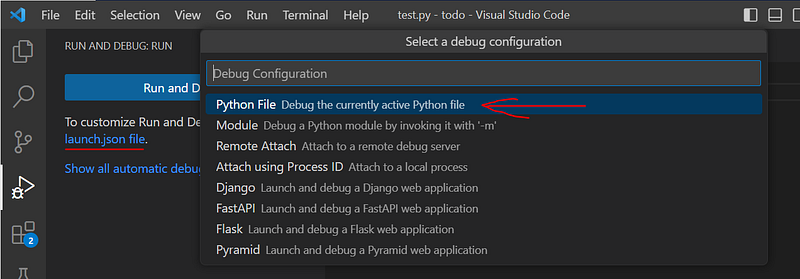
If this is your first time on “Run and Debug”, the screen will look like above. You need create a launch.json file. To do so, click on the “launch.json” link from screen and pick “Python File Debug the currently active Python file” option.
The default launch.json will be open. Modify the launch.json by adding two more lines at bottom, and make the file looking like below:
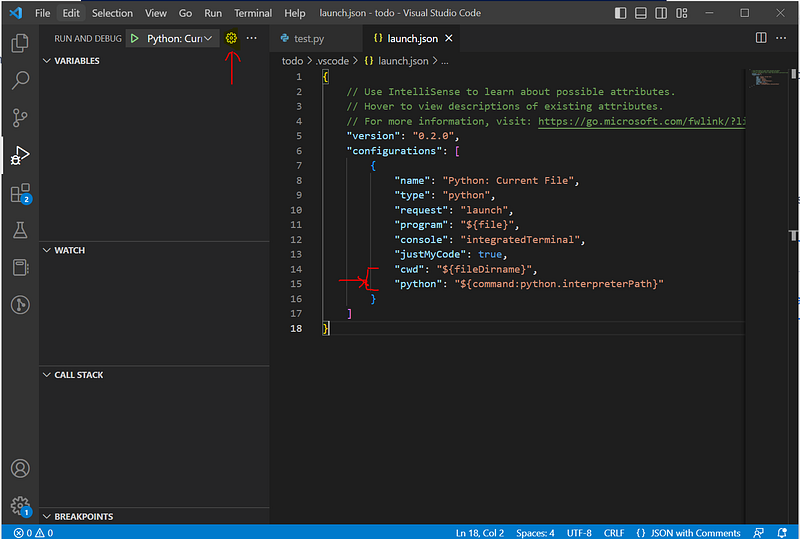
(Note: depending on the version of VisualStudio Code you installed, the format of launch.json file might look different. At line 5 of above example, there is a help link from Microsoft to give you more information about launch json in your installed version. )
After first time setup, you could access this launch json file from the “settings” icon. You could also add more lauch json files for different Python or Conda environments.
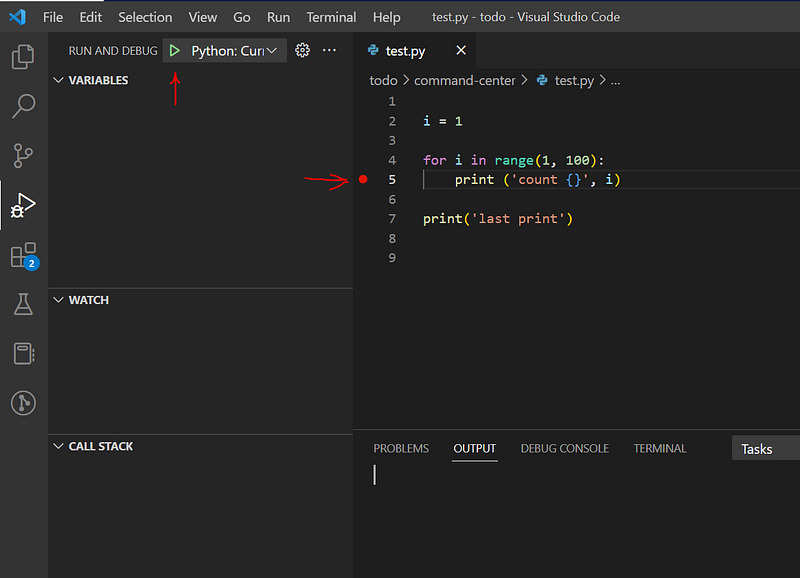
Now, let’s add a breakpoint in our python code (see the red dot in below screen? Use your mouse left key click on corresponding spot in front of the line you want to debug. Then, click on green triangle icon to start the debug).
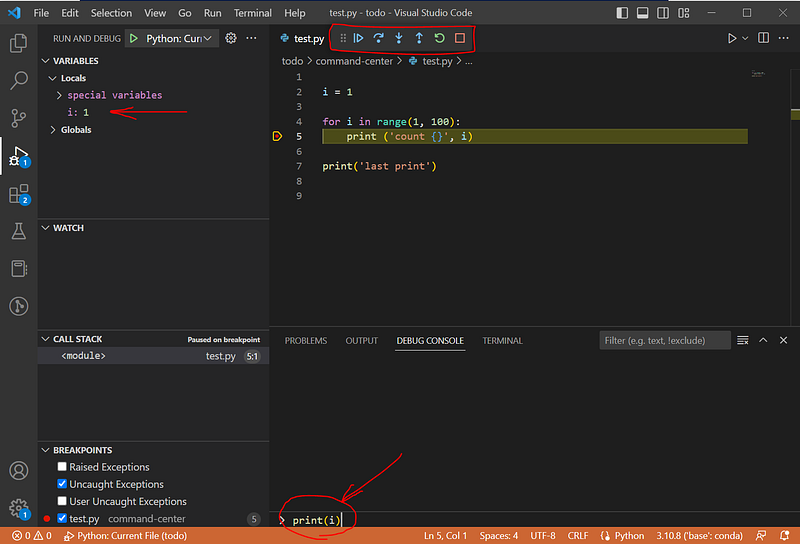
Now you could see the python code starts running, and pauses on your first breakpoint. At top of the python codes, there is a panel (circled by red) containing control buttons, like “run”, “step over”, “step in”, etc. At left, there are “variables panel”, “watch panel”, “callstack panel”, and “breakpoints panel”. At bottom of window, you could see “problems”, “output”, “debug console”, “terminal”. Try to type a python code, like “print(i)” in “debug console”, enter, you should see the output of value i.
Last but not least, there are lots of features you could explore in Visual Studio Code for Python development. We will leave to you to experience them and feel free to share with people.
Enjoy coding!


