
Using Copilot for Obsidian with the new Llama3 local LLM

In a previous post I wrote about my experiment using Copilot for Obsidian with a local Ollama LLM. This time I decided to use LM Studio as the LLM backend.
A local LM Studio server is much easier to set up than a local Ollama server because it is all done from the LM Studio interface. No fussing around with Windows Powershell, setting up the max context window, or configuring an Origins variable.
A. Setting up the LM Studio backend
- Download and install LM Studio from lmstudio.ai.
- Run LM Studio. The LM Studio home screen appears, with a number of preselected LLMs that you can download to your local hard disk:

You can download any of these preselected LLMs (or other ones) using LM Studio, or you can use any model file downloaded from Hugging Face, provided it has the .guff extension. I downloaded the much talked-about LLama 3–8B Instruct model recently made available by Meta.
LM Studio downloads and looks for local LLMs under
C:\Users\
- Once the model has been downloaded, you can chat fully offline with the model in the LM Studio user interface by selecting the Chat icon in the left sidebar.
- If you want to access the LLM from Obsidian, you need to run a local server. Select the Local Server icon in the left sidebar. The following screen appears:

- In the Configuration section (left-hand side of the screen), set the Server Port to 1234 and make sure that you set the Cross-Origin-Resource-Sharing (CORS) option to ON.
- At the top of the screen, you see a pull-down field where you can select the LLM that you want to use.
- Finally, click the green Start Server button below the Configuration section.
B. Setting up the Copilot for Obsidian plugin
- Install and enable the Copilot plugin from the Community plugins list in Obsidian.
- In the Copilot setting screen, configure the following fields: - Default Model: LM STUDIO (LOCAL) - In the Local Copilot > LM Studio section, set LM Studio Server Base URL to: http://localhost:1234/v1
- Click Save and Reload at top of the Copilot settings screen. That’s all!
C. Chatting with the local LLM
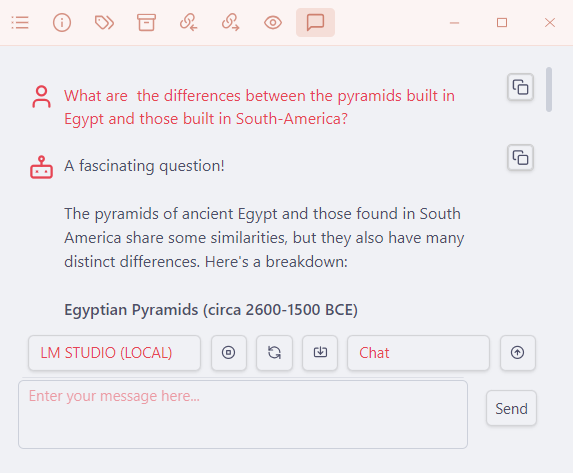
- Open the Copilot chat window by clicking the Copilot icon Obsidian’s left sidebar (or use the Copilot: Toggle Copilot Chat Window command). Double-check that LM STUDIO (LOCAL) and Chat are selected.
- Start your conversation with Llama 3. Happy chatting!
Final observations
The LM Studio backend is much easier to set up than the Ollama backend that I used in an earlier test of the Copilot plugin.
The response times and answer quality that I got from the LM Studio setup with the new Meta-Llama-3–8B-Instruct model on my Intel i5 Windows laptop with 16GB of RAM and NVIDIA GeForce GTX 1650 graphics card were quite encouraging. This setup is certainly faster than the Mistral-7B-Instruct model that I used earlier on.
If you want to read more about the different usage modes and built-in Copilot commands, please check this post and this post.
If you like this content, please support me by reading at least 30 seconds, clapping👏🏽, highlighting 📝, or commenting 💬.


