
Solar Turret V2— PCB— Part II
Designing Printed Circuit Boards — PCB— Ardu_Serie#72
Hi there, I wanted to make sure you didn't miss our final board of Solar Turret v2; thanks to the Software Engineer Pompermaier for the design and great cooperative effort and here we go \o/\o/
Regards,
J3
See what’s new with v2:)
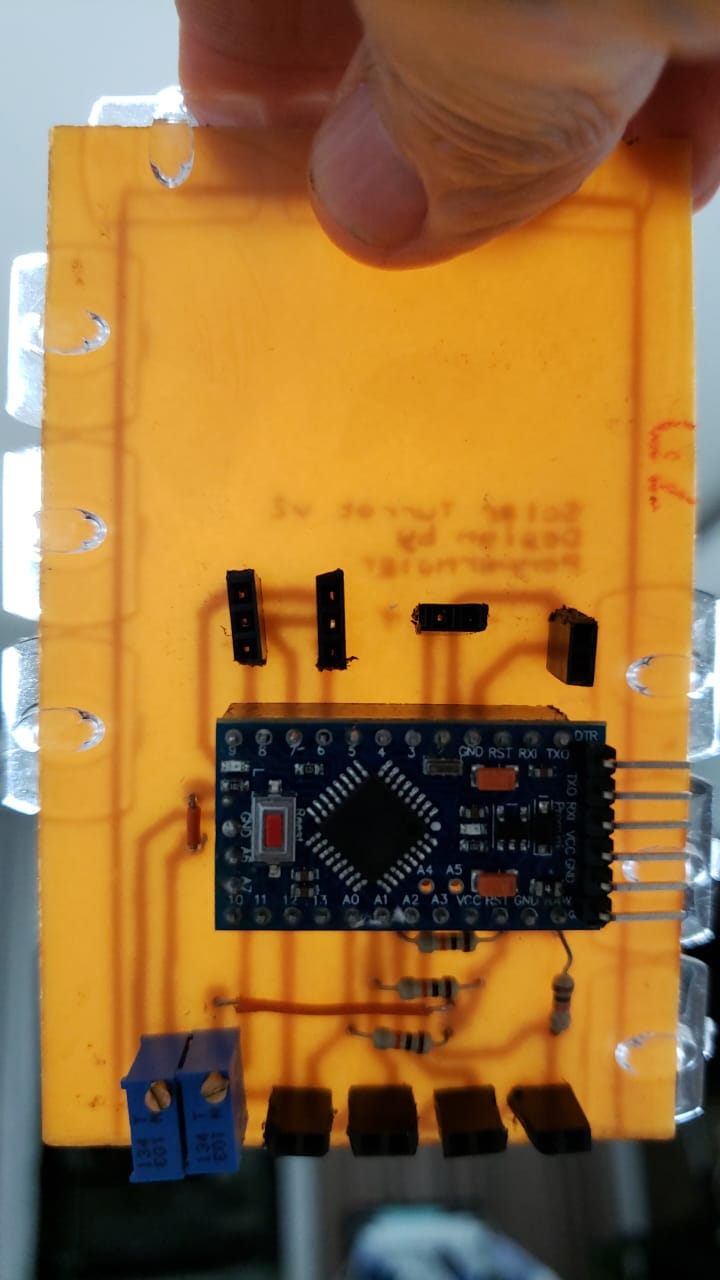
1 All components can be reused…well not really, those more expensive, mainly Arduino Pro Mini, servos etc;
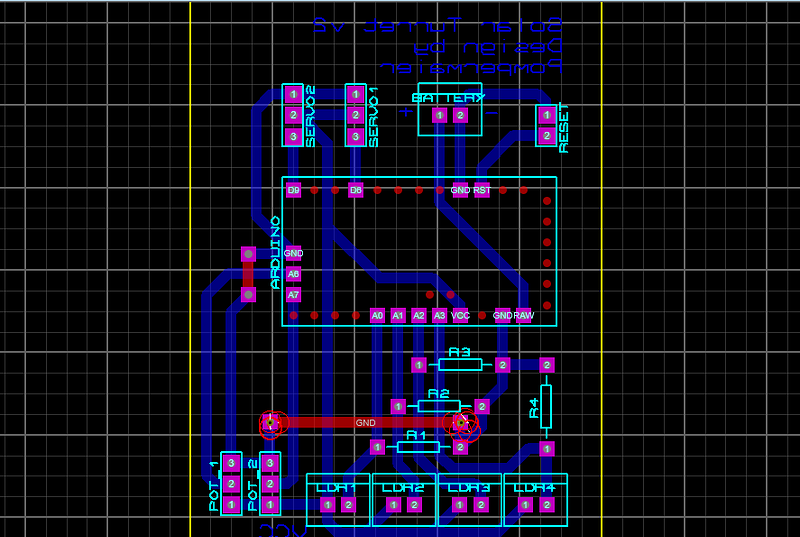
2We swapped the pin 10 of the servo for pin 6, for obvious location reasons (see above on layout); both are PWM;
3We swapped the pin A4 and A5 of the pots for pin A6 and A7, thus opening up large space on the board, since this way we better distribute the pathways in the board; that took hours of thinking a better solution (thanks to my friend Pompermaier); believe me you there we have to love electronics to learn a Little Bit Every Day :)
4 It took only 2 jumpers on the top of the board;
5We have input to an optional reset button
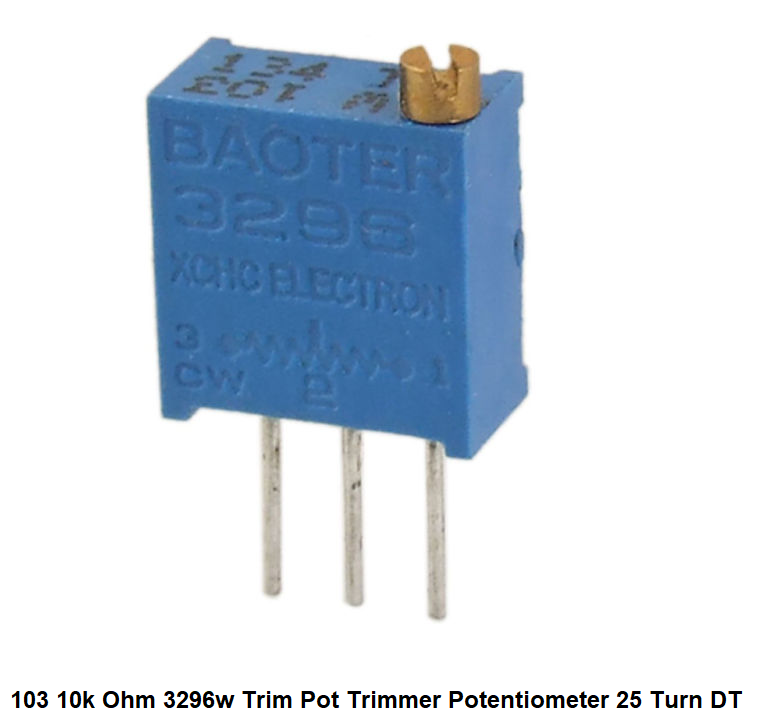
6 We swapped normal potentiometer for 103 10k Ohm 3296w Trim Pot Trimmer Potentiometer 25 Turn DT; it is more compact and it is meant to be set correctly when installed in some device and never seen or adjusted by the device’s user;
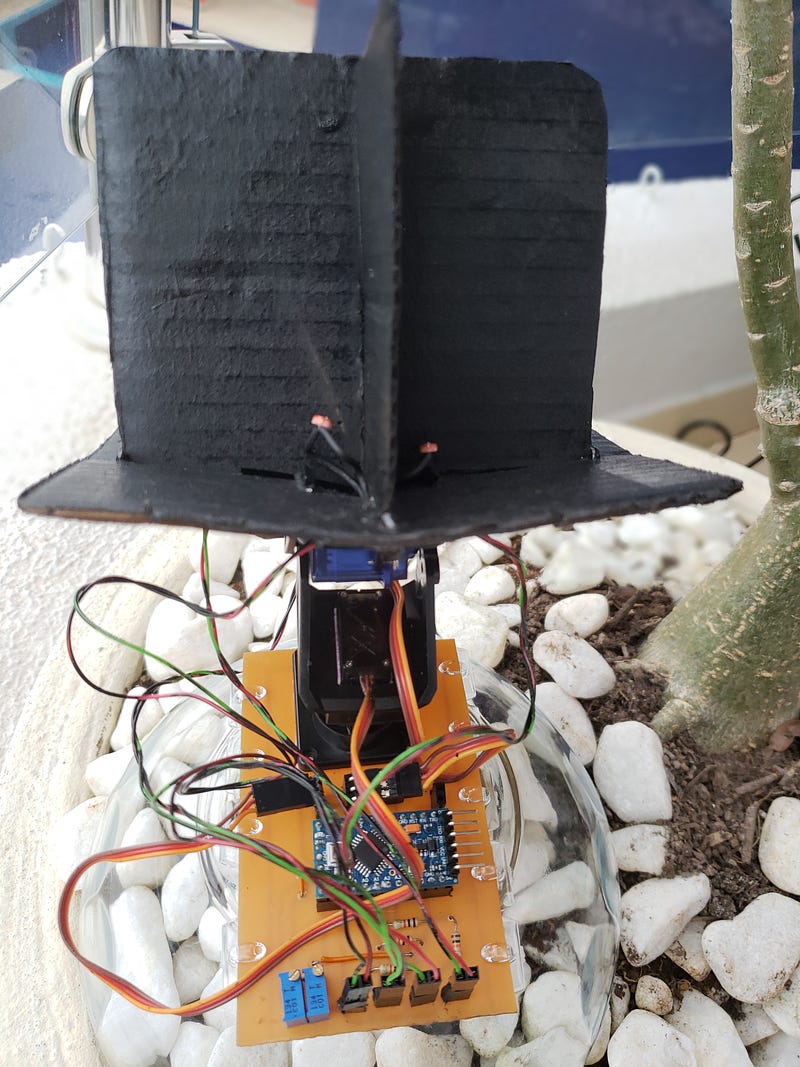
7As for the support I think about a glass or acrylic box; by the way goes the pot of jello here from home anyway;)
Please watch the video below, I tried to be as complete as possible to encourage you to make your own board too; it is a herculean challenge at first, but once the board responds all your effort will be worth it; in the next projects you are almost pro:)
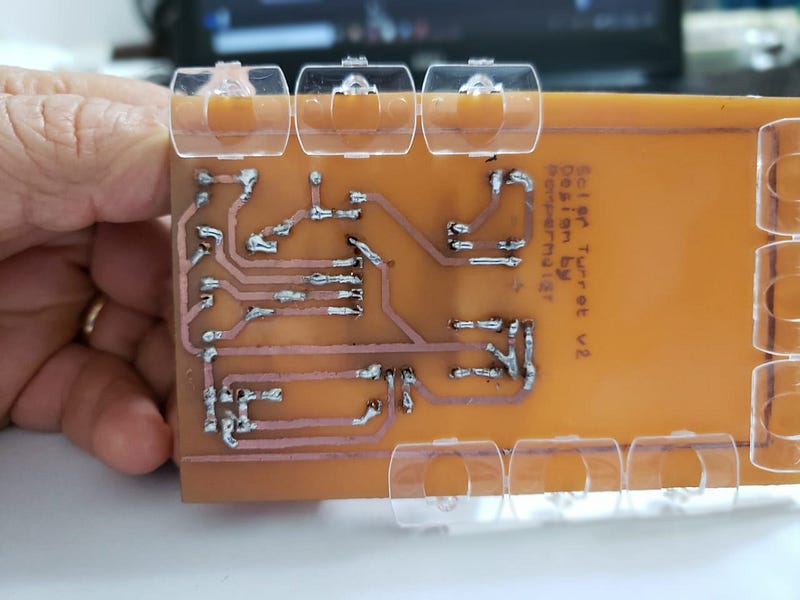
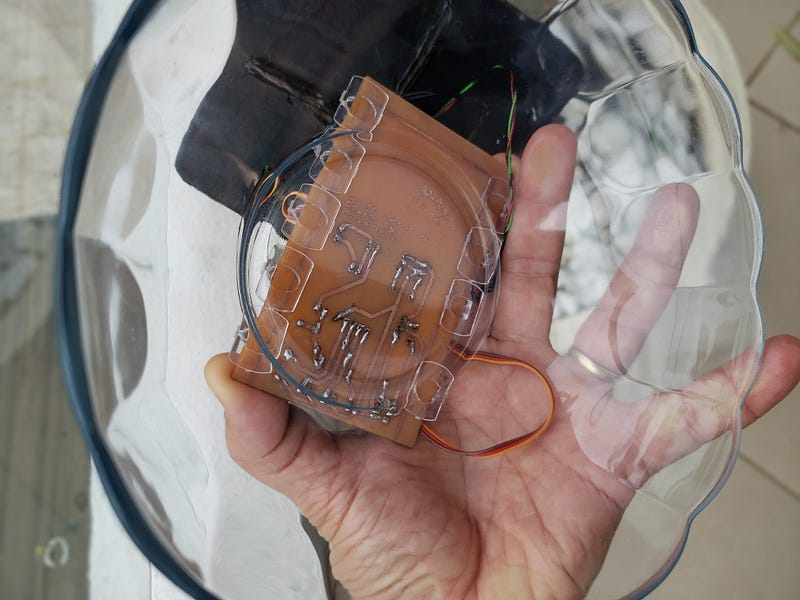
8 It took me an hour and a half to soldering all the components; it is hard work and must be done with the help of printed images; see that in the translucid photo above we can have notion of the tracks and the soldering triumph; just look against at a source of light, just as doctors check x-ray images of our lungs;
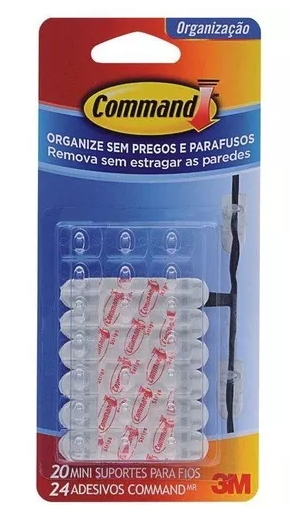
9 To support the board on the glass I used Mini 3m Command Cable, Transparent
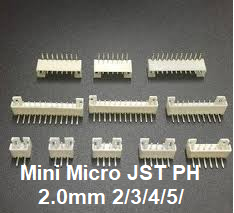
10 Please use Mini Micro JST PH 2.0mm 2/3/4/5/; or XH2.54 Connector Leads Header or XH2.54 wire Connector XH 2.54mm 180 angle straight pin Header + Housing + Terminal for PCB; I had to improvise but the ideal is right here:
The entire Solar Turret series, which continues, has been documented and you can repeat this experiment at home; improving the functionalities is at your disposal; I would like to see your improvement as soon as you publish:)
BOM
4x Resistor 10k
4x LDR
1x Arduino pro mini 5v or 3v3
2x Trimpot Trimmer Potenciômetro 10k
2x Servos 9g
1x Push Button Tactile Single Pole
1x Battery 7v w/JST XH-2 connector or Lipo batt 3.7 V
1x kit jst connectors
1x Pan Tilt kit for servo 9g
That’s it!
Thank you for the visit!
Download All Files For This Project
Related Posts
J3 Solar Tracker Turret V1.0–100th Pub Youtube Video about Arduino #arduSerie 100
Solar Turret V 1.1 — Improving Design 4 Learning More — ArduSerie #69
Solar Turret — Version 2 — The PCB — Designing Printed Circuit Boards — Part I — Ardu_Serie#71
Solar Turret — Version 2 — Part II — Whip Up Printed Circuit Boards — PCB — Ardu_Serie#72
Arduino Pro Mini — Flashing — Having Trouble Flashing ProMini? Ardu_Serie#67
Reference And Credits:
Thanks to my friend Pompermaier great Expertise about this issue:)
Arduino Sun Tracker Turret © CC0
Make Your Own PCBs with EAGLE: From Schematic Designs to Finished Boards 2nd Edition by Simon Monk (Author), Duncan Amos (Author)
Presenting to Win: The Art of Telling Your Story, Updated and Expanded Edition by Jerry Weissman
Building Smart LEGO MINDSTORMS EV3 Robots: Leverage the LEGO MINDSTORMS EV3 platform to build and program intelligent robots by Kyle Markland | Apr 4, 2018
The Art of LEGO MINDSTORMS EV3 Programming (Full Color) by Terry Griffin | Oct 1, 2014
— Published @ Feb 2019 —


