
Digital Minimalism series
Simplest and Best Way to Record Your iPhone’s Screen
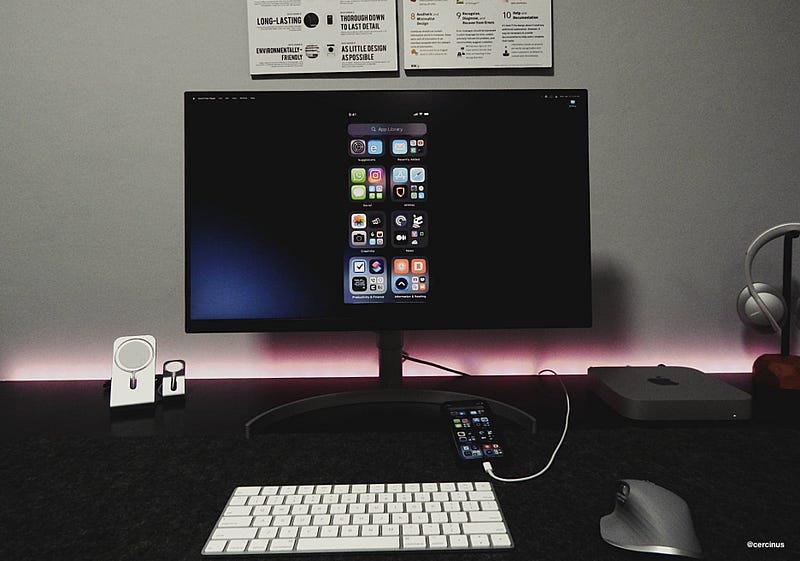
Following my previous story: Your iPhone Is the Best Scanner You Have, I intend to inform you with another story helping you record your iPhone’s screen in the cleanest, most minimal approach.
This approach allows recording your iPhone’s home screen without any interruptions caused by notifications or low battery status. The exported video will (hopefully) look like a video recorded by Apple itself.
Why would you want to record your screen in the first place?
Depending on your profession, you will need a medium to present a solution to your audience.
- An indie iOS developer will immensely benefit from a video to adequately present their app on the AppStore. A video demonstrating the highlights of their app will increase the conversation rate and get them more installs.
- A professor teaching computer science can easily showcase the course materials, requiring a screen recording from an iOS device.
- An engineer can record their screen while showcasing a problem using the iPhone’s ARKit. The less the clutter, the better the result.
I can go on with the list, but you get the idea. Once you use this method, the exported video of your iPhone’s screen will be satisfactory for you and your clients.
How does this method work?
By using a default Mac app named QuickTime Player, you can put your iPhone in presentation mode, meaning:
- The battery indicator will be 100%
- The clock will temporarily set itself to 9:41 (The time Apple introduced the first iPhone)
- iOS will temporarily disable all previous and future notifications
Why go such length for a simple screen record?
01 It will transform your video into a more pristine presentation, consequently making your work more professional.
02 You will have an easier time managing your recorded video on your Mac, which is helpful if you own a professional video editing app.
03 It will make you use your Mac to adjust the details based on your preference giving you more control over your videos.
What will you need?
- A Mac (Preferably from 2016 and newer)
- USB-C to Lightning Cable (For older Macs: USB-A to Lightning cable)
- An iPhone running iOS 15 or newer
How To

I have summarized a tutorial in three steps to help you record your iPhone’s screen in a clean and minimal way. If you have any questions or encounter any problems, let me know in the response section, and I will get back to you as soon as possible.
Step I. Get rid of the clutter
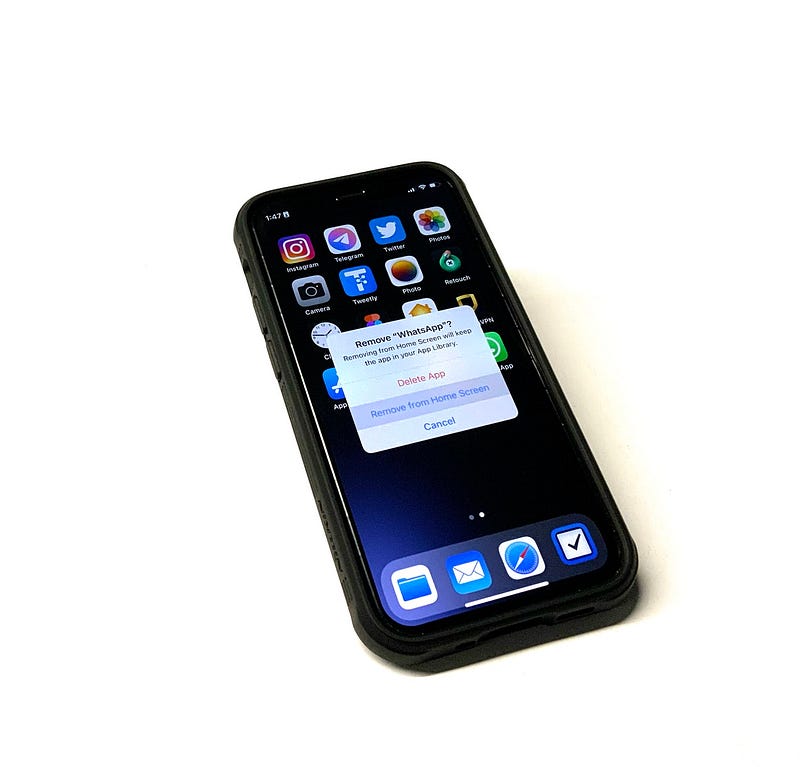
The first step is to remove as many unnecessary app icons as possible. The best way to expose your objective is to reduce other app icons from the home screen. If that is not feasible, you could create a separate screen only for the recording session. You can do that by using Profiles.
To set up a Profile:
- Put the app and widgets you want to present into a separate screen by dragging their icon and dropping them onto your desired section.
- Open Settings
- Go to Focus
- Tap on the “+” button
- Select “Custom”
- Write a name like “Recording” and set an Icon
- Tap on “Next”
- On the next page for Notifications, scroll down and choose “Allow None.”
- Like the previous page, select “Allow None.”
- Tap on Done
To customize your profile:
- Tap on “Focus Status” and disable the “Share Focus State” button
- Return to the previous page and select Home Screen
- Enable “Hide Notification Badges” and “Custom Pages,” then choose the screen you decided to use for your recording session
- Return to the previous page and select Lock Screen
- Enable “Dim Lock Screen” and Disable “Show On Lock Screen”
- Return and close the Settings app
To use the profile:
- Bring your Control Center
- Tap on the “Focus” icon next to the brightness slider
- Choose “Recording”
Step II. Connect iPhone to Mac via Lightning cable
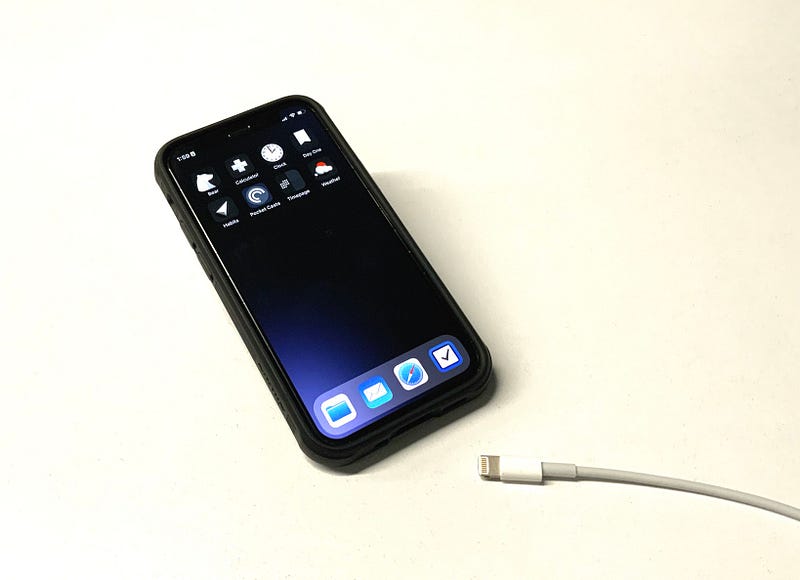
This step is pretty self-explanatory. Just make sure you are using an MFI-certified lightning cable. I recommend using Apple’s USB cable to get the best result.
Once your iPhone is connected, enter your iPhone’s passcode and let your devices pair and talk to each other.
I wish there were a way to record your iPhone’s screen on your Mac wirelessly, but we currently don’t have any option other than using a lightning to USB cable.
Step III. Use QuickTime Player to Record the Screen
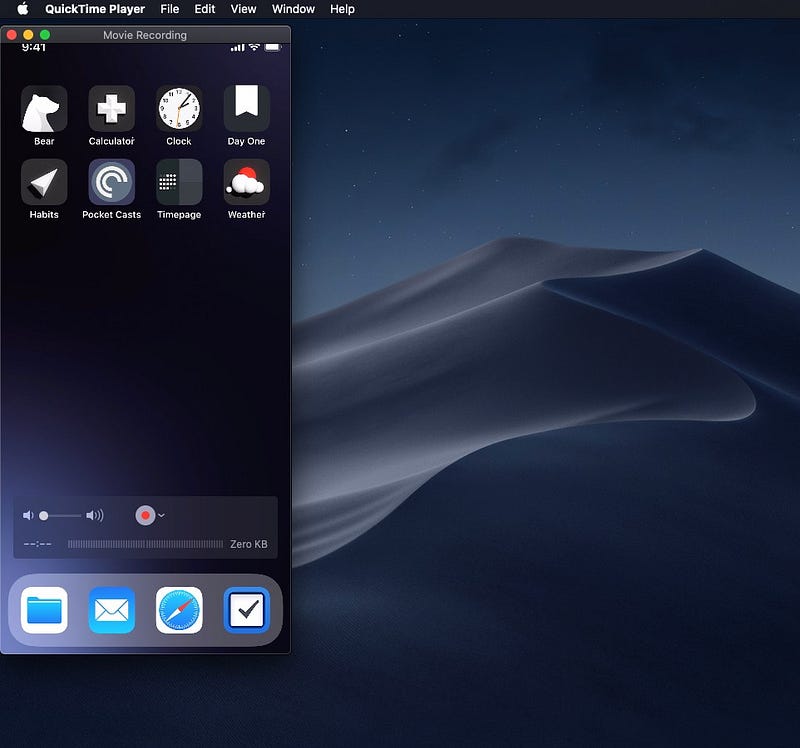
On your Mac, open QuickTime Player:
- Select the “New Movie Recording” option from the Files menu
- Beside the record button is a button with the down arrow icon
- On the list of available devices, select your iPhone
- You will see your iPhone’s screen on your Mac
- If you have a newer iPhone, you can click the same button and change the quality from High to Maximum
- Make sure your iPhone is in the Recording profile (Look at Step II for more information)
- Click the “Record” button [icon: a red dot circle]
- Once you have finished recording, click on the “Stop Recording” button [icon: a gray rectangle]
- QuickTime Player will ask you where to save the recording once you close the window
Once your recording is saved at your desired location, you can use the default utilities on your Mac to trim the video, but at this stage, I recommend installing a Video Editor on your Mac.
If you are willing to pay for a professional video editor, I suggest Wondershare Filmora. If you have basic video editing needs, Apple’s default iMovie is my recommendation.
This story is focused on people who don’t want to clutter their iPhones with unnecessary apps. I use Digital Minimalism to help create a zen-like experience on my iPhone and other devices.
I hope you enjoyed reading this story. If you have any comments, and recommendations about scanning documents from an iPhone, let me know in the response section. I will be happy to read and talk about them.
I would appreciate it if you support me by becoming a Medium member using the link below: