
Run Stable Diffusion AI At Home — No Code Guide
Recently, startup StabilityAI announced the release of Stable Diffusion, a powerful AI image generator that can now run on standard graphics cards.
Note: You don’t need any programming experience to follow along, it’s all spelled out.
Pre-requisites
Before doing the steps below, make sure you have all the requirements to run the AI model in your local hardware.
- NVIDIA GPU with at least 4GB VRAM
- At least 10GB of space in your local disk
Now on to the steps.
Step 1. Setup Git and Python environment
- Download and install the latest Anaconda Distribution here.
- Download and install the latest Git here.
Step 2. Download the model weights
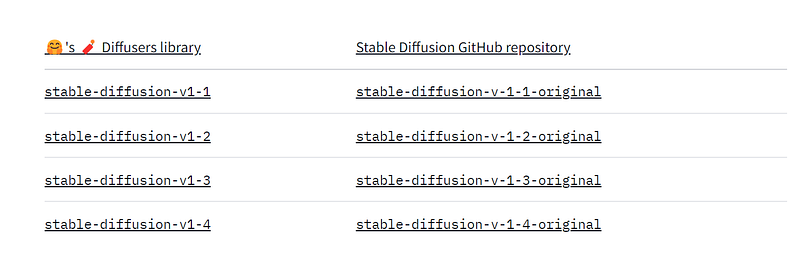
Click on this link and download the latest Stable Diffusion library.
As of this writing, the latest version is v1.4-original.
Under the “Files and versions” tab, click on the checkpoint file and download it.
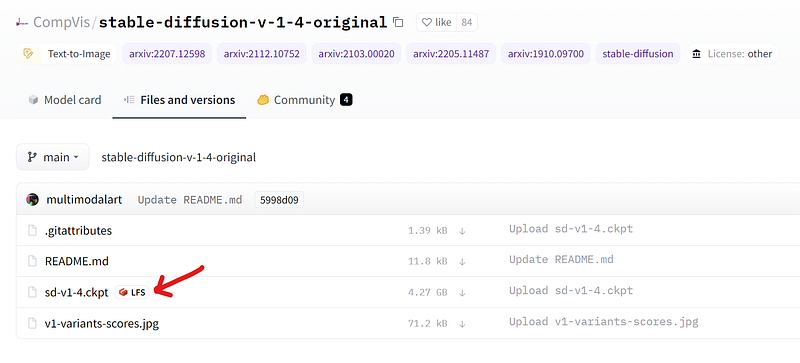
Note: The file is more than 4GB, so while you wait, go get a coffee or do something else.
Step 3. Download Stable Diffusion Repository
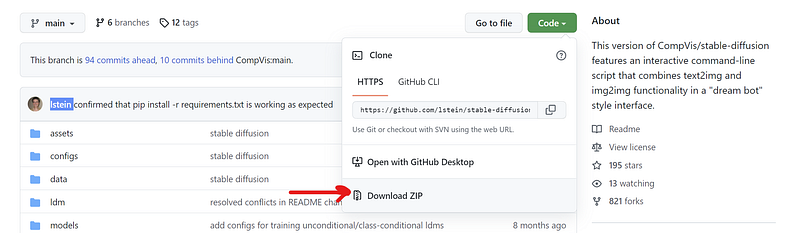
Download the source project from this GitHub repository.
The repository is called Stable Diffusion Dream Script, it’s a fork of the original source code modified by lstein. Shout out to that awesome guy.
Extract the files into your local. Inside the “ldm” folder, create another folder named “stable-diffusion-v1”. Like so in this screenshot.
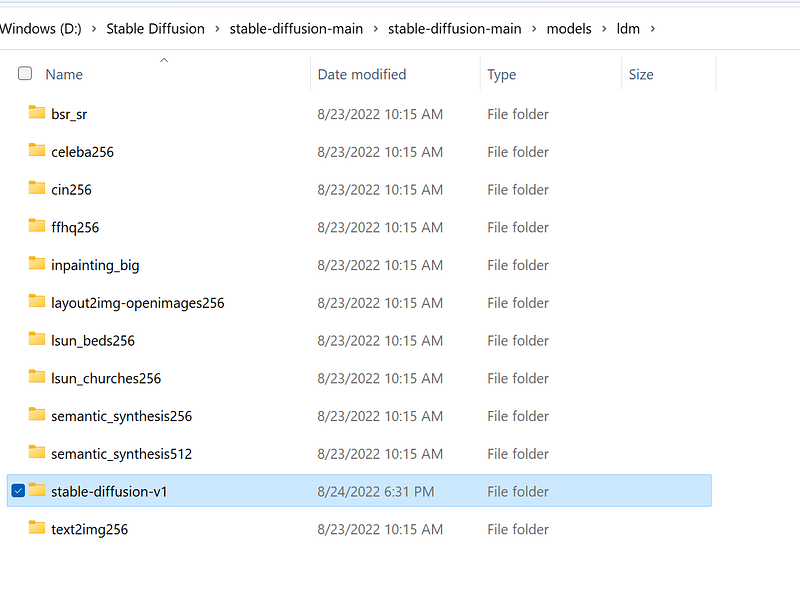
Copy the model file sd-v1–4.ckpt we downloaded in Step#2 and paste it into the stable-diffusion-v1 folder.
Finally, rename the checkpoint file to model.ckpt.
Step 4. Activate the environment
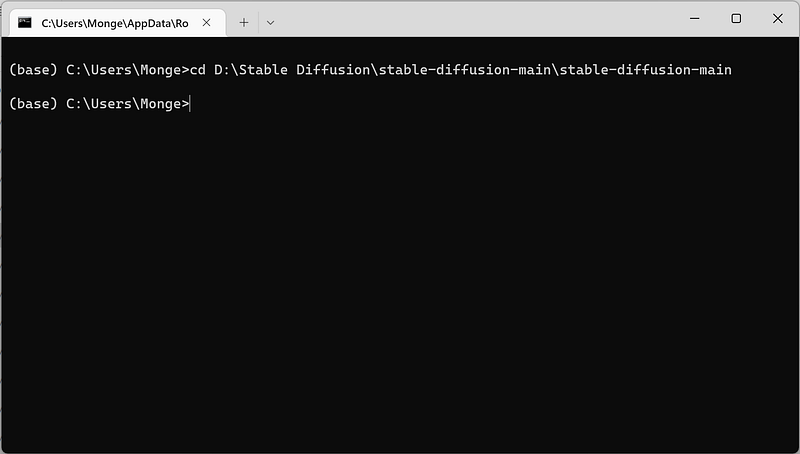
Open up Anaconda cmd prompt and navigate to the “stable-diffusion-main” folder.
Now, we need to activate a few python packages.
(base) ~/stable-diffusion-main$ conda env create -f environment.yaml
(base) ~/stable-diffusion-main$ conda activate ldm
(ldm) ~/stable-diffusion-main$
The first line should download all necessary dependencies and packages to run the model. Note that files are a few gigabytes big so it might take a while to finish downloading everything.

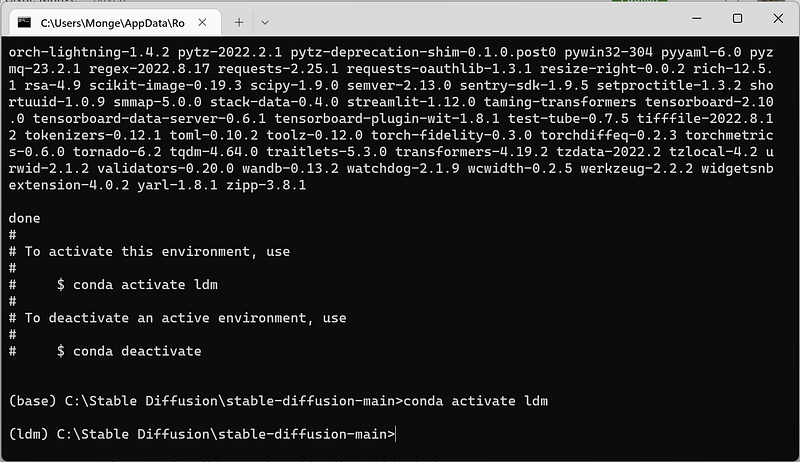
Next, activate ldm by the conda activate ldmcommand.
You should see your command prompt prefixed by “ldm” like below.
Finally, load a couple of small ML models required by Stable Diffusion.
(ldm) ~/stable-diffusion-main$ python scripts/preload_models.py
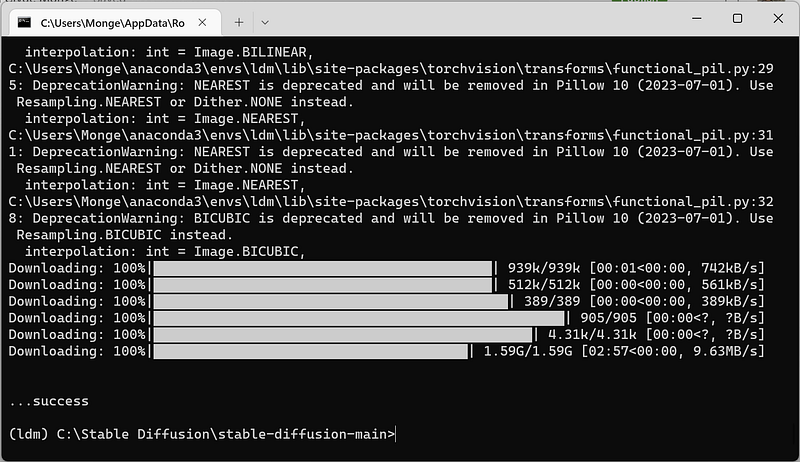
Make sure you see that “success” message before we continue.
Step 5. Run the model
Now we can start generating images.
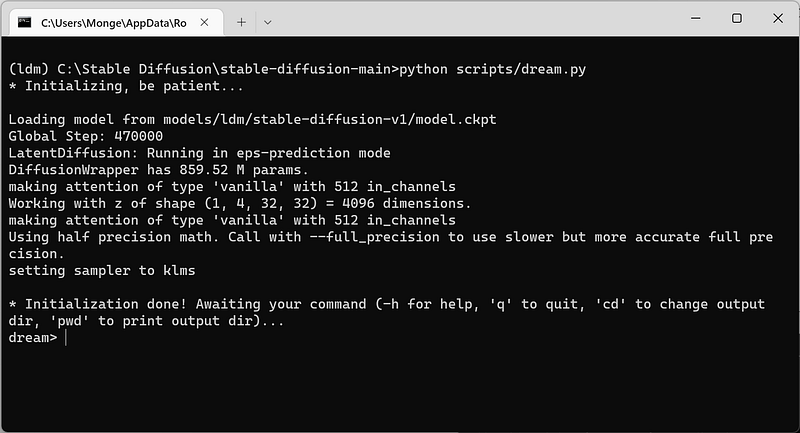
(ldm) ~/stable-diffusion-main$ python scripts/dream.py
The command line will pause on “dream>” to ask you to input your desired image prompt.
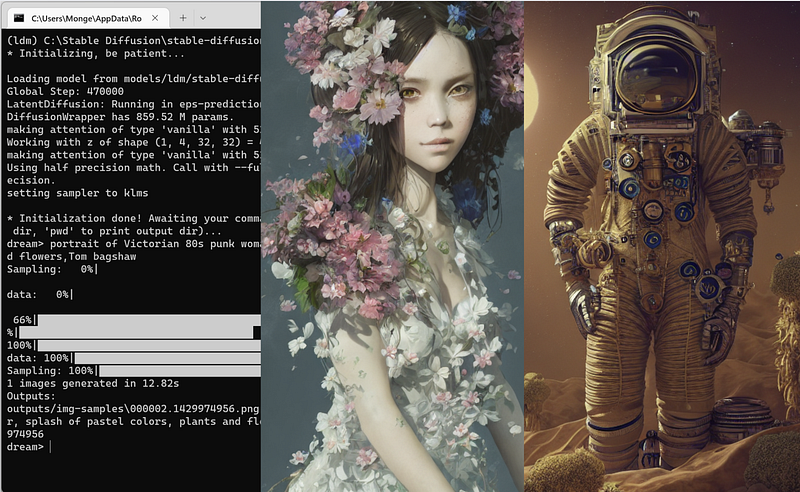
I am running on NVIDIA GeForce RTX 3060 Ti with 8GB RAM. The whole process took 12.82s to generate a 512x512 image.
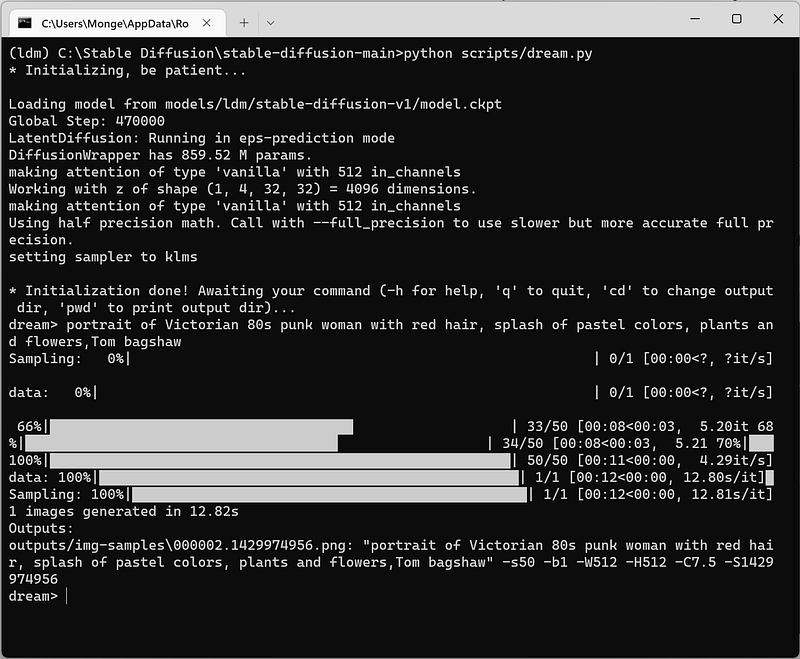
Here’s the result.
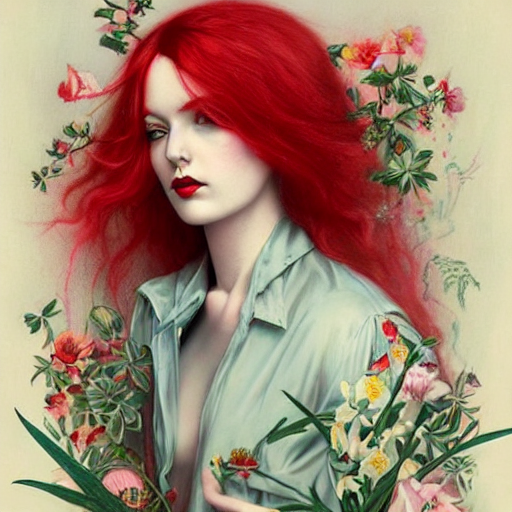
It’s not too bad, right?
Okay, I guess that’s about it. In the next few days, I’ll do my best to write another article that shows how you can change the image by playing with the arguments.
You can change things like the resolution, the seed, the number of images made, and so on.
Try it out for yourself. Enjoy!
If you have any problems, aren’t sure how to do something, or want to show me your art, let me know in the comments.
[Update: 09/12/2022]
I published a new guide on how to run Stable Diffusion with GUI here. The steps are more straightforward and the repo is an optimized version of the original.
If you like to read more stuff like this in Medium, consider supporting me and thousands of other writers by signing up for a membership.


