
React Native — Full authentication flow with Spotify— Introduction
Authentication in React Native can be a hell of a ride. Let’s try to build a React Native application and use Spotify as an authentication provider. So this will be my very first post on Medium. Thus I’m a little excited. Let’s see how it goes!
I am relatively new to React Native so I wanted to build a little fun project to get familiar with the main concepts.

My goal was to build an App based on the Spotify API. The first challenge was to build an authentication flow that would allow a Spotify user to logon to my application.
I started programming right away and used several tutorials, blogs and documentation to reach my goal. Now I would like to wrap up and show you how I achieved my goal.
Content
I will publish this series through different chapters:
- Introduction
- Chapter 1: Building our React Native app
- Chapter 2: Backend Proxy based on Firebase Functions and Express
Coming up next:
- Chapter 3: Bringing Backend and Frontend together
- Chapter 4: React Native Navigation based on authentication state
- Chapter 5: Keeping your user base in Firestore
First of all: OAuth
“OAuth 2.0 is the industry-standard protocol for authorization.”
If you are not familiar with oAuth, I suggest reading this documentation. It will give you a clear overview of the main concepts.
Important to know is that there are several authentication flows supported by oAuth:
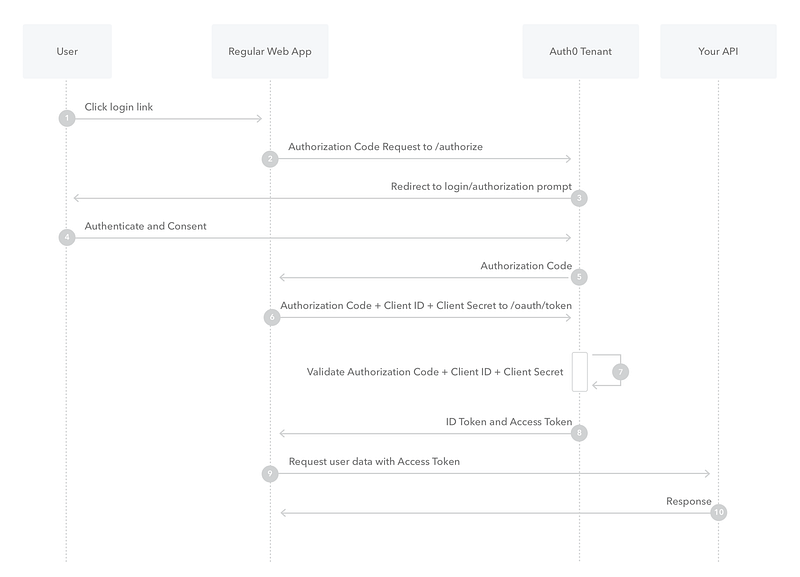
The most common flow for our setup would be the Authorization Code Flow:
Spotify Authorization Flow
I will be using Spotify as an oAuth Provider. So let’s try to understand the authentication flow based on their documentation:
So let’s just run through the schema and try to understand what will happen:
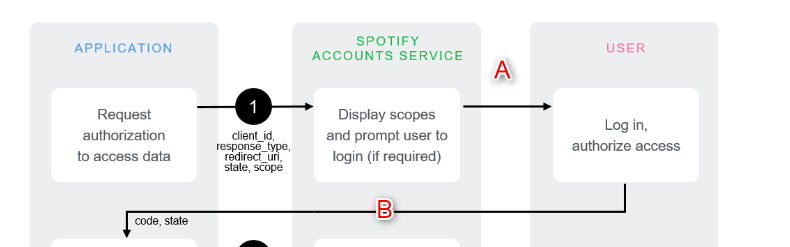
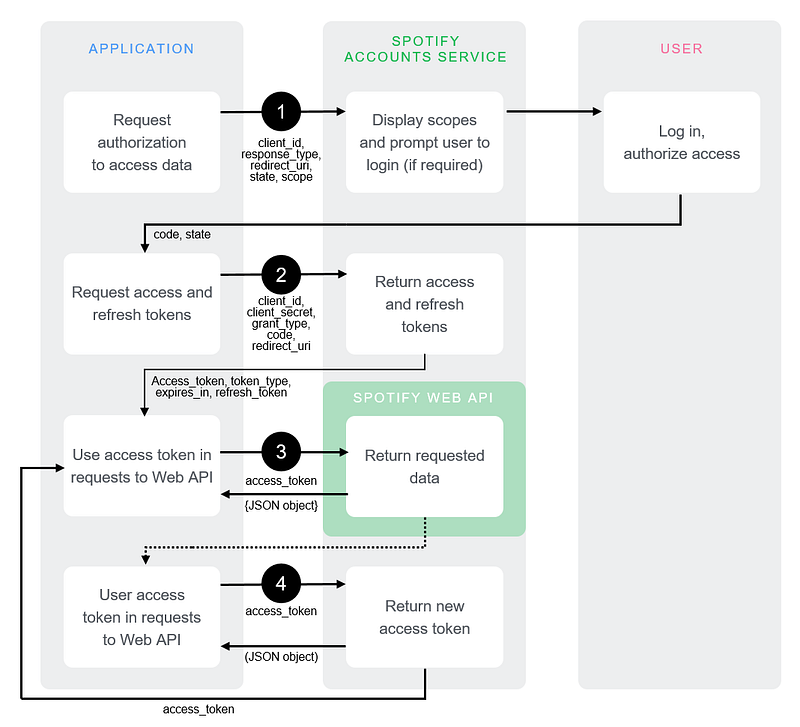
1 Our client application will ask the user to log in via our oAuth provider (Spotify). A Spotify login page will be shown with some additional information about the authorization scope our app is requiring. The user will have to log in and approve the authorization scope. (A) The user is redirected to a predefined URL of our client application together with a code provided by Spotify. This code means; the user accepted to log in to your application. (B)
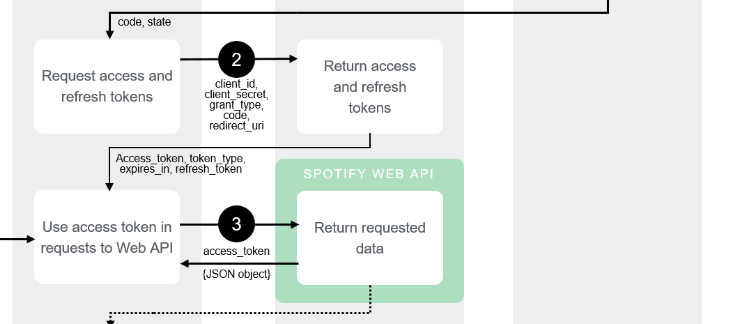
2 Now Spotify knows that the user wants to authenticate to your application. But Spotify is not 100% sure that the application is your application. So with the code in your possession, you won’t be able to perform an API call in name of the user. You will need to ask for an access token and refresh token. In this step, you prove to Spotify that you are the owner of the application. This happens with the help of the Client Secret. I mentioned it before, but the Client Secret should be something that stays secret. That’s why we need our backend API, because this is a secure place to store our Client Secret. So at this point, we will perform a call to our backend including the code we just received from Spotify. Our backend will function as a proxy using this code and injecting the Client Secret of our application to perform a new call to Spotify asking for an access token and refresh token. When this call happens successfully, we return the access token and refresh token. Now, Spotify is certain that the user is connecting with the real previously registered application. We proved that we are the owner of the app by injecting the Client Secret.
3 From now on we can perform calls to Spotify in name of the user. An access token has a limited time to live. So when this token expires, we will need to ask for a new token or “refresh” the token. That’s why we need the refresh token. We will perform a call to the Spotify API including the refresh token to get a new access token. In this graph, the team of Spotify made a little mistake. At step 3 it looks like we will ask for a new access token using the old access token. This doesn’t make sense. The arrow from left to right should have “refresh token” written above it instead of “access token”.
However, in their written documentation it is stated correctly:
“Access tokens are deliberately set to expire after a short time, after which new tokens may be granted by supplying the refresh token originally obtained during the authorization code exchange.” Source: https://developer.spotify.com/documentation/general/guides/authorization-guide/#authorization-code-flow
What’s next
We should have a relatively clear overview of our authorization flow. Of course, you could take a deep dive into oAuth to understand how this protocol works and how to implement it. I would recommend doing so. There are tons of blogs and articles about this so you can spend hours and hours analyzing this topic. For now, for the sake of this blog, you should have enough information to continue with the next chapter.
In the next chapter, we will build the basics for our React Native application.