
One Click Install For Stable Diffusion UI 2.0 — Run Locally
With the rise of generative AI’s popularity, many want to get their hands on one of these image generator models without paying a dime. You can do so now with the public release of Stable Diffusion from Stability AI.
Because it’s open source and the model is publicly available, you can run the tool on your local PC. It's free and very convenient to experiment with in your own time.
If you’re new to the AI art space, here’s a quickie.
Stable Diffusion is a text-to-image model released in 2022 by the company Stability AI. The AI model can generate detailed images from simple text descriptions written in natural language.
But how do you install and run this AI tool on your local machine?
There are several ways. In recent months, many have attempted to come up with guides to easily install and run the tool on the user’s local PC. But many still encounter issues, especially with the dependency installation.
Some awesome developers released a project that simplifies the whole process down to a one-click install. You can check out this GitHub project for more details.
No Dependencies or Technical Knowledge Required: 1-click install for Windows 10/11 and Linux. No dependencies, no need for WSL or Docker or Conda or technical setup. Just download and run!
Before we start, check your hardware and software capabilities.
System Requirements
- Windows 10/11, or Linux. Experimental support for Mac is coming soon.
- An NVIDIA graphics card, preferably with 4GB or more of VRAM. If you don’t have a compatible graphics card, it’ll automatically run in the slower “CPU Mode”.
- Minimum 8 GB of RAM and 25GB of disk space.
If all looks good, let’s get on with the installation.
Download and extract
Download the zip installer for Windows or Linux.
For the rest of the article, I will be using the Windows version because I am running Windows 11 at the moment.
IMPORTANT: Extract the folder under C:\ root directory. This will avoid a common problem with Windows (file path length limits).
These are the initial files.
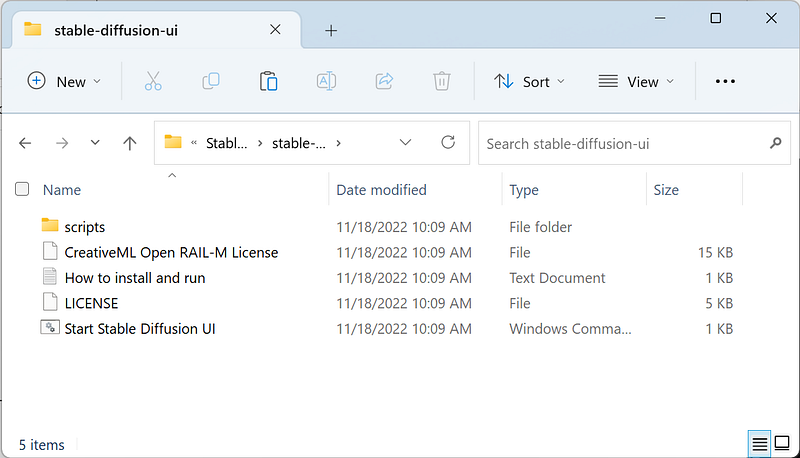
Double-click on the “Start Stable Diffusion UI” batch file. It will automatically download all dependencies. The files are pretty large, so it might take a while.

The final file list should look like this.
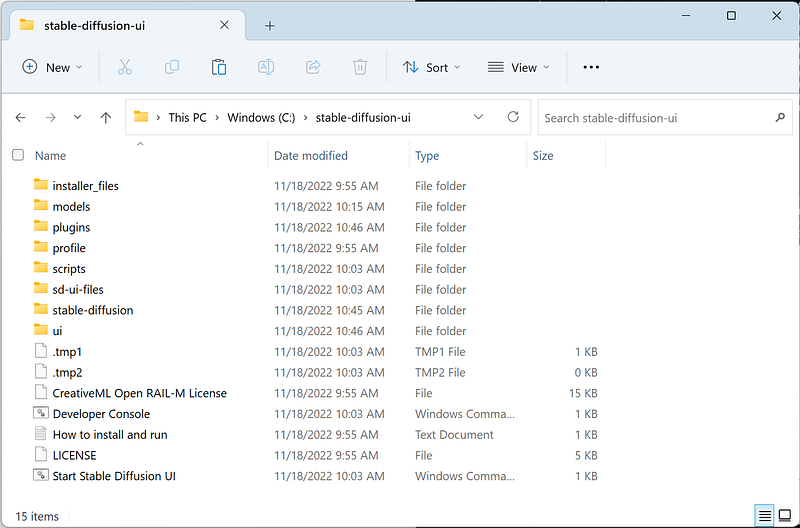
Overall, the downloaded files will take up as much as 22 GB of total disk space.
Now we’re ready to run the browser UI.
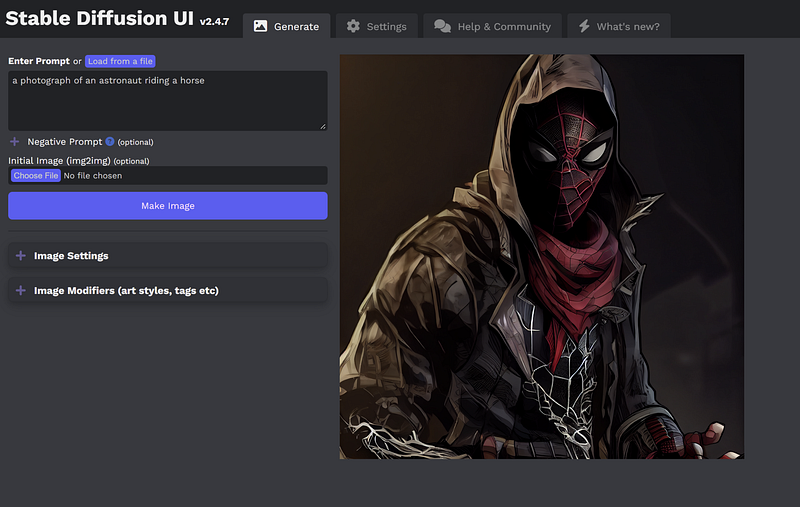
Run the Web UI
This should be launched automatically, but in case it isn’t, just run “localhost:9000” on your browser.

Aside from the clutter-free UI, here are some other features that I like:
- Live Preview: See the image as the AI is drawing it
- In-Painting: Specify areas of your image to paint into
- Use CPU setting: If you don’t have a compatible graphics card, but still want to run it on your CPU
Sample generated images
I used the prompt below to generate a 512x512 image in JPEG format.
A photograph of an astronaut riding a horse

It looks pretty good, right?
You can change the image settings and modifiers by expanding the menu on the left panel.
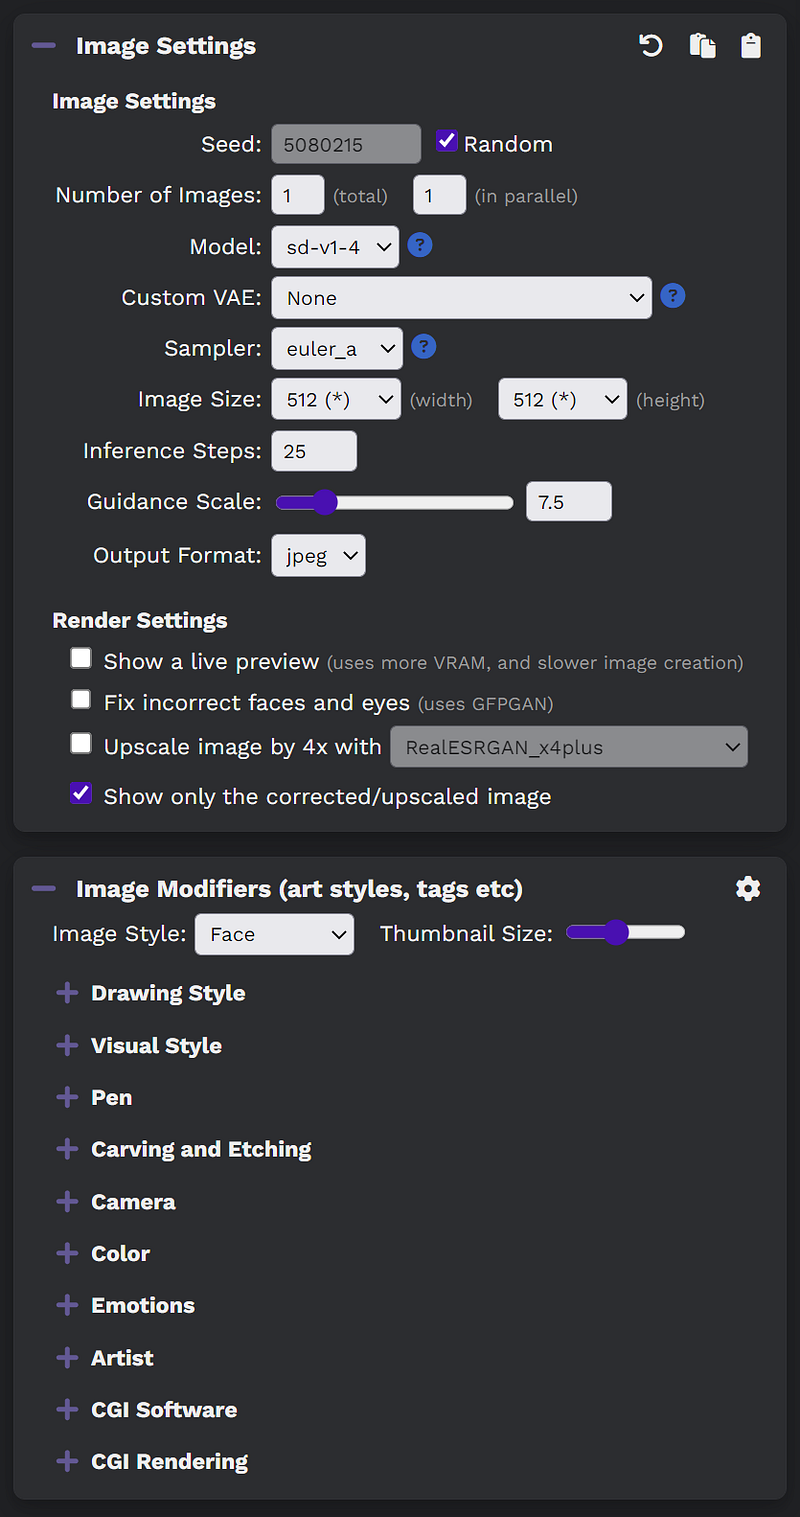
The image modifiers also serve as a built-in prompt generator. There is a good list of incredible artists and visual styles that you can choose from.
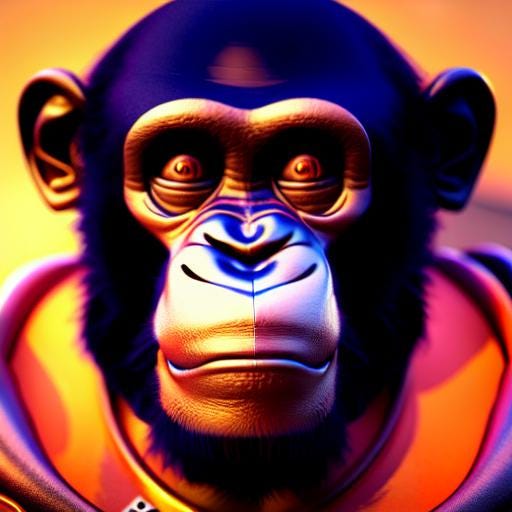
Here's an example of a very detailed Wlop-style image of an astronaut chimpanzee made in Octane in the style of Wlop.
Okay, that’s about it. I hope you find this article useful. Thanks for reading; have a nice day!
Related articles:


