Growing Microgreens
Part 1-Planting
Microgreens are becoming more and more popular. I decided that I would try to grow them. Let’s see what happens.
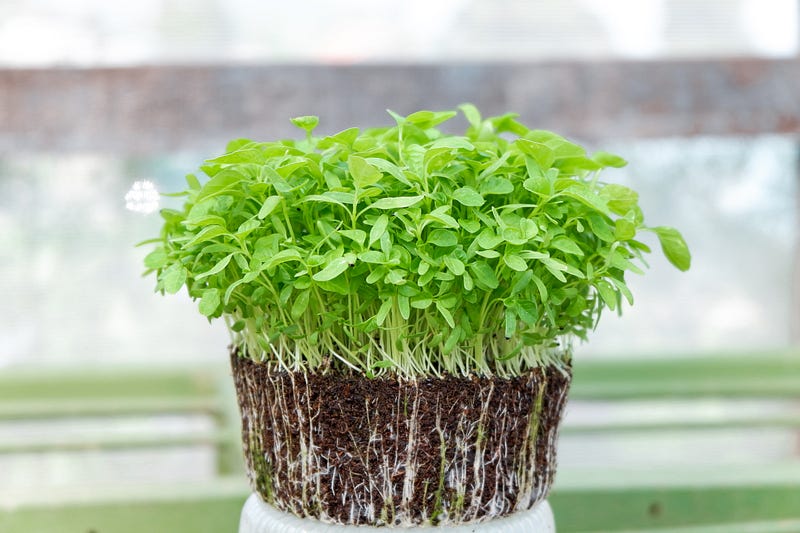
What are microgreens? Unlike sprouts, which aren’t grown long enough to have leaves, these tiny plants are harvested at 2 or three inches in height after leaves have developed. They are not as mature as baby greens.
Microgreens can be grown outdoors, in greenhouses, or on a windowsill. They are usually harvested 7 to 21 days after germination. These tiny plants are flavorful and packed with nutrients. Some sources say the nutrients are much more concentrated in these than in mature plants, and they contain many antioxidants as well.
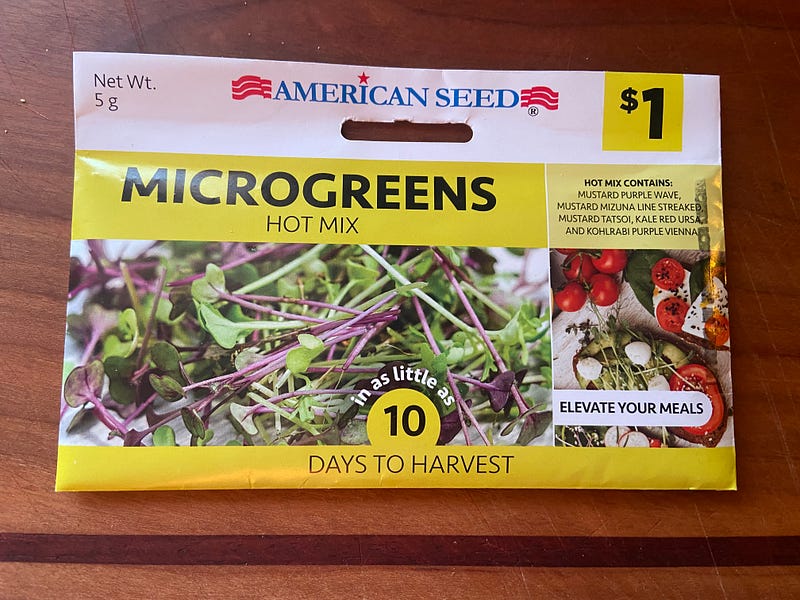
The variety I found is a hot mix, and contains Mustard Purple Wave, Mustard Mizuna Line Streaked, Mustard Tatsoi, Kale Red Ursa, and Kohlrabi Purple Vienna. This mixture is supposed to provide a zesty flavor and also be colorful. It should provide great flavor for a sandwich, wrap, or salad. Or maybe even garnish for a pizza or soup. It will be interesting to give them a try.
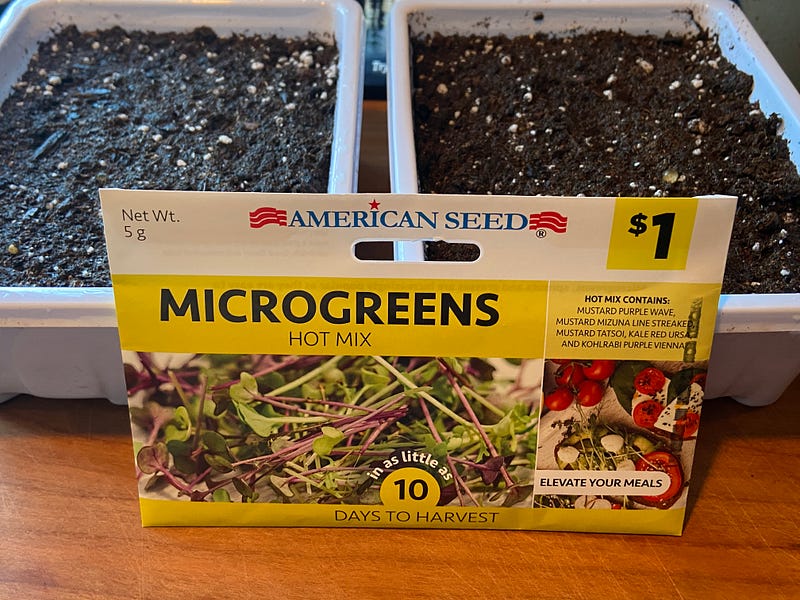
For the growing medium, I used Miracle Grow© potting mix. It is important to use a good quality soil for proper growth. I try to use potting mix as opposed to a seed starting mix. Why?
Seed starting mixes will work, but tend to be lighter with more peat and vermiculite, and they tend to dry out quicker than a potting mix. In my experience they can be hard to keep moist. Potting mixes are normally a heavier mix (but not too heavy), which will retain moisture more consistently to enhance germination and growth. I normally don’t use garden soil to start seeds indoors to lessen the chance of soil born diseases.
I planted the microgreens using plastic containers which I bought last Spring to start other veggies.
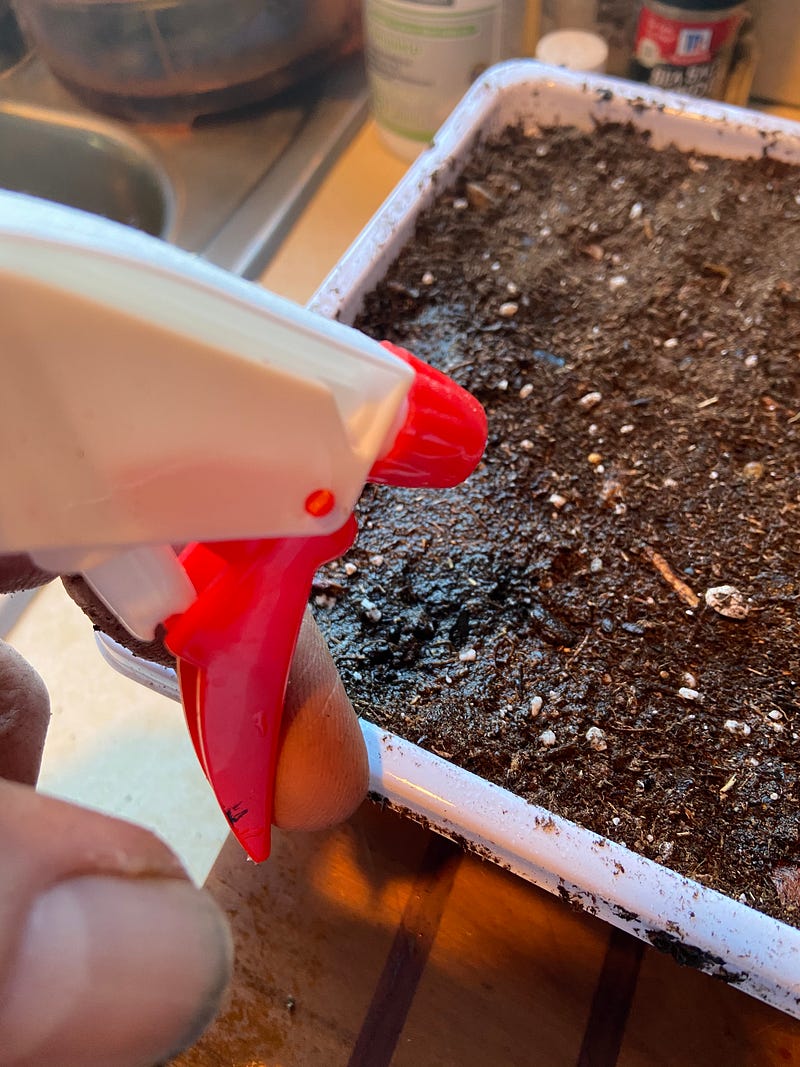
The planting process was quite simple. After filling the containers about three quarters full with potting mix, I moistened the soil and lightly compressed to provide a uniform planting surface.
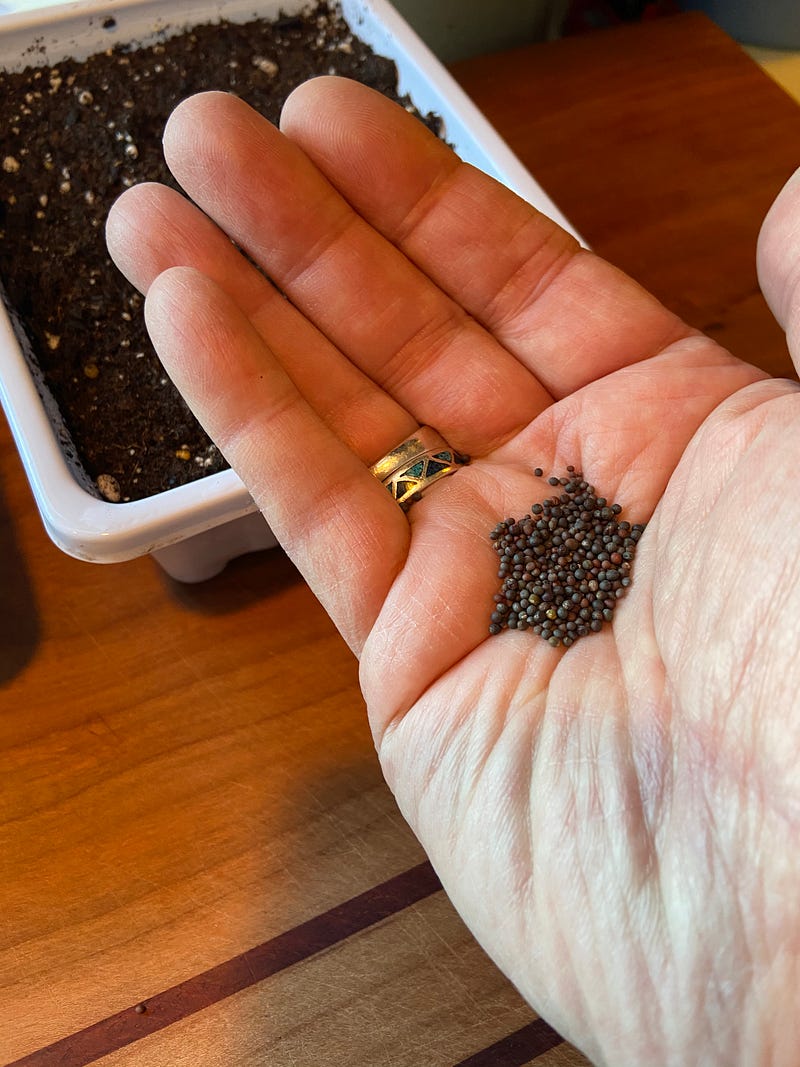
I then spread the tiny seeds fairly thickly on the surface of the soil, then covered them with about an eighth of an inch of potting mix (according to seed packet directions), and wet again using a spray bottle as to not disturb the seeds. Using my fingers, I slightly compressed the soil again to ensure the seeds are planted at a uniform depth.
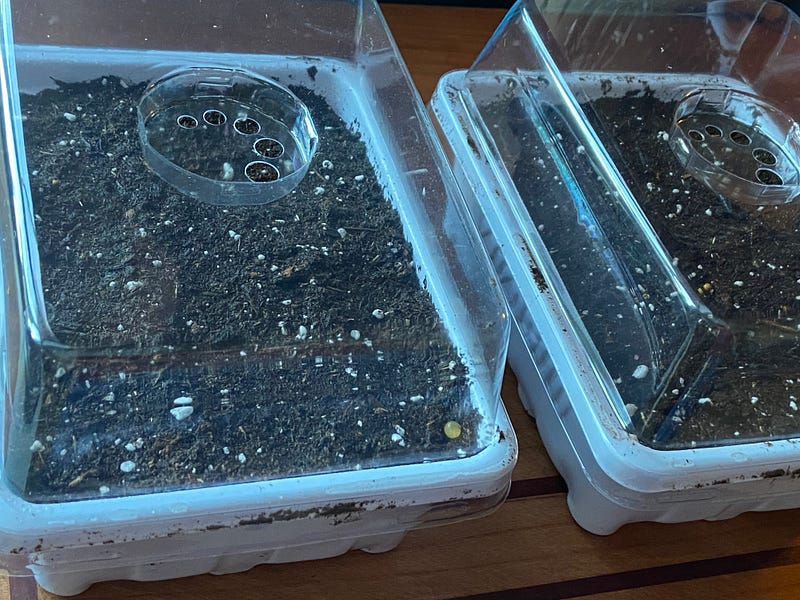
The final step was placing the plastic dome lids on. The lids will help retain moisture, but also have vent holes to allow some air circulation. I will keep them in a warm location until germination occurs. Sunlight is not needed for germination, however, after germination a sunny location is needed, such as a windowsill. Placing the seed container on a windowsill prior to germination will probably delay germination, since at night, windowsills ae usually cool. A consistently warm location is ideal for germination.
I will write another article once the seeds germinate. I am looking forward to trying microgreens. It also is a good way to begin the growing season, even though it is still very early.