
Creating and Using Identifiable Characters in Midjourney V5
An updated guide to the whole process.
In creating comic books for children, I have developed and worked with several approaches for creating characters, creating action images and placing them in scenes. With each new version of Midjourney my need to take things into Photoshop has reduced. Most things in this guide can be done with MJ and free editing software. Although good editing skills will greatly improve speed and quality.
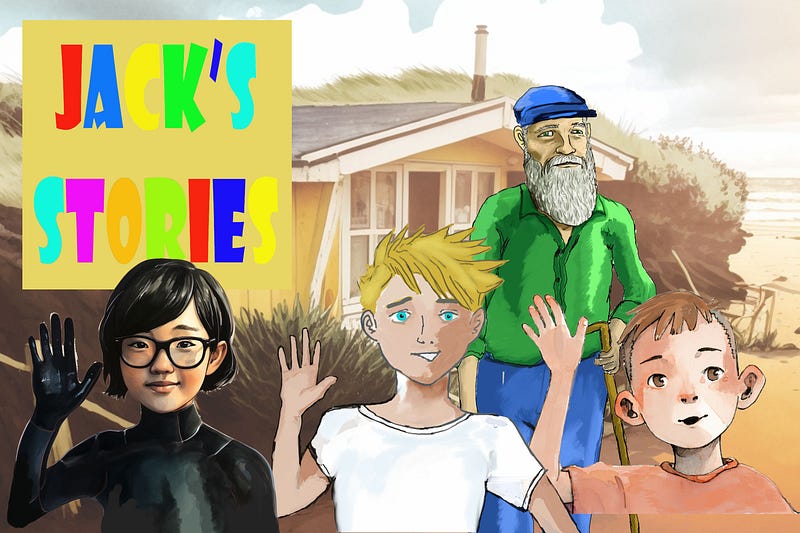
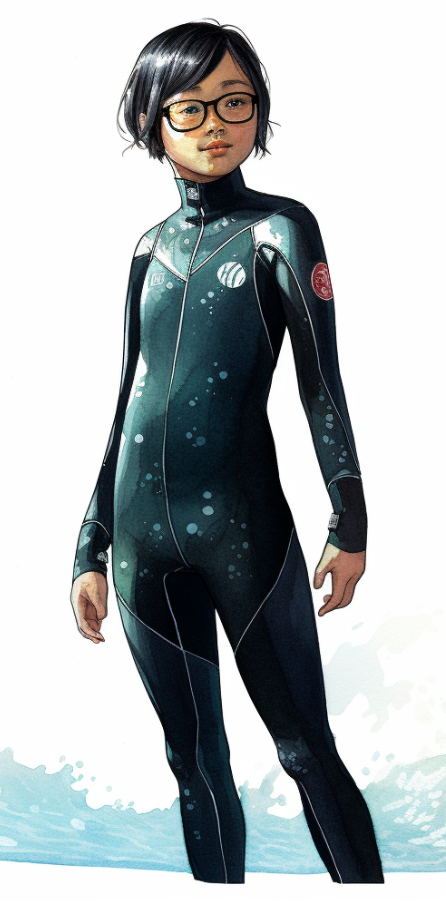
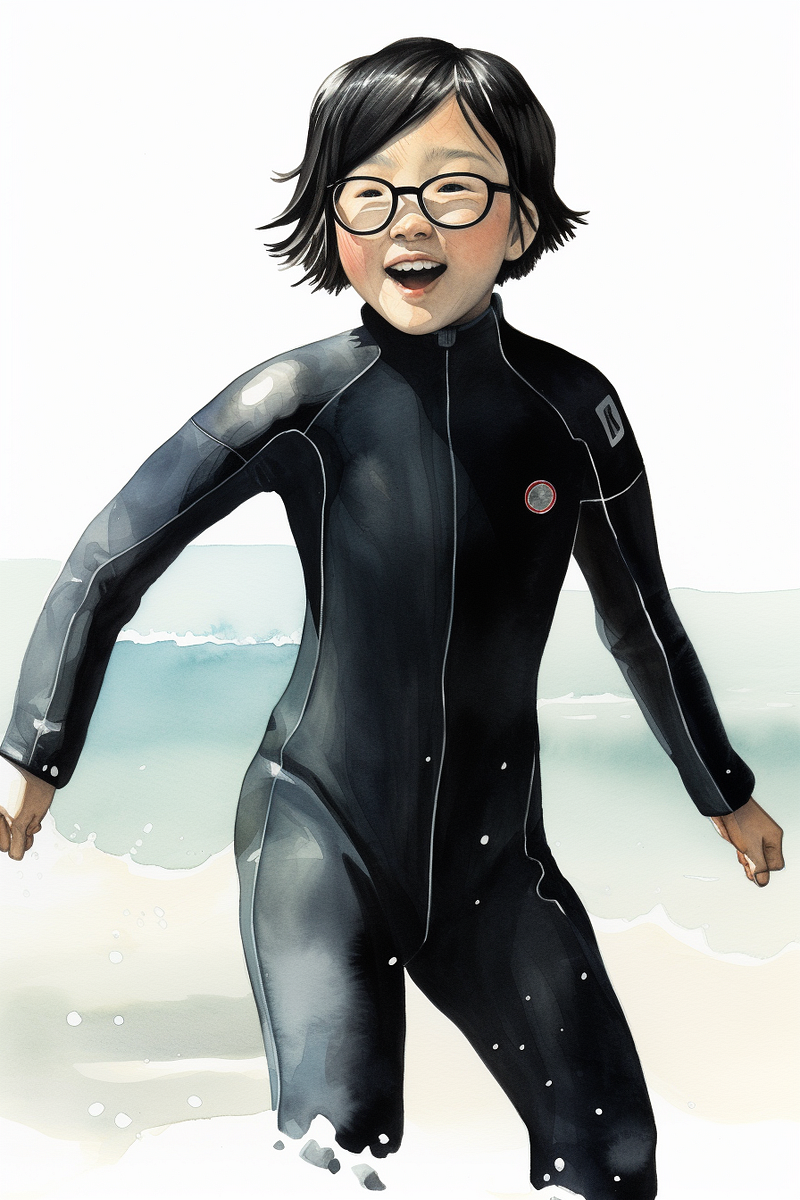
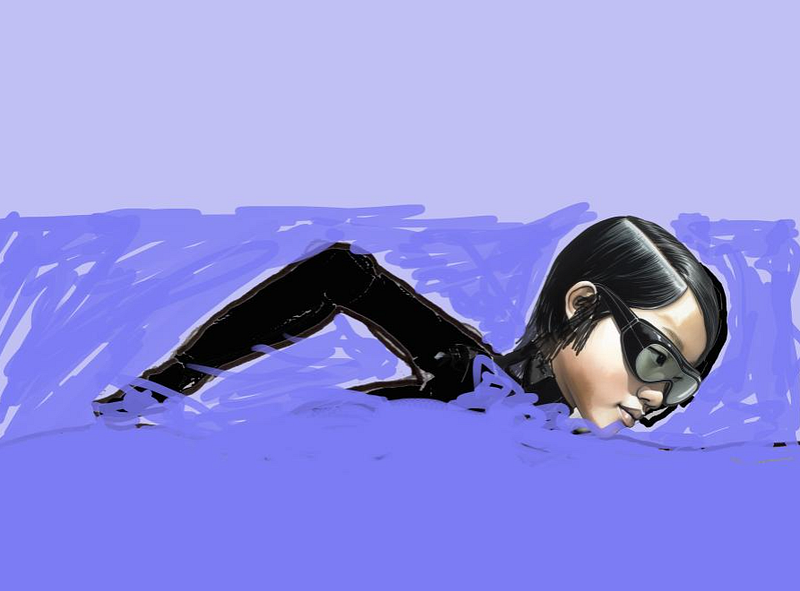
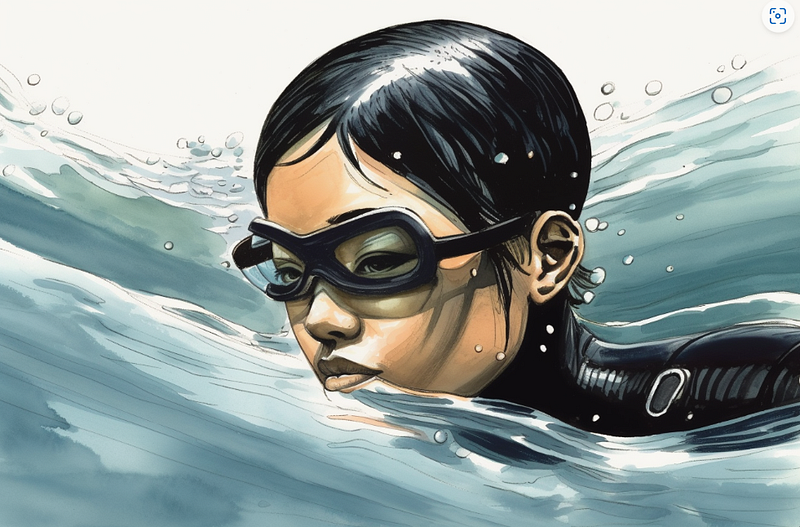
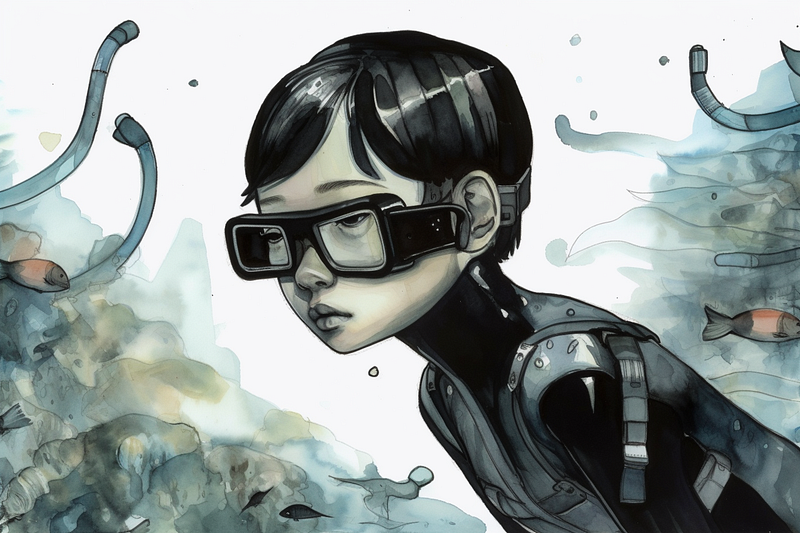
My main difficulty currently is creating some quality and style consistency across versions V4 and V5. In the title image, there is a mix. The girl in the wetsuit has been created entirely in V5 and I cannot yet achieve a similar simple drawing style to the other 3 which began life in V4.
This is a work in progress. To be honest my production of pages has stopped as I redevelop each character in light of V5. Should I go back to using V4? Then the quality that V5 offers and the extra consistency is most welcome. I am experimenting and testing and I will share some of that here.
V5 has given me hands I can work with and a clear improvement in consistency once the character has been created. My commitment is to find ways of making V5 work for me. The quality and expressiveness is worth the effort. Other AI platforms give more simple functionality, but Midjourney adds creativity, style and quality.
I will take you through the basic steps of creating and introducing a character to scenes and actions. I would add a rider though, you will not crack this overnight even if you follow my steps closely. Different issues arise with each artistic or photographic style and a persistent creative approach is necessary to produce results.
First steps with V5
Beginners should start with the official documentation but be aware it still needs to be updated for V5, so some parts are no longer relevant.
Essential skills for this tutorial
Image prompts and blend
Useful time saving skills
setting up a custom option with [/prefer option set]
Seed commands for testing and minor tweaks.
All of the above can be found in my other tutorials, links below
Things to ignore
Upscaling — this is getting phased out it never really worked in V4. Use free web-based upscalers. Giving names to characters — don’t get me started on this.
Step 1: Creating a useable character portrait.
First goal: a quality starter portrait. This will be used as an image prompt for all the subsequent images.
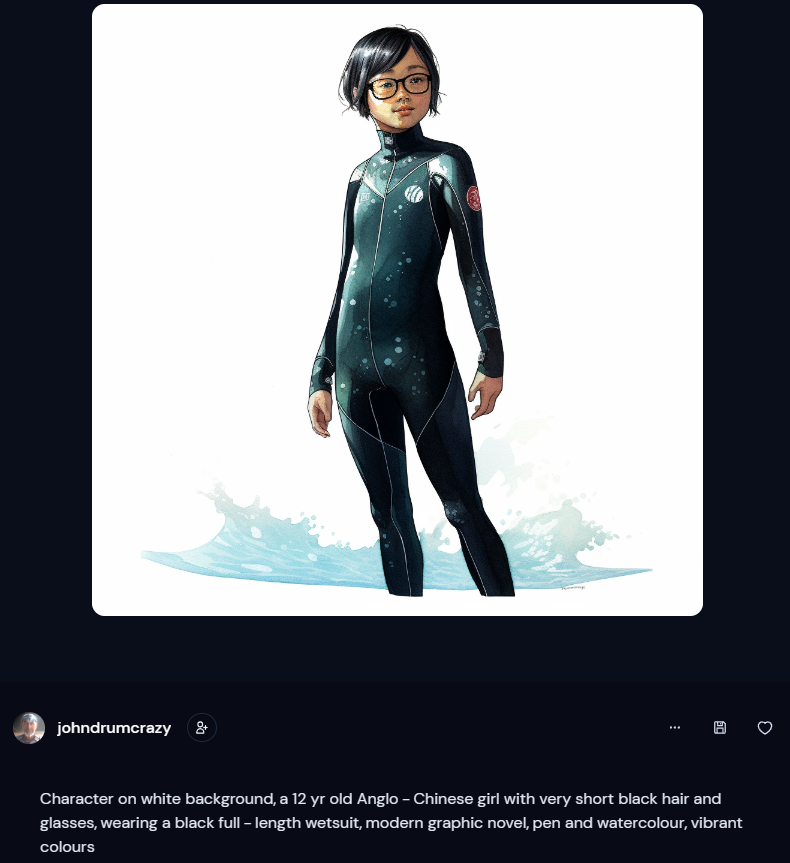
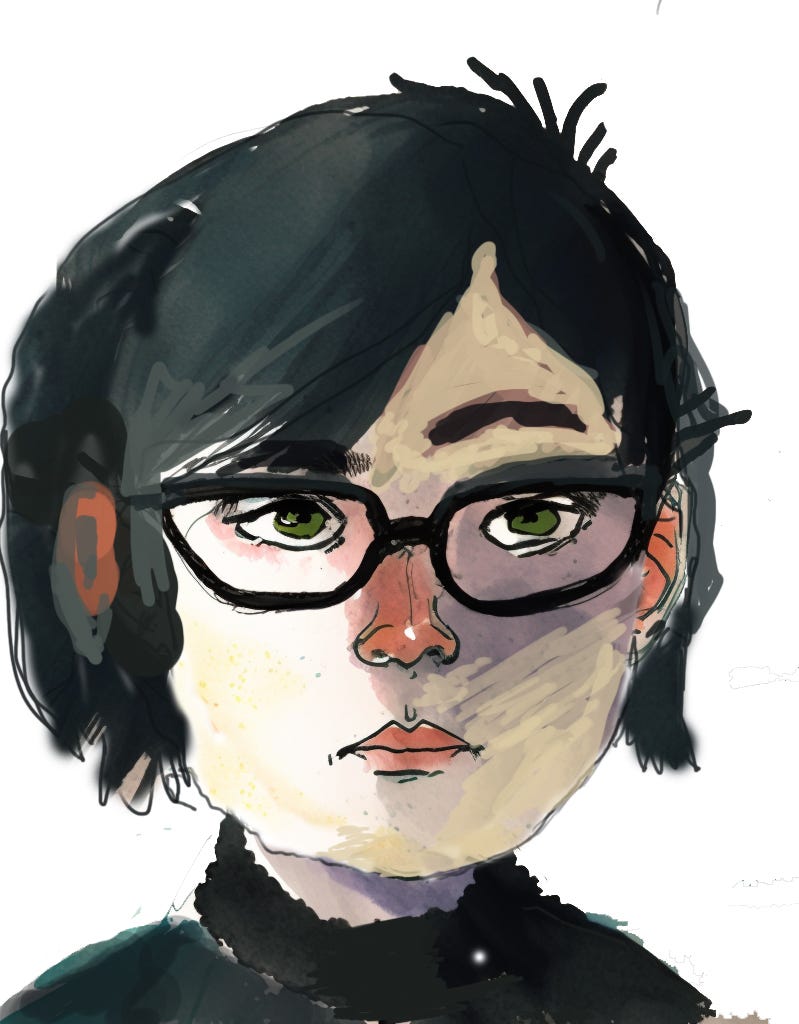
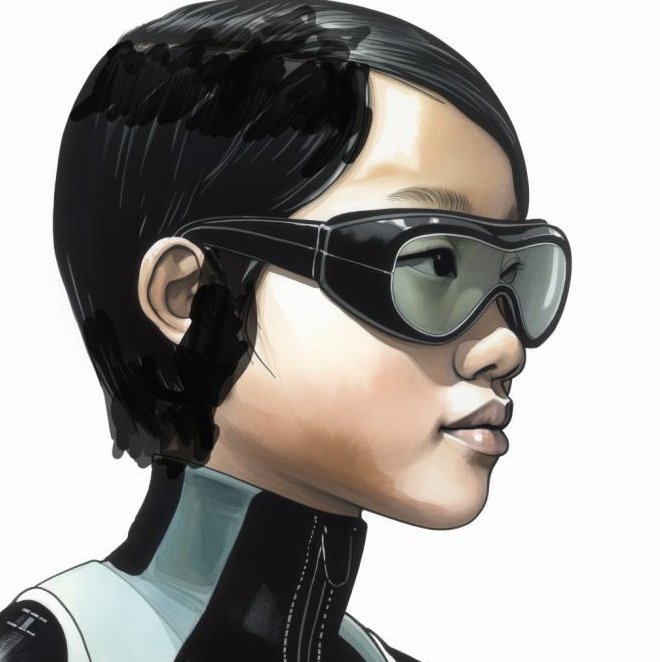
I began creating Jesse as a boy in another tutorial for V4 but was never satisfied with how it worked across scenes, so I decided to begin again. This female Jesse popped out fully formed but don’t be deceived into thinking it was a simple process.
character on white background, a 12 yr old Anglo-Chinese girl with very short black hair and glasses, wearing a black full-length wetsuit, modern graphic novel, pen and watercolour, vibrant colours — seed 1
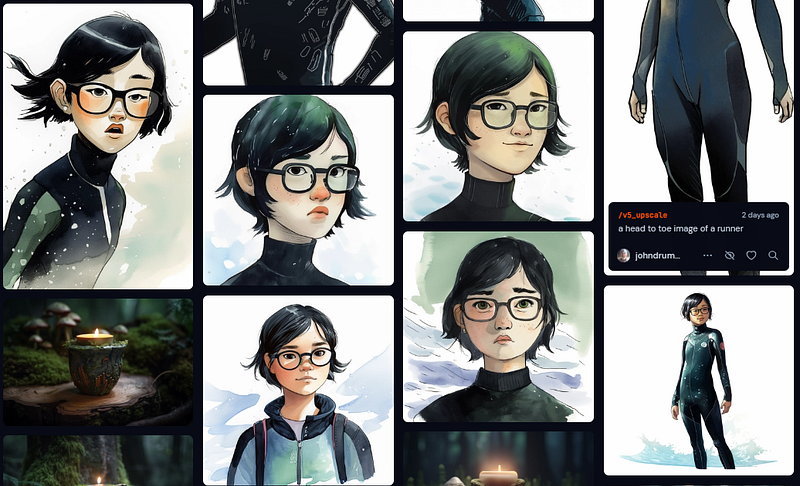
I had a full-body version of Jesse, I cropped her head and used that as an image prompt, but as you can see all attempts to create other poses were losing the facial characteristics I was after. The quality of the original image was too poor to be picked up by MJ.
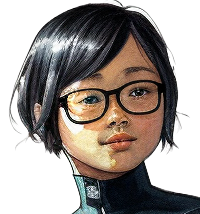
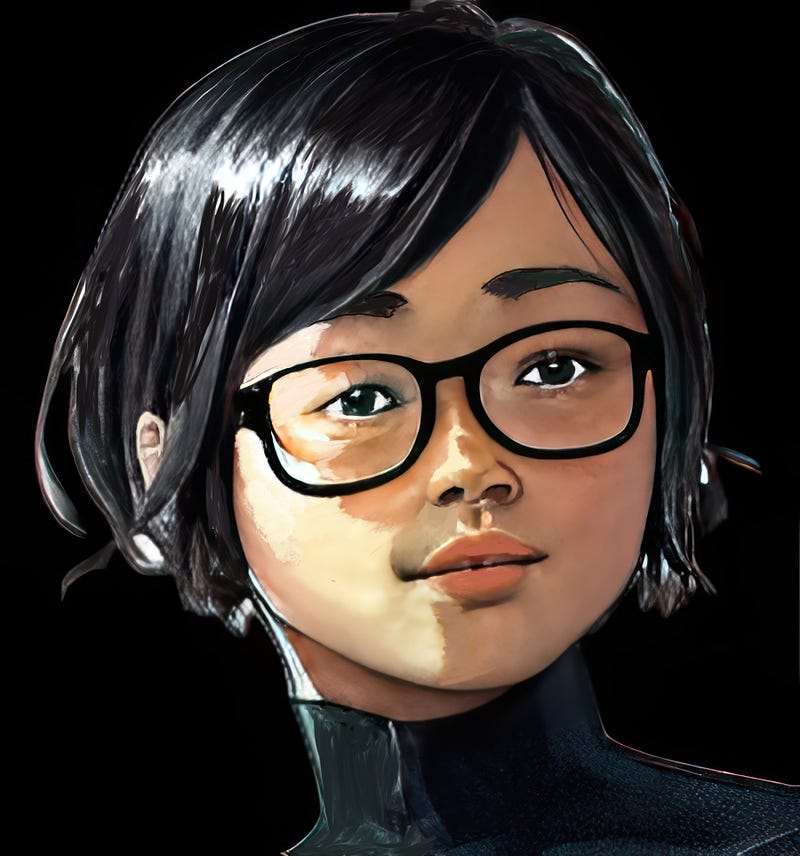
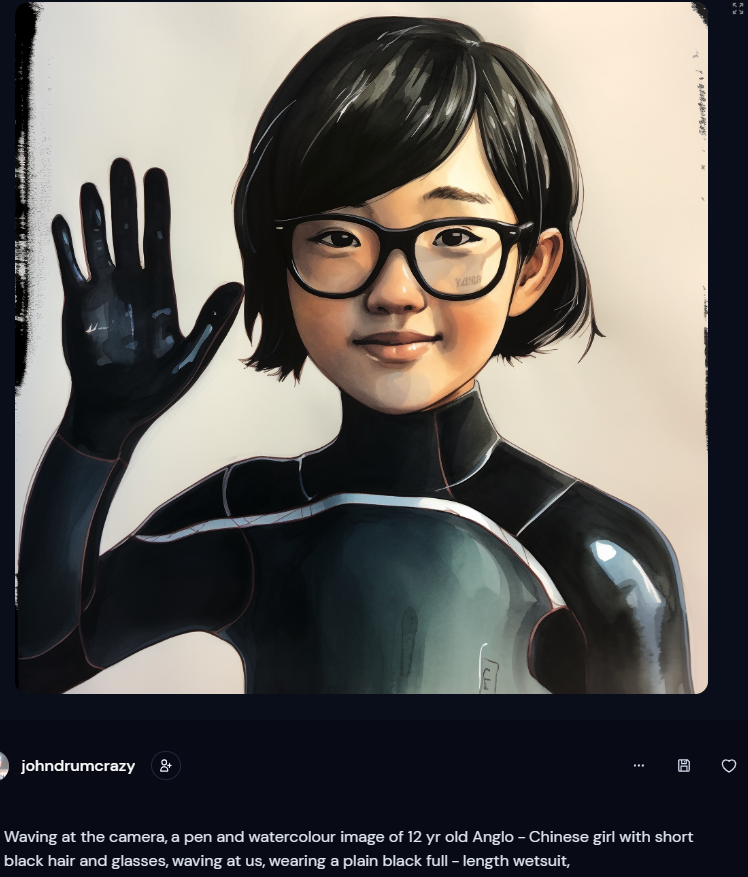
Because Jesse’s head was on a full body when I cropped it out to use as an image prompt, it was very low quality, 200 pixels square. I took it to Photoshop and Gigapixels, and with some effort, I created the image on the right, which is 7000 pixels square. That is a bit excessive I could have just popped it up to 1024 square, and it would have done the trick. Track down an online upscaler if you don’t have access to editing software.
Using this as an image prompt made a considerable difference in the consistency of the results.
This is one of many pathways to getting your starter portrait. Using the seed command can be helpful, asking for grids of a single character may help. The thing to get is that this is where the artistry comes in. It is an iterative process. You will never find that foolproof prompt or process that works every time.
I have taken several approaches and approached each character development process as a one-off. I have made sketches or hand-painted a portrait. At one point, I took 5 possible images and fed them all into a blend. I have put two pictures into Photoshop and created a merged image using a drawing tablet. Do whatever works to create an identifiable character you can work with.
The point to get is that MJ is not the artist. You are. You go through the process of making choices and decisions to achieve your artistic goal. MJ gives you ideas and tidies it up for you.
Once you have a good-quality portrait with identifiable features, you can move on to action poses.
Step 2: Action poses
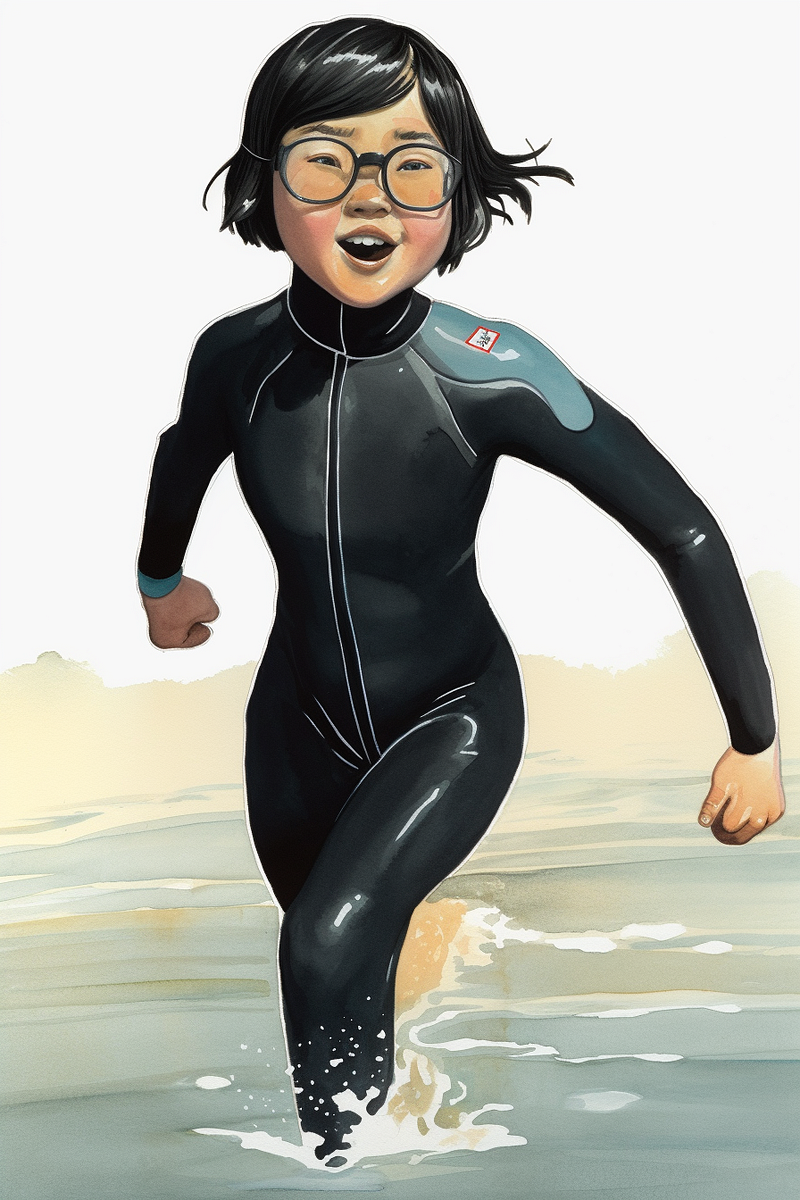
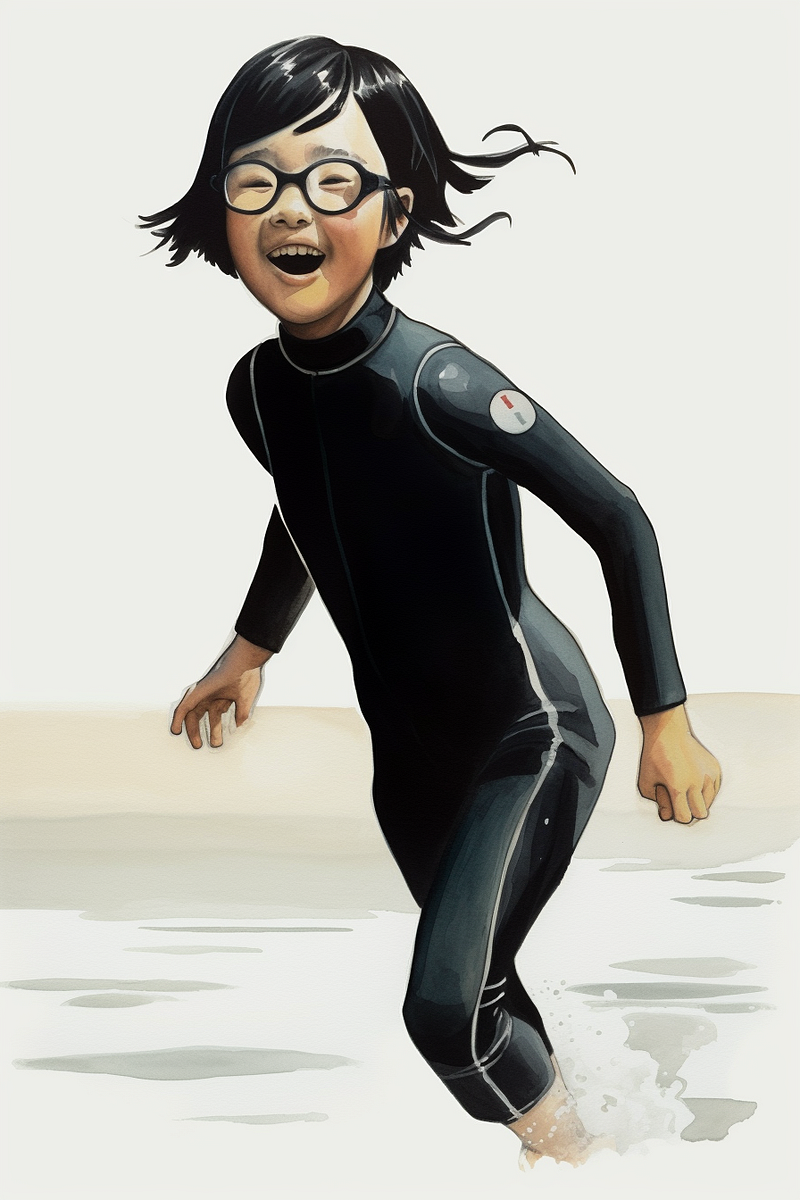
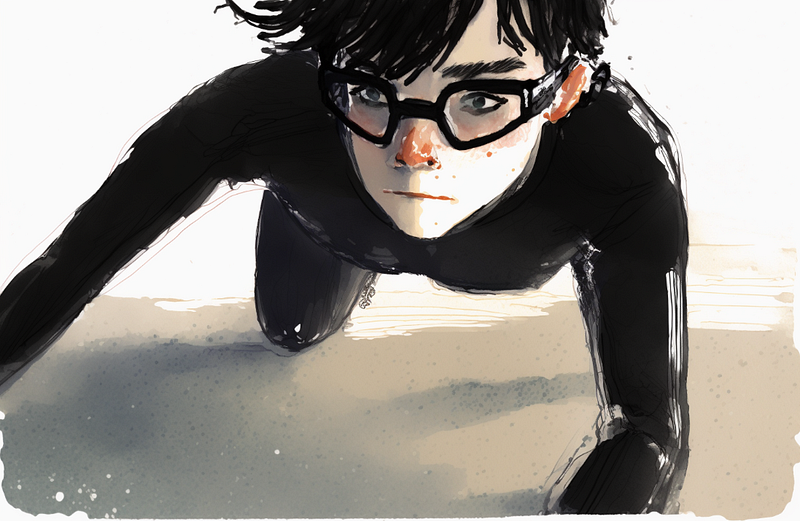
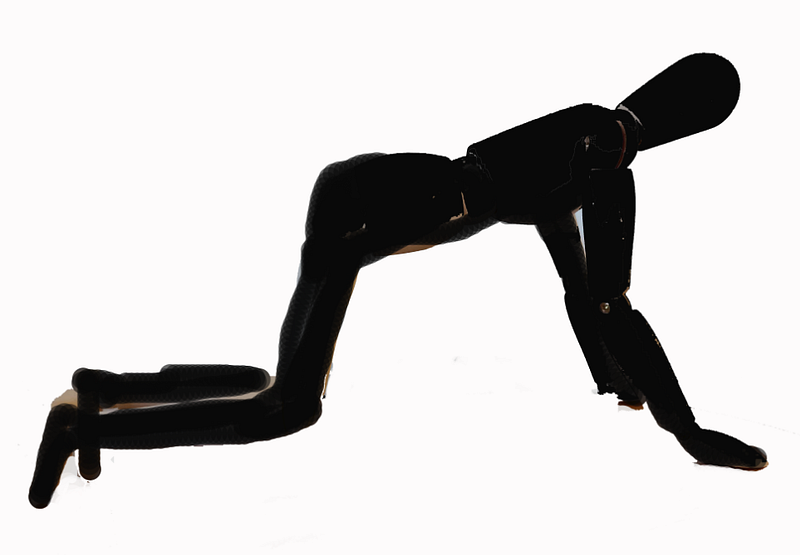
For running, I created a pose and digitally glued jesses head on it, then used that as an image prompt.

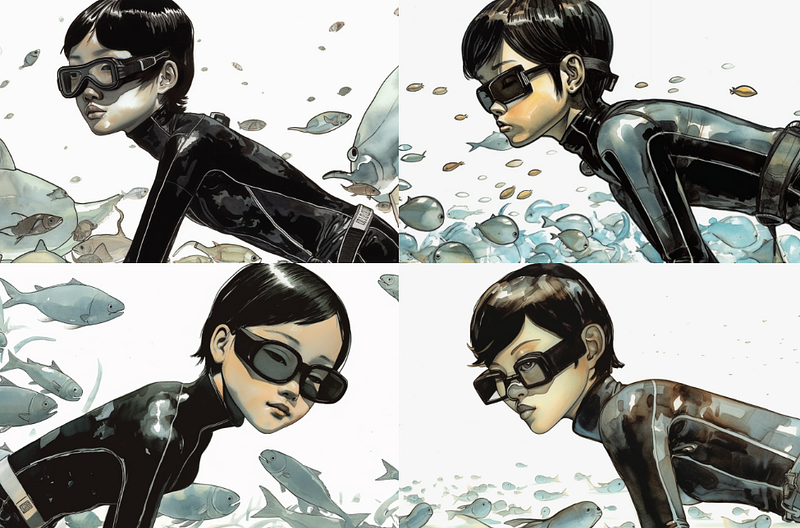
[original image] [pose image] [portrait image] a pen and watercolour image of 12 yr old Anglo-Chinese girl with short black hair and glasses, running on sand and shouting loudly, wearing a plain black full-length wetsuit, — ar 2:3
For any scene, I will now pump out several alternatives. Here are a few of Jesse running in their raw state. If I am going to use them as image prompts I will take them into photoshop and tidy them up.
This process tends to merge into the next one.
Putting action characters in scenes
Now you create a scene and introduce the character to it. I wanted Jesse swimming in the sea so I prompted with these two images and the portrait image.

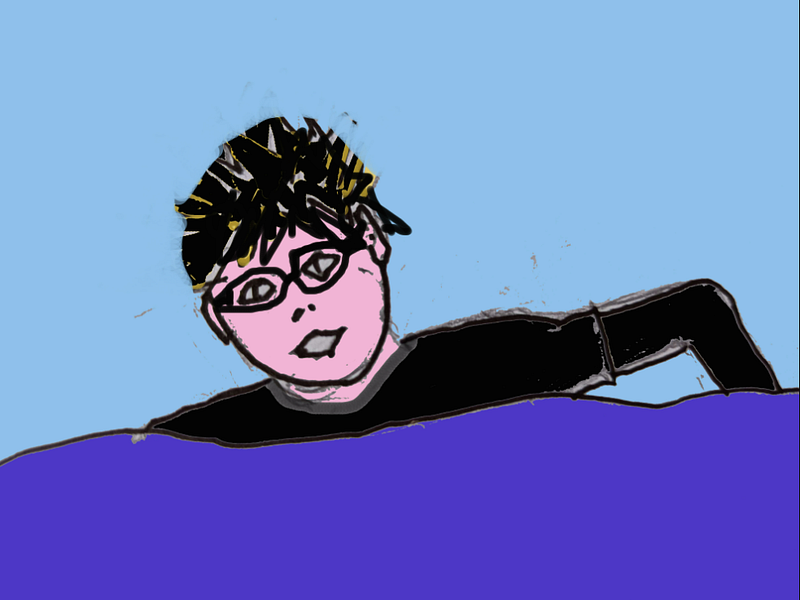
It didn’t work. Perhaps V5 is taking too much notice of images now. It came out too much like my rubbish sketch. And it wasn't getting the goggles at all. I created a new portrait wearing goggles, and cut and pasted it onto my simple sketch. I then prompted with the goggle portrait, the swimming action and the blue sea image
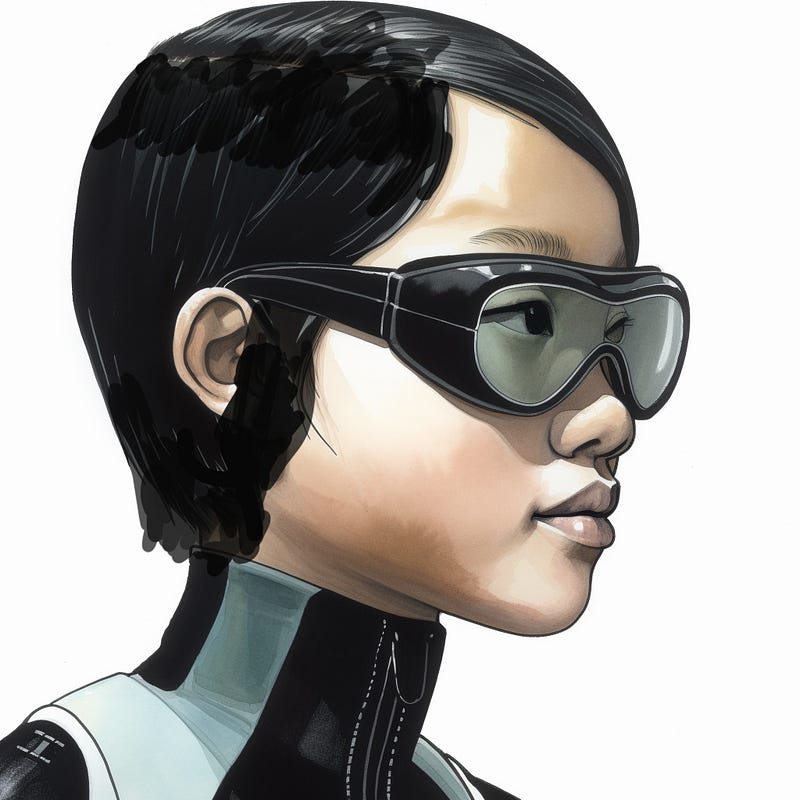
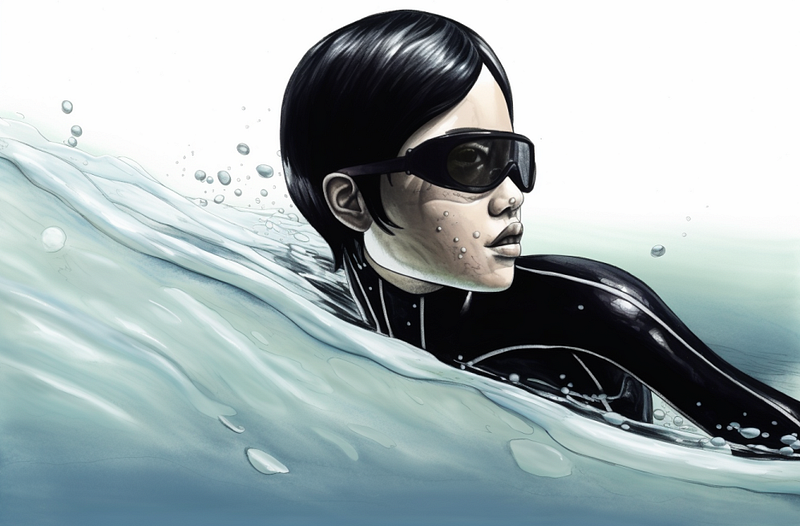
I began to get the right feel with this as the text:
a pen and watercolour image of a 12 yr old Anglo-Chinese girl with short black hair and goggles, wearing a plain black full-length wetsuit and swimming energetically in the ocean — ar 3:2 — stylize 1000 — v 5
I like the way MJ flattens her hair down because it is wet.
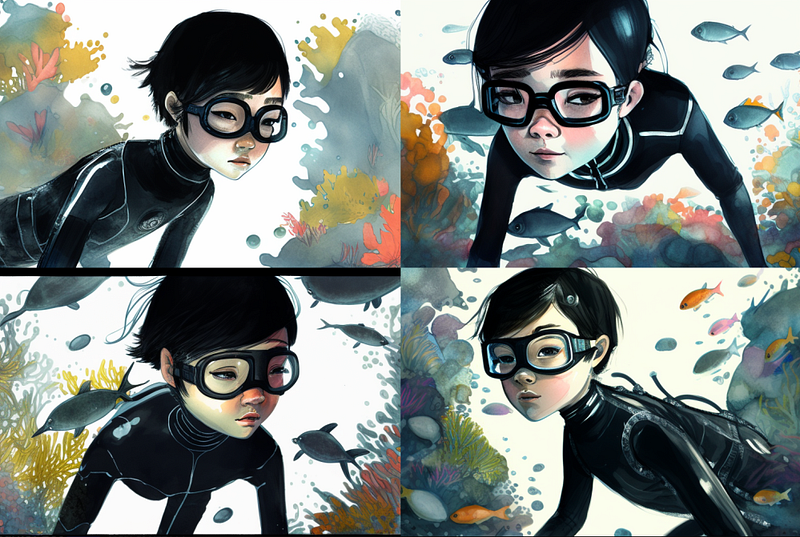
I also wanted some underwater swimming and tried a host of methods to get this. The first attempts were all a bit bland.
I even went back to V4 with the idea of using V4’s imagination and then upscaling it through V5.
That didn’t work though. It seemed to lose all the facial characteristics pretty quickly.
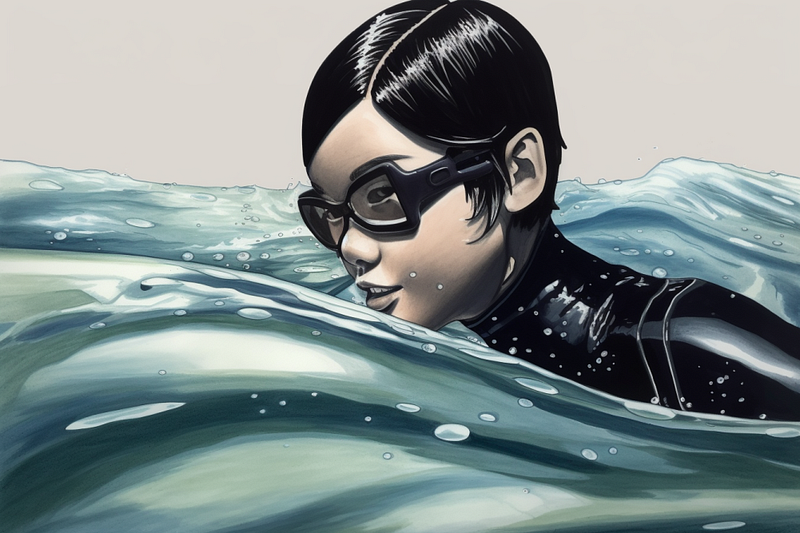
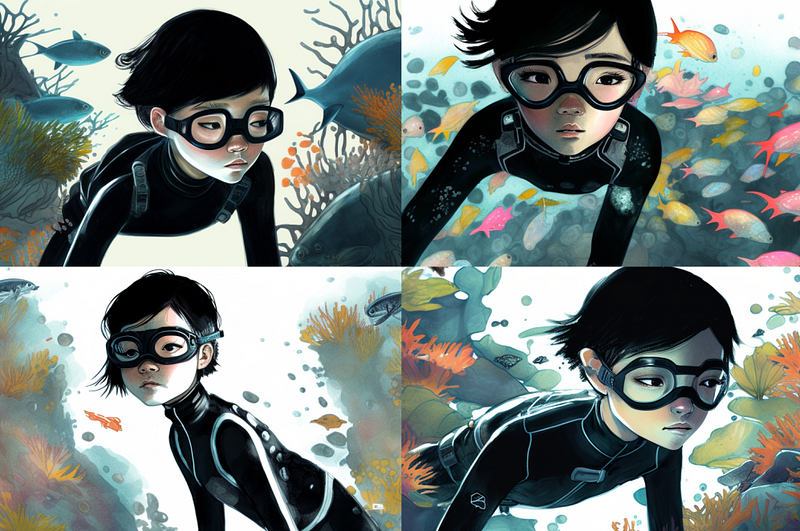
Finally got somewhere with this prompt and four images.
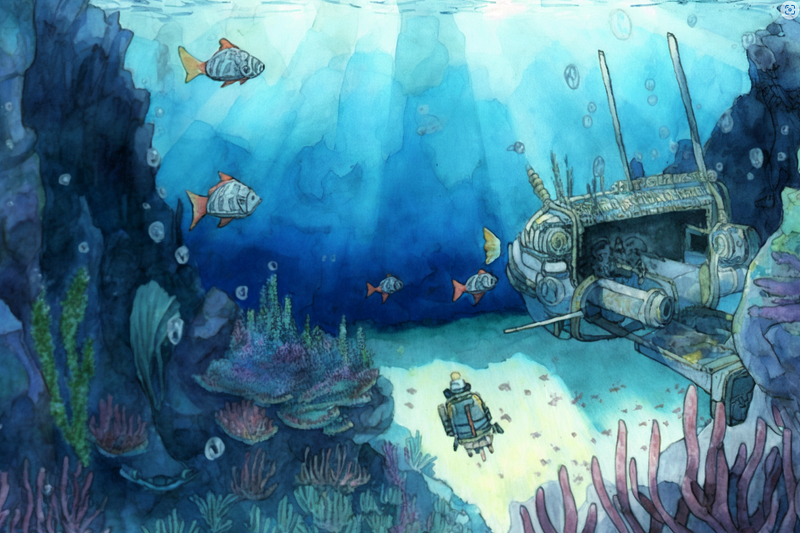
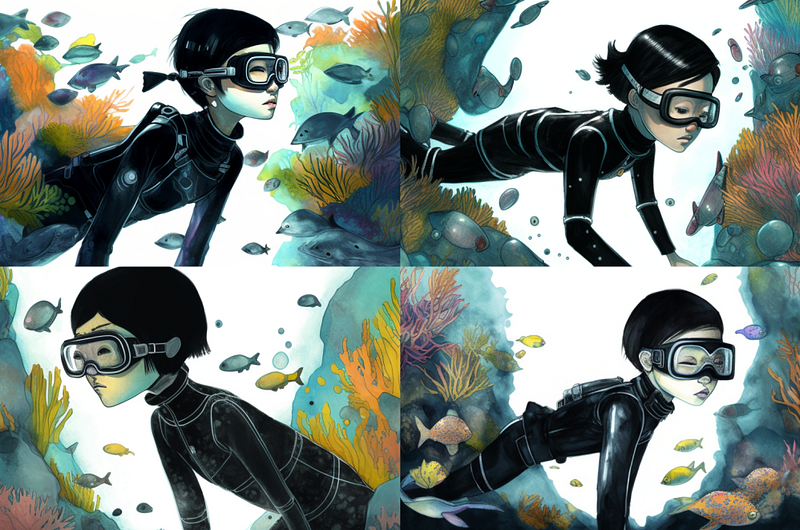
a pen and watercolour image of a 12 yr old Anglo-Chinese girl with short black hair and goggles, wearing a plain black full-length wetsuit and swimming underwater, amongst colourful fishes, and seaweed — ar 3:2 — v 5
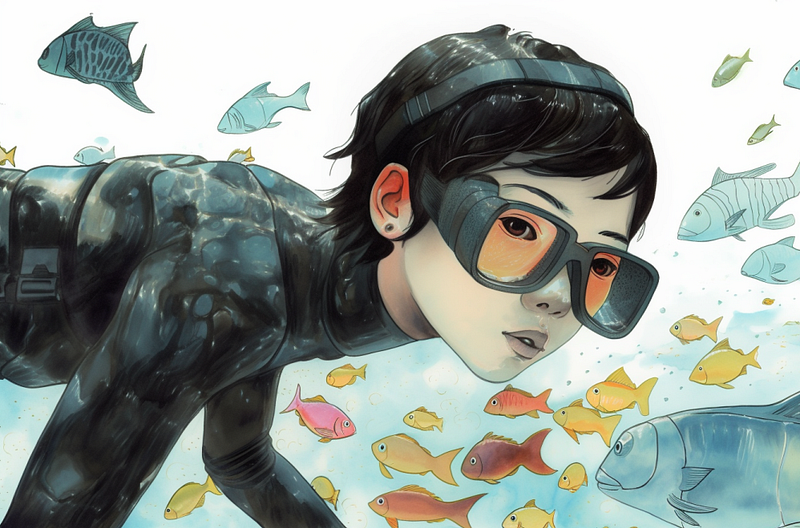
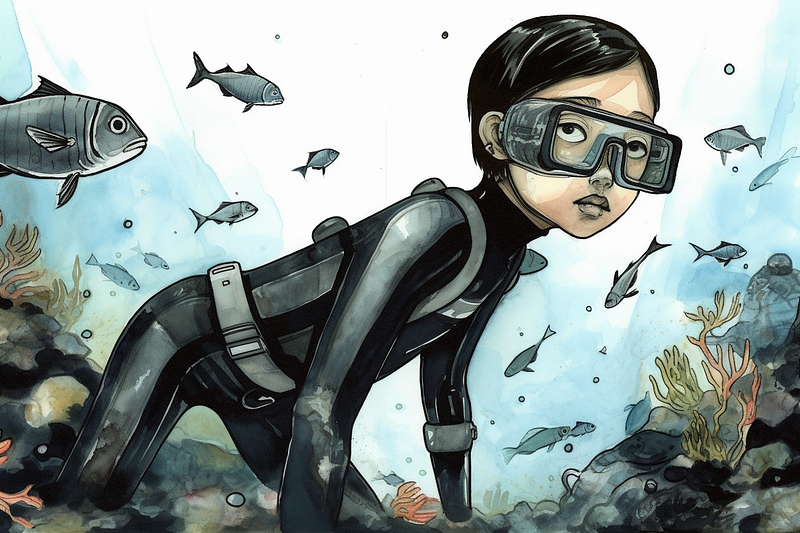
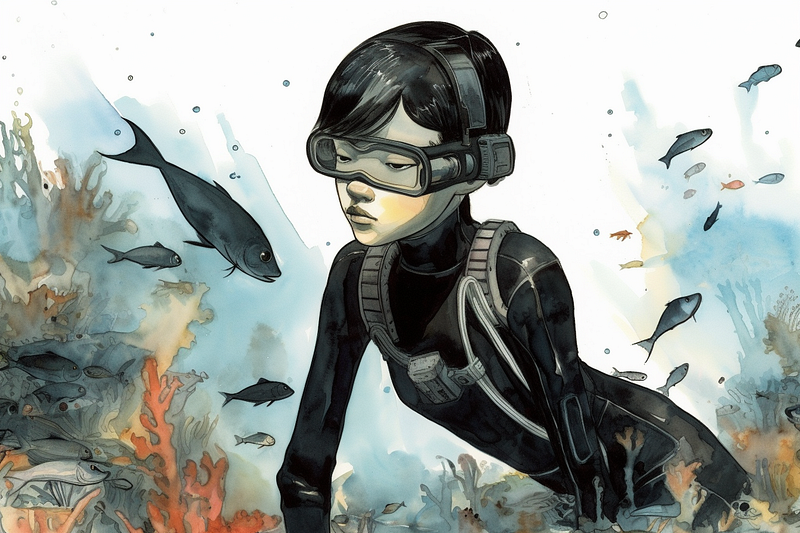
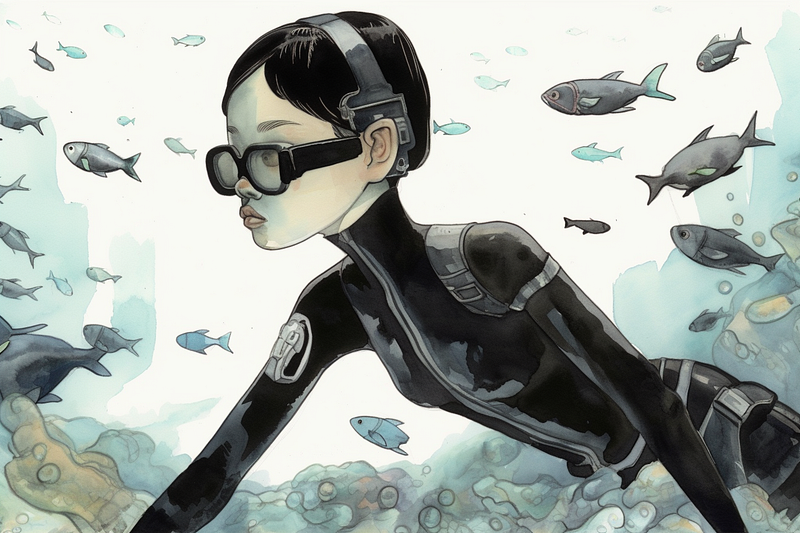
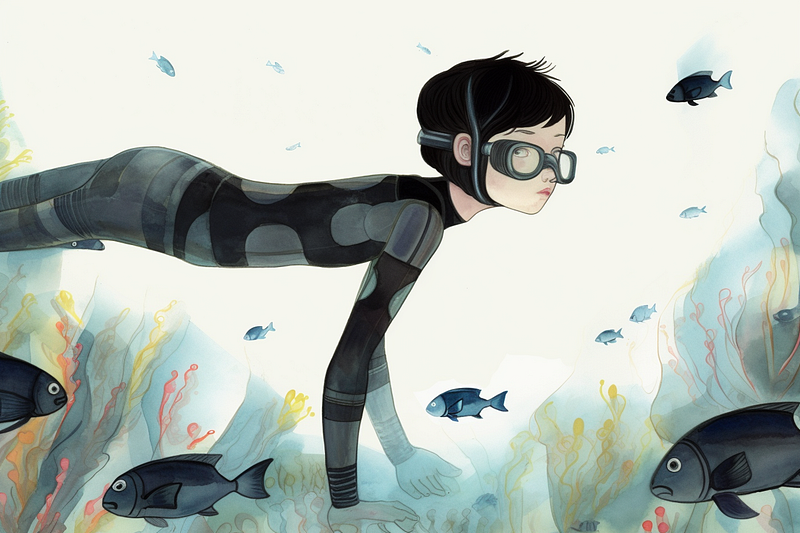
The main problem here is differently shaped goggles and the way V5 seems to think this young lady is going to an S+M party and needs to be dressed for the occasion with belts and straps. For me, there is probably enough here to work with in photoshop, but I may decide to change that first prompt image.
I also need underwater images of her pulling on a rope and swimming to the surface with it. So I have created my basic prompting method in order to create these.
Thanks for reading to the end. I hope it has given you enough to work on and create your own characters in V5. MJ is a great tool but you need to think like an artist because MJ can’t, it’s just following your lead.
I have proven to myself through this process that V5 does have more possibilities for consistency, but it takes a lot more nudging to get creative. Also, I have shown that my initial drawings and character roughs need to be better quality because V5 maybe takes too much notice of them.