
How and When to Use Blend or Image Prompts in Midjourney
Is there a difference? Why do I need both?
I use the /Blend command when I am out and about on my mobile phone. Image prompts are possible on mobile but very fiddly. With lots of experimenting, I have also found it speeds things up on my PC. I have tested and proven there is no difference in the resulting images.
This is an advanced tutorial. I have put links to previous tutorials in the links at the bottom. I recommend working through the latest Midjourney documentation also.
It took me a while to work out how to use the /Blend command productively. Unlike image prompts you cannot add any text to the prompt. My first experiments were gloopy. I had no way of controlling or directing the output.
I tossed the blend command into a little drawer I have for things I label “interesting toy — look at it again one day.” Unlike most of the other apps and software gathering dust in that metaphorical junk drawer, I kept pulling it out and giving it another try.
How to add text to your /blend command
Instead of /Imagine you type /blend You follow this by selecting up to 5 images from your files. You press return and see what you get. You keep rerolling like pulling the arm on a one-armed bandit until you strike gold.
My first revelation was using the Remix function. It was obvious, really. After the first roll of the MJ dice you click v1 v2 v3 v4 and add in the text you would have put in at the beginning if you had been using Image prompts. It wasn’t great because it felt like the first roll was very poor quality and then you were trying to rescue what you had been given.
My second and final transformational revelation was to use the /prefer suffix command. You can add a whole prompt here, and when you generate any images afterwards, MJ automatically adds the prompt words.
I will demonstrate the use of that command below.
Testing whether the output of blends and image prompts differs.

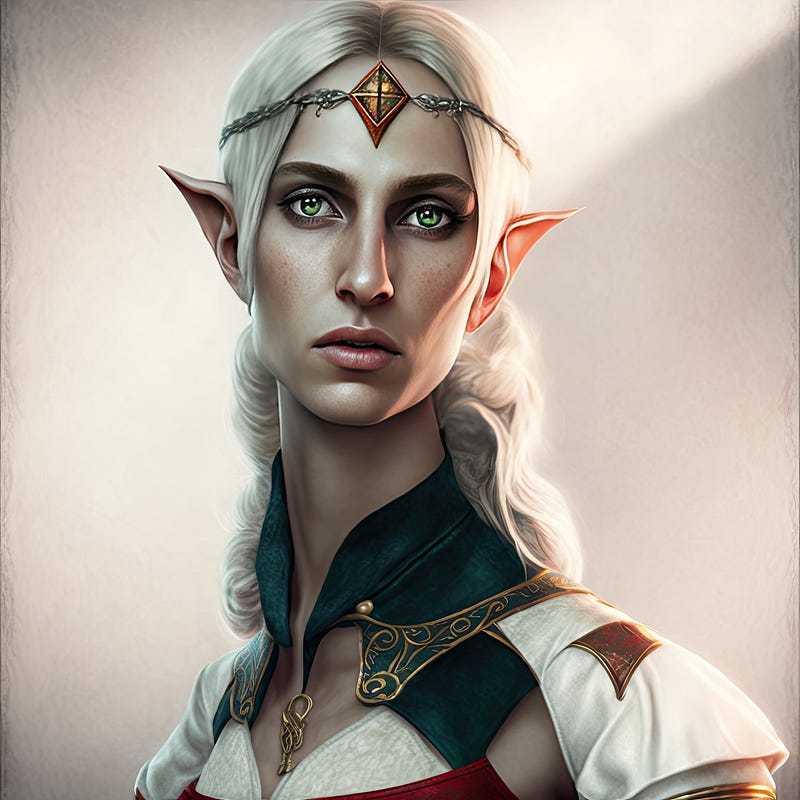
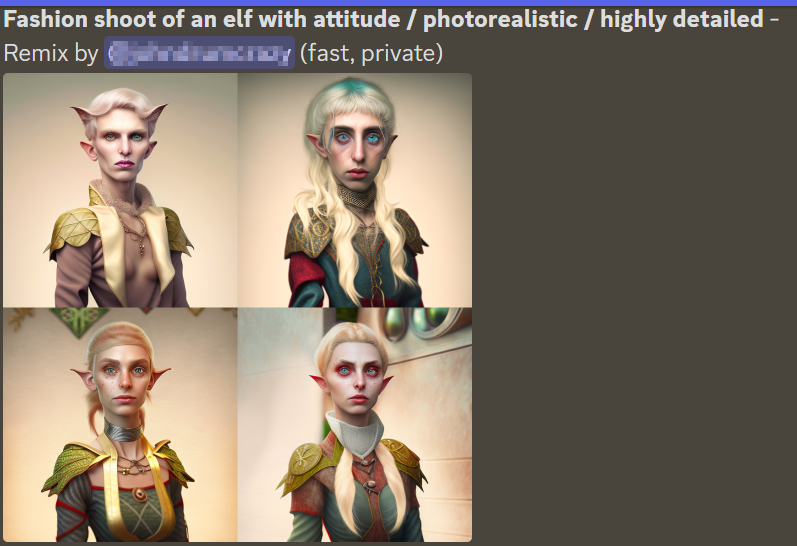
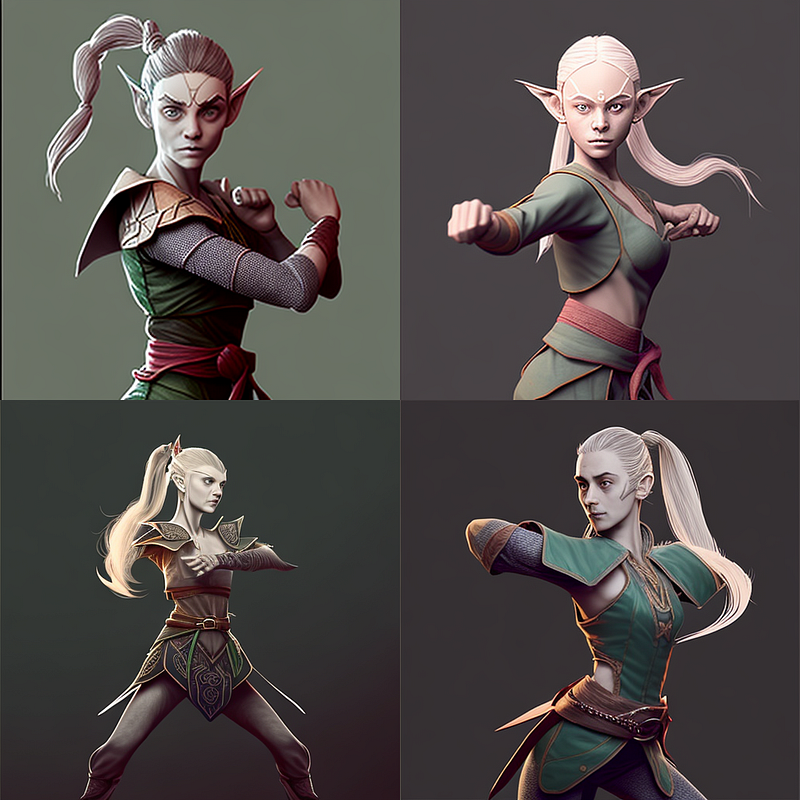
I used these two images aiming to create an elf with attitude.
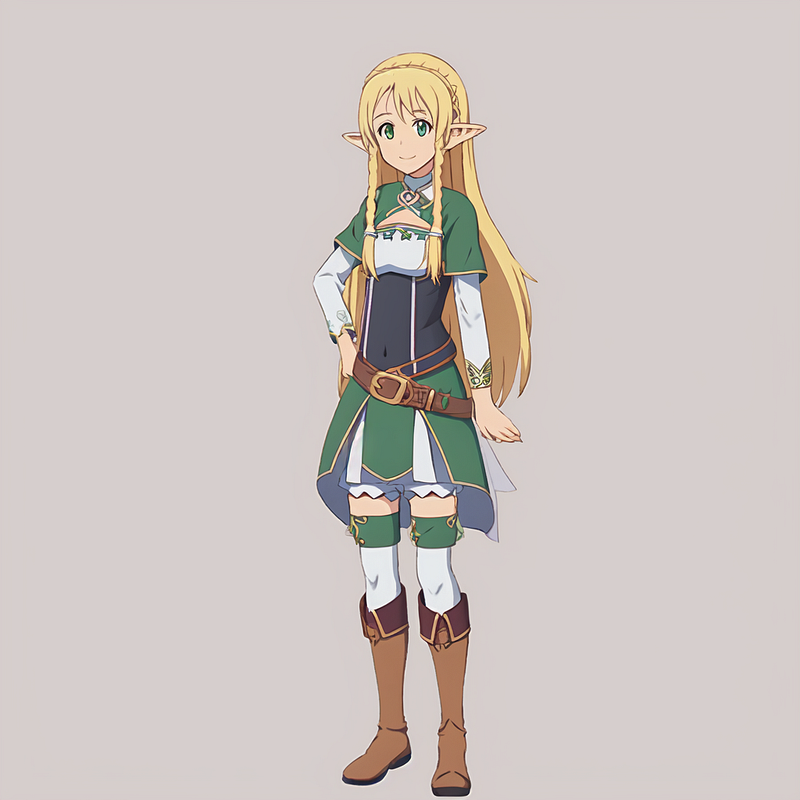
I entered both into a blend and then into an image prompt and as you can see there was no difference. Both were produced with seed 100 and no other prompt words and so are identical. So from here, I could use an image prompt or blend, depending on convenience.
Getting the words in
I then tried remixing number 2 and adding in prompt words and it wasn’t a great result.
The next step was realising that I could put the whole prompt in right at the beginning and I would not be not trying to rescue something from the ashes.

Now I popped in the two images and a pretty good grid set came right off the bat.
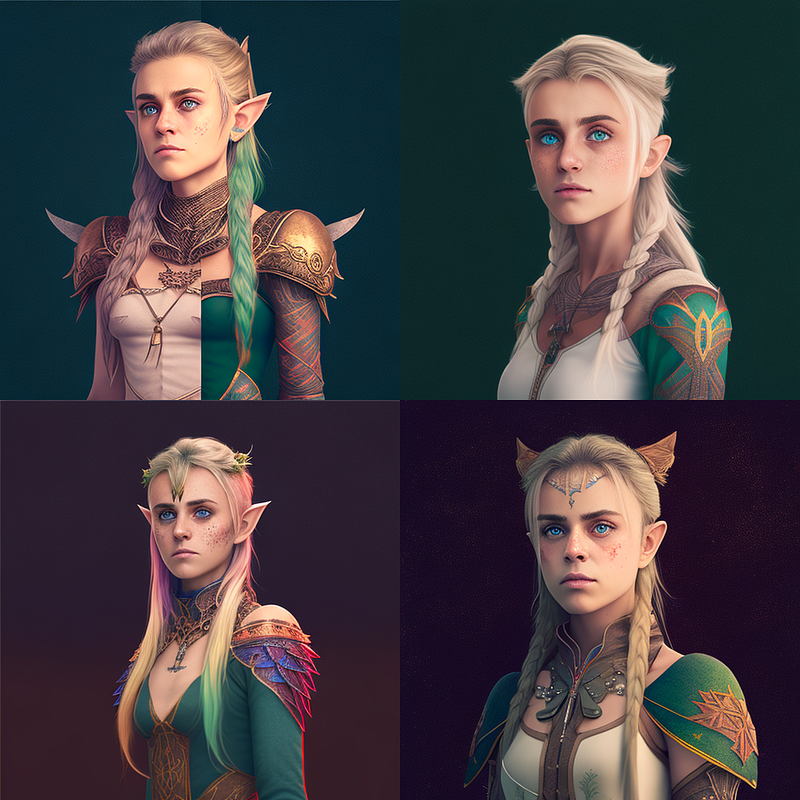
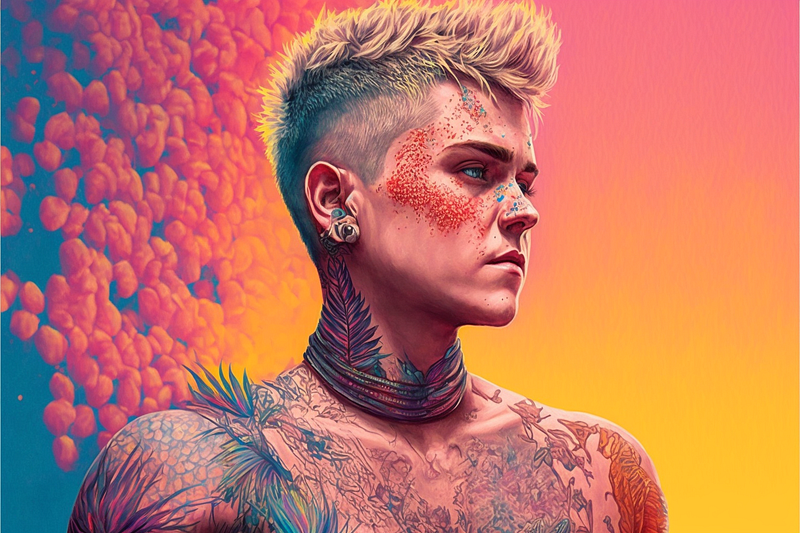
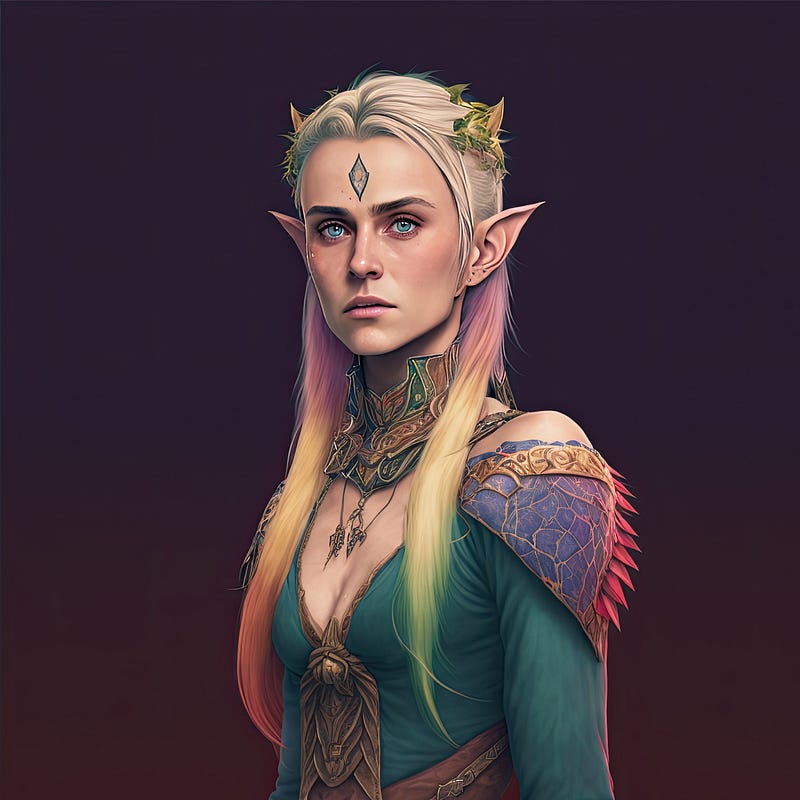
I chose number 3 and cleaned her up a bit in Photoshop and she is now good to go as the base image prompt for my character Elf with Attitude. In contrast, the title image was created from a no-prompt blend but it took a dozen remixes to achieve her long-necked beautifullness
A common problem is shit-on-the-face and I see that my source image was the source of that. It is rare that I use an image in anything other than these articles without editing it in Photoshop.
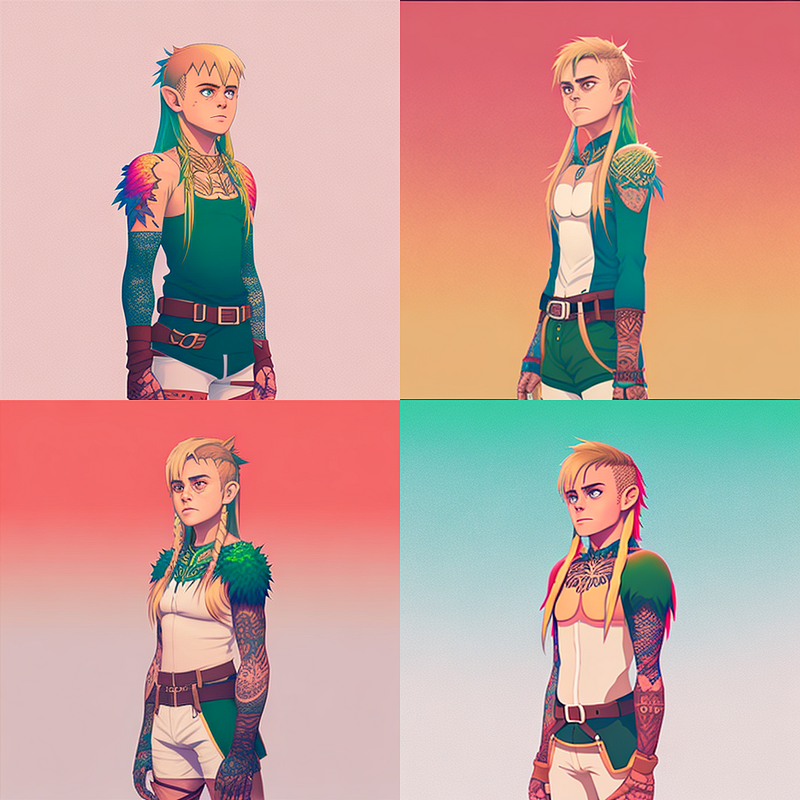
Just for fun I created a new suffix

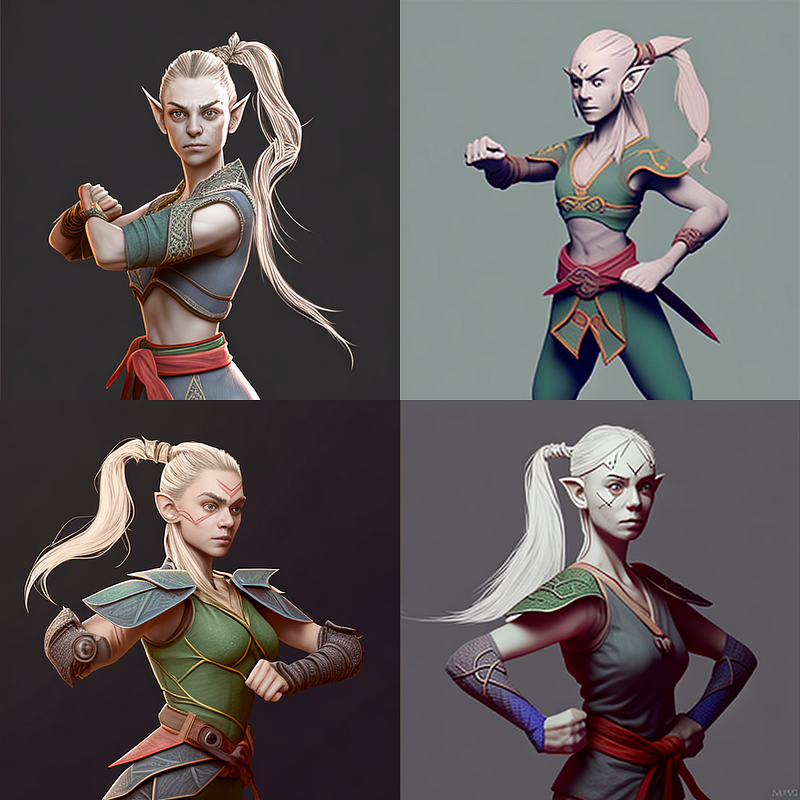
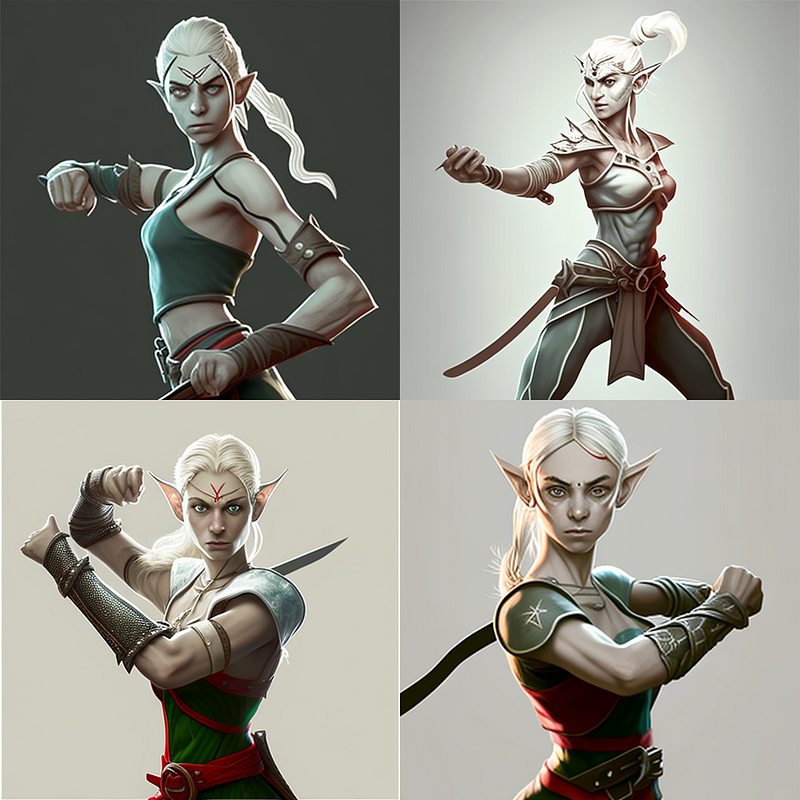
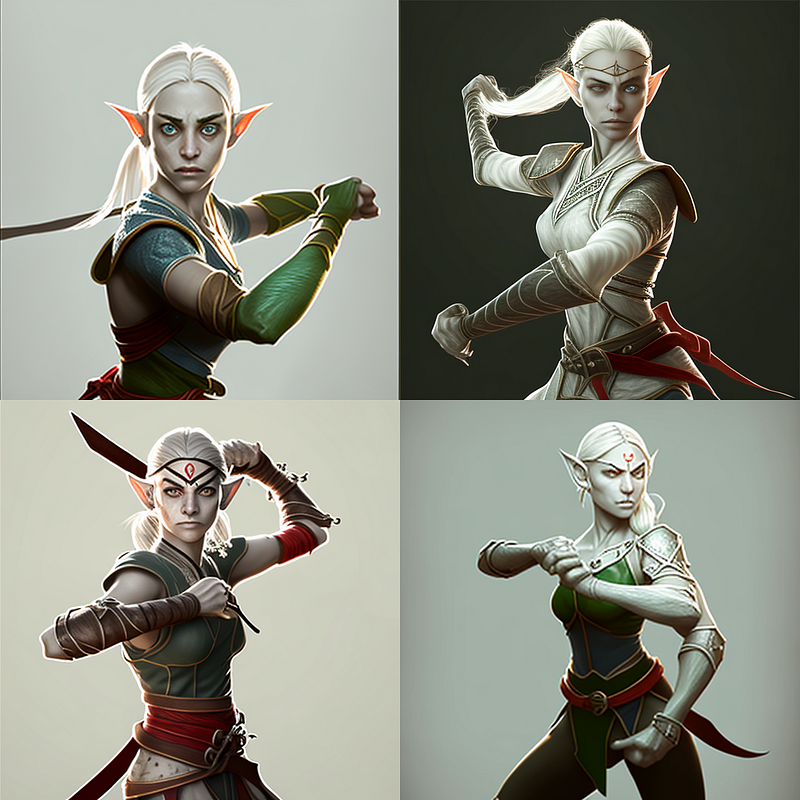
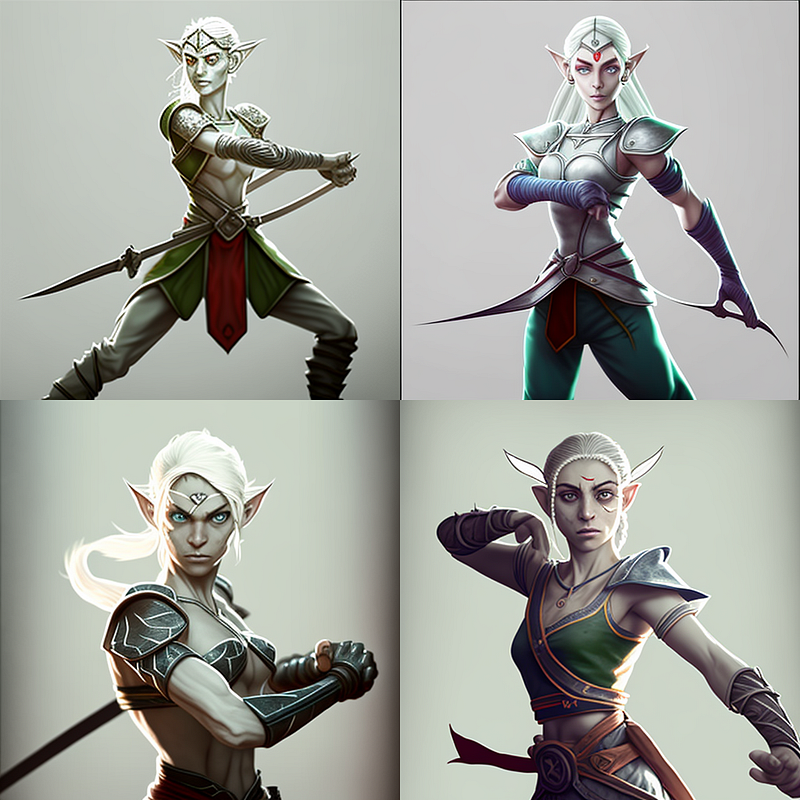
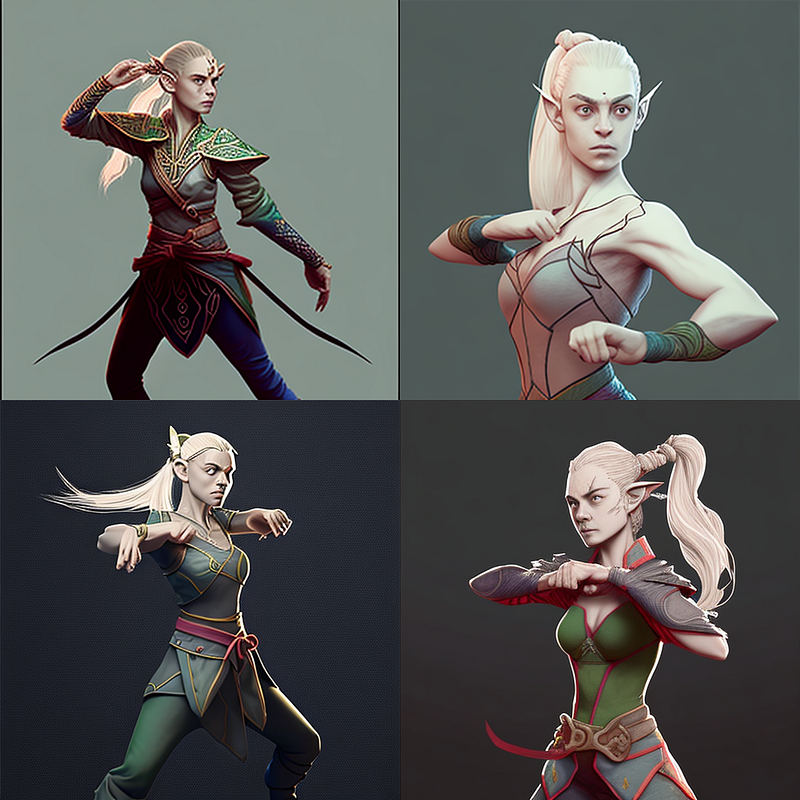
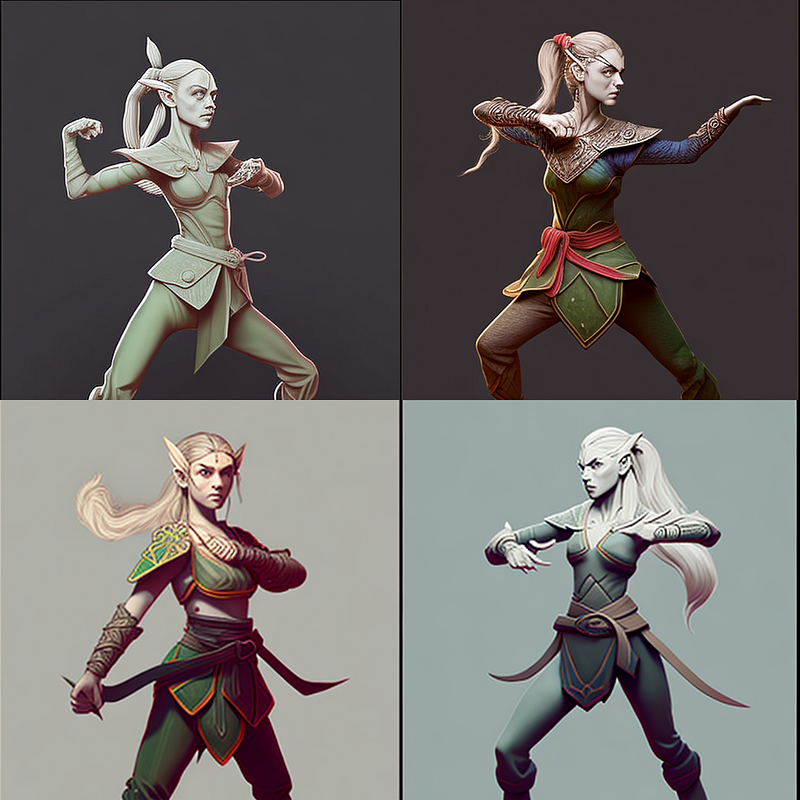
I blended my two character portraits individually with a single-line drawing of a fighting stance. Here are a few of the results. Masses of editing going to be needed to get them up to standard but its a good start.
Notice also that all of my character models have no background. Every background you introduce has an effect on your character so I have found it essential to create all my character poses clean before introducing them to a background.
Thanks for reading to the end. If you want to read more about action character shots, read this:
If you join Medium by clicking below, you can read as many of my articles as you like. It also has the benefit that you could write your own articles and earn your subscription back.