
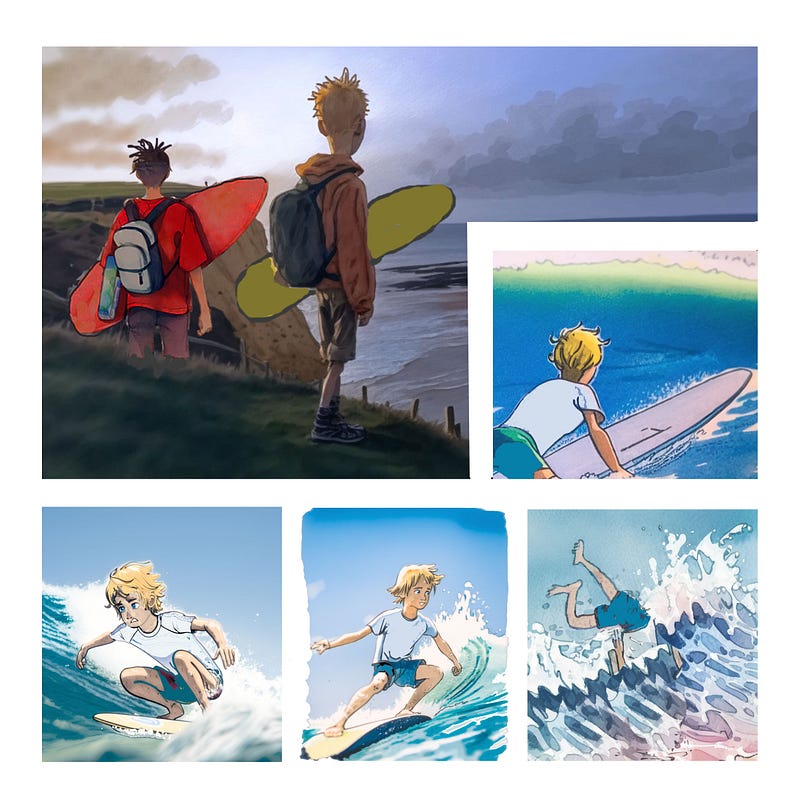
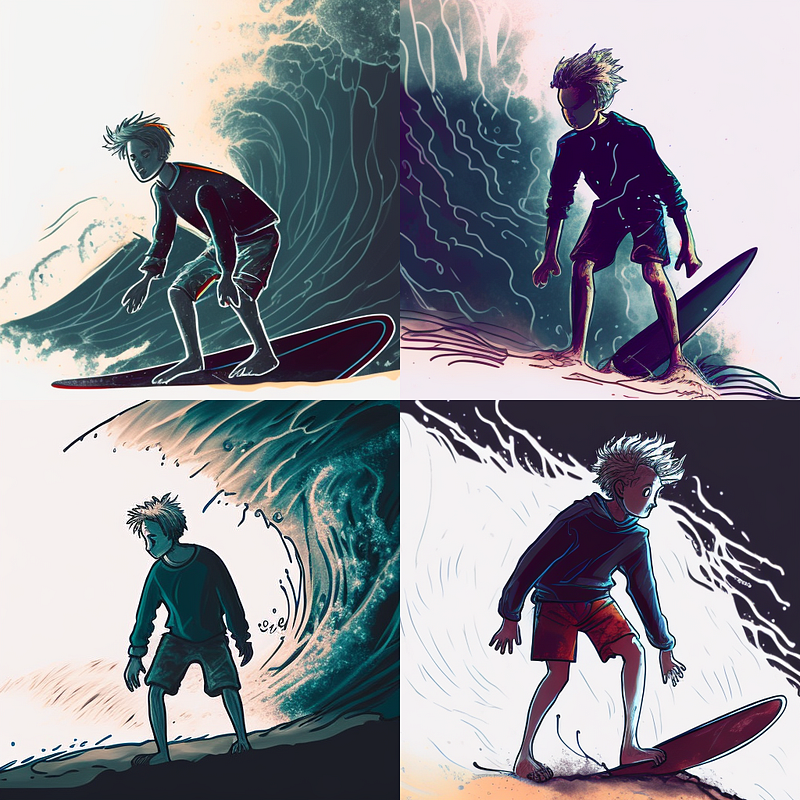
How to Create Action Shots in Midjourney Using Niji.
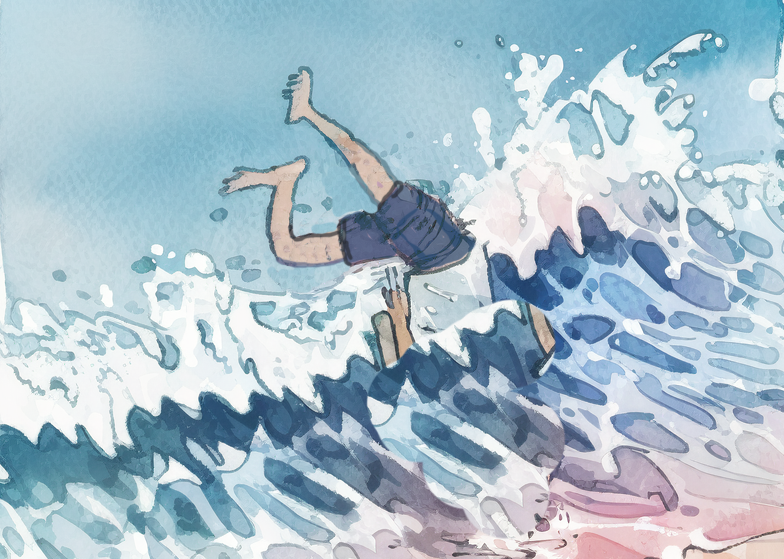
My character Jack goes surfing.
Niji is embedded in the Midjourney AI art Generator and specialises in creating anime drawings and action Images.
This is an advanced tutorial. I have put links to previous tutorials on creating characters in the links at the bottom. I recommend working through the latest Midjourney documentation also.
Midjourney is not an Image editor. It is a crazy ideas creation machine that can pump out hundreds of possibilities for every thought that passes through your brain. Some people wander into this gorgeous candy shop and are lost forever. Gorging on all its loveliness and never able to make coherent choices about anything ever again.
“Wow! That’s amazing, but what if? Could I make it ……? and could I make it do….?”
Decide on a project. Create an outline of a story and, crucially, create your own specific style. By creating consistency in your working methods, you will see consistency in your output.
Basic requirements:
- Able to use Image prompts
- Have some way of “cut and paste” editing outside of Midjourney
- Working knowledge of the /Blend Command
- Willing to create your own style with the /prefer suffix.
Creating your specific style as a /prefer suffix
This is the key to creating consistency and is also the only way to get some control over the /Blend command. In Blend you just upload up to 5 images and press go. There is no opportunity to add prompt text.
So in creating the images for Jack in the title picture, and a story I am working on, I developed a routine using the /prefer suffix.
I then experimented with Blend and the standard Image prompt to create a good batch of usable images.
In discord you type/prefer suffix, and then you type in any parts of a prompt that will be common to the whole series of images
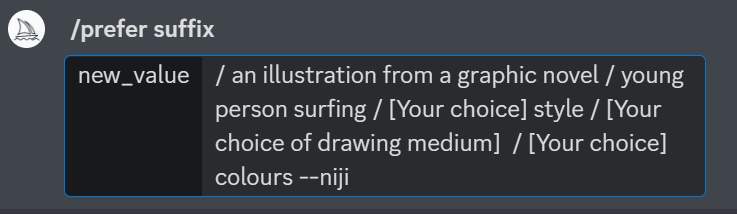
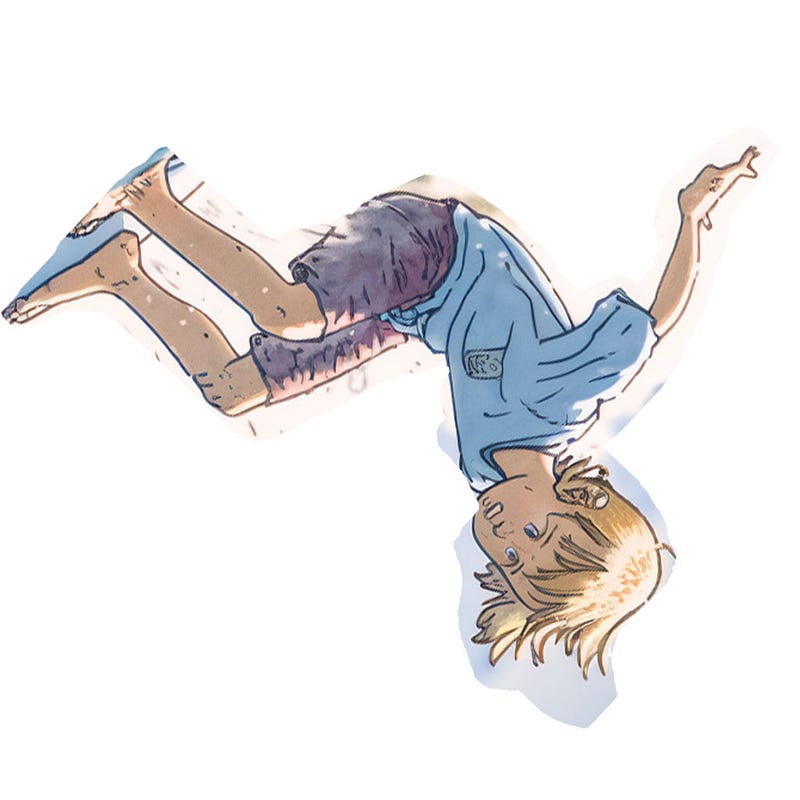
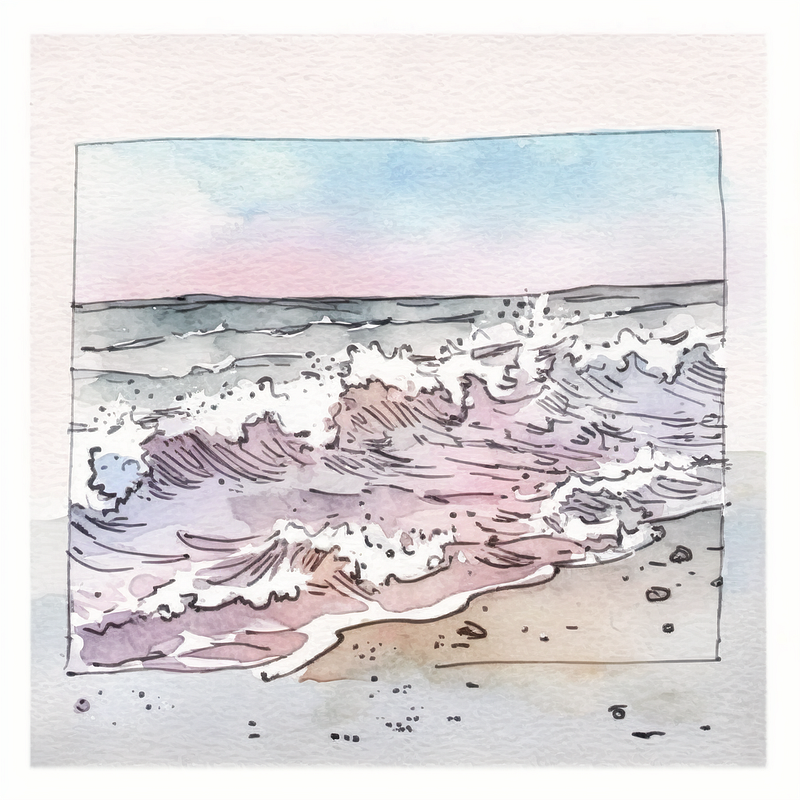
Once this is set up, any Blend or Image prompt you instigate will have these instructions attached automatically. So for some raw material for images of falls, I used an image of Jack on a board that I roughly cut out and rotated, plus the middle picture of the sea below. With /Blend using those two pictures I produced the picture on the right. There was also quite a lot of editing in Photoshop. The shorts were too dark, and their legs were too long. I also hid the head under the waves for the effect I wanted.
Analysing the /prefer suffix
- An illustration from a graphic novel — this is my preferred genre, you can use Manga, anime, Studio Ghibli or any cartoon, or comic, genre you can dream up.
- Young person surfing [your chosen activity]— with this in place I created hundreds of different shots, and it kept some consistency.
- Style — not saying what style I put here because the whole thrust of this article is to encourage you to create your own style. You could use a date as a reference if you want something retro, or a country of origin if that’s your thing.
- Your choice of drawing medium — Try stuff! Papercut, 1920’s political cartoon, pencil with a colour tint, graffiti art ……
- I changed the colour description depending on the scene, anything from dark and moody to bright lovely sunshiney colours.
Choosing pics for your blend or image prompt
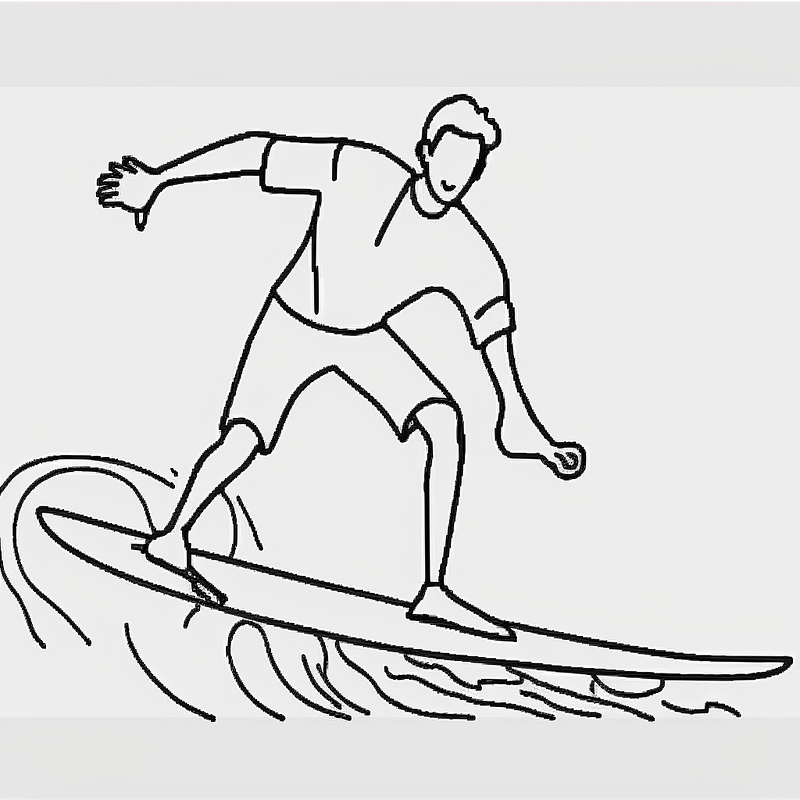
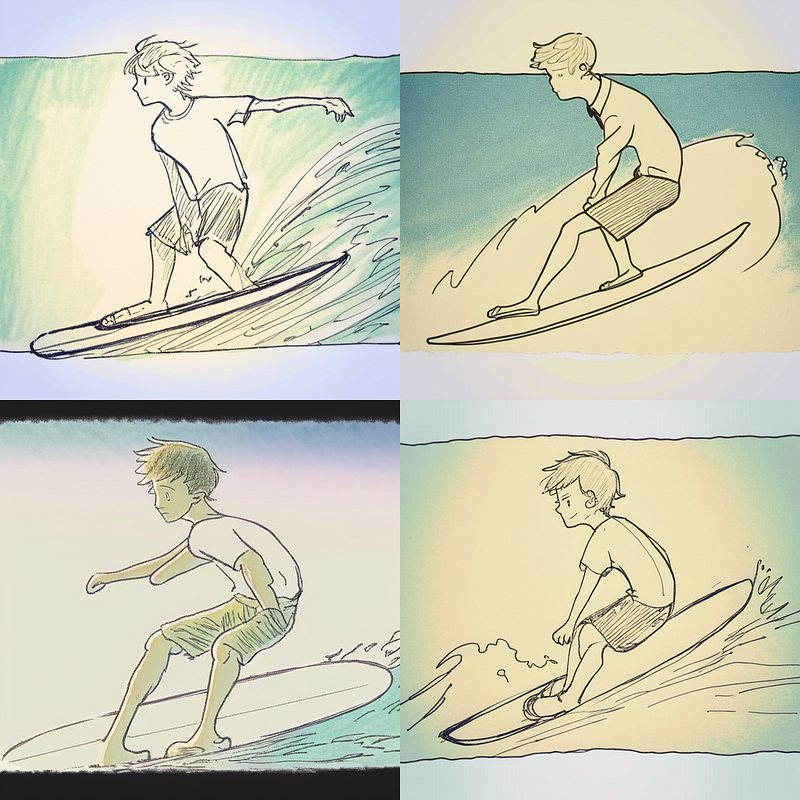
I had several single-line pose drawings and a couple of character images which I used for the surfing pics.
The single-line drawings are simple to find with an internet search for any type of activity. You could draw your own or use Midjourney to generate one.
All of my characters begin with a simple sketch like the one below, and these two together are enough for Niji to create a character involved in whatever activity you desire.
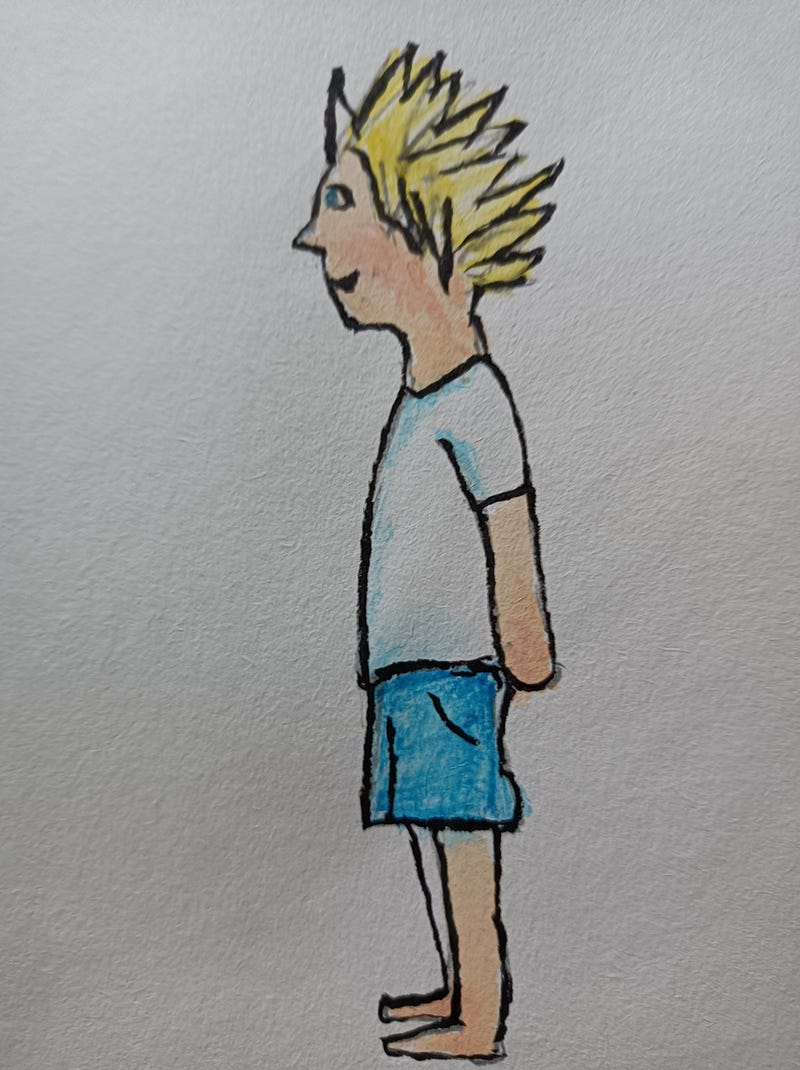
The character sketch is the first stage in creating a character. If you have even less drawing skills than me, you can ask Midjourney to create them. The key thing to ensure is that they all have a white or single-colour background. Any colour or artefacts will affect the end product.
My process has been to feed a simple sketch into Midjourney then print that off and make a hand-drawn coloured copy of it. That is fed back in again producing more consistent and better-quality results.
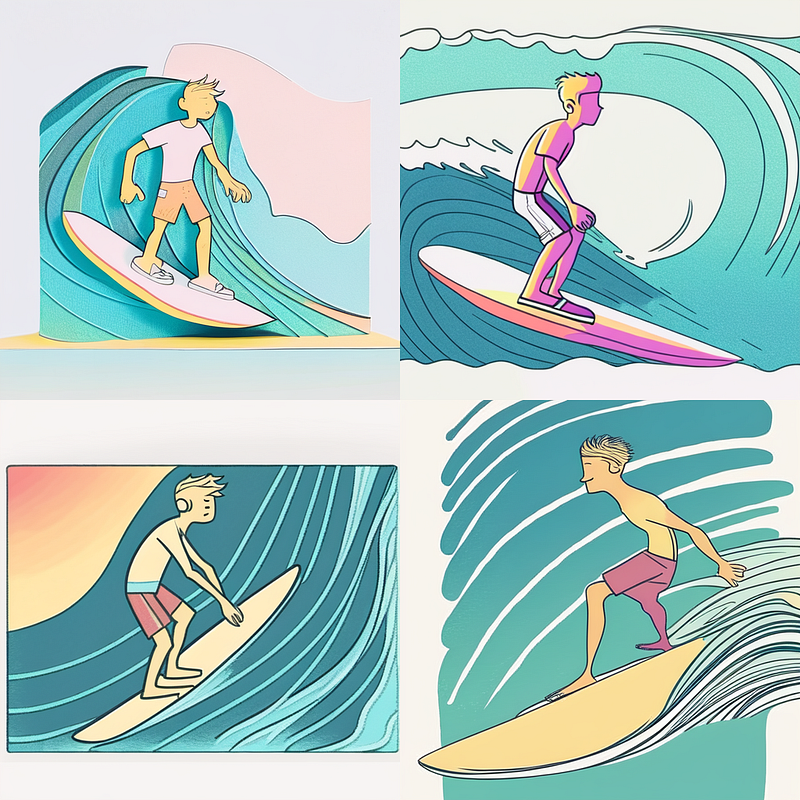
For your delight and as an example I put these together with different suffixes: papercut and pastel, dystopian Manga, 1920s pencil and colour tint.
Using a standard image prompt
The Blend is not the most controllable command even with your preferred suffix in place. The suffix is also attached to standard Image prompts. I was skipping between the two to get what I wanted.
Experimenting is key.
There is a collective dawning in the AI art community that designing prompts independently is not the key to working successfully. You have to work creatively on your process to create your own style. Otherwise, everything you do will simply disappear into that mass of billions of copycat pics that will eventually be flushed down the cosmic toilet.
Be prepared to edit
You could spend hours rerolling or honing your prompt in Midjourney when the same job could be done with two minutes of editing in Photoshop or a similar editing programme. I had to edit the colour of the shorts in most of my images as they kept drifting to purple or red. My attitude is that Midjourney is giving me the raw material. The artistic skill comes in taking that raw material and turning it into your creation.
Thanks for reading to the end. If you could write similar articles, then Join Medium using the button below and drop a note in the comments and I can add you to my publication as a writer.