
Complete Guide To Setup AutoGPT & Revolutionize Your Task Automation with GPT-4
Learn how to setup, configure & run Auto-GPT
What Is Auto-GPT?
Auto-GPT is an experimental open-source project that allows you to define a specific role (e.g., “book market analyst”) and a bunch of goals (e.g., “research the most successful sci-fi novels of 2022”, “summarize them”, “save the summary to a file," etc.) and let GPT-4 automatically create and perform all the necessary tasks that are needed to achieve your goals. That includes:
- doing research via search engines
- browse websites
- scrape data
- store files locally
- using long-term memory
- spawning new instances of GPT-3.5 bots with special roles to accomplish sub-tasks (!)
(No worries, if you don’t have access to GPT-4 you can also run it with your GPT-3.5 API keys)
The results you get are mind-blowing.
AutoGPT is an experimental project, that is, it has its bugs and flaws, especially when faced with new and not-so-common roles and goal descriptions, but it’s already a tremendous showcase of GPT-4’s capabilities and the potential of a modular approach to combine multiple AI agents.
How To Setup Auto-GPT
Prerequisites
a) Python 3.8 or later (here’s how you install Python on Windows, to update your Mac’s preinstalled Python version go here)
b) OpenAI API keys (if you have an account with OpenAI, you’ll find them here; if you don’t have an OpenAI account, follow these instructions)
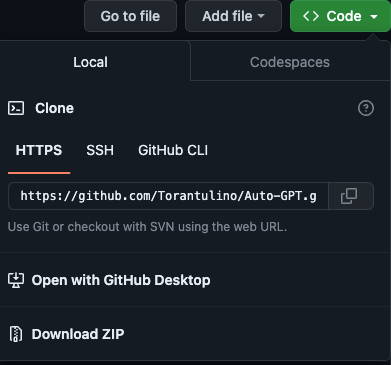
1. Get the code
EDIT: Make sure you select the “stable” branch! The “master” branch may often be in a broken state.
If you have GIT installed on your computer, simply run this in your terminal:
git clone https://github.com/Torantulino/Auto-GPT.gitSwitch to the “stable” branch:
git checkout stableAlternatively, you can download the ZIP file of the source code here. In the top right corner, click Code and then Download Zip.
2. Install the libraries
Navigate to the directory where your copy of Auto-GPT resides (it’s called “Auto-GPT”) and run:
pip install -r requirements.txtThis will install all the required libraries.
3. Add API Keys
Then rename the file
.env.template
to
.env
and fill in your OPENAI_API_KEY.
Optionally, you can also add Pinecone and ElevenLabs API keys for Vectorstore and Speech Mode.
4. Run Auto-GPT
You’re set to take Auto-GPT out for a test run. In the project folder (“Auto-GPT”) type
python -m autogpt
If you do not have access to GPT-4 or don’t want to use it, run the following command instead.
python -m autogpt --gpt3onlyThe first thing you will be asked is whether you want to continue with the last AI agent you created. Type “y” if you want to give that a try or “n” to create a new one.
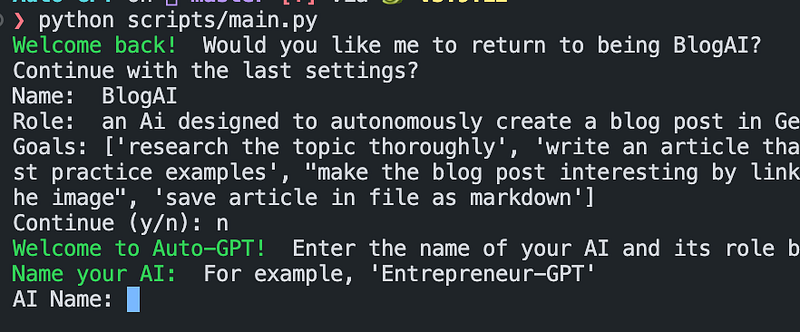
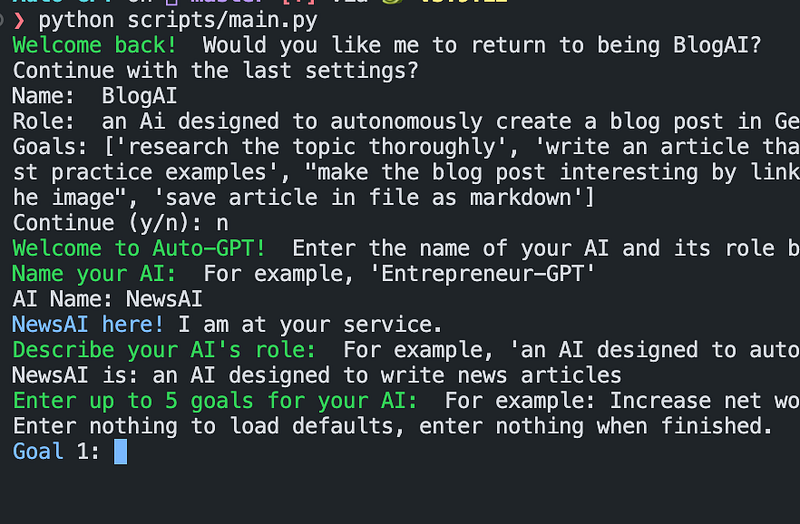
Once you decided to create a new one, give it a name and describe its role.

Next, you’ll give it a bunch of goals (up to five).
From this moment on, Auto-GPT will do its thing and occasionally ask you to authorize its next steps.
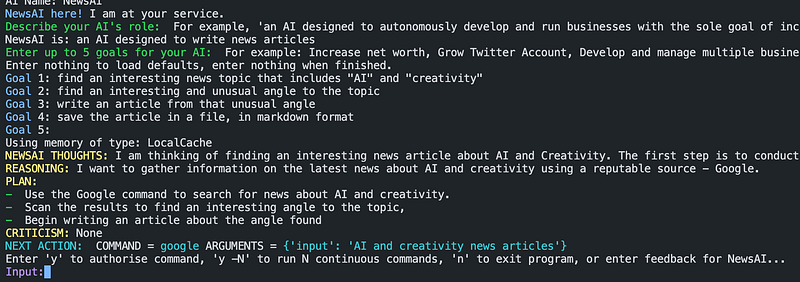
You can then choose to agree with “y”, agree to run multiple commands without asking for permission with “y -N” (N=number of commands it can run on its own), or type “n” to exit.
If you type anything else, Auto-GPT will consider this as human feedback and evaluate it as such.
5. Check The Results
To check Auto-GPT’s results, you can either have a look at its log files in the folder “/outputs/logs” or check the files it created in “/auto_gpt_workspace”.
6. Advanced Setup
You can now start adding further functionality to Auto-GPT. For example, Speech Mode, Redis/Pinecone/Google support, Image Generation, etc. Have a look at the installation guide (README.md) in the project’s Github repo:
Auto-GPT on GitHub:
➡️ For more information about AI & Creativity, follow me on Twitter or Medium (use my referral link to get full access to all my articles and those of thousands of other writers).
➡️ If you like my content, why not leave a “clap” at the end of this article, so more people can see it?
Stay updated with the latest news and updates in the creative AI space — follow the Generative AI publication.