Box2DCreateJS: Creating a Monster Truck Game
Building an Exciting Monster Truck Game from Scratch

Hi there! In this article, I will demonstrate the process of making a monster truck game utilizing Box2DCreateJS.
If you’re unfamiliar with Box2DCreateJS, you can refer to this article to learn more.
In our scenario, we will have a monster truck and a ramp that we can use to perform jumps and maneuvers. We will use the keyboard to control the truck.
By the end of the article, this is what we will achieve!
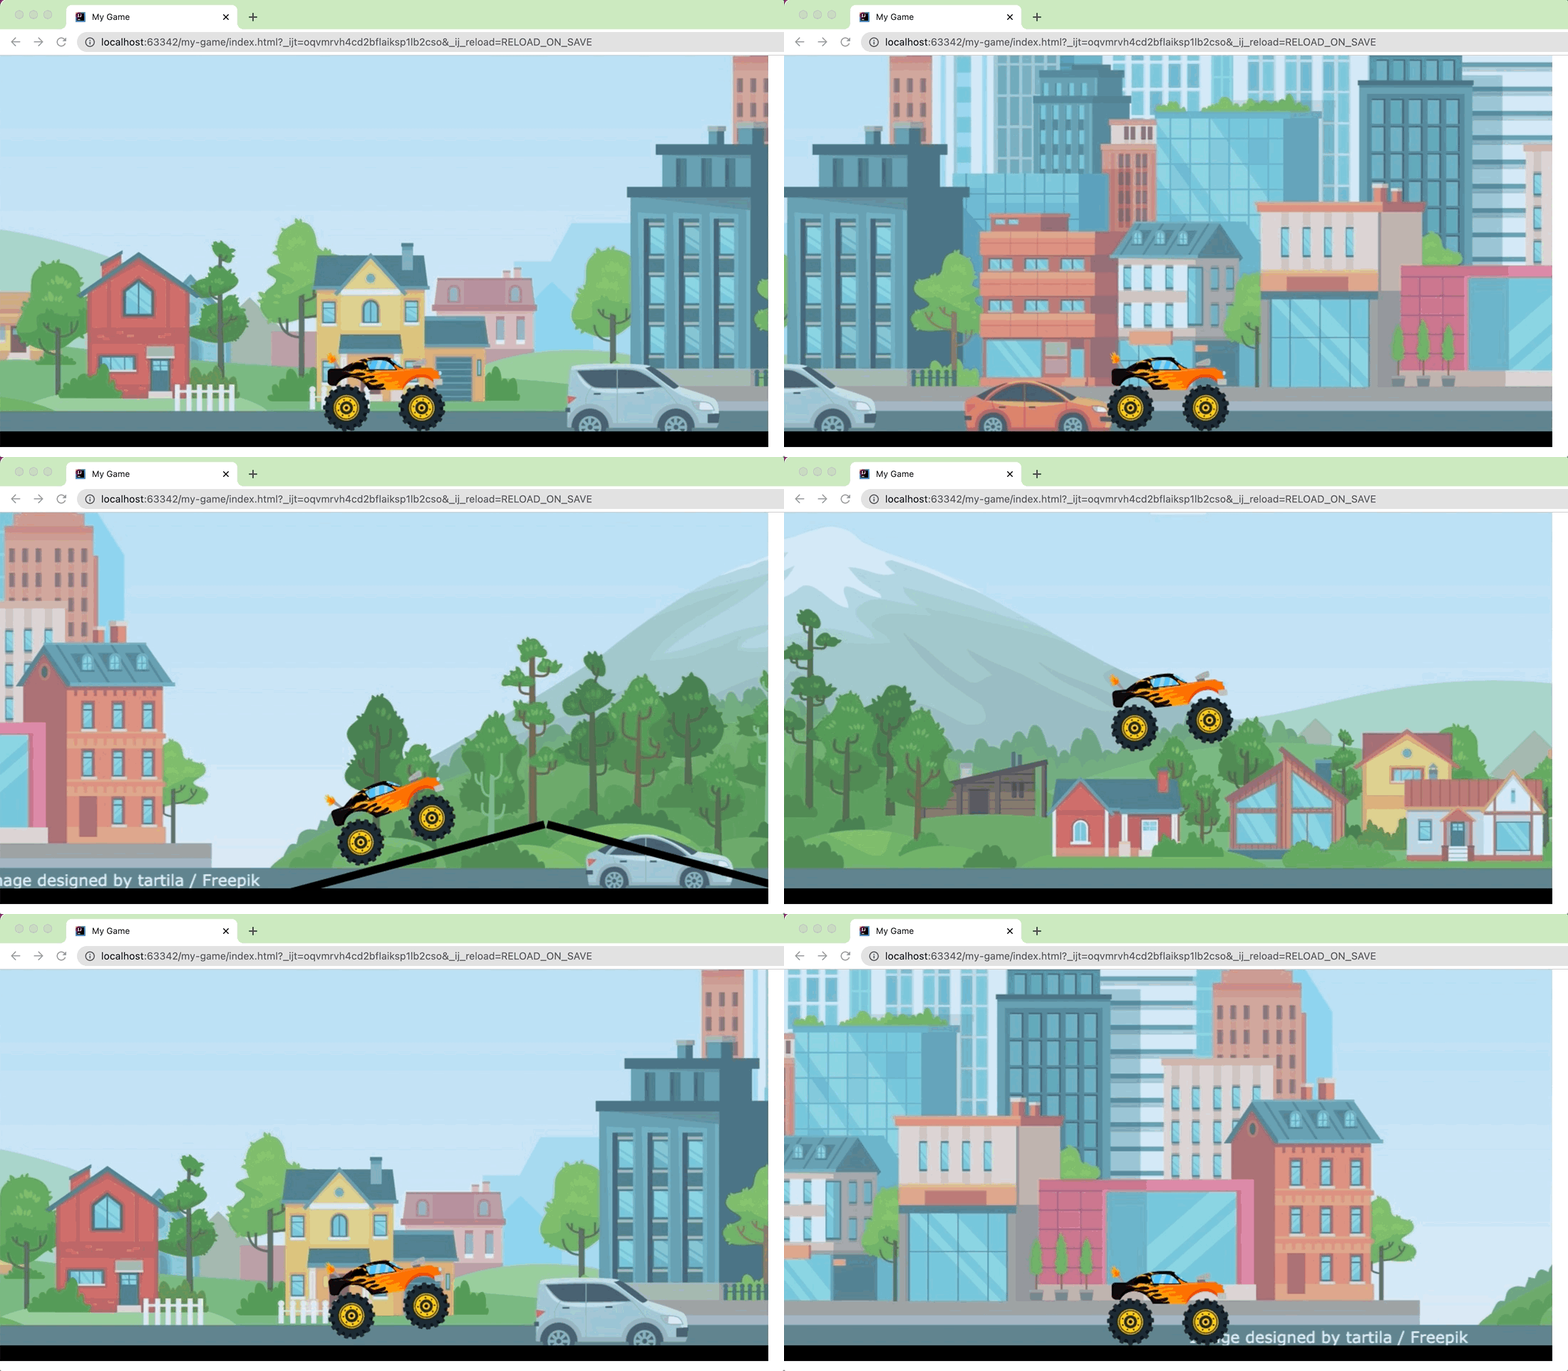
Before start coding, let’s create the project initial setup as explained in this article. Once we have our project ready, let’s get started!
Download Game Images
In this game, we will use three images:
- Monster Truck Chassis: https://raw.githubusercontent.com/ivangfr/box2dcreatejs/master/images/monster-chassis.png
- Monster Truck Tire: https://raw.githubusercontent.com/ivangfr/box2dcreatejs/master/images/monster-tire.png
- Background: https://raw.githubusercontent.com/ivangfr/box2dcreatejs/master/images/background.jpg
Download and add them in the project’s images folder.
Import Box2DCreateJS
Let’s include some Box2DCreateJS library files into index.html. For it, include the following lines of code.
<!DOCTYPE html>
<html lang="en">

    <head>
        ...
        <script src="box2dcreatejs/js/Box2dWeb/Box2dWeb-2.1.a.3.js"></script>
        <script src="box2dcreatejs/js/CreateJS/easeljs-1.0.0.min.js"></script>
        <script src="box2dcreatejs/js/CreateJS/preloadjs-1.0.0.min.js"></script>

        <script src="box2dcreatejs/js/Box2DCreateJS/WorldManager.js"></script>
        <script src="box2dcreatejs/js/Box2DCreateJS/Entity.js"></script>
        <script src="box2dcreatejs/js/Box2DCreateJS/Render.js"></script>
        <script src="box2dcreatejs/js/Box2DCreateJS/LoadingIndicator.js"></script>
        <script src="box2dcreatejs/js/Box2DCreateJS/Link.js"></script>

        <script src="MyGame.js"></script>
        ...
    </head>
    ...
</html>
Create and Start the WorldManager
In MyGame.js, define a _worldManager variable and instantiate it inside the initialize function.
In this example, we’re utilizing the preLoad property to load the images prior to starting the game. Once the preload is finished, the gameLogic function is invoked. The gameLogic function, which is currently empty, is defined outside the initialize function.
It’s important to note that we have enabled the debug mode (enableDebug property) for the _worldManager by setting its value to true. This will allow us to see the entities of the world and how they appear behind the scenes.
this.Box2DCreateJS = this.Box2DCreateJS || {};

(function () {

    function MyGame() {
        this.initialize()
    }

    Box2DCreateJS.MyGame = MyGame

    let _worldManager

    MyGame.prototype.initialize = function () {
        const easeljsCanvas = document.getElementById("easeljsCanvas")
        const box2dCanvas = document.getElementById("box2dCanvas")

        _worldManager = new Box2DCreateJS.WorldManager(
            easeljsCanvas, box2dCanvas, {
                world: new box2d.b2World(new box2d.b2Vec2(0, 10), true),
                enableDebug: true,
                preLoad: {
                    files: [
                        'images/monster-chassis.png',
                        'images/monster-tire.png',
                        'images/background.jpg',
                    ],
                    onComplete: gameLogic
               }
            }
        )
    }

    function gameLogic() {
    }

}())
Create the Scenario’s Floor & Limits
Now, we will proceed with creating the floor and setting the limits for our scenario. To do this, we will implement the createFloorAndLimits function in MyGame.js, and then add a call to it in the gameLogic function.
...
function gameLogic() {
    createFloorAndLimits()
}

function createFloorAndLimits() {
    const staticRender = {
        type: 'draw',
        drawOpts: {
            bgColorStyle: 'solid',
            bgSolidColorOpts: { color: 'black' }
        }
    }

    // Floor
    _worldManager.createEntity({
        type: 'static',
        x: 5000, y: 490,
        shape: 'box',
        boxOpts: { width: 10000, height: 20 },
        render: staticRender
    })

    // Left Wall
    _worldManager.createEntity({
        type: 'static',
        x: 0, y: 0,
        shape: 'box',
        boxOpts: { width: 10, height: 1000 },
        render: staticRender
    })

    // Right Wall
    _worldManager.createEntity({
        type: 'static',
        x: 10000, y: 0,
        shape: 'box',
        boxOpts: { width: 10, height: 1000 },
        render: staticRender
    })
}
...
The EaselJS and Box2D canvas have both the width of 980 pixels and the height of 500 pixels.
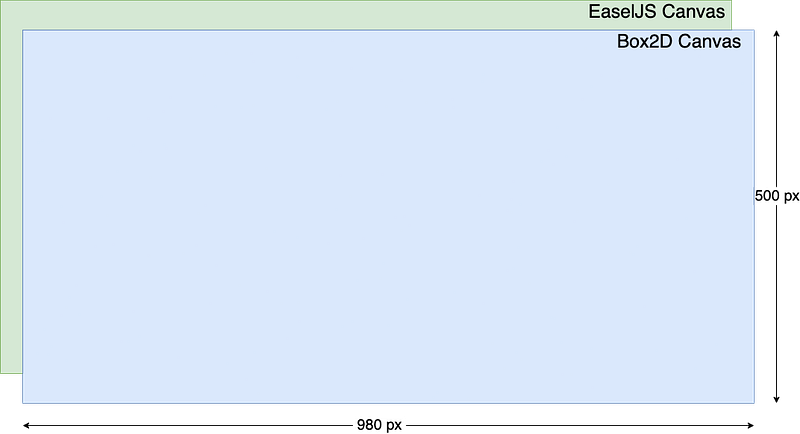
In the image provided below, you can get a rough idea of the dimensions of the static entities in relation to the canvas.

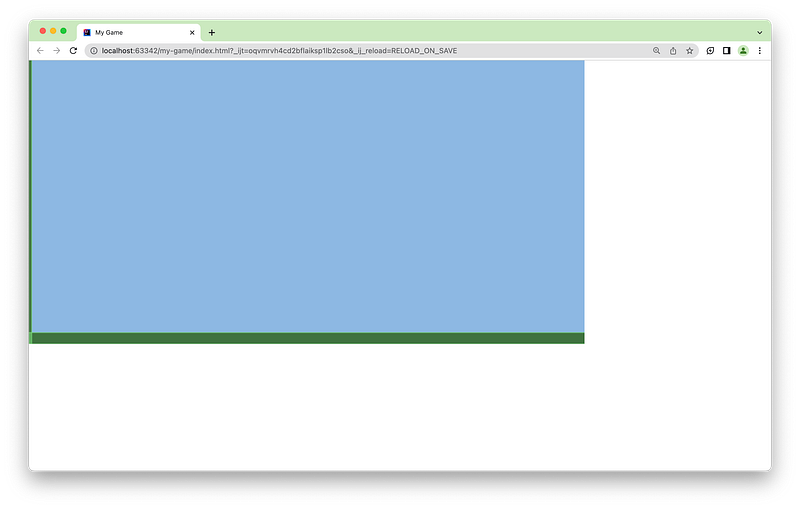
Let’s check how it is so far
Create the Landscape
Rather than settling for a plain blue background, let’s enhance it by adding an image. To do this, we need to import the Landscape.js file in index.html.
<!DOCTYPE html>
<html lang="en">
    <head>
        ...
        <script src="box2dcreatejs/js/Box2DCreateJS/Landscape.js"></script>
        ...
    </head>
    ...
</html>
Next, implement the createLandscape function and include a call to it in the gameLogic function.
...
function gameLogic() {
    createFloorAndLimits()
    createLandscape()
}

...

function createLandscape() {
    _worldManager.createLandscape({
        x: 5000, y: 230,
        shape: 'box',
        boxOpts: { width: 10000, height: 500 },
        render: {
            opacity: 0.7,
            type: 'draw',
            drawOpts: {
                bgColorStyle: 'transparent',
                bgImage: 'images/background.jpg',
                repeatBgImage: 'repeat-x'
            }
        }
    })
}
...
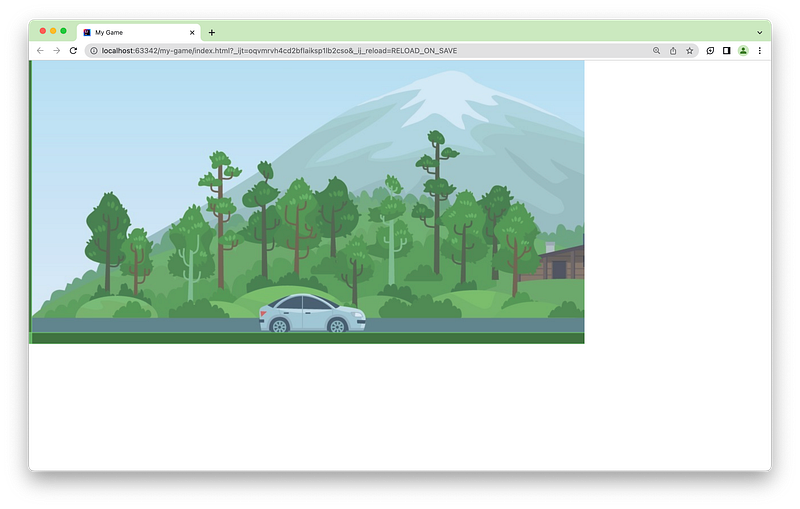
Upon incorporating the landscape, this is how the simplified view of the dimensions.

Let’s check how it is getting.
Create the Monster Truck
Let’s proceed with creating the monster truck. To do this, we will implement the createMonsterTruck function in MyGame.js and include a call to it in the gameLogic function.
...
function gameLogic() {
    createFloorAndLimits()
    createLandscape()
    const monsterTruck = createMonsterTruck()
}

...

function createMonsterTruck() {
    const TRUCK_X = 360, TRUCK_Y = 250

    const chassis = _worldManager.createEntity({
        type: 'dynamic',
        x: TRUCK_X, y: TRUCK_Y,
        shape: 'box',
        boxOpts: { width: 150, height: 50 },
        render: {
            type: 'image',
            imageOpts: {
                image: 'images/monster-chassis.png',
                adjustImageSize: true
            }
        },
        name: 'chassis'
    })

    const tireRender = {
        type: 'image',
        imageOpts: {
            image: 'images/monster-tire.png',
            adjustImageSize: true
        }
    }

    const backTire = _worldManager.createEntity({
        type: 'dynamic',
        x: TRUCK_X - 45, y: TRUCK_Y + 45,
        shape: 'circle',
        circleOpts: { radius: 30 },
        render: tireRender,
        bodyDefOpts: { angularVelocity: 70 },
        fixtureDefOpts: { restitution: 0.2 }
    })

    const frontTire = _worldManager.createEntity({
        type: 'dynamic',
        x: TRUCK_X + 50, y: TRUCK_Y + 45,
        shape: 'circle',
        circleOpts: { radius: 30 },
        render: tireRender,
        bodyDefOpts: { angularVelocity: 70 },
        fixtureDefOpts: { restitution: 0.2 }
    })

    const link1 = _worldManager.createLink({
        entityA: chassis,
        entityB: backTire,
        type: 'revolute',
        localAnchorA: { x: -1.6, y: 1.6 }
    })

    const link2 = _worldManager.createLink({
        entityA: chassis,
        entityB: frontTire,
        type: 'revolute',
        localAnchorA: { x: 1.6, y: 1.6 },
    })

    return { chassis, backTire, frontTire }
}
...
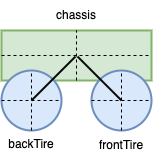
In short, the monster truck consists of three dynamic entities: the monster truck chassis, which has a box shape, and the monster truck tires, frontTire and backTire, which have a circle shape. The chassis is connected to frontTire and backTire using Link.
Here is how the dynamic entities are connected
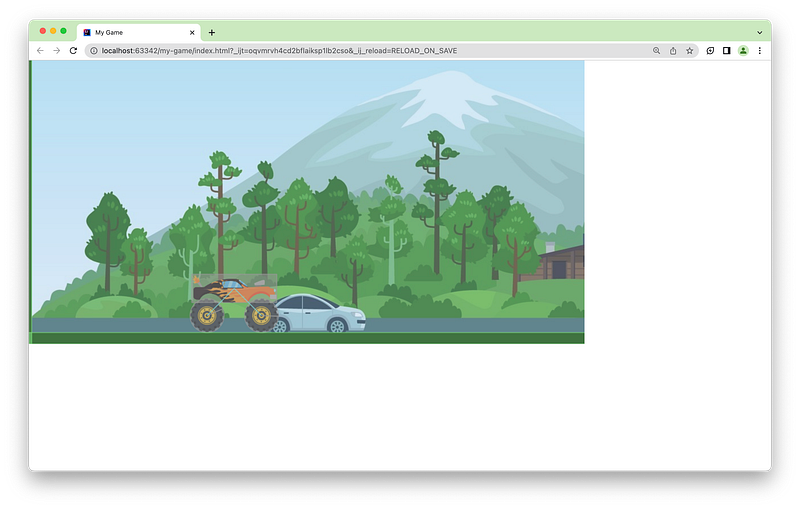
Let’s check how it is getting so far
Set the Player
Let’s add the Player.js and Camera.js files to our project. We can do this by including the following lines in your index.html file.
<!DOCTYPE html>
<html lang="en">
    <head>
        ...
        <script src="box2dcreatejs/js/Box2DCreateJS/Player.js"></script>
        <script src="box2dcreatejs/js/Box2DCreateJS/Camera.js"></script>
        ...
    </head>
    ...
</html>
Next, we will instantiate the variable player in MyGame.js, specifying the events that can be performed on it, such as moving forward and backward, and rotating clockwise or anticlockwise.
Furthermore, we will set the angular velocity of 70 and -70 to spin the frontTire in order to move the player forward or backward, respectively. Additionally, we will set angular velocity on the chassis to allow for maneuvering the player by rotating it clockwise (angular velocity of 1) or anticlockwise (angular velocity of -1).
Finally, we will enable the camera of the player, so that we can always keep the monster truck in view.
...
function gameLogic() {
    createFloorAndLimits()
    createLandscape()
    const monsterTruck = createMonsterTruck()
    const chassis = monsterTruck.chassis
    const frontTire = monsterTruck.frontTire

    const player = _worldManager.createPlayer(chassis, {
        camera: {
            adjustX: 490,
            xAxisOn: true
        },
        events: {
            backward: () => frontTire.getB2Body().SetAngularVelocity(-70),
            forward: () => frontTire.getB2Body().SetAngularVelocity(70),
            anticlockwise: () => chassis.getB2Body().SetAngularVelocity(-1),
            clockwise: () => chassis.getB2Body().SetAngularVelocity(1)
        }
    })
}
...
Add the Keyboard
To enable control of the player, we will need to incorporate the keyboard. To do this, we have to import the KeyboardHandler.js file in index.html.
<!DOCTYPE html>
<html lang="en">
    <head>
        ...
        <script src="box2dcreatejs/js/Box2DCreateJS/KeyboardHandler.js"></script>
        ...
    </head>
    ...
</html>
In MyGame.js, we utilize the _worldManager to invoke the createKeyboardHandler function. This function takes a map of keyboard keys that will be used for controls, such as:
ArrowDown: to move player backward;ArrowUp: to move player forward;ArrowLeft: to rotate player anticlockwise;ArrowRight: to rotate player clockwise
...
function gameLogic() {
    ...

    const player = _worldManager.createPlayer(chassis, {
        ...
    })

    _worldManager.createKeyboardHandler({
        keys: {
            ArrowDown: {
                onkeydown: () => _worldManager.getPlayer().backward(),
                keepPressed: true
            },
            ArrowUp: {
                onkeydown: () => _worldManager.getPlayer().forward(),
                keepPressed: true
            },
            ArrowLeft: {
                onkeydown: () => _worldManager.getPlayer().anticlockwise(),
                keepPressed: true
            },
            ArrowRight: {
                onkeydown: () => _worldManager.getPlayer().clockwise(),
                keepPressed: true
            }
        }
    })
}
...
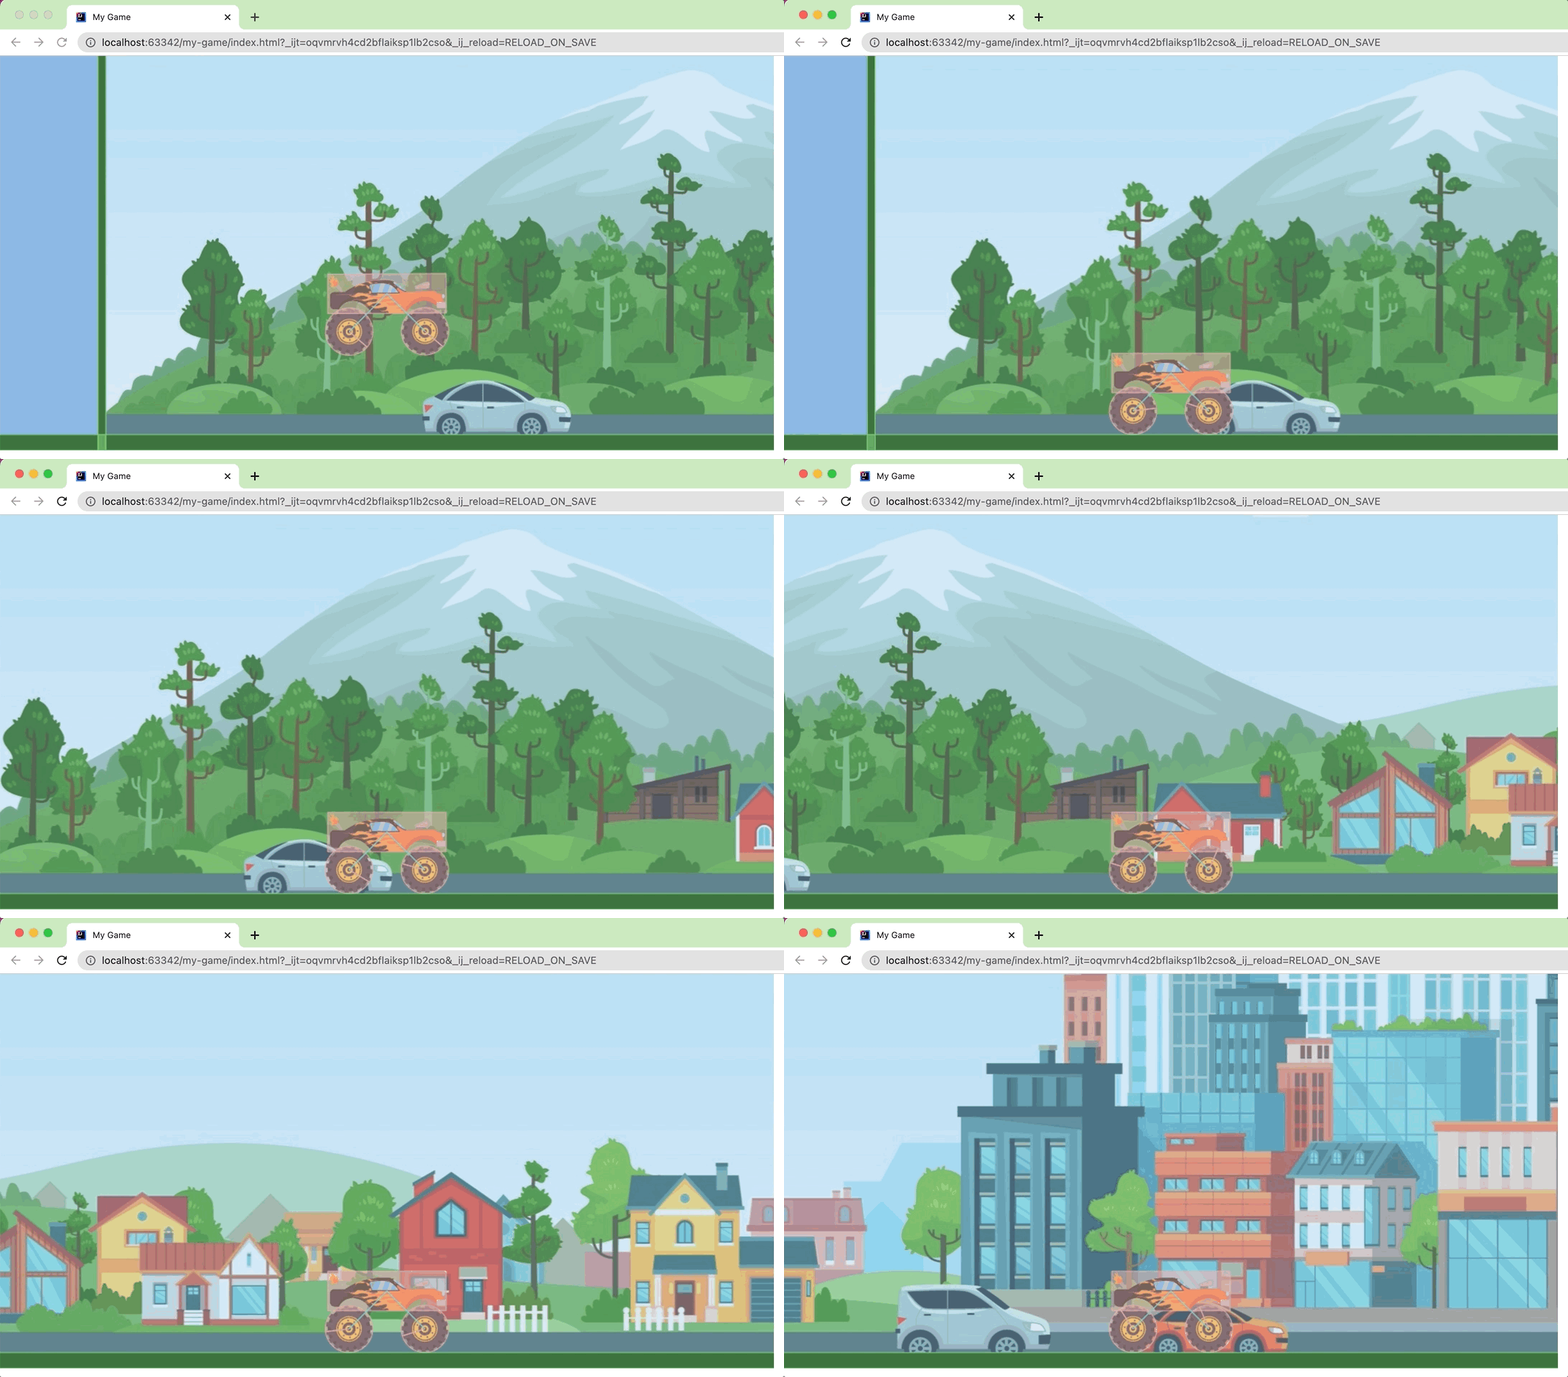
Let’s check
Create Ramp
To add some excitement to our game, let’s create a ramp. To achieve this, we will need to implement the createRamp function in MyGame.js and include a call to it in our gameLogic function.
...
function gameLogic() {
    ...
    createRamp()
}

...

function createRamp() {
    const staticRender = {
        type: 'draw',
        drawOpts: {
            bgColorStyle: 'solid',
            bgSolidColorOpts: { color: 'black' }
        }
    }

    // Ramp 1
    _worldManager.createEntity({
        type: 'static',
        x: 4000, y: 450, angle: 75,
        shape: 'box',
        boxOpts: { width: 10, height: 400 },
        render: staticRender
    })

    // Ramp 2
    _worldManager.createEntity({
        type: 'static',
        x: 4390, y: 450, angle: -75,
        shape: 'box',
        boxOpts: { width: 10, height: 400 },
        render: staticRender
    })
}
...
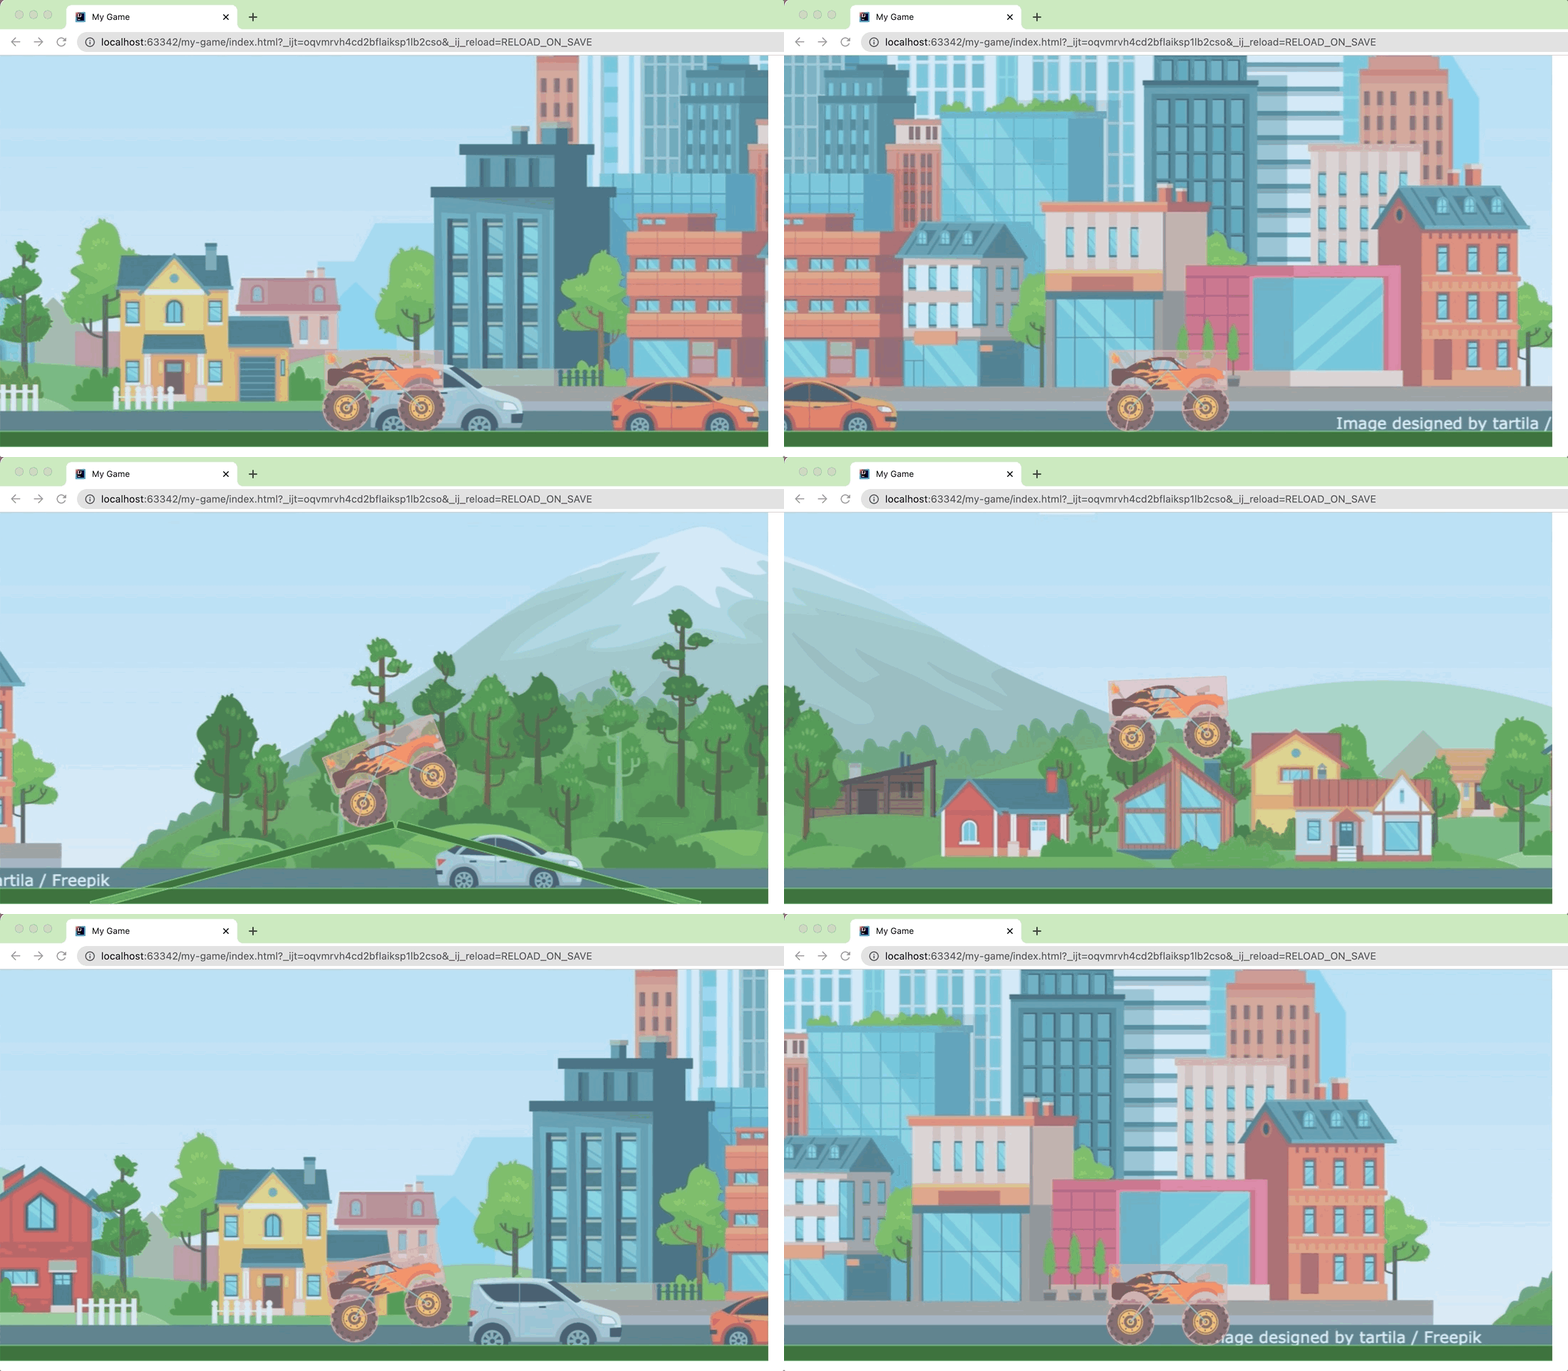
Let’s check whether the ramp is high enough 😅
Disable the Debug
Now that our game is complete, we can disable the WorldManager property enabledDebug. To do so, we simply need to set the enabledDebug property to false in MyGame.js.
this.Box2DCreateJS = this.Box2DCreateJS || {};

(function () {

    ...
    MyGame.prototype.initialize = function () {
        ...
        _worldManager = new Box2DCreateJS.WorldManager(
            easeljsCanvas, box2dCanvas, {
                world: new box2d.b2World(new box2d.b2Vec2(0, 10), true),
                enableDebug: false,
                ...
            }
        )
    }
    ...

}())
It’s time to play! 🕹
Additional Readings
The source code can be found at Box2DCreateJS GitHub Repository.
Other tutorials:
Support and Engagement
If you enjoyed this article and would like to show your support, please consider taking the following actions:
- 👏 Engage by clapping, highlighting, and replying to my story. I’ll be happy to answer any of your questions;
- 🌐 Share my story on Social Media;
- 🔔 Follow me on: Medium | LinkedIn | Twitter;
- ✉️ Subscribe to my newsletter, so you don’t miss out on my latest posts.