
Box2DCreateJS = Box2d + CreateJS
Box2DCreateJS: Creating a ball and interacting with it using the cursor
Interactive ball creation and cursor interaction tutorial
In this article, I will show you how to create a simple 2D physics scenario using Box2DCreateJS.
If you don’t know what Box2DCreateJS is, take a look at the article linked below:
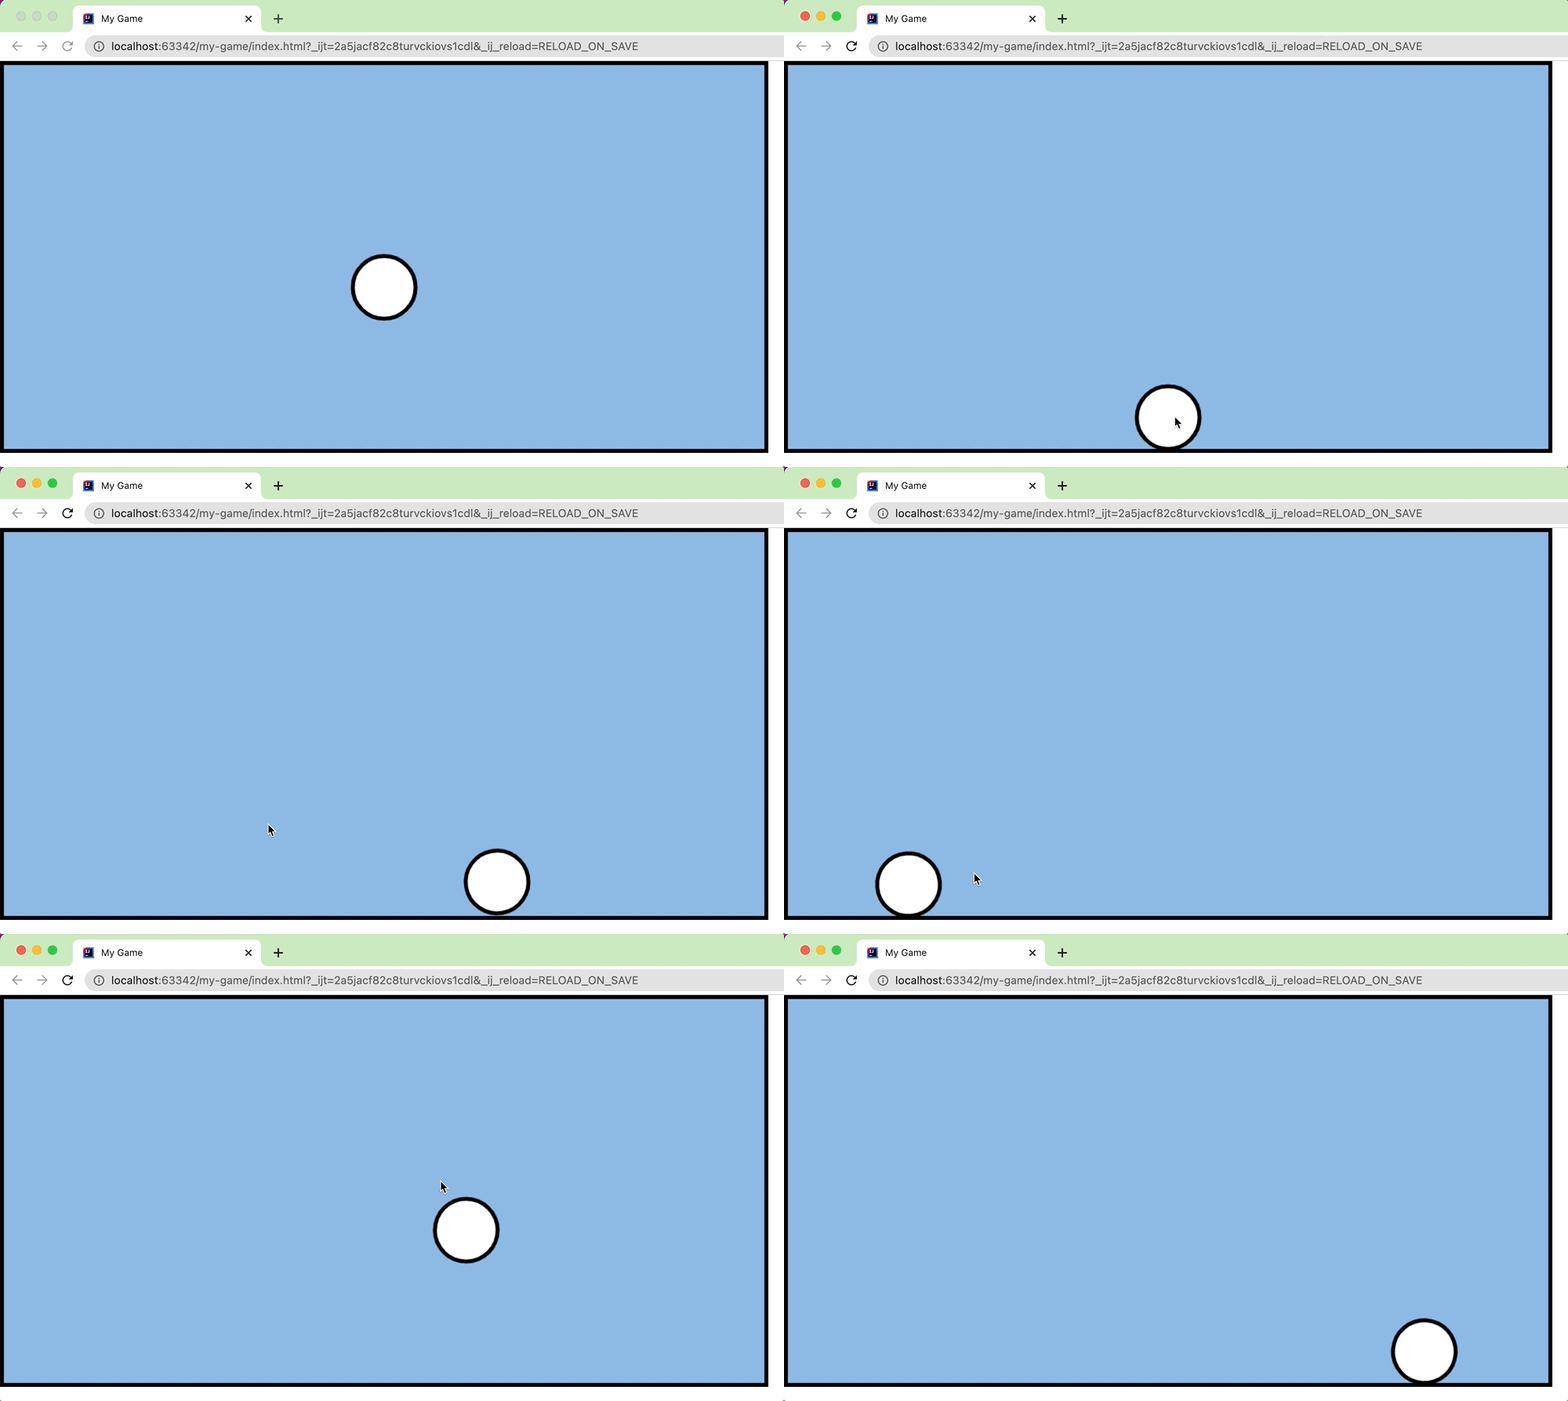
Our scenario has gravity and is surrounded by a floor, left and right walls, and a ceiling. Besides, inside it, we will add a white ball we can interact with using the cursor.
By the end of the article, this is what we will achieve!
Before start coding, let’s create the project initial setup as explained in the article linked below:
Once we have our project ready, let’s get started!
Import Box2DCreateJS
Let’s include Box2DCreateJS library into index.html. For it, include the following lines
<!DOCTYPE html>
<html lang="en">

    <head>
        ...
        <script src="box2dcreatejs/js/Box2dWeb/Box2dWeb-2.1.a.3.js"></script>
        <script src="box2dcreatejs/js/CreateJS/easeljs-1.0.0.min.js"></script>

        <script src="box2dcreatejs/js/Box2DCreateJS/WorldManager.js"></script>
        <script src="box2dcreatejs/js/Box2DCreateJS/Render.js"></script>
        <script src="box2dcreatejs/js/Box2DCreateJS/Entity.js"></script>

        <script src="MyApp.js"></script>
        ...
    </head>
    ...
</html>
Create and Start the WorldManager
In myApp.js file, define a _worldManager variable and instantiate it inside the initialize function. Then, still inside the initialize function, let’s start the _worldManager by calling the start function.
this.Box2DCreateJS = this.Box2DCreateJS || {};

(function () {

    function MyGame() {
        this.initialize()
    }

    Box2DCreateJS.MyGame = MyGame

    let _worldManager

    MyGame.prototype.initialize = function () {
        const easeljsCanvas = document.getElementById("easeljsCanvas")
        const box2dCanvas = document.getElementById("box2dCanvas")

        _worldManager = new Box2DCreateJS.WorldManager(
            easeljsCanvas, box2dCanvas, {
                world: new box2d.b2World(new box2d.b2Vec2(0, 10), true)
            }
        )
        _worldManager.start()
  }

}())
Create gameLogic function
In myApp.js file, define a function called gameLogic (that will be empty for now) and add the invocation of it inside the initialize function.
this.Box2DCreateJS = this.Box2DCreateJS || {};

(function () {
    ...

    MyGame.prototype.initialize = function () {
        ...
        _worldManager.start()

        gameLogic()
    }

    function gameLogic() {
    }

}())
Create the Scenario Limits
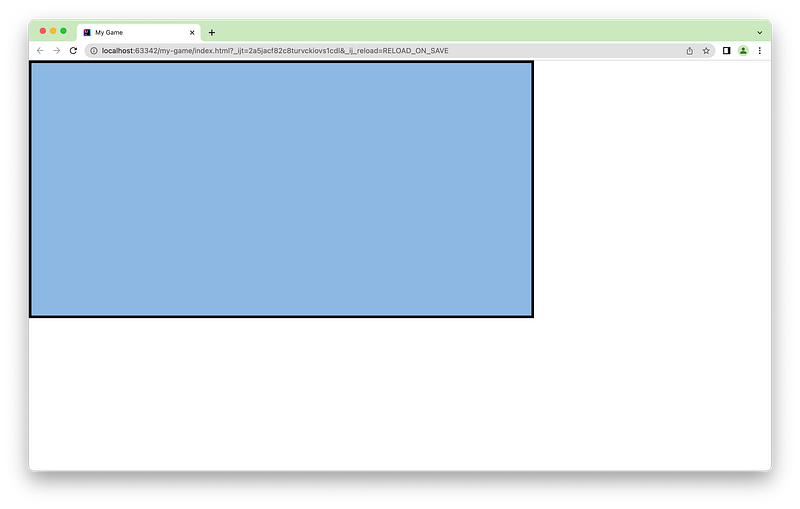
The EaselJS and Box2D canvas have the width of 980 pixels and the height of 500 pixels.
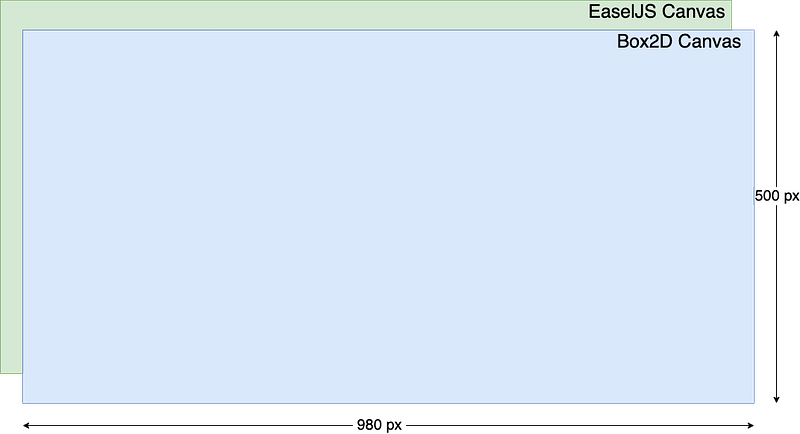
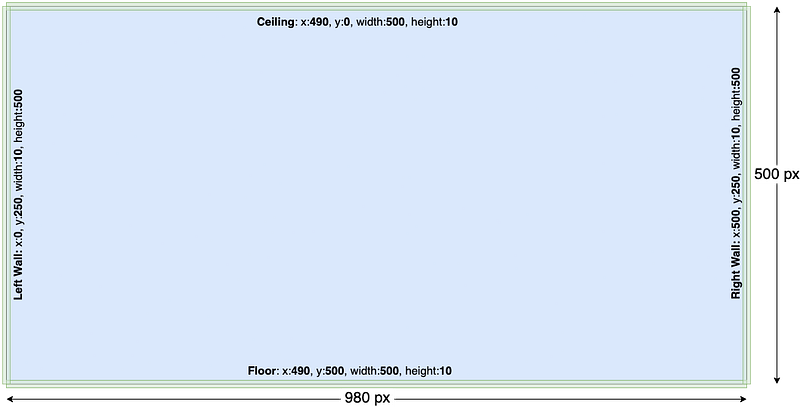
In order to create the scenario limits, let’s add the following content to gameLogic function. Here, we are using _worldManager to create four static Entity objects: the floor, left and right walls, and the ceiling. All of them are using the same Render, defined in the const variable staticRender.
...
function gameLogic() {
    const staticRender = {
        type: 'draw',
        drawOpts: {
            bgColorStyle: 'solid',
            bgSolidColorOpts: { color: 'black' }
        }
    }

    // floor
    _worldManager.createEntity({
        type: 'static',
        x: 490, y: 500,
        shape: 'box',
        boxOpts: { width: 980, height: 10 },
        render: staticRender
    })

    // ceiling
    _worldManager.createEntity({
        type: 'static',
        x: 490, y: 0,
        shape: 'box',
        boxOpts: { width: 980, height: 10 },
        render: staticRender
    })

    // left wall
    _worldManager.createEntity({
        type: 'static',
        x: 0, y: 250,
        shape: 'box',
        boxOpts: { width: 10, height: 500 },
        render: staticRender
    })

    // right wall
    _worldManager.createEntity({
        type: 'static',
        x: 980, y: 250,
        shape: 'box',
        boxOpts: { width: 10, height: 500 },
        render: staticRender
    })
}
...
In the picture below, it’s shown how the static Entities are placed in the canvas.
Let’s check how it’s getting so far.
Create the Ball
Let’s now create a ball that falls from the top-center of the screen. For it, add the following code at the end of the gameLogic function. It uses the _worldManager to create a dynamic Entity that represent the ball.
...
function gameLogic() {
    ...

    // ball
    _worldManager.createEntity({
        type: 'dynamic',
        x: 490, y: 250,
        shape: 'circle',
        circleOpts: { radius: 40 },
        render: {
            type: 'draw',
            drawOpts: {
                bgColorStyle: 'solid',
                bgSolidColorOpts: { color: 'white' },
                borderWidth: 5
            },
        },
        fixtureDefOpts: { restitution: 0.5 }
    })
}
...
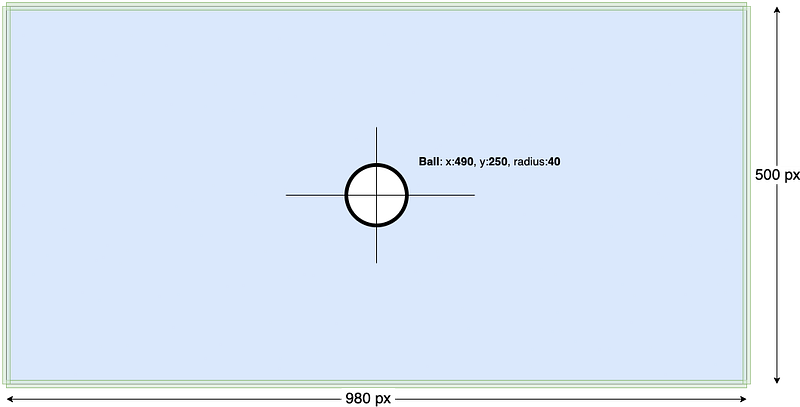
In the following image, it’s displayed where the ball is placed. This center is exactly the middle of the canvas (x: 490, y: 250). Besides, it has the radius of 40 pixels.
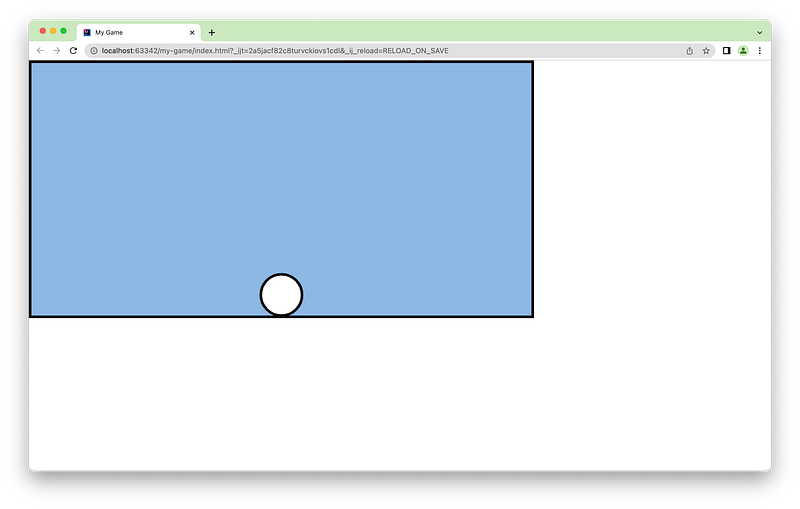
By checking how it’s so far, you should see something like
Enable Cursor to Play with the Ball
Let’s enable the cursor so that we can get the ball, drag it around or throw it. For it, we need to include the TouchMouseHandler.js in index.html
<!DOCTYPE html>
<html lang="en">
    <head>
        ...
        <script src="box2dcreatejs/js/Box2DCreateJS/TouchMouseHandler.js"></script>
        ...
    </head>
    ...
</html>
Then, in myApp.js, we need to add the following line. It uses the _worldManager variable to call the createTouchMouseHandler function
...
MyApp.prototype.initialize = function () {
    ...
    _worldManager.start()
    _worldManager.createTouchMouseHandler()

    gameLogic()
}
...
Let’s check…
Nice! Now we can play with the ball and throw it around!
Additional Readings
The source code can be found at Box2DCreateJS GitHub Repository.
Support and Engagement
If you enjoyed this article and would like to show your support, please consider taking the following actions:
- 👏 Engage by clapping, highlighting, and replying to my story. I’ll be happy to answer any of your questions;
- 🌐 Share my story on Social Media;
- 🔔 Follow me on: Medium | LinkedIn | Twitter | GitHub;
- ✉️ Subscribe to my newsletter, so you don’t miss out on my latest posts.