
How to Automate a Github Repo With a Line of Code on Linux
Introducing updated version of Gitstart

Gitstart automates creating a Github repository.
For example:
gitstart -d new_repoThis creates .gitignore, a license.txt, a README.md file, run add, commit and push to create a new repo at GitHub.com.
I have explained how to install Gitstart on macOS. Here is how to install Gitstart on a Linux system. I use Ubuntu 20.04 for this example, but the method should be the same for other Linux systems.
Prerequisites
Gitstart requires a YAML processor yq and Github CLI gh.
Installing yq
sudo apt install yq -ySee other installation methods for
Installing gh
Download a deb file from the release page. And use the apt install command. For example:
sudo apt install ./gh_1.14.0_linux_arm64.debOr see other installation methods for gh.
I don’t recommend installing gh with the snap command. Snap doesn’t permit accessing hidden files.
Logging in to Github using Github CLI
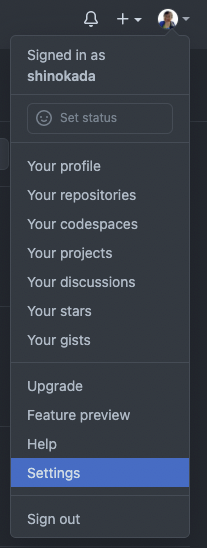
Add your server SSH-key to your GitHub account if you haven’t already done so. Log in to GitHub and select Settings:
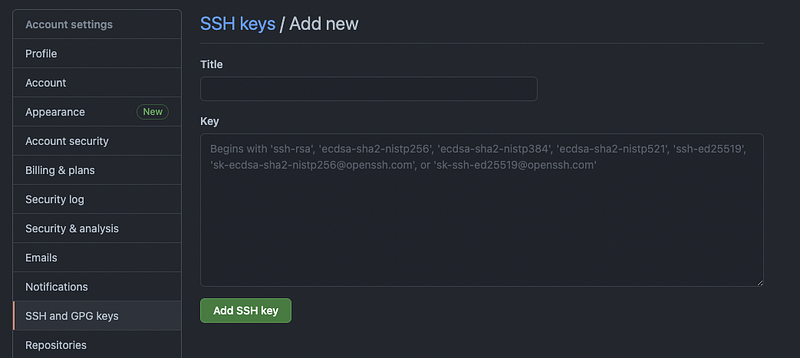
From your computer, print your id_rsa.pub and copy the key to your clipboard:
cat ~/.ssh/id_rsa.pubSelect SSH and GPG keys. Add a Title and paste the key to the Key field.
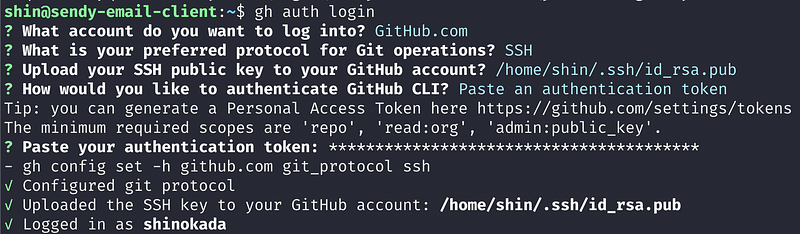
From your terminal, login to Github using gh:
gh auth loginFollow the instructions to log in to Github.

Use the SSH protocol for Git operations. Select “Paste an authentication token” if you don’t have a browser (because you are installing it on a server).
Or select “Login with a web browser”. It is much easier and faster.
If you selected the token method, go to https://github.com/settings/tokens to create a token.

The minimum required scopes are ‘repo’, ‘read:org’, ‘admin:public_key’. But you can select more fields.
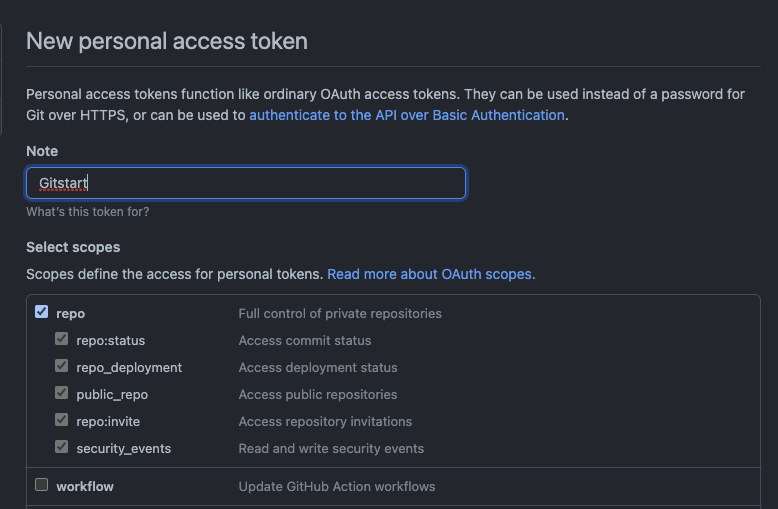
Click the Generate token button.
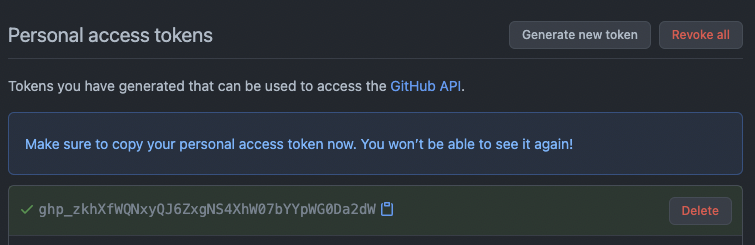
Copy and paste the token to the terminal and proceed.
Installing Gitstart
Installing using Awesome package manager
The awesome is a simple shell script package manager. Awesome installs a shell script package from a GitHub repo on your macOS/Linux.
After installing Awesome package manager:
awesome install shinokada/gitstart
Installing using a deb file
Download a latest deb file from the release page. And use the sudo apt install command. For example:
sudo apt install ./gitstart_0.2.11-1_all.debInstalling manually
Keep gitstart in the /home/your-username/awesome directory:
mkdir /home/your-username/awesome
cd /home/your-username/awesome
git clone https://github.com/shinokada/manop.git
Create the ~/bin directory if you don’t have it:
mkdir ~/binCheck if /home/your-username/bin is in the PATH variable:
echo $PATH
/home/your-username/bin:/usr/local/sbin:/usr/local/bin:/usr/sbin:/usr/bin:/sbin:/bin:/usr/games:/usr/local/games:/snap/bin
If it is not in the PATH variable then, add the /home/your-username/bin directory path to the ~/.bashrc file.
export PATH="/home/your-username/bin:$PATH"Source the ~/.bashrc file and check it again:
source ~/.bashrc
echo $PATH
Let’s add a symlink. This will create a file in the ~/bin directory connected to the gitstart file.
ln -s /home/your-username/awesome/giststart/gitstart ~/bin/gitstartCheck if the symlink is working:
gitstart -v
0.2.1
How to use Gitstart
Find out how to use it:
gitstart -hThe required parameter is a directory using -d.
Let’s create a repository called new_repo in the Awesome directory:
mkdir new_dir
cd new_dir
gitstart -d ./new_repo
You can use . as well:
cd new_dir
mkdir new_repo
cd new_repo
gitstart -d .
The result is the same as in the previous example.
You can define the programming language. It will create a .gitignore file according to the specified language.
gitstart -l python -d new_repoConclusion
Automating to create a GitHub repo with Gitstart saves you time. It creates a README file, a .gitignore file if you provide a language, adds a license.txt depending on your choice, and creates a new repo at GitHub.com with one line of code.
If you are new to GitHub, Flavio Copes wrote a nice introduction about GitHub in A developer’s introduction to GitHub.
Please leave a comment if you have any questions.
More about Gitstart:
Happy coding!
Get full access to every story on Medium by becoming a member.
