
A Guide To Consistent Characters With Midjourney (V5)
Creating consistent characters with Midjourney
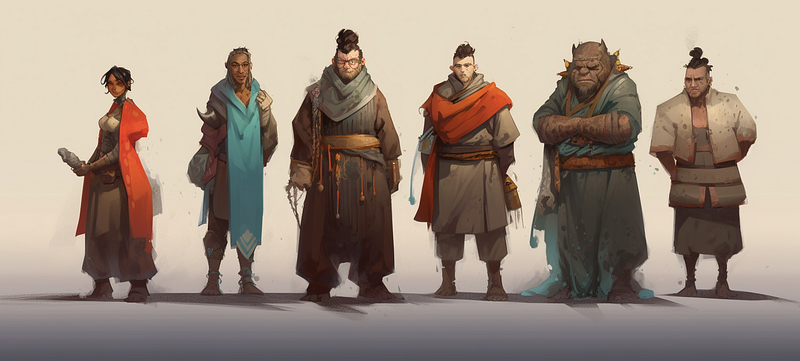
Creating consistent characters in Midjourney has always been kind of a “holy grail” for storytellers, and, spoiler alert, it’s something that’s still not 100% achievable.
However, there are techniques that can get you pretty close to character consistency, depending on your use case. Currently, Midjourney offers two methods to create consistent characters:
- Image Prompting,
- Character Reference
(and, of course, you can use combination of these)
In this article, I’ll walk you through the basic application of these methods, and we’ll weigh the pros and cons of each.
Spoiler alert: Midjourney’ main focus IS NOT character consistency
With each iteration of the model, Midjourney has focused more on what currently appears to be its primary application: rapid prototyping of stunning visuals and concept art for graphic designers who need to effectively communicate their visual aesthetic with clients.
So in version 5, the quality is absolutely phenomenal. However, cinematic camera control and character consistency didn’t make the priority list.
That’s why we use workarounds like “image prompting” and “character reference” to make the characters look kind of the same in different rendering jobs. Midjourney does a pretty good job for most use cases, although it is not perfect.
The Image Prompt Method
The image prompt method uses an image of a character (= base character) to render that same character in different scenes.
Pros:
- full control of base character’s appearance
Cons:
- limited to shot type & traits of base character
- can’t change character’s look during the later process
- a lot of pre-prompting before you can actually use a base charcter in different scenes
- consistency is okay but not perfect (slight variations occurring randomly)
Although this method has some drawbacks, it is a great method in certain use cases (for example, when a similar look is enough and you don’t need to ensure exact consistency).
In its basic form it consist of two steps:
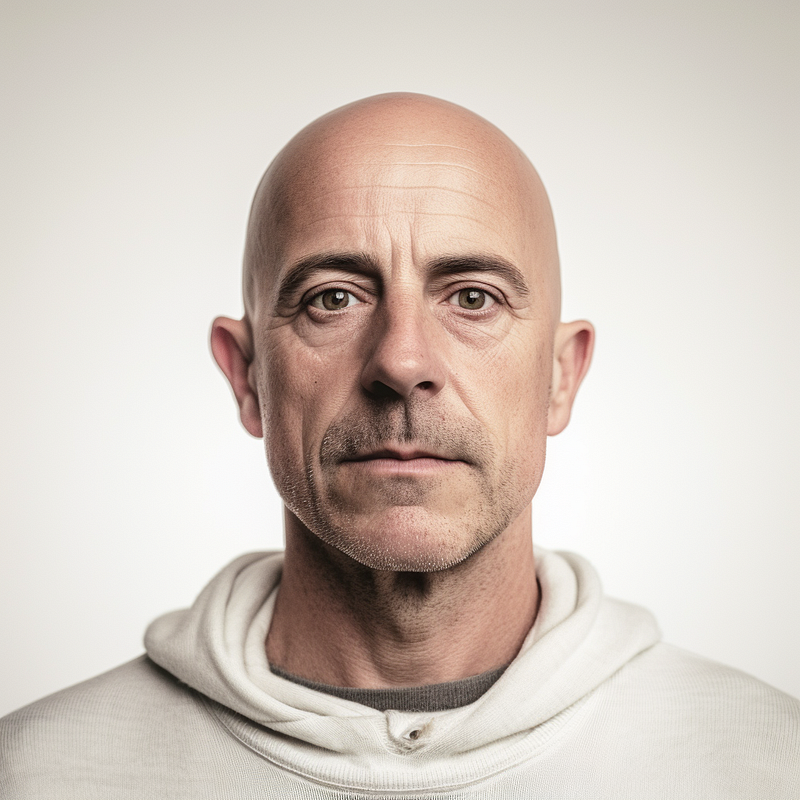
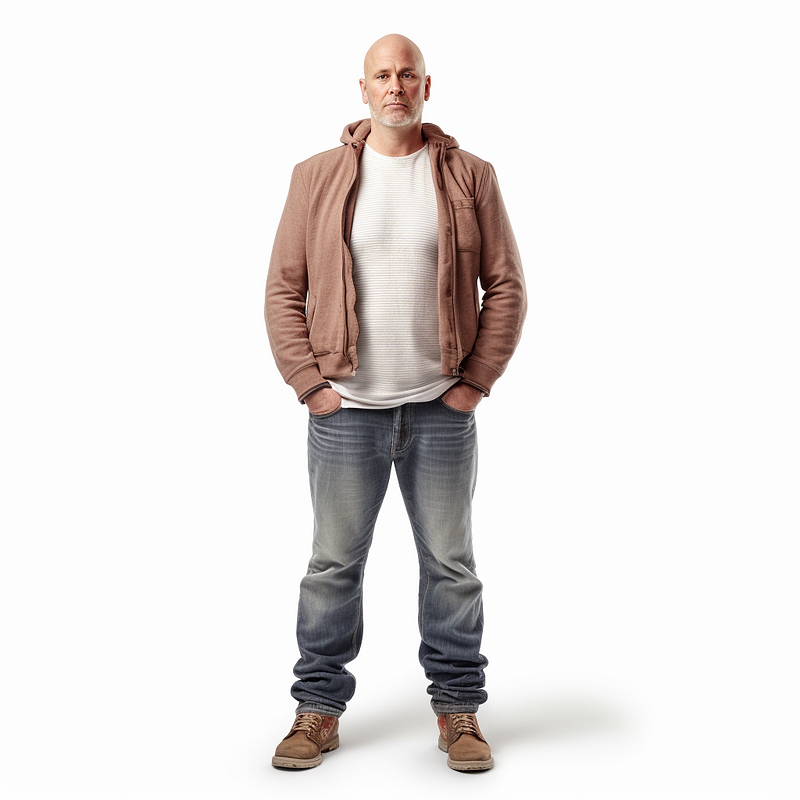
Step 1: Preparing a base character image
Generate a base character image with a prompt using the following format:

For example:
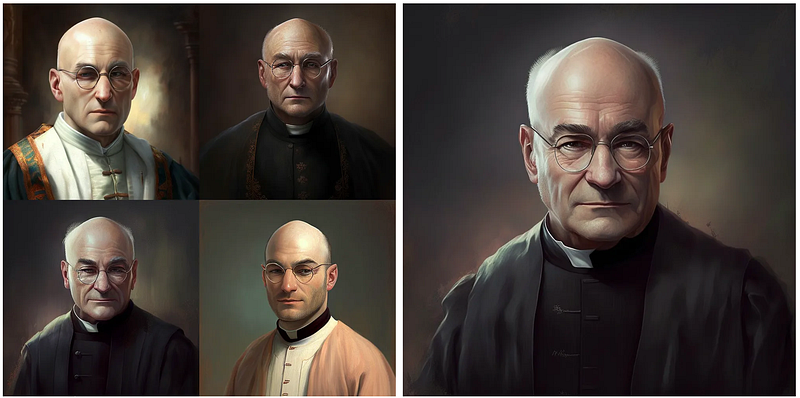
/imagine prompt: portrait of a 40yo bald man
Or:
/imagine prompt: full body shot of a 40yo man
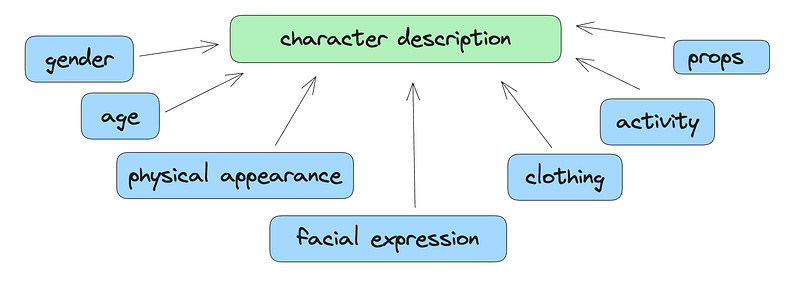
Of course, your character description can be much more sophisticated.
In some cases you want to add a “white background” at the end of the prompt so that the background doesn’t interfere with the scene you’re transferring the base character to.
You’ll have to experiment a bit here, because sometimes it can be better to define a specific background with the base character (see examples below).
The important thins here is: once you define the shot type, background and appearance for your base character image, you can hardly change it later without losing significant consistency.
Step 2: Use base character image as image prompt
Next, use the image of your base character as an image prompt.
To do this, we need a URL to our base character: right-click on the image and choose “Copy Link”:
Then we use this formula to create a new scene with the same base character:
<LINK TO BASE CHARACTER IMAGE> + <REPEAT BASE CHARACTER PROMPT> + <SCENE DESCRIPTION>
For example:
<LINK_TO_IMAGE> bald 40yo man, in a spaceship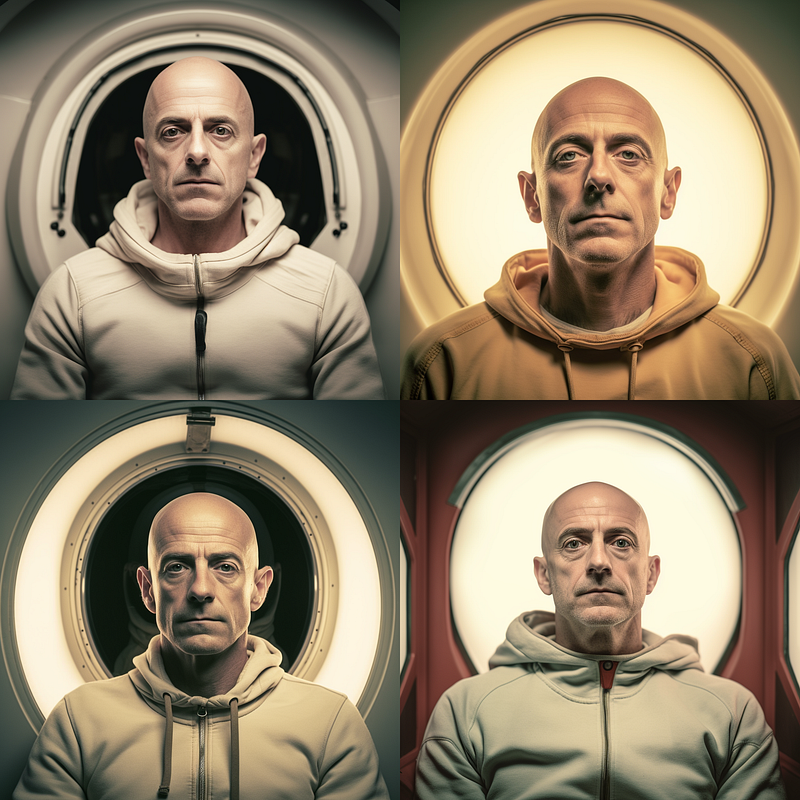
The character consistency is… well… after a few iterations you can actually find a good match.
Another limitation of this method becomes clear in the next example, where I used the base character above, which contains “white background” in the prompt:
<LINK_TO_IMAGE> bald 40yo man in a lush garden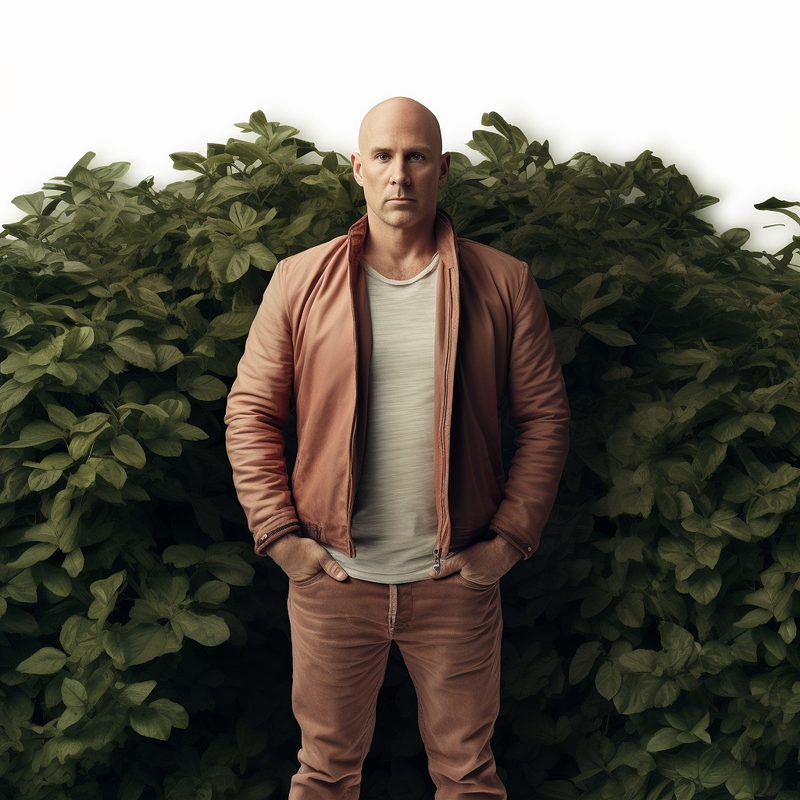
The model fails to render the full-body shot as a proper garden scene because there is simply too much “white background” in the base image.
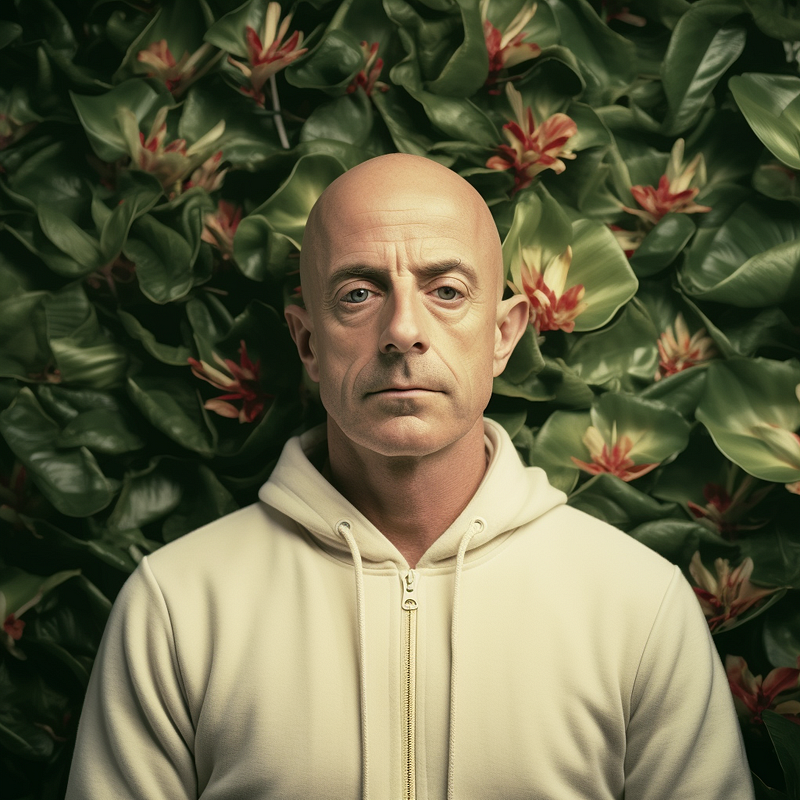
However, if we use the previous portrait version (less white background) as the base image, everything works fine:
You can get great results with this method if you take the time to use Photoshop to crop your base characters that suit your needs (for example to create an “American shot”)
In regards to the image prompting method, I also recommend checking out the work of John Walter 📣. He has published many great articles on how he achieves great consistency by putting much more work into creating base character imagery.
The Character Reference Method
The character reference method takes advantage of Midjourney’s training data and the fact that well-known characters are represented in the model and can be invoked by referencing.
Character reference provides better consistency and is easier to use because you only need to mention a character and their traits (or a mix of characters). The trade-off here is that you have less control over the base character.
Examples:
pirate woman, blend drew barrymore::1 and jennifer garner::1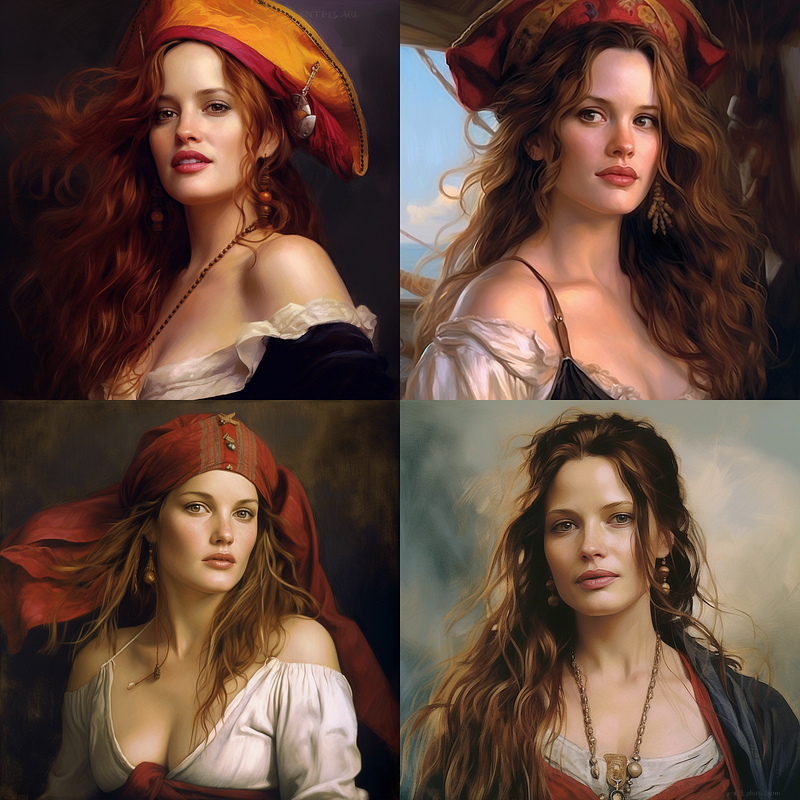
an astronaut, blend drew barrymore::1 and jennifer garner::1 -
animation movie still, britney spears with blue hair, riding a dinosaur --ar 16:9 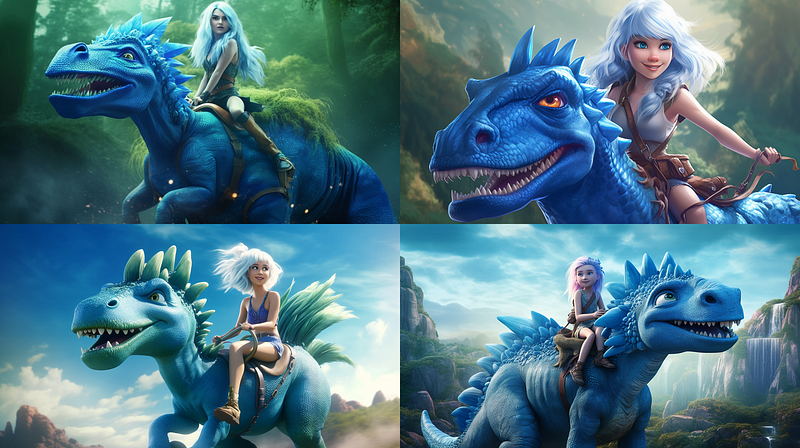
animation movie still, britney spears with blue hair, fighting a wizard --ar 16:9 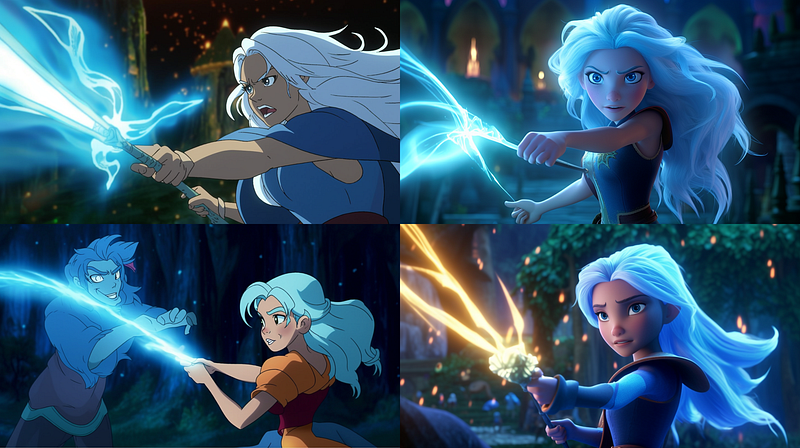
This method has been widely used to create consistent characters in AI-assisted comics and illustrated books.
It’s very handy because you can create characters quickly and in a very consistent way. But of course this comes with some ethical issues which is why a popular solution has been:
Combining Image Prompting and Character Reference
I wrote about it (and other consistency challenges) in the following articles, which also contain some more examples:
➡️ For more information about AI & Creativity, follow me on Twitter or Medium (use my referral link to get full access to all my articles and those of thousands of other writers).
➡️ If you like my content, why not leave a “clap” at the end of this article, so more people can see it?


