
Create a new App from an Xcode Template
Build an App Like Lego, with SwiftUI — Tutorial 1
1. Introduction
We all use apps every day to simplify and enrich our lives, but building them can seem like an overwhelming challenge. If you have an idea for an app — even a very simple idea — it could cost thousands of dollars to hire someone to create it. In reality, it’s not that hard to get started. In this series, I’m going to demonstrate that you can create an app as easily as you can build something out of Lego.
LEGO® is a trademark of the LEGO Group of companies that do not sponsor, authorize, or endorse this tutorial series.
Together, we will:
- Create real app components, using visual tools.
- Assemble them like Lego blocks.
- Run the app on an iPhone simulator.
The app we build will be truly “native”. We will use Apple’s toolset to build an app that is “native” to the iOS platform. It will be a real app, not built with some prototyping tool or as a web page designed to look like an app.
The app will look something like this:
To follow along in this tutorial series, you don’t need to be an expert. You only need:
- A Mac capable of running the latest software.
- Good working knowledge of how to use a Mac, such as how to: launch an app, double click, drag files, shift-click, control-click, copy and paste, edit text and select multiple objects.
- Xcode (which we will download together in this first tutorial).
- A desire to learn how to build an app.
If you’d like to look ahead, you can peek at the whole tutorial series in the table of contents.
2. Install Xcode
First, you will need Apple’s Xcode software. It’s free. I will be showing Xcode 13.3 in this tutorial.
Follow the instructions in the separate “Install and Configure Xcode” article. It is quick and easy. It shows you how to install Xcode and configure it, ready for this tutorial series.
3. Create a New Project
Now let’s start to build an app!
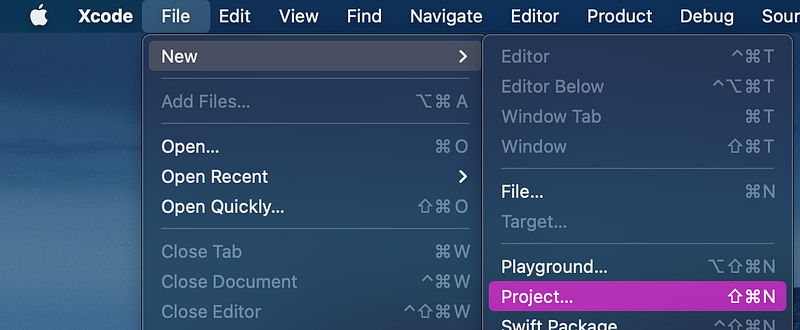
👉 In Xcode’s File menu, select New > Project.
👉 Xcode shows a bunch of templates. Choose iOS, then App. Make sure you choose iOS, or else Xcode won’t show you the right components for this tutorial.
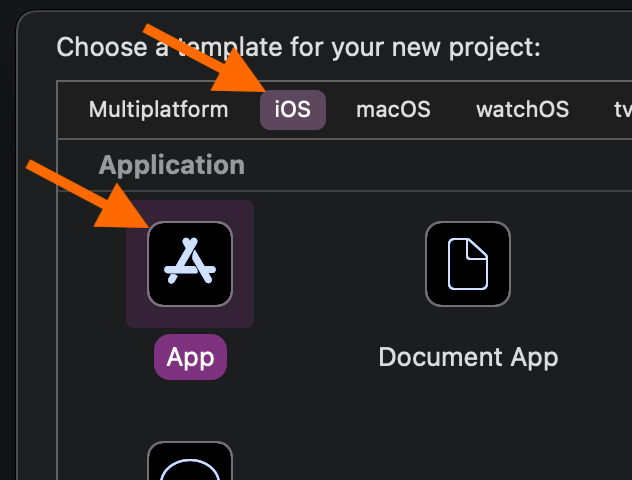
👉 Click the Next button.
👁 Xcode asks you to Choose options for your new project.
👉 Enter the Product Name for your app as Blocks.
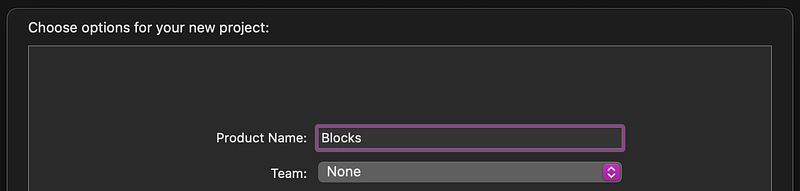
👉 You can leave the Team set to None. Or you can select a team if you have one. If it instead shows an Add Account button, then make sure that you completed the previous section “Enter Your Details”.
👉 For the Organization Identifier, enter the reverse domain name of your organization. For example, if your domain name is mycompany.com, enter the identifier as com.mycompany. If you don’t have a domain name, you can just make one up or enter anything you like. You can change it later, but you can’t leave it blank here.
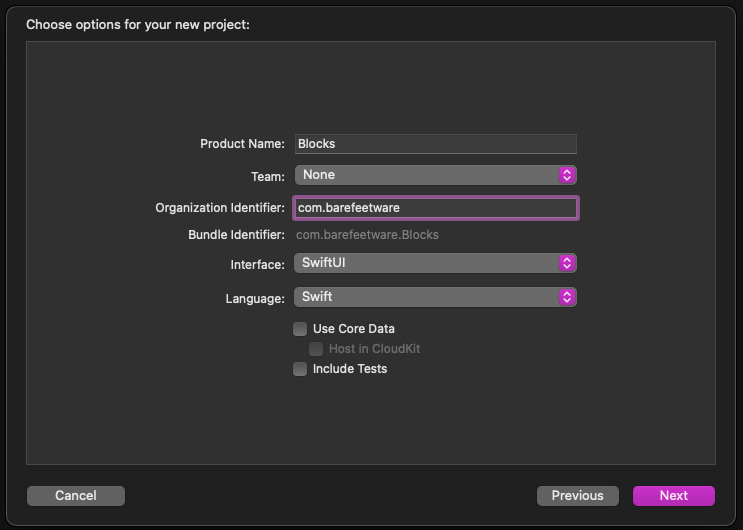
👉 Make sure that:
- The
Interfaceis set toSwiftUI. - The
Languageis set toSwift. - All the checkboxes are turned off.
👉 Click the Next button.
👉 Xcode asks where to save your new project. Turn on Create Git repository, so that we can commit changes. We’ll discuss “commit” and “Git” later.
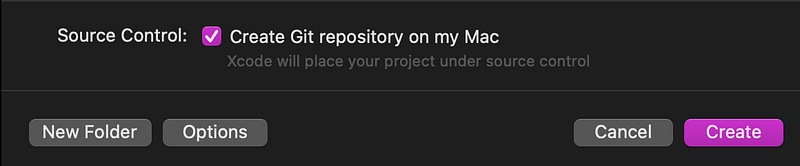
👉 Choose to save your new project in your Documents folder or wherever makes sense to you.
👉 Click the Create button to save it.
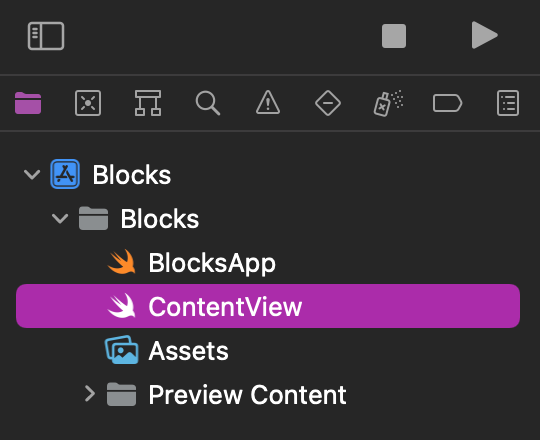
Xcode will create a folder (with the same name as your chosen Product Name) containing all of the files needed to build our app.
In the Finder, it looks like this:
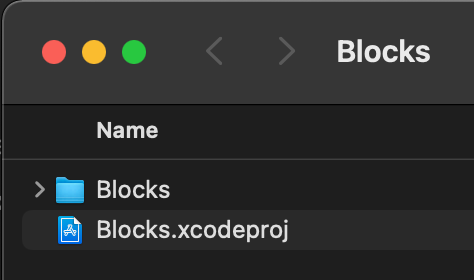
Congratulations! You’ve just created a native iOS app!
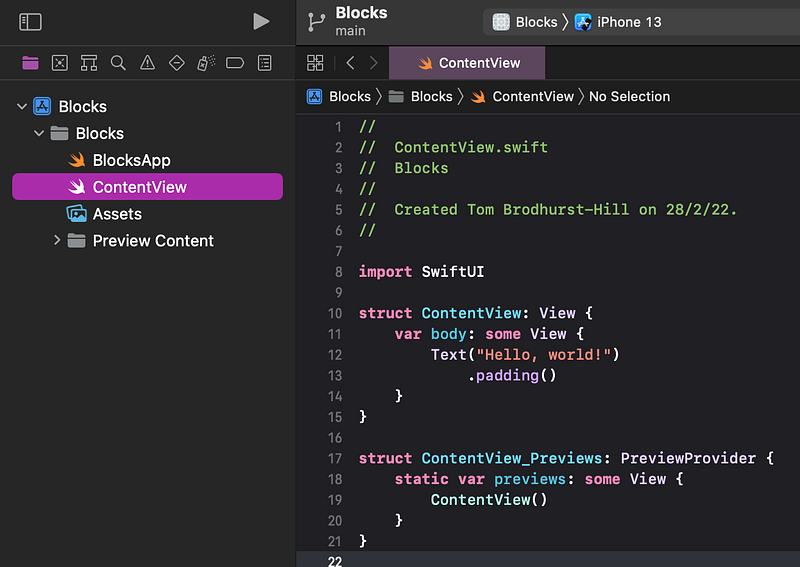
👁 Xcode now shows your project containing several files. It defaults to selecting the ContentView Swift code file.
Let’s check that we can run the app.
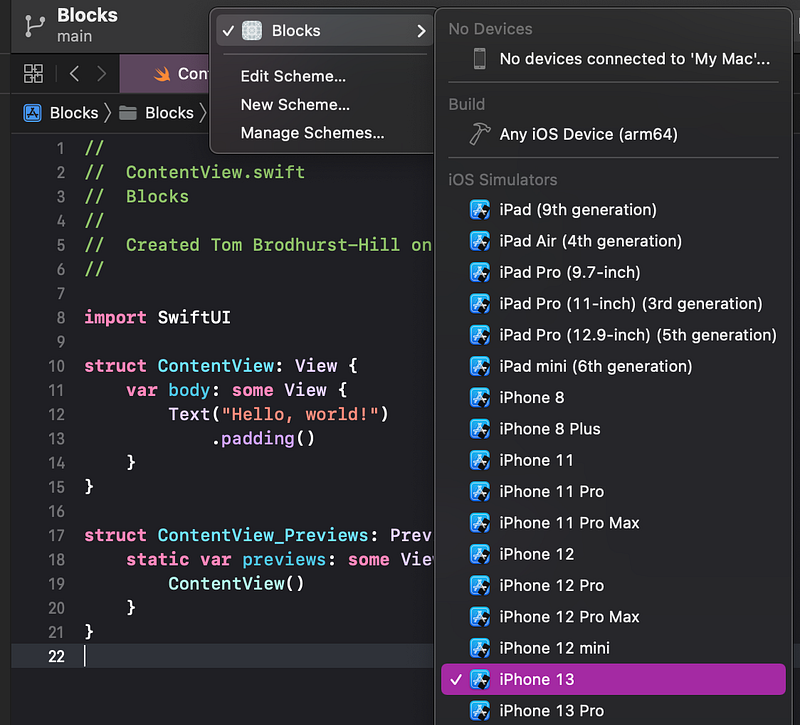
👉 Click on the Blocks > button.

👉 In the popup menu of devices, choose the iPhone 13 simulator.
👉 Click on the Build and Run button (it looks like the “Play” button in iTunes) in the top left of the window.

Be patient. It will take a few minutes for Xcode to build and run the app. Xcode will launch a new Mac app called “Simulator” in a window that looks like an iPhone. It is a simulated iPhone 13 (or whatever device appeared in the top left, next to the Build and Run button).
👁 At first, the iPhone screen will appear black. Eventually, you will see the app launch inside the simulated iPhone.
👉 If necessary, adjust the size of the simulator window to make it all visible. You can drag one of the corners, or select Physical Size from the Window menu.
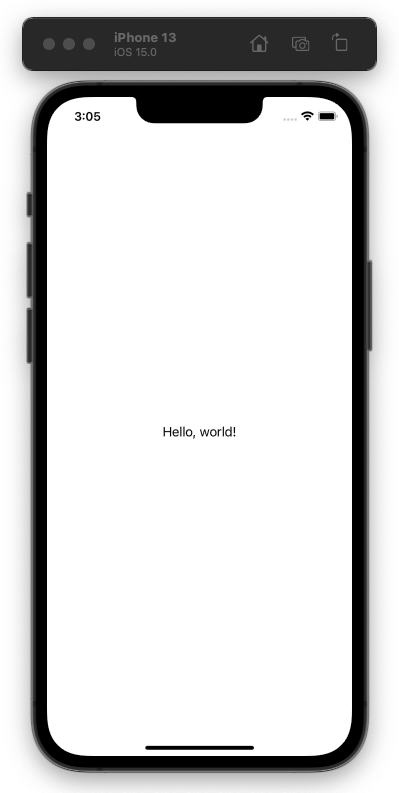
There — you’ve successfully built and run an app! It’s not a prototype that tries to emulate a native app. It is a real native app. You could deploy this on the App Store. Well, you could try, but as you’d hope, Apple will reject it because it doesn’t actually do anything useful — yet.
4. Xcode Panels
👉 Switch back to Xcode.
As with any window on the Mac, you can make the Xcode window larger or full screen — whatever is familiar to you.
The Xcode window is divided into several panels. Let’s run through some basic tips on how to move around, hide and show these panels. Don’t worry about the content or purpose of these panels for now. We will discuss that later.
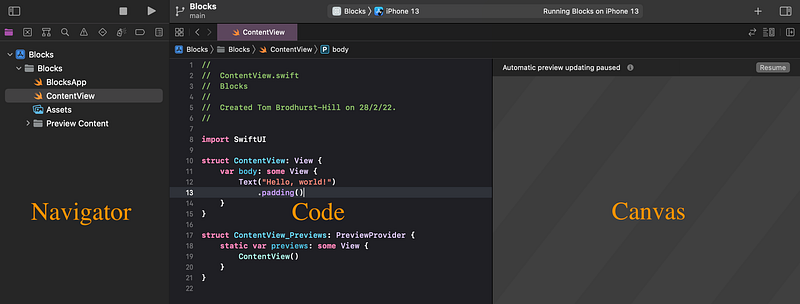
The left panel is the “Navigator”, currently showing the “Project Navigator” (a list of files in the project). The right panel is the “Inspector”.
👉 Look at the Project Navigator (the left panel). The ContentView file should be selected. If not, click once on it. Don’t double click, or you’ll open a new window (which you can easily close).
👁 The middle panel contains the content of the item selected in the navigator. In this case, the ContentView Swift file’s programming code.
👁 The next panel is the “Canvas”, also referred to as the “Preview”. It usually shows a visual preview of the app, but it is currently empty because the preview updating is paused, as indicated by the note Automatic preview updating paused.
You can hide or show the canvas at any time by choosing Canvas in the Editor menu.
👉 Tap on the Resume button. After a few seconds, you should see a preview of the app:
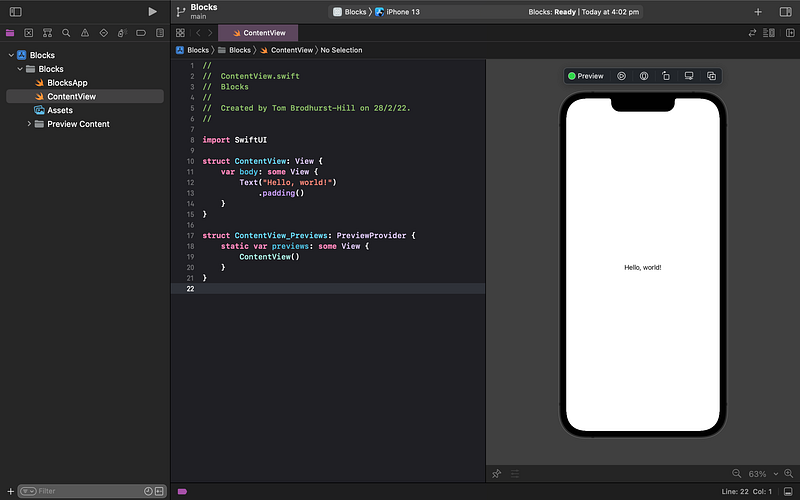
👁 This is a preview of what the app will look like when it runs the ContentView code on the left.
Especially on a small screen, like a laptop, you might need some extra room for the code and preview panes. Fortunately, you can hide and show the left and right panels using the Show/Hide Navigators and Inspectors buttons in the top left and top right of the window.
👉 Click on the buttons to familiarise yourself with how to hide and show the Navigator and Inspector panels.

👉 Scroll around the preview pane (vertically and horizontally) using your trackpad or mouse. You can pinch to zoom or click on the - and + button at the bottom of the window:

5. Edit Text
Now the fun begins!
The preview panel on the right shows what the code on the left instructs it to do.
If you’re new to coding or prefer to design visually, here’s the good news: In many cases, you can edit items in the preview directly, and Xcode will rewrite the code for you!
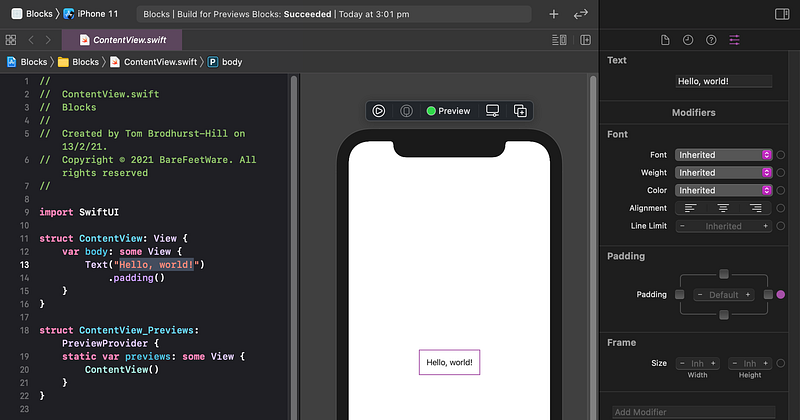
👉 Double click on the Hello World text in the preview, so that it shows a selection rectangle around it. Xcode will highlight the text in the code on the left and show it in the Attributes Inspector on the right.
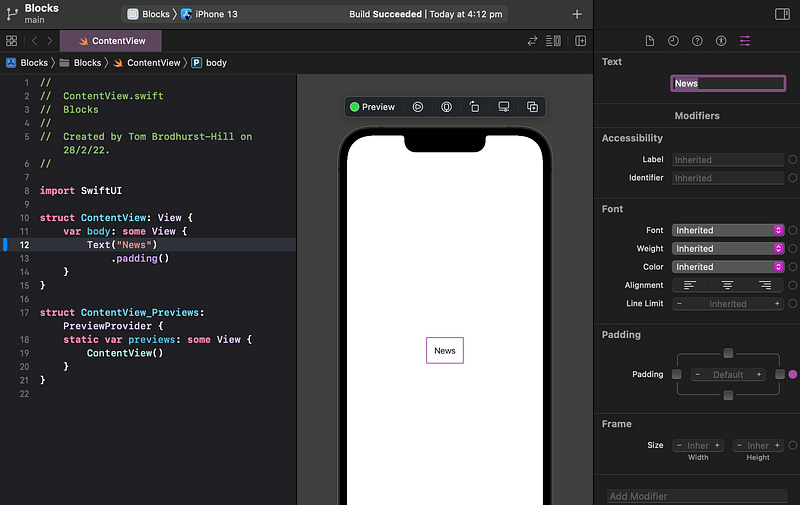
👉 Now, type your own label text for this scene as News. Type it in the Attributes Inspector to be safe. Hit Return (on the keyboard) to make the change take effect. Alternatively, you can type it in the code, but then you must ensure that surrounding code, such as the quotation marks, remain intact, or it will cease to preview or run properly until you fix it. If you make a mistake, Undo is the easy way to backtrack.
👉 Run the app again by clicking the Build and Run button in the top left of the Xcode window. If you already have the app running, Xcode will ask if you’re happy for it to quit the old one in order to run the new one.
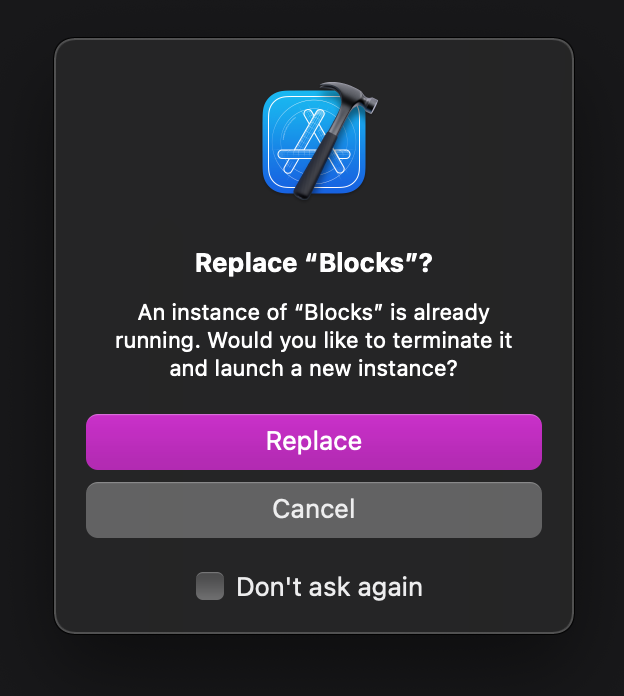
👉 Click Replace, so the new app can run.
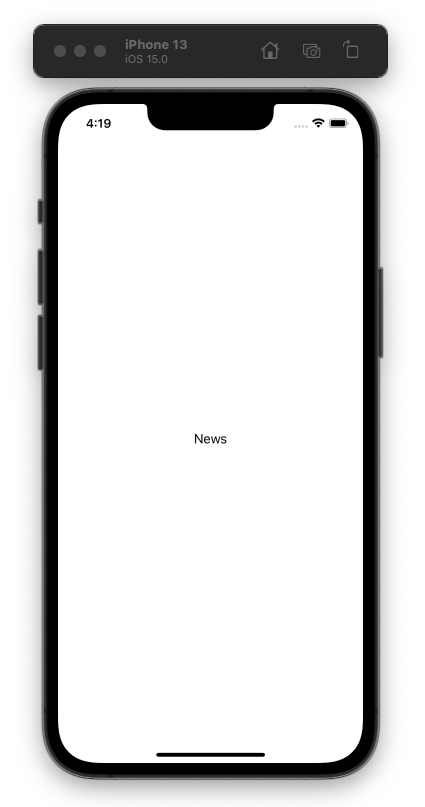
👁 The app should now show the altered News text.
6. Commit the Changes
👉 Switch back to Xcode.
Xcode has already saved our changes, so we could quit Xcode, relaunch and pick up where we left off. However, along the way, we’ll be making lots of changes and might like to experiment with different ideas or go back to a version of the project that we created a few days ago. To enable us to save particular versions or milestones, we can use the “Git” version control system. Git is widely used in all programming disciplines and document control in general. Xcode provides a few menu items to access some Git commands easily.
Let’s commit the changes that we’ve done so far, with a description of what we changed. Later, we will be able to see this in the history of our app development and revert back if desired.
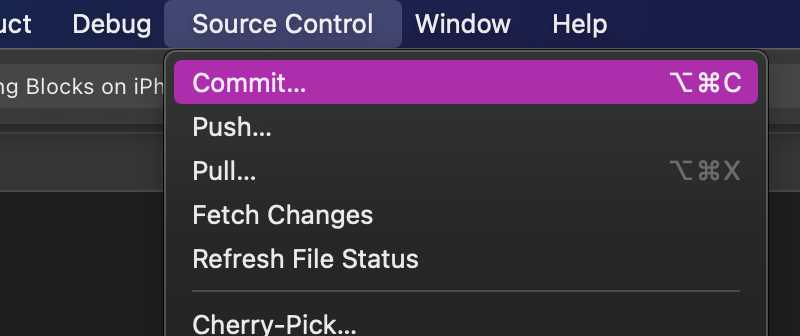
👉 In Xcode, in the Source Control menu (in the menu bar at the very top of the screen), select Commit.
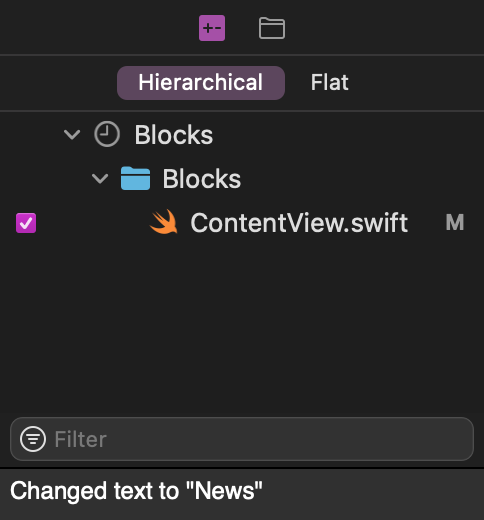
👁 Xcode shows the files that we’ve changed. In this case, we’ve only changed the ContentView.swift file. Make sure that the checkbox next to the file is ticked.
🐞 If you don’t see your changed files on the left, try clicking Cancel and try again: in the Source Control menu, select Commit.
👉 At the bottom of the window, where the cursor is flashing, type in a description of your changes, such as: Changed text to "News".
👉 Click the Commit button.
7. Recap Tutorial 1
That brings us to the end of Tutorial 1. So far, we have:
- Installed the Apple iPhone developer toolset (Xcode).
- Created a native iOS app.
- Modified just a bit of it.
- Run the app on an iPhone simulator.
- Committed changes through Git version control.
⁉️ If you have any questions or comments, please add a response below.
Now, move on to Tutorial 2, where we’ll start to customize the navigation flow of our app.
This series is released via Next Level Swift. Subscribe to keep updated and never miss a new Tutorial of this series!

We are always looking for talented and passionate Swift developers! Feel free to check out our writer’s section and find out how you can share your knowledge with the Next Level Swift Community!


