
Install and Configure Xcode
Get ready to build apps on your Mac using your Apple ID and an email address.

1. Introduction
Here’s a quick guide on installing and configure Xcode, so you can build your apps using your own Apple ID.
Together we will:
- Install Xcode from the Mac App Store.
- Configure Xcode to use your Apple ID.
- Configure the “Git” version control system to use your email address.
Then you will be ready to create your apps, such as by following the “Build an App Like Lego, with SwiftUI” tutorial series.
2. Install Xcode
First, you will need Apple’s Xcode software. It’s free. I will be showing Xcode 12.5 in this tutorial. Although it’s a relatively large (12GB) download, that’s because it contains everything you need to build an app for iPhone, iPad, Mac, Apple Watch, and Apple TV.
👉 On your Mac, launch the App Store and search for Xcode. Download and install it.
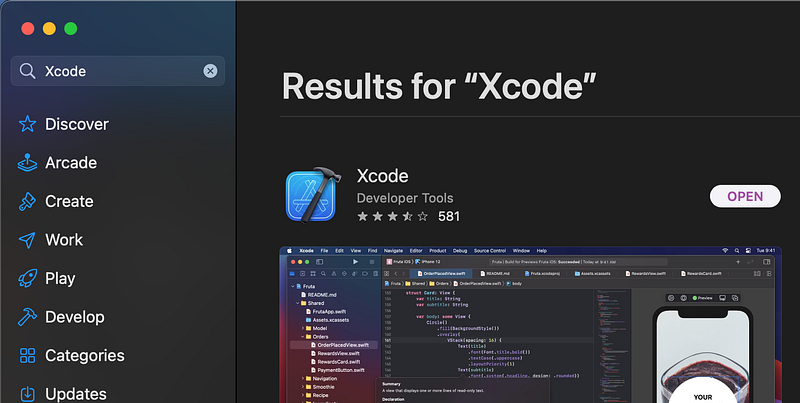
Depending on the speed of your Internet connection and your Mac, this can take an hour or two. So, you might want to have a break or go on with something else for a while.
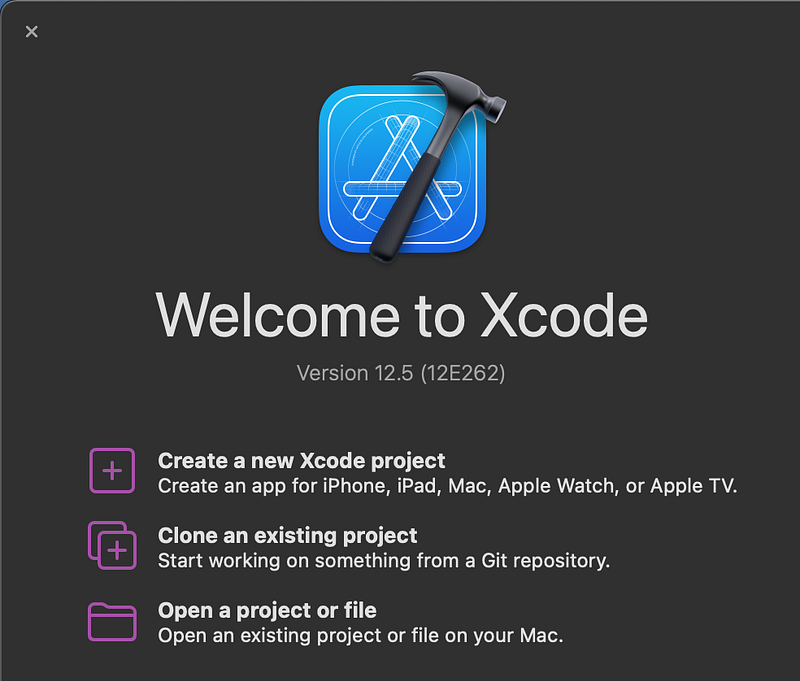
👉 Launch Xcode.
👉 When you launch Xcode for the first time, it is likely to ask permission to install more components. Allow it to do so.
👉 When Xcode is ready, you’ll see the welcome to Xcode window. Close it for now. We will set up Xcode’s preferences first.
3. Connect to Your Apple ID
We need to tell Xcode who is making changes. Otherwise, it will complain later that: No author information was supplied.
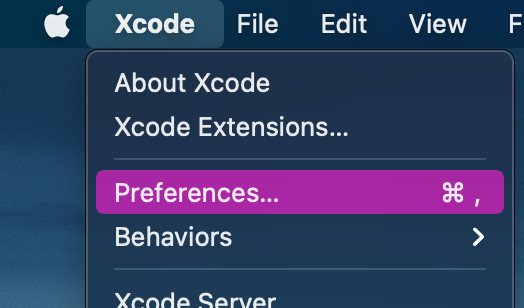
👉 In the Xcode menu, select Preferences.
👉 Click on theAccounts tab. If there are no accounts listed, click on the + button to add one.
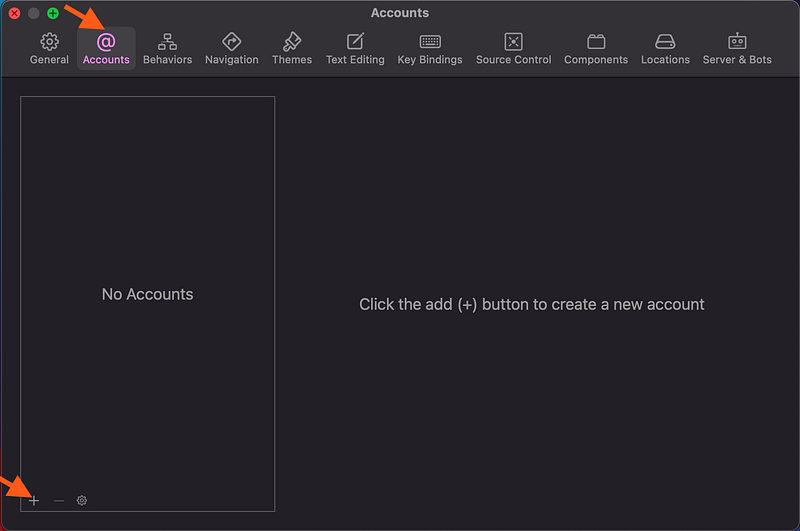
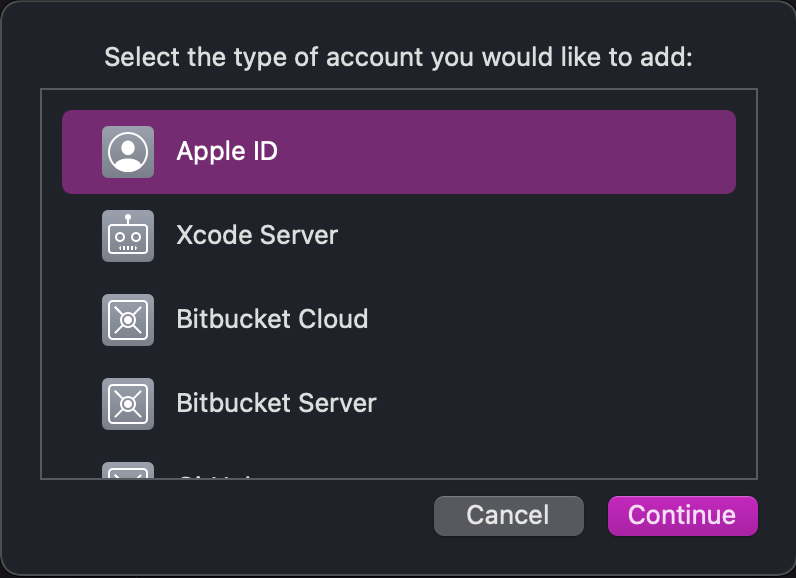
👉 Choose Apple ID as the type of account. Click Continue.
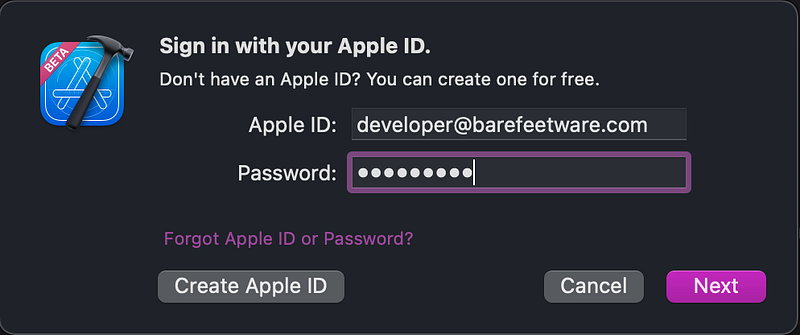
👉 Enter your Apple ID and Password. Follow the prompts to complete adding the account.
4. Enter Your Author Details for Git
When you make incremental changes to a project in Xcode (or in most other development environments), you typically “commit” those changes to a “Git” repository. Xcode makes this easy and transparent. The only thing you need to do upfront is to tell Xcode (and, therefore, Git) who makes those changes.
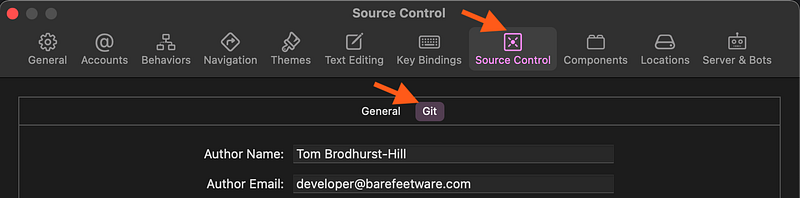
👉 In Xcode’s Preferences window, click on the Source Control tab and the Git tab. Enter your full name and email address.
👉 Close the preferences window.
5. What’s Next?
Now you have Xcode installed, with your credentials, ready for you to build your first app.
Next, hop over to the tutorial series: “Build an App Like Lego, with SwiftUI” to start building your first iPhone app.
⁉️ If you have any questions or comments, please add a response below.

We are always looking for talented and passionate Swift developers! Check out our writer’s section and find out how you can share your knowledge with the Next Level Swift Community!


